Derek Cohen (Perth Oz)
Established Member
I thought I'd post this here since there was a recent thread on building shooting boards.
I was asked to build a ramped shooting board for a WoodNet forum member, so I built two to choose from.
Both boards use Jarrah as the primary wood and Tasmanian Oak as the secondary wood.
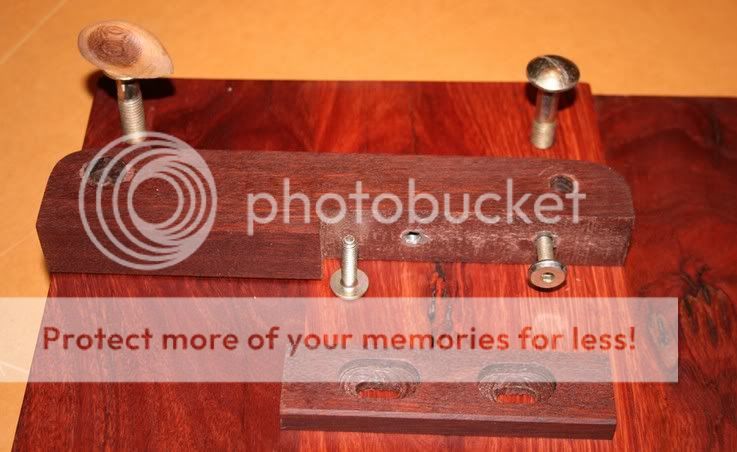
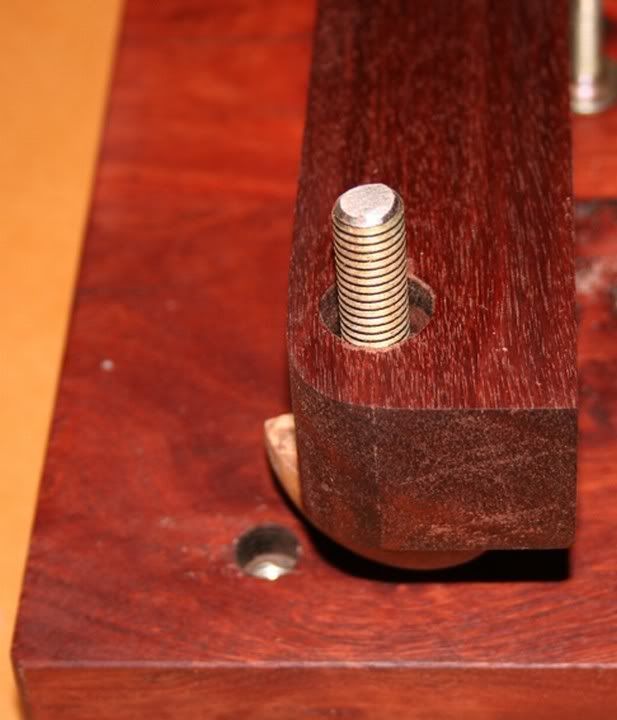
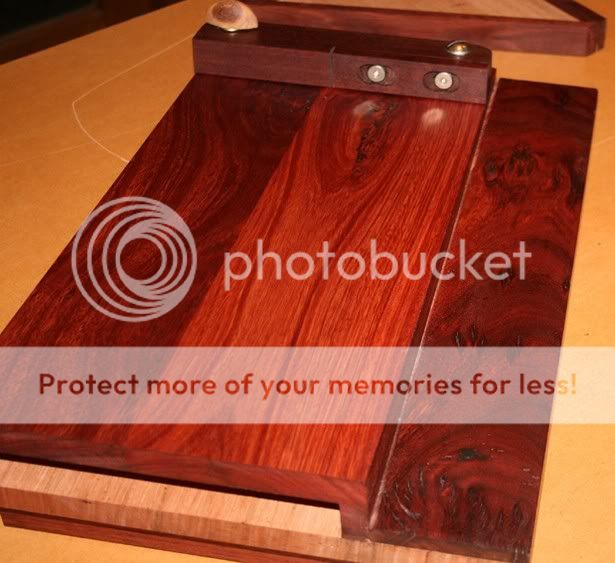
These boards have a few small improvements over previous ramped shooting boards. The fence continues with microadjustability, but now it also has a sliding secondary fence that may be used when worn. The rear of the fence is no longer square but rounded to prevent breakout.
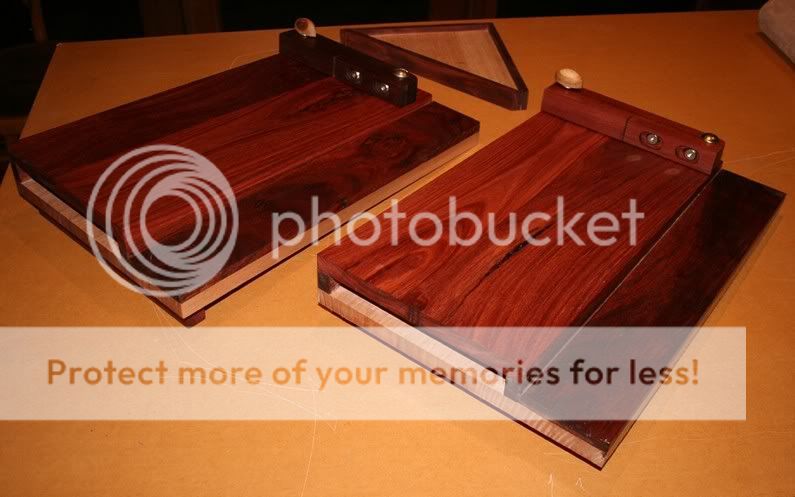
Here is board #1:
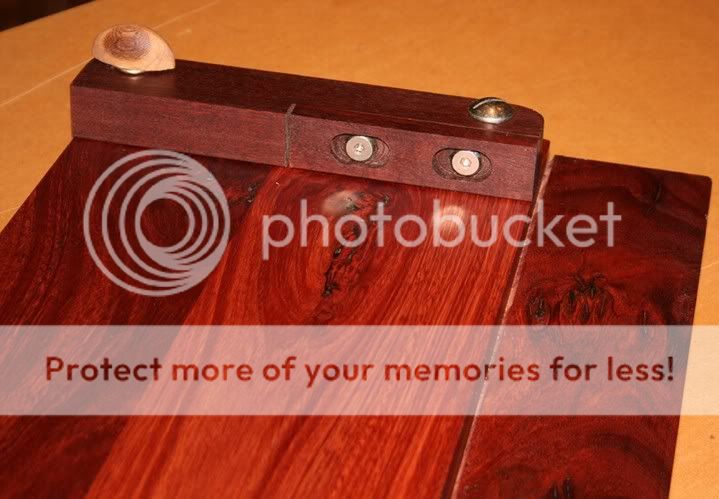
And a close up of the fence. Not the adjustment knob in Elm.
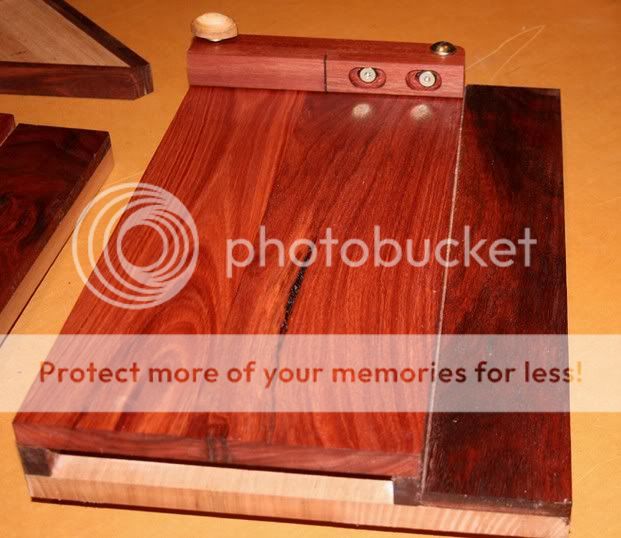
Board #2:
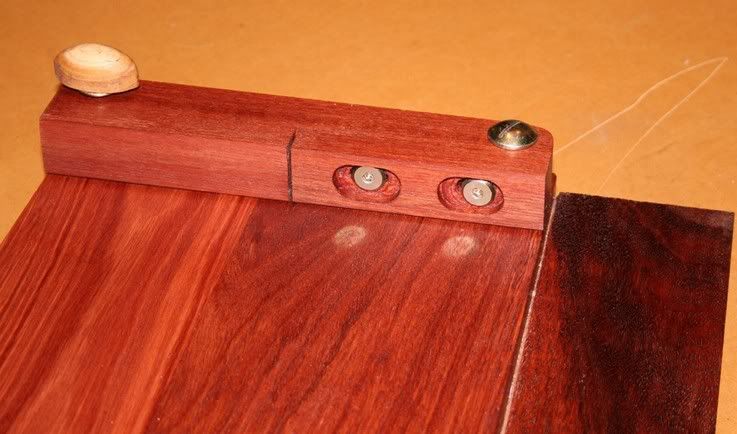
And its fence:
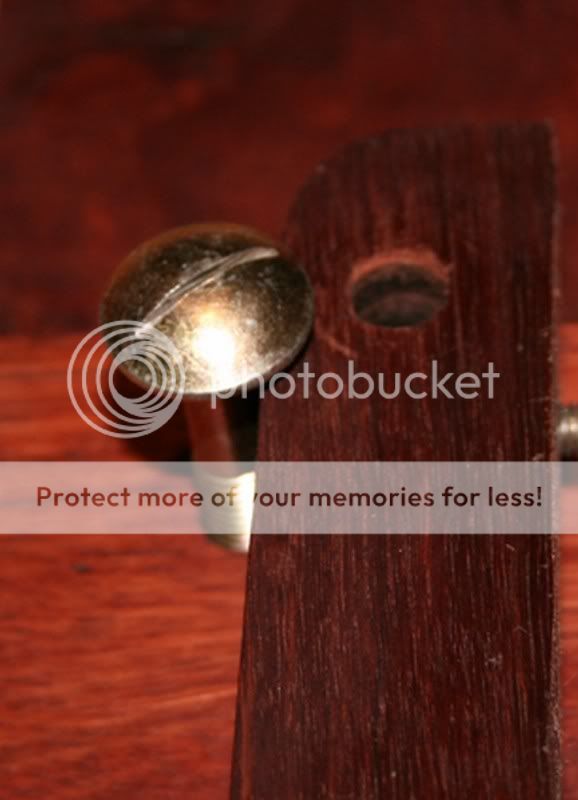
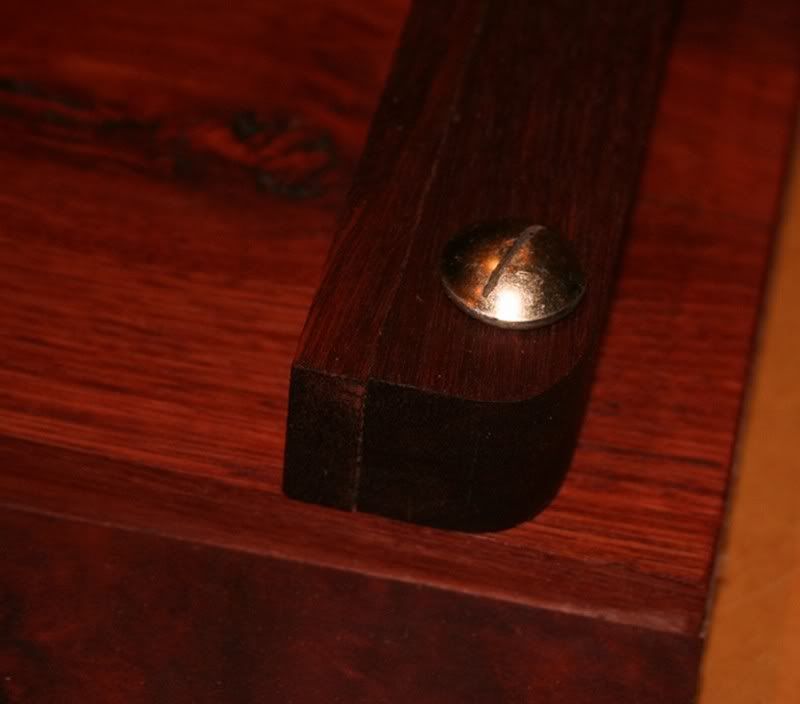
A close up of the rounded section of the fence:
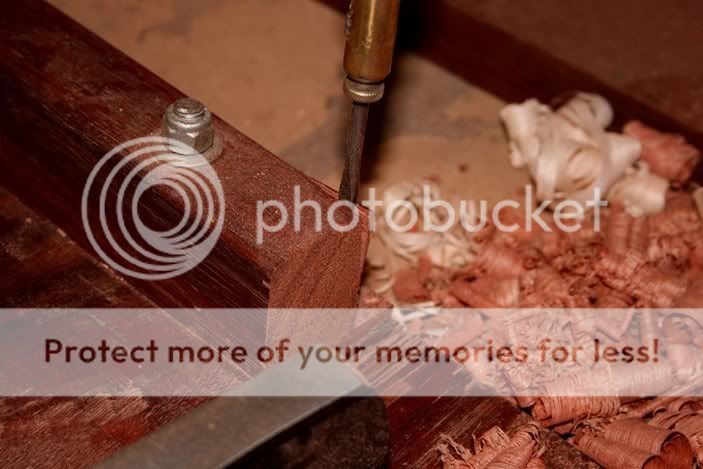
And what happens when the fence is square:
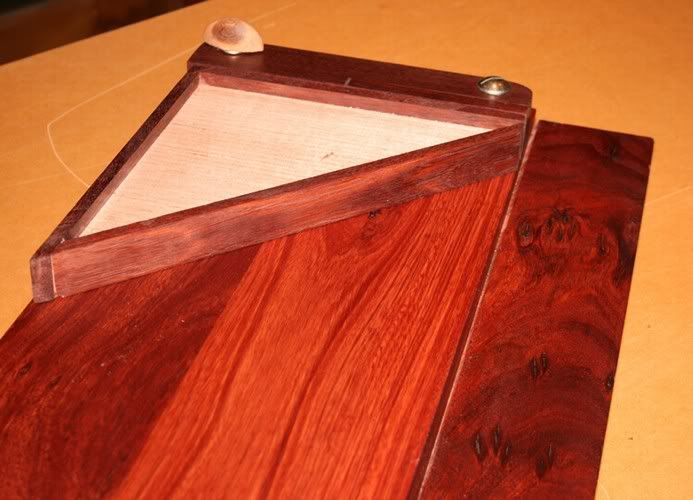
There will be a mitre fence for each. It will attach with a bolt from the rear of the main fence (as I have done previously). This allows the mitre fence also to have microadjustability.
Here is a mock up:
Why microadjustability and not a fixed fence? The adjustment allows not only for fine tuning of the fence, which is necessary after the board becomes worn and is re-planed, but it also permits one to do away with shims. The adjustment is 1/8" each way.
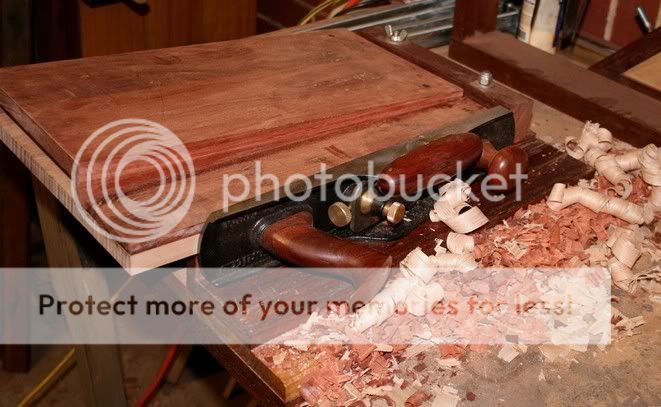
One last picture. I always wanted to post this .. a shooting board shooting a shooting board :grin:
Regards from Perth
Derek
I was asked to build a ramped shooting board for a WoodNet forum member, so I built two to choose from.
Both boards use Jarrah as the primary wood and Tasmanian Oak as the secondary wood.
These boards have a few small improvements over previous ramped shooting boards. The fence continues with microadjustability, but now it also has a sliding secondary fence that may be used when worn. The rear of the fence is no longer square but rounded to prevent breakout.
Here is board #1:
And a close up of the fence. Not the adjustment knob in Elm.
Board #2:
And its fence:
A close up of the rounded section of the fence:
And what happens when the fence is square:
There will be a mitre fence for each. It will attach with a bolt from the rear of the main fence (as I have done previously). This allows the mitre fence also to have microadjustability.
Here is a mock up:
Why microadjustability and not a fixed fence? The adjustment allows not only for fine tuning of the fence, which is necessary after the board becomes worn and is re-planed, but it also permits one to do away with shims. The adjustment is 1/8" each way.
One last picture. I always wanted to post this .. a shooting board shooting a shooting board :grin:
Regards from Perth
Derek
 , whats that on the side of you lv plane?