Considering Router Table Design Ideas

UKworkshop.co.uk

Help Support UKworkshop.co.uk:

This site may earn a commission from merchant affiliate links, including eBay, Amazon, and others.

Droogs

Not the Sharpest Moderator in the box
Joined
14 Mar 2013
Messages
5,803
Reaction score
2,804
Location
Edinburgh
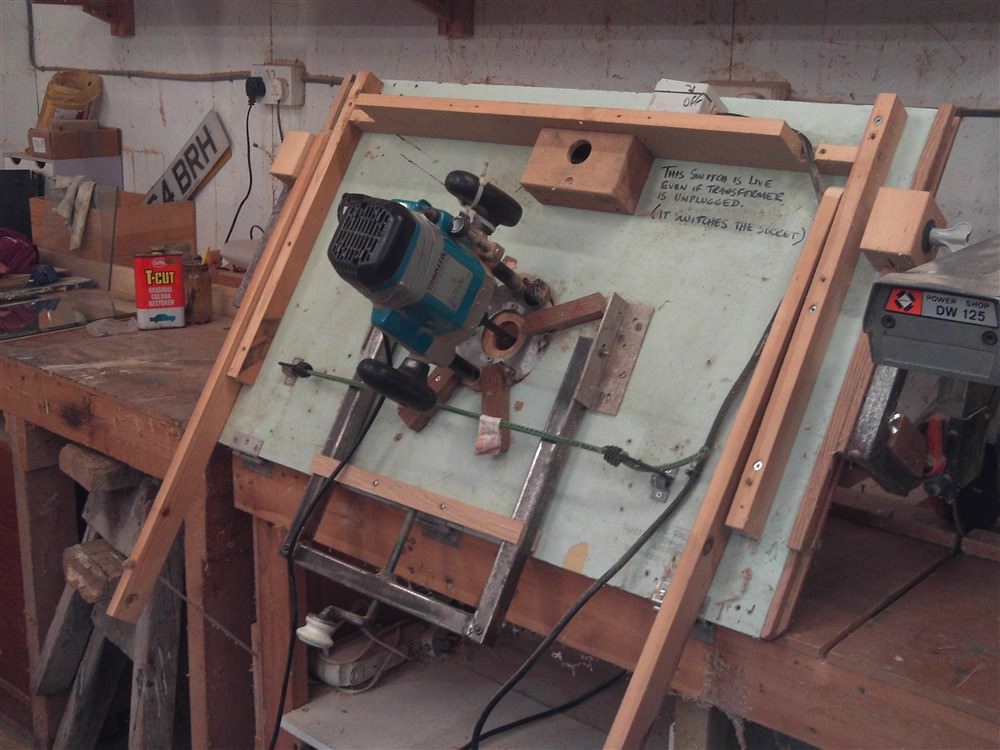
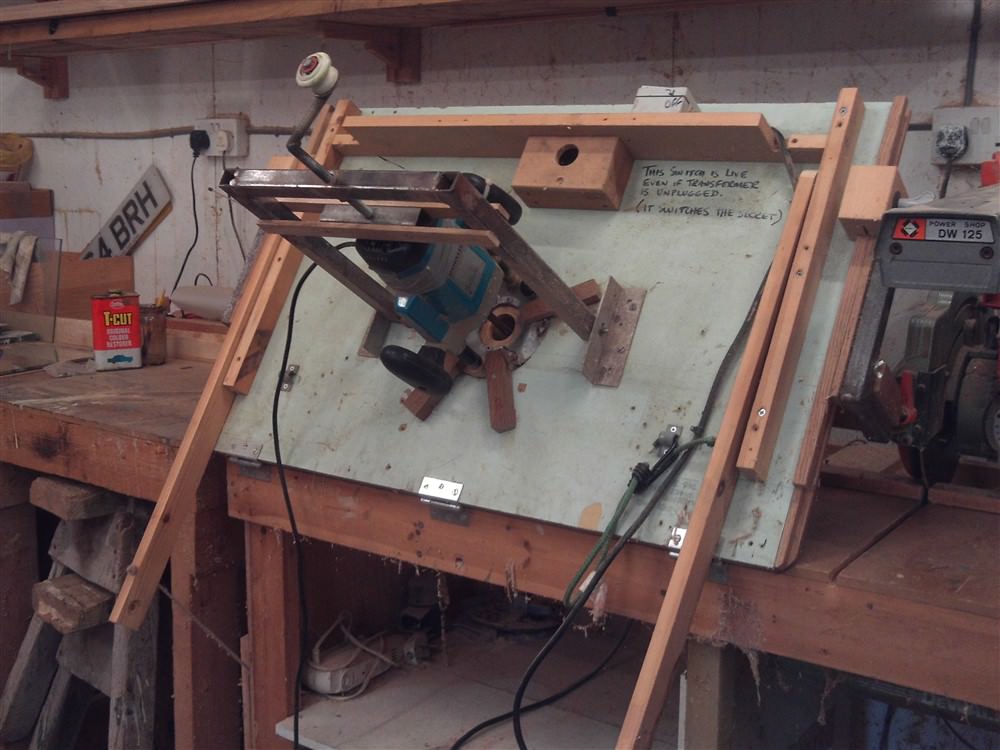
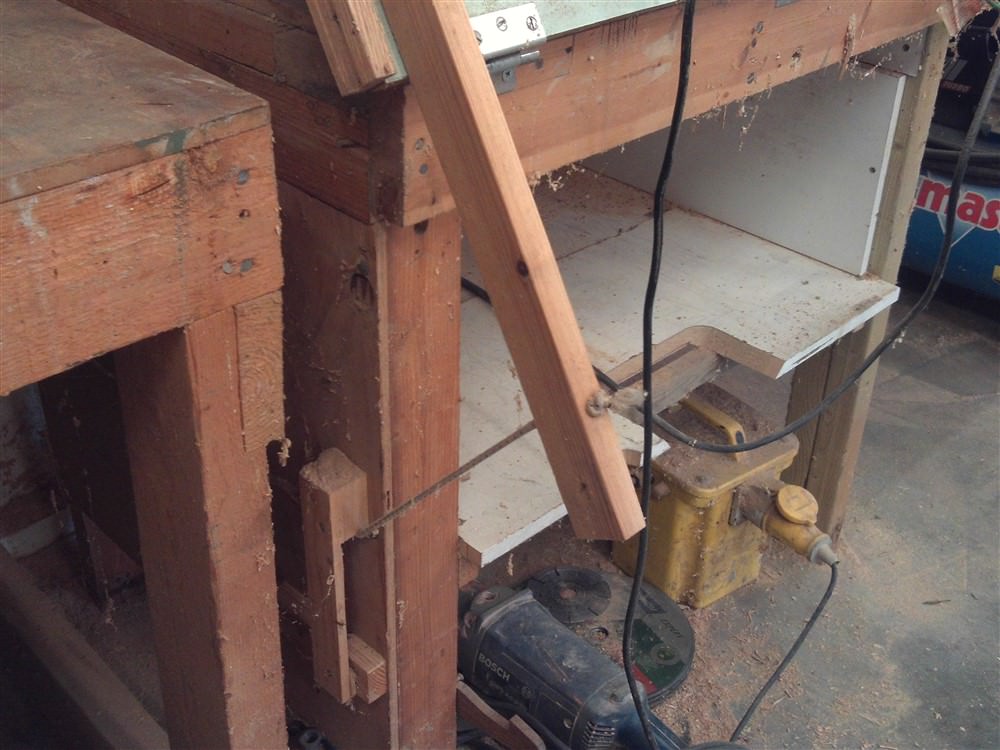
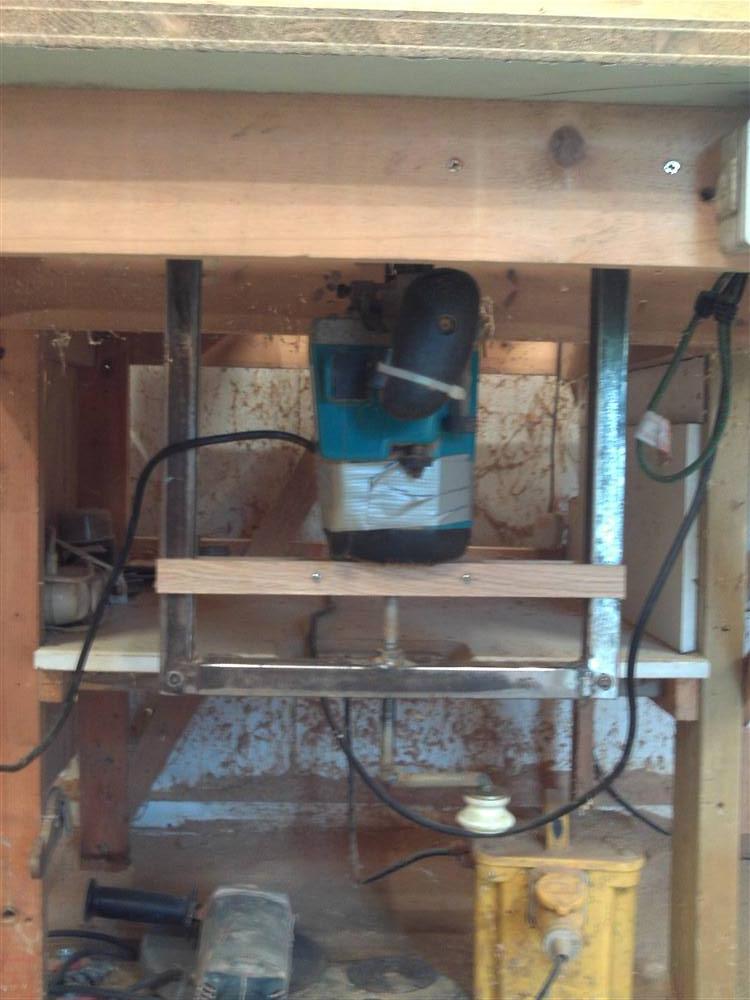
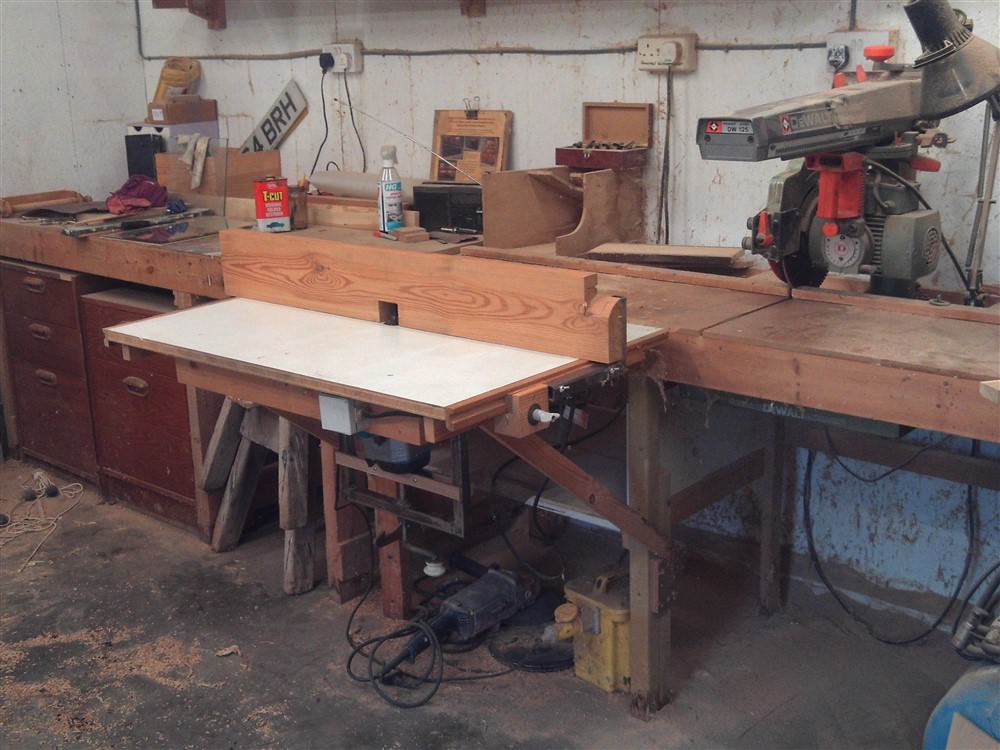
Having just got myself a new triton, I am looking at various options for the design of the router table I intend to make for it. Hoping members can suggest features that they have found useful to have as part of the set up. Have already got a thread to see if anyone has any experience with Staron but this one is for features.
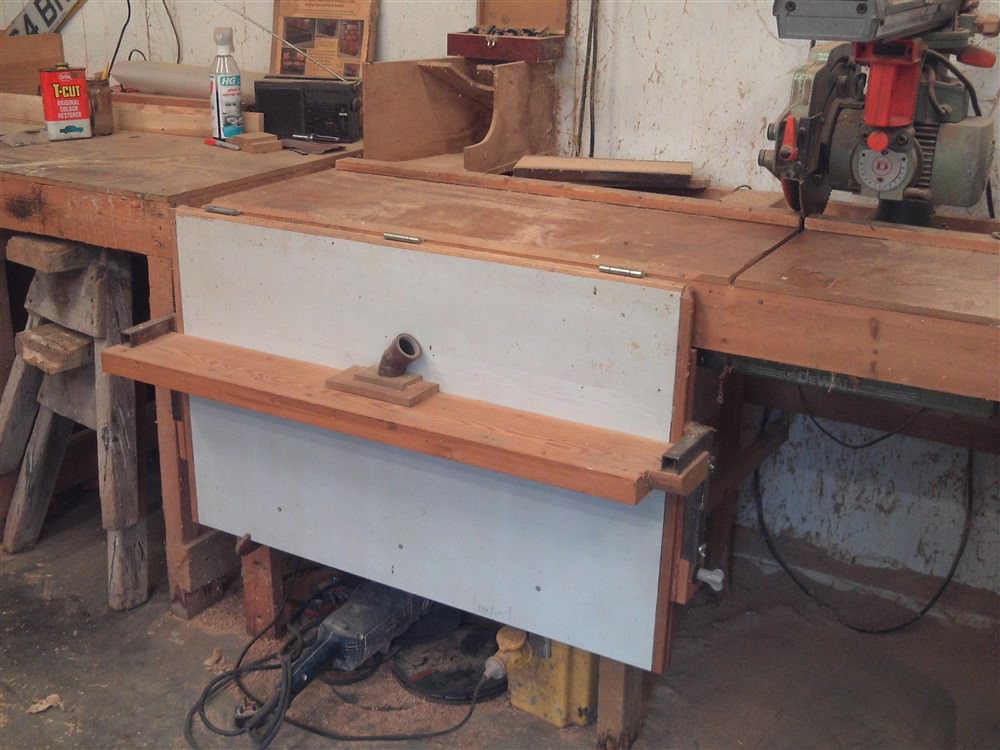
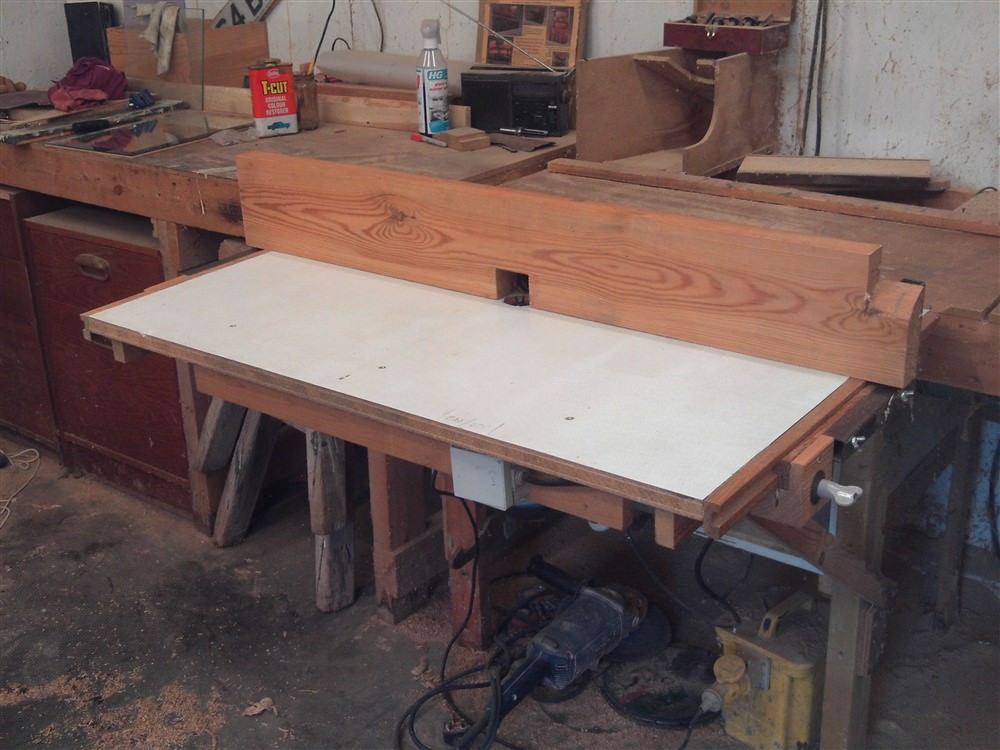
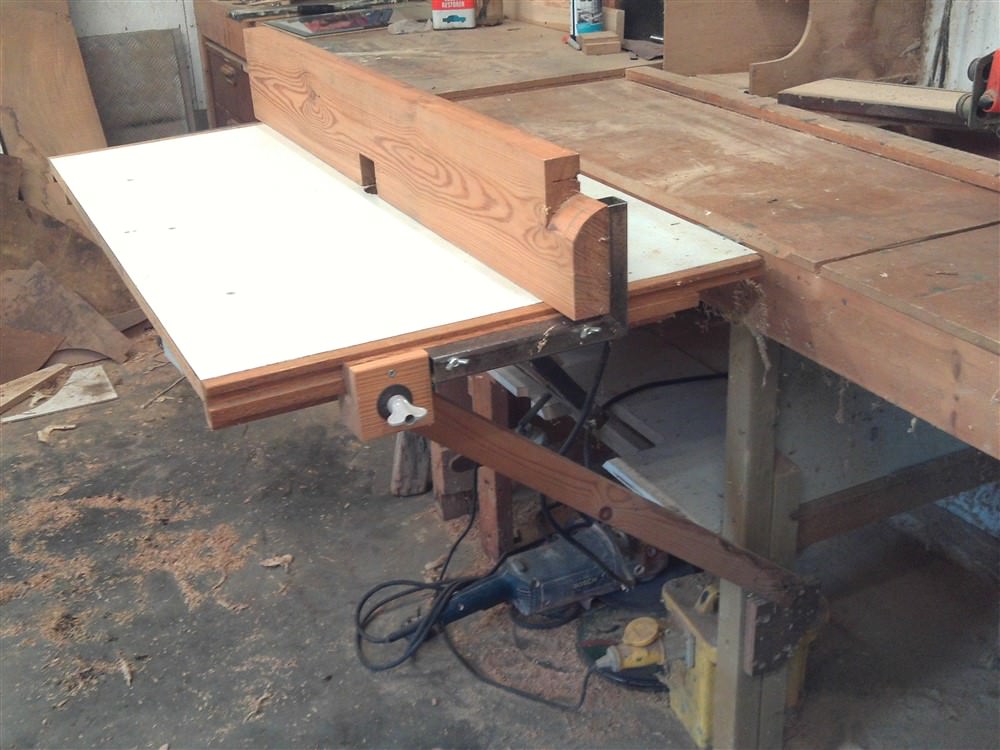
It's going to be made from MDF and the top surface will be staron unless something better is suggested. One thing I am thinking is to keep the top surface as untouched as I can, apart from mounting holes for insert plate and guide in pin. Have been contemplating the use of a linear guides rather than T-track for slidy or adjustable parts, where size makes sense. All the other parts including holes will be made using the CNC at the workshop with everything drawn in solidworks or similar. So looking at recommendations for all parts including fence design, stops etc. all of it really. What suggestions have you, things for micro adjustment, attatchments etc?
 
Tracks are much more versatile than side mounts.
Sliding mitre track for a start. Then T tracks for hold down clamps and more T tracks for fence fine adjustment positioners.

I resisted all these, up untill home made table Mark IV, but they are all in the mark V version. =D> =D>
 
Bear in mind that your fence doesn't actually need a parallel motion. My first table has the fence pivoted at the outfeed end. This can lead to a very stable fence if designed and built properly.

I long ago abandoned tracks, and exclusively use jigs running against the fence to hold work at the appropriate angle to the cutter.
 
I have a router table sold by Axminster in around 2005, no longer made. It is pretty good, but my pros/cons/mods are given below, and pictures follow.
Pros:
1. Solid, rigid sheet steel construction.
2. Easy to mount router (DeWalt 1/2" on Axminster lift stage)
3. Split fence with micro adjustments on each side. I would definitely go with this, as it allows displacement of the two halves to use as a jointer/90 degree machiner, or aligning them to use e.g. a coping sled.
4. 3/4" track across front of table to mount accessories. I'm just building a tenon sled which uses this, rather than the fence, for location, as it (a) can be made safer and (b) less risk of accidental deviations.
5. Short lengths of lighter track at the back to mount/rough adjust the fence.
5. Dust extraction port built in to fence.

Cons.
1. The fences themselves were just MDF with T slots machined. These wore out, of course, and became inaccurate before that. As shown in the pics, I've replaced these by aluminium extrusions, which give all the slots for accessories that one might want. Very successful.
2. No dust extraction from beneath, so everything got covered in chipping. The pics show my enclosure around the router which has an exhaust at the back. Gate valves direct the suck to either or both of the top and bottom ports depending on the operation. (My use is fairly intermittent. With heavy continuous use I would want to check that there is enough airflow to cool the motor).
3. Open construction beneath, so again everything got dust covered till I enclosed the router. And storage has to go in separate boxes. If building from scratch I would fit well-fitting drawers either side of the router and below it. There are so many bits and pieces that go along with a router.

router table - 2.jpg


router table - 1.jpg


router table - 3.jpg


router table - 4.jpg


I'm sure you know most if not all of this but I hope it helps a bit.

Steve Maskery's videos show in passing his very competent-looking router fence, but I don't know if he has described it anywhere.

Keith
 

Attachments

  • router table - 2.jpg
    router table - 2.jpg
    169.9 KB · Views: 1,086
  • router table - 1.jpg
    router table - 1.jpg
    193.8 KB · Views: 1,086
  • router table - 3.jpg
    router table - 3.jpg
    148.4 KB · Views: 1,086
  • router table - 4.jpg
    router table - 4.jpg
    120.4 KB · Views: 1,086
many thanks so far guys, please keep the ideas coming. i would like to build this once only if you know what I mean, so would like to get as many ideas of what to incorporate as poss
 
Do you plan on doing a progress thread? I'm sure many of us would like to follow you along.

I want to build one too. Most likely in a bench though, due to my space constraints.
 
Grawschbags":iiz4kyex said:
.......I want to build one too. Most likely in a bench though, due to my space constraints.

Router tables don't have to be permanently "up". One of mine pivots off the front edge of my cross-cut saw bench, folded down most of the time, and raised in seconds when I need it. It saves an awful lot of space. My "lifter" is a U-shaped steel frame which swings underneath the body of the router and presses it upwards with a threaded rod and captive nut, and which folds away when not in use. The table swings up past the vertical to allow easy access to the router for changing cutters, and there is no insert plate. It's simply a piece of blockboard with a hole in it, and the whole arrangement cost me precisely nothing.
 
I'd be interested to see a build along, it might change my mind on doing a table saw based version that I (might eventually) get around to trying.
 
I built mine on to the side of my SIP saw table and it does everything I ask of it and has saved me a lot of space compared to my old freestanding unit. The only downsides being access into that side of the saw for cleaning is a bit awkward and unlike my old table which had drawers under I need to store all the paraphernalia elsewhere.

Based on a cheap, at the time, Rutlands table I used some ash to fix and hinge the contraption and a redundant framework from an old budget support stand.
The table is ok and perfectly flat but the fence is pretty decent which is why I bought it.

I replaced the rubbish plastic plate with an Incra and a Router Razer from Peter Sefton and have a DeWalt 625 permanently fitted which I already had or would have bought a Trend T11 then the Router Raizer would not have been needed.

I've also fitted a NVR switch into the system so I can easily plug in the router.
Whole thing takes just a few minutes to set up or take down.
 

Attachments

  • 1.JPG
    1.JPG
    177.8 KB · Views: 989
  • 2.JPG
    2.JPG
    156.3 KB · Views: 989
  • 3.JPG
    3.JPG
    187 KB · Views: 989
  • 4.JPG
    4.JPG
    163.6 KB · Views: 989
MikeG.":1pube93t said:
Grawschbags":1pube93t said:
.......I want to build one too. Most likely in a bench though, due to my space constraints.

Router tables don't have to be permanently "up". One of mine pivots off the front edge of my cross-cut saw bench, folded down most of the time, and raised in seconds when I need it. It saves an awful lot of space. My "lifter" is a U-shaped steel frame which swings underneath the body of the router and presses it upwards with a threaded rod and captive nut, and which folds away when not in use. The table swings up past the vertical to allow easy access to the router for changing cutters, and there is no insert plate. It's simply a piece of blockboard with a hole in it, and the whole arrangement cost me precisely nothing.
Sounds interesting Mike, any photos?
 
Lons":22c1md14 said:
........Sounds interesting Mike, any photos?

Sure.

Router table in down position:

a6z2Rno.jpg


Catch holding it in place:

8j9e4YM.jpg


Table raised to working height:

gldMuyi.jpg


koCK0G1.jpg


Table lifted to change cutter, or in preparation for using height adjuster (showing height adjuster folded away:

hJzplbR.jpg


Height adjuster in position:

NshAXen.jpg


Elastic on leg/ prop guides it automatically into position when table is lowered:

2J6HTNG.jpg


Table lowered, height adjuster in position. Just turn the handle:

pS7Y3sU.jpg


BOljSGY.jpg


Table stowed again:

a6z2Rno.jpg
 
Rorschach":11id8jhi said:
Very impressive, I really like the neatness of your solutions there.

Thanks. I really like that it was 100% free, from scrap. That's an old drawing board, cut in half.
 
Many thanks to all so far, i will do a WIP once I have decided on the style etc. Will also probably do a vid and post that too.

What do peeps use regarding stock guides, featherboards etc
 
MikeG.":2c4wm3hf said:
That's an old drawing board, cut in half.

Hmm.. that reminds me, I have one of those stuck in the back of the shed, became redundant when I learned how to use Autocad though I've forgotten that now. :oops:
 
Back
Top