wadkin pk restoration

UKworkshop.co.uk

Help Support UKworkshop.co.uk:

This site may earn a commission from merchant affiliate links, including eBay, Amazon, and others.

wallace

Established Member
Joined
13 Feb 2011
Messages
2,130
Reaction score
250
Location
county durham
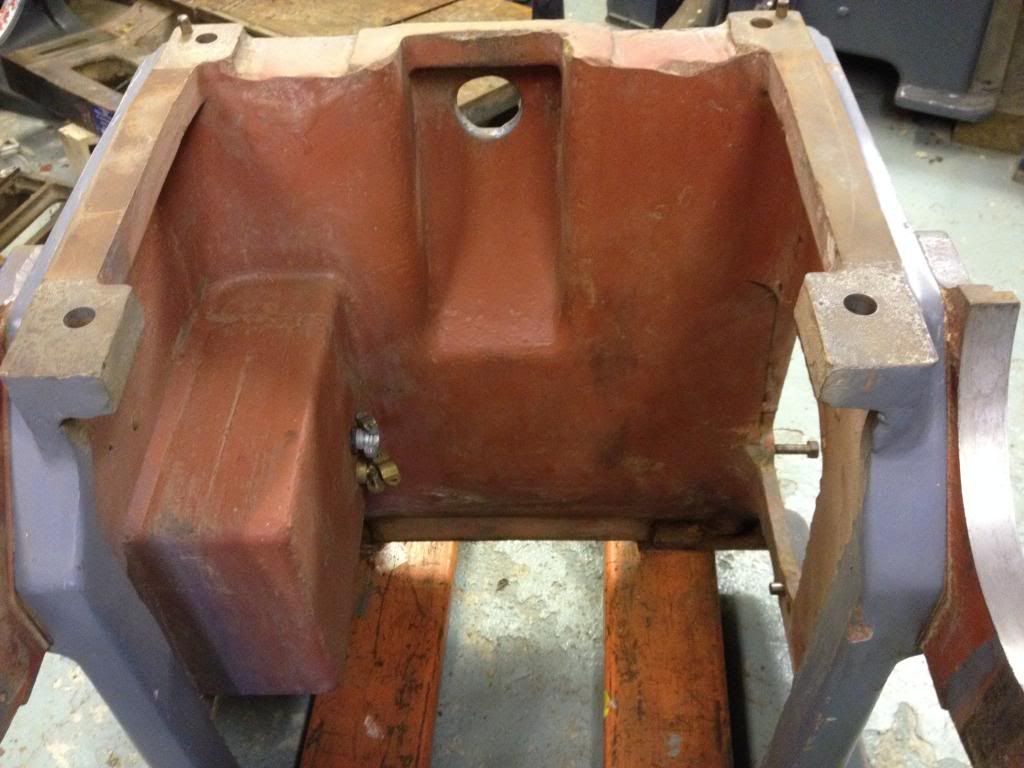
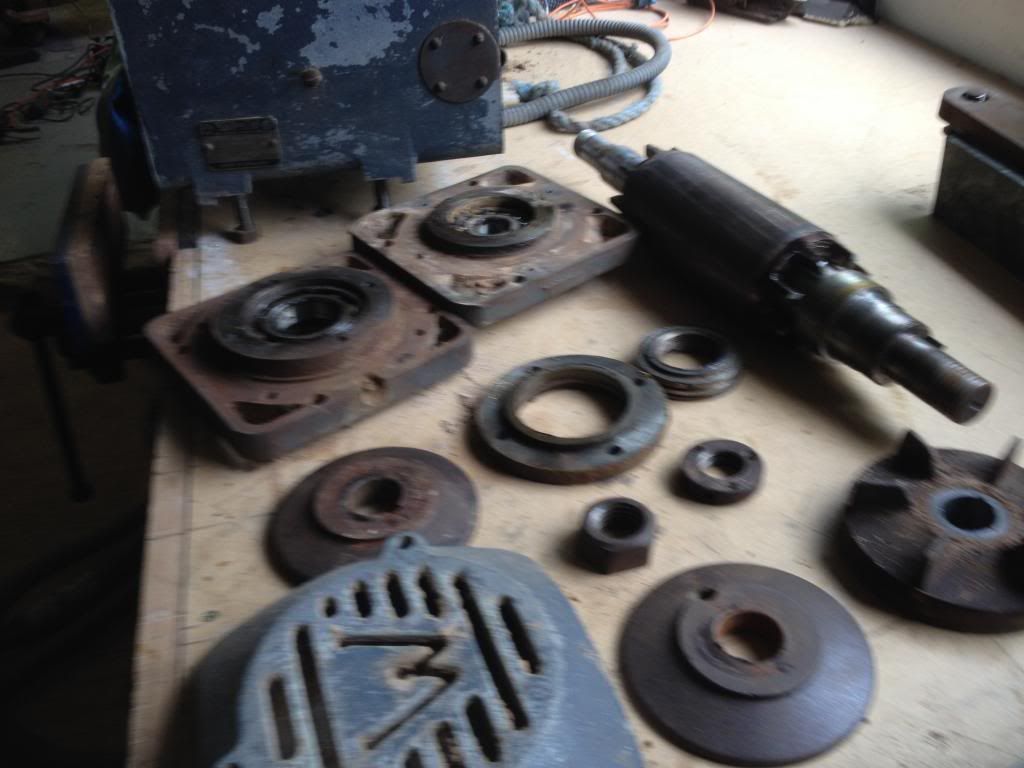
I know I have already done one of these but since I organised my photobucket account my original thread has lost its pictures. Plus I think I might be able to do a better job this time. This pk is a bit different in that the slider is 72" long and it has an extension table.


A little more progress. Got the motor bearings degreased and everything clean.


I had a suspicion that the motor had been took to bits before and this confirmed it. I presume this was done when the brake was added. I think I will take the tape off and do the job properly with some heat shrink.


I couldn't resist making some shiny bits


Damn it Wallace seeing that shiny W makes me want to do my CC. Just when i'd come to terms with getting rid of it. How many hours to polish that?

Nathan
 
Great Wallace - I really enjoy your renovations.

Do you have a picture of the entire saw as you bought it as It's nice to see the transformation when you've finished.

Keep up the good work.

Misterfish
 
Hi Richard which one? I had a little 6" planer that kept on doing tapered planning until I shimmed the outfeed table or was it the big one which I did the video of.
Misterfish heres a couple of before pics. This is the extension table 48"


Heres the slider


All in all it is a very clean original saw. Considering it was made in 1955 and has not been attacked with green paint to make it look 'modern'
 
The original paint was in really good condition so I just had to fill the dings and rub it down a bit. Its been the perfect day for spraying so I got a couple of coats of zinc primer and 4 top coats of enamel


more progress. I decided to paint inside red and my usual method of doing the writing.


This is the blade rise mechanism


On cleaning things out I found this, at first I thought it was the pin that secures the gear to the shaft but it looks like the alignment pin for the cover. Both were snapped off which is strange because its not a hard bit to get off. It looks to have been floating around and snagging on the gears causing some slight damage.


The gear had a slight bur


The gear retaining pin was not their and the gear was jammed. Its the second pin I have found which was broken


MMM shiny

 
Oh Wallace...I just LOVE your restoration threads.

I am never likely to own such gear but watching it turn from the apparently clapped out state you often find it to masterpieces fit for a museum is a real thrill for me!

And to think that they also get used at the end is even more important....I know the insides are as beautiful and precisely restored as the outside painted and polished bits.

Bravo my friend...watching this progress with awe as usual!

Jimi
 
Thanks Jimi, Rod. Its the only way I could afford some amazing machines. What kind of sawbench can you get for £330 :D They always look rough but what wouldn't after 59 years. The quality is fantastic. I started on the handwheels. I am pleased they are aluminium ones and not steel, its much easier to get the dings out and polish up. I put the wheel on the lathe and used a grinder with a flapper disc and then a power file with various grits.


Next will be a polish mop
 

Latest posts

Back
Top