Wadkin bench drill restoration

UKworkshop.co.uk

Help Support UKworkshop.co.uk:

This site may earn a commission from merchant affiliate links, including eBay, Amazon, and others.

wallace

Established Member
Joined
13 Feb 2011
Messages
2,130
Reaction score
252
Location
county durham
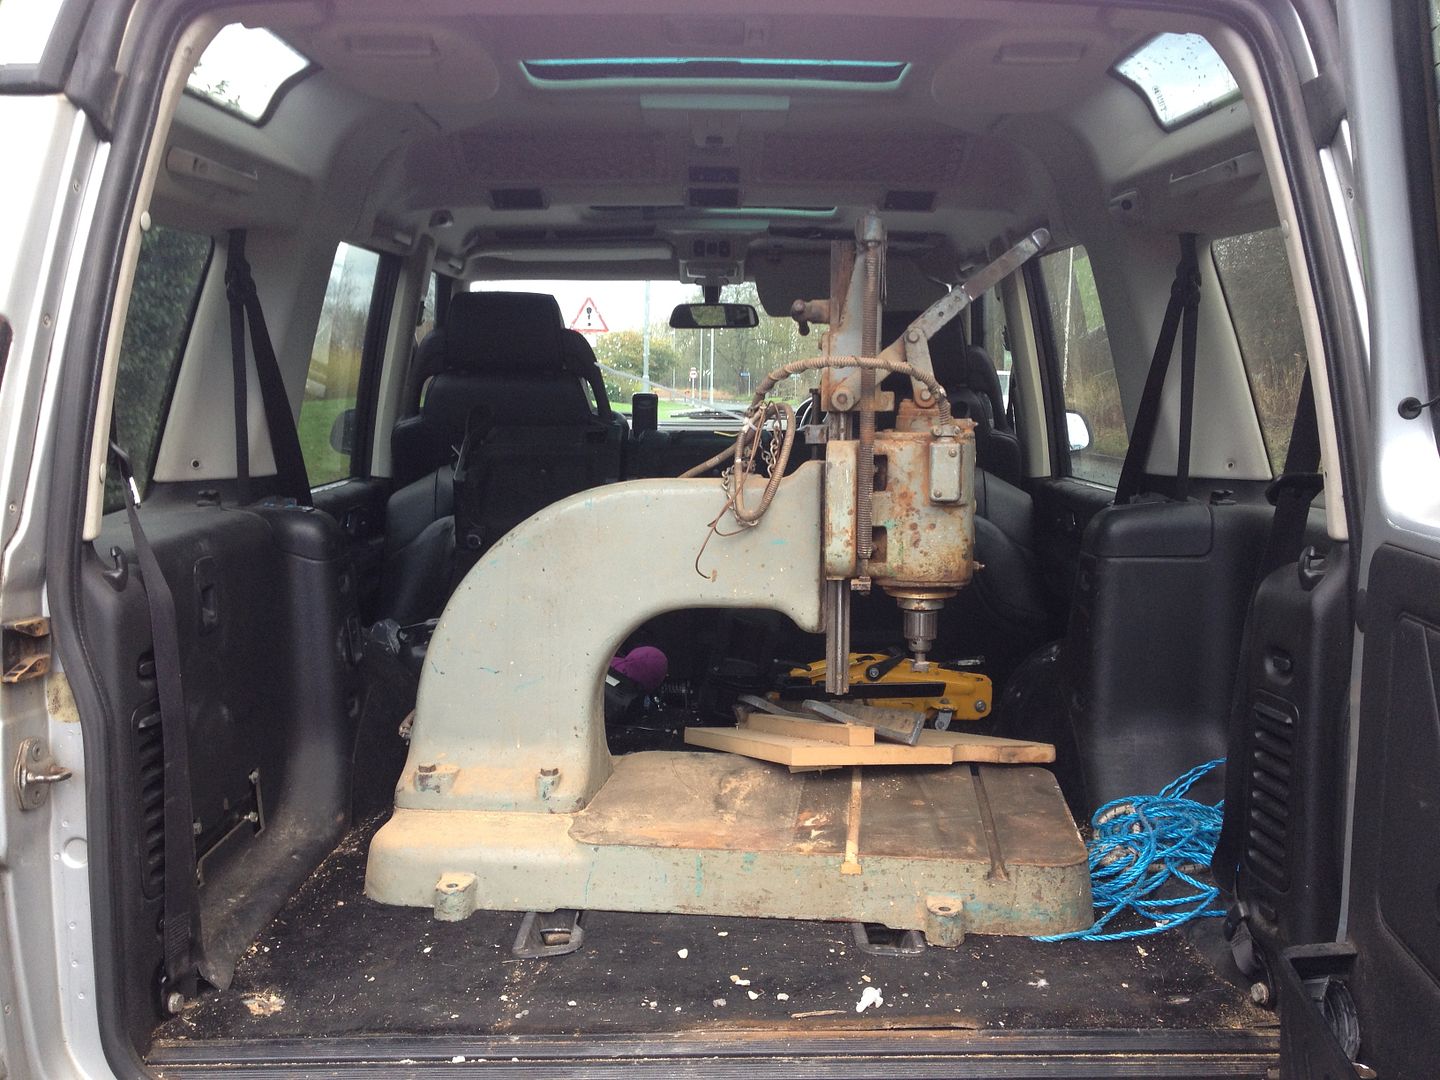
The paints barely dry on my last one and I've started another. I had no intention of doing this one yet but after using it a bit I noticed the bearings squealing like a stuffed pig so it has jumped the que. So while checking out the bearings I thought I may as well make it look pretty. This is how I got it a while back after a 13hr road trip because the seller wouldn't put it on a pallet for a courier.


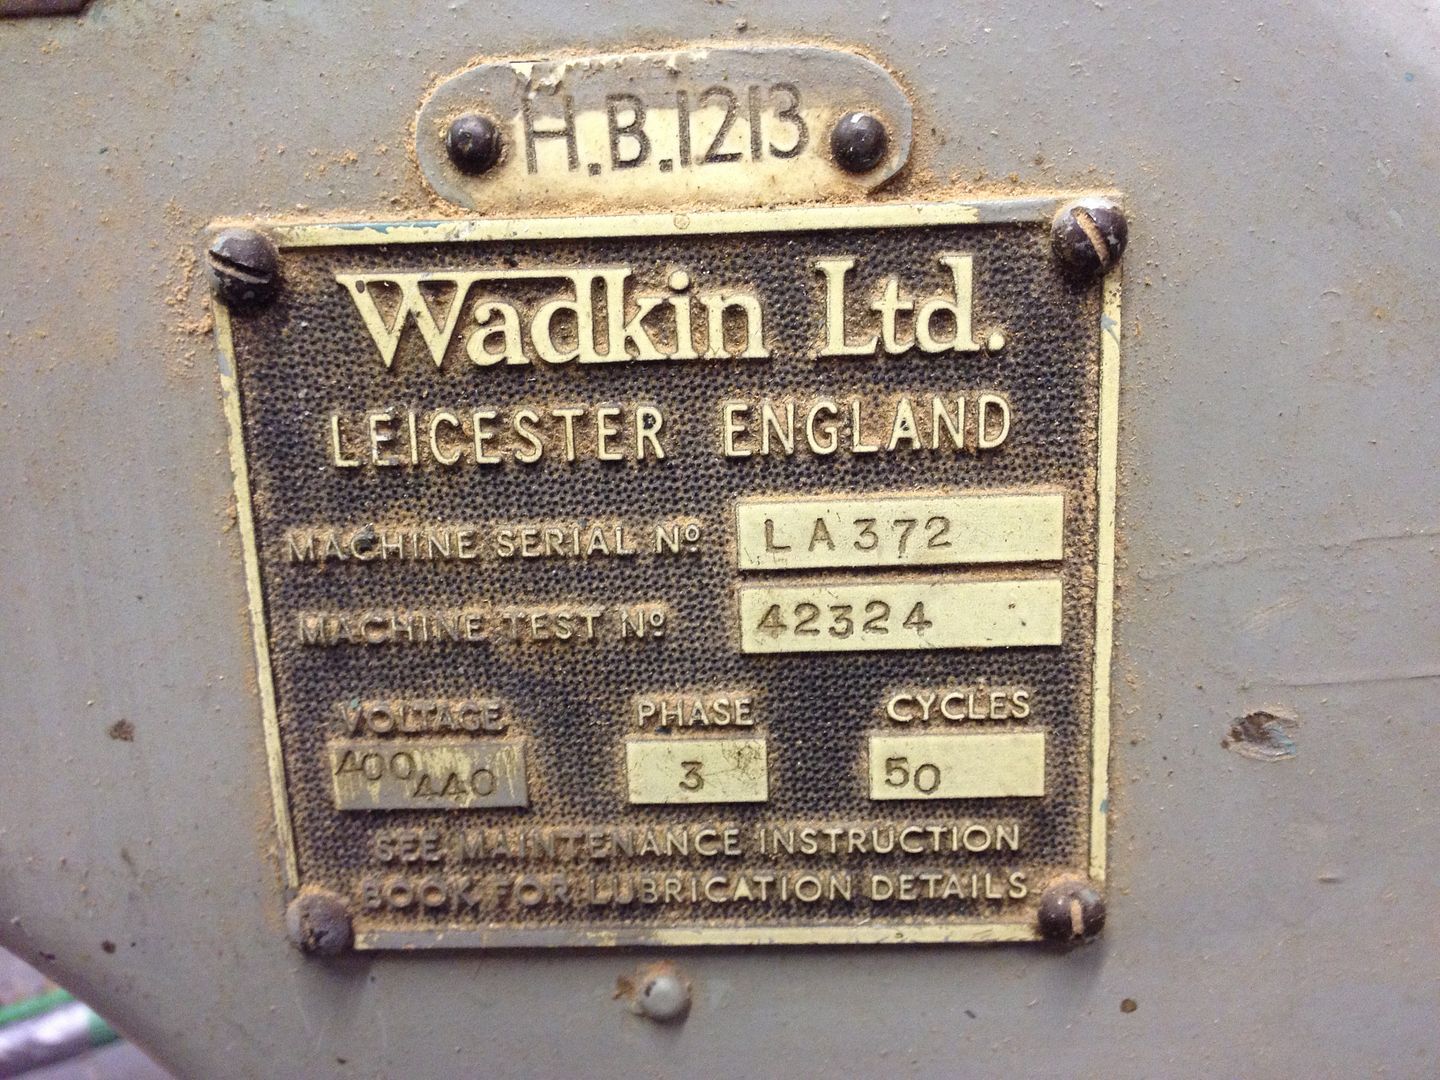
This one dates from 1952 and was made for the aircraft industry to do high precision drilling of non ferrous stuff. Its a shame its last place of work had been using it as a router. Poor thing only has 0.5hp in it


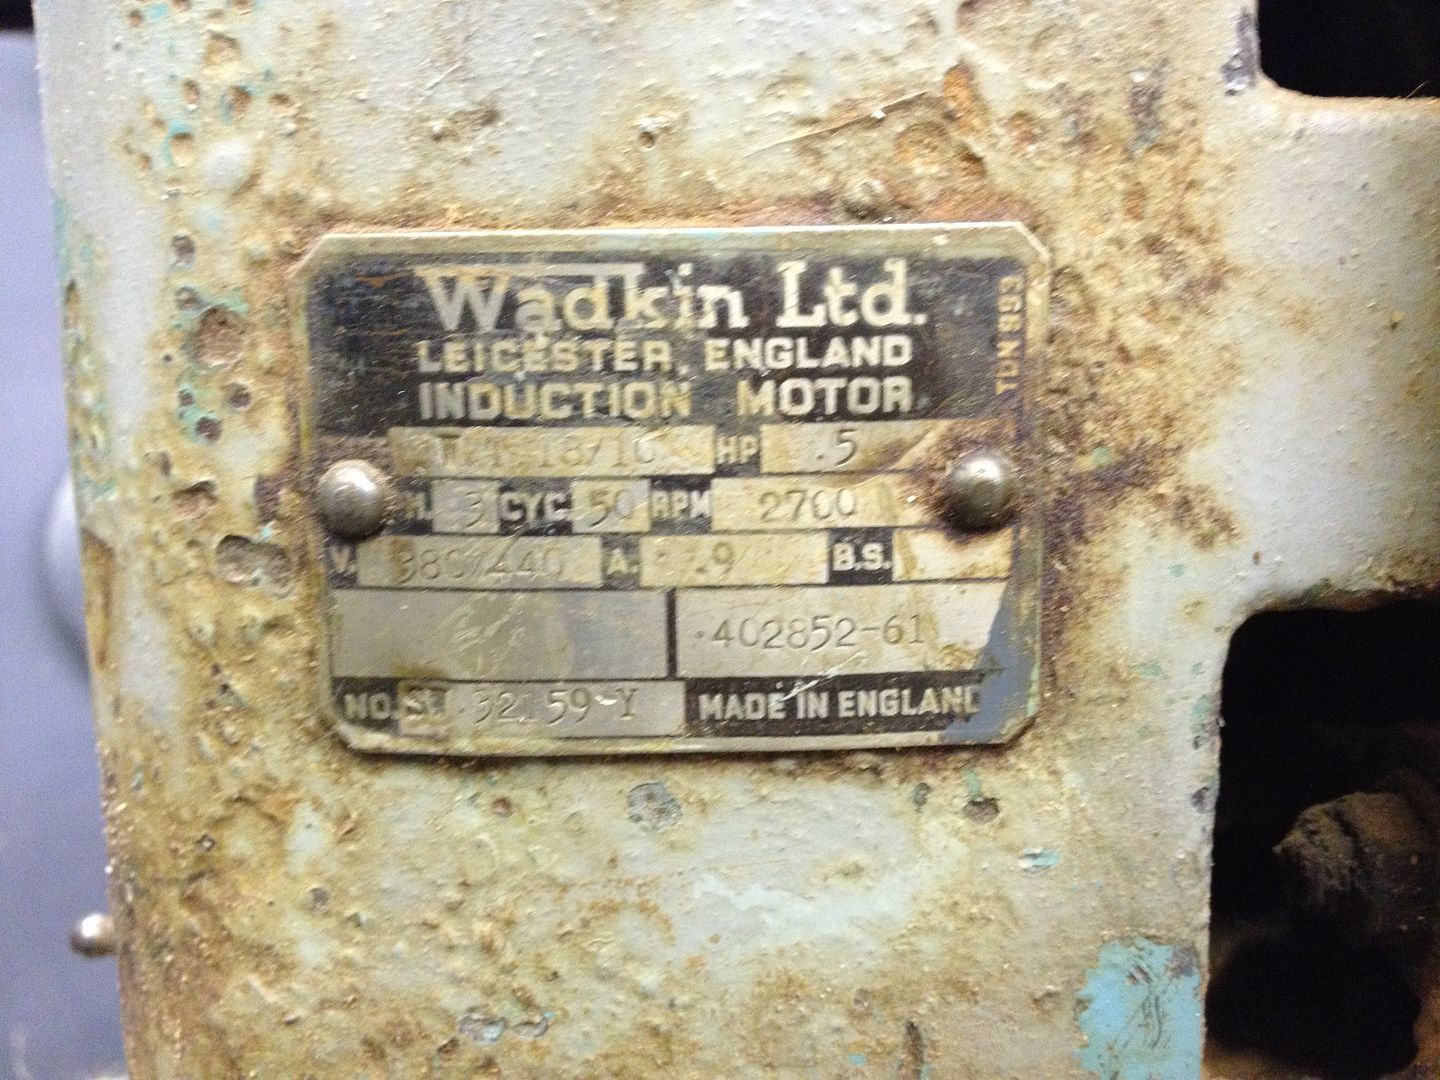
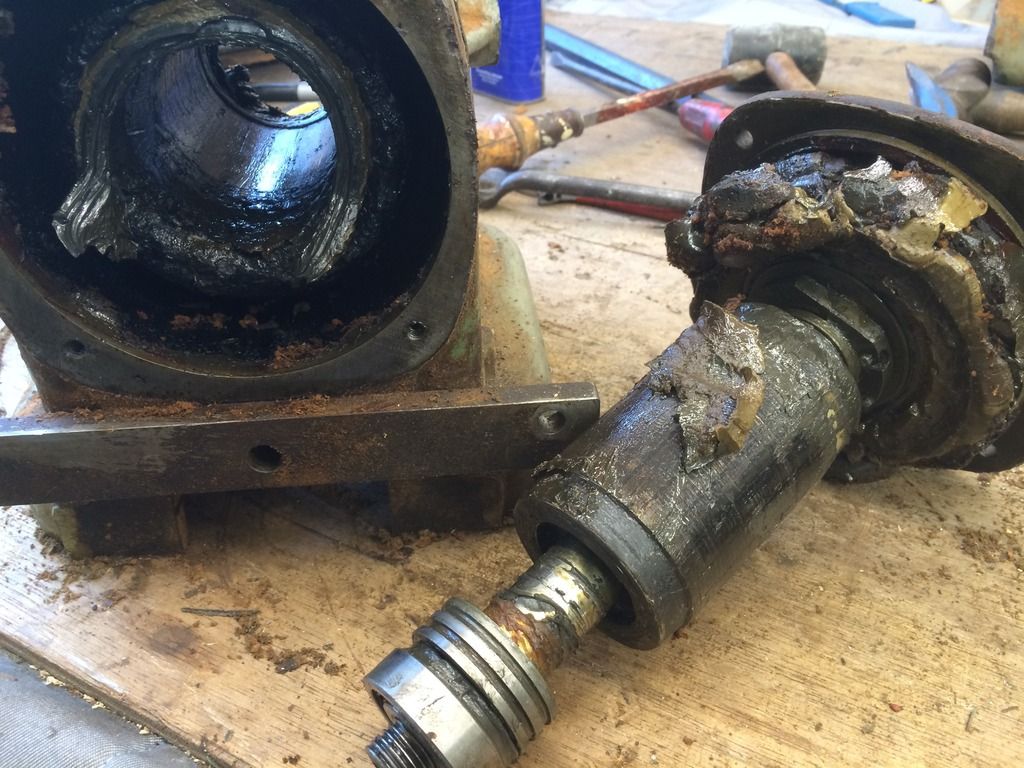
The motor is mounted with 4 wheels, one wheel is fixed position the other three are mounted with eccentric shafts to make adjustments for wear and to maintain the vertical position


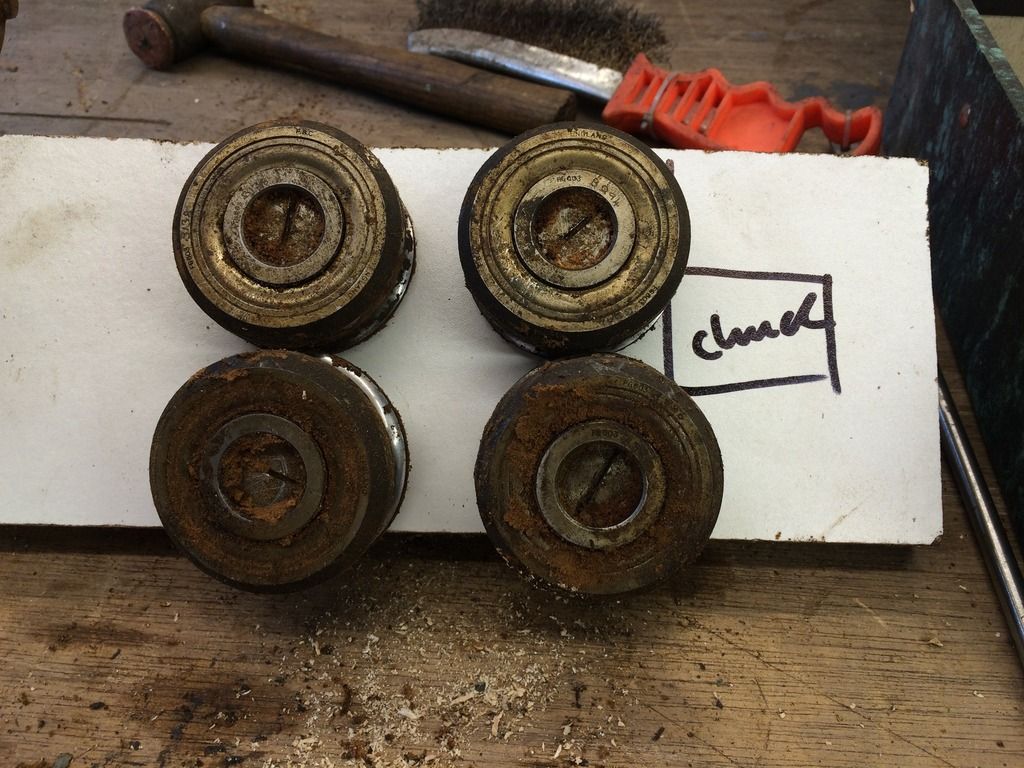
Just to make sure I put them where I found them.


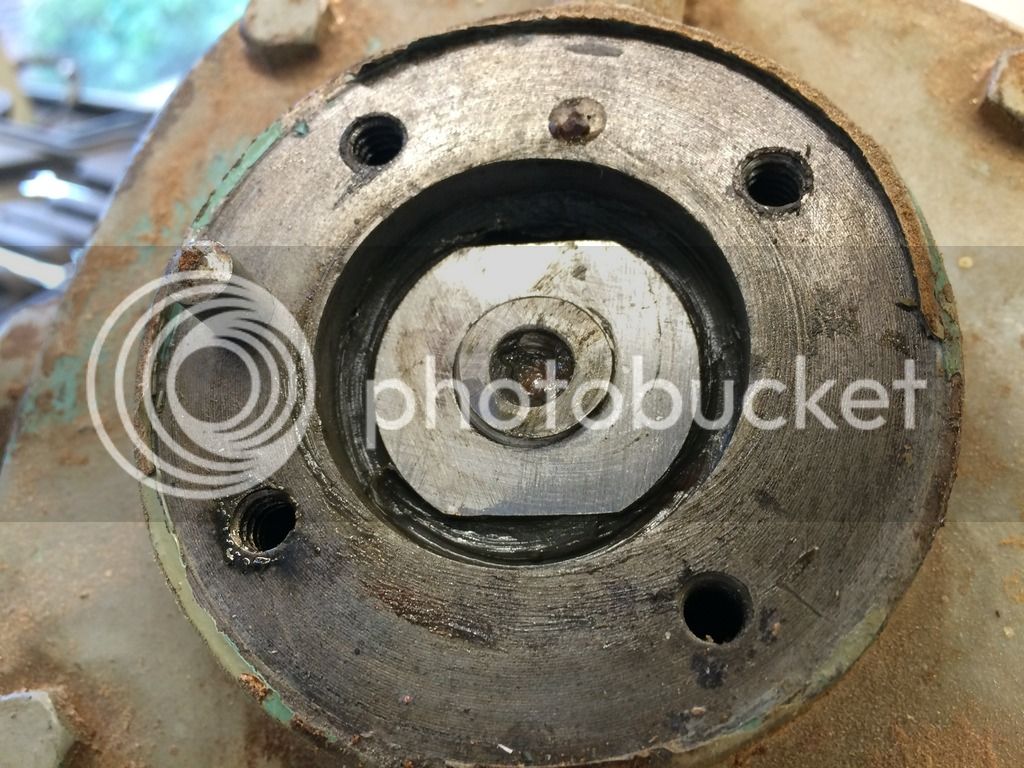
Me thinks someone has been in here before me, this doesn't look very wadkin'sh


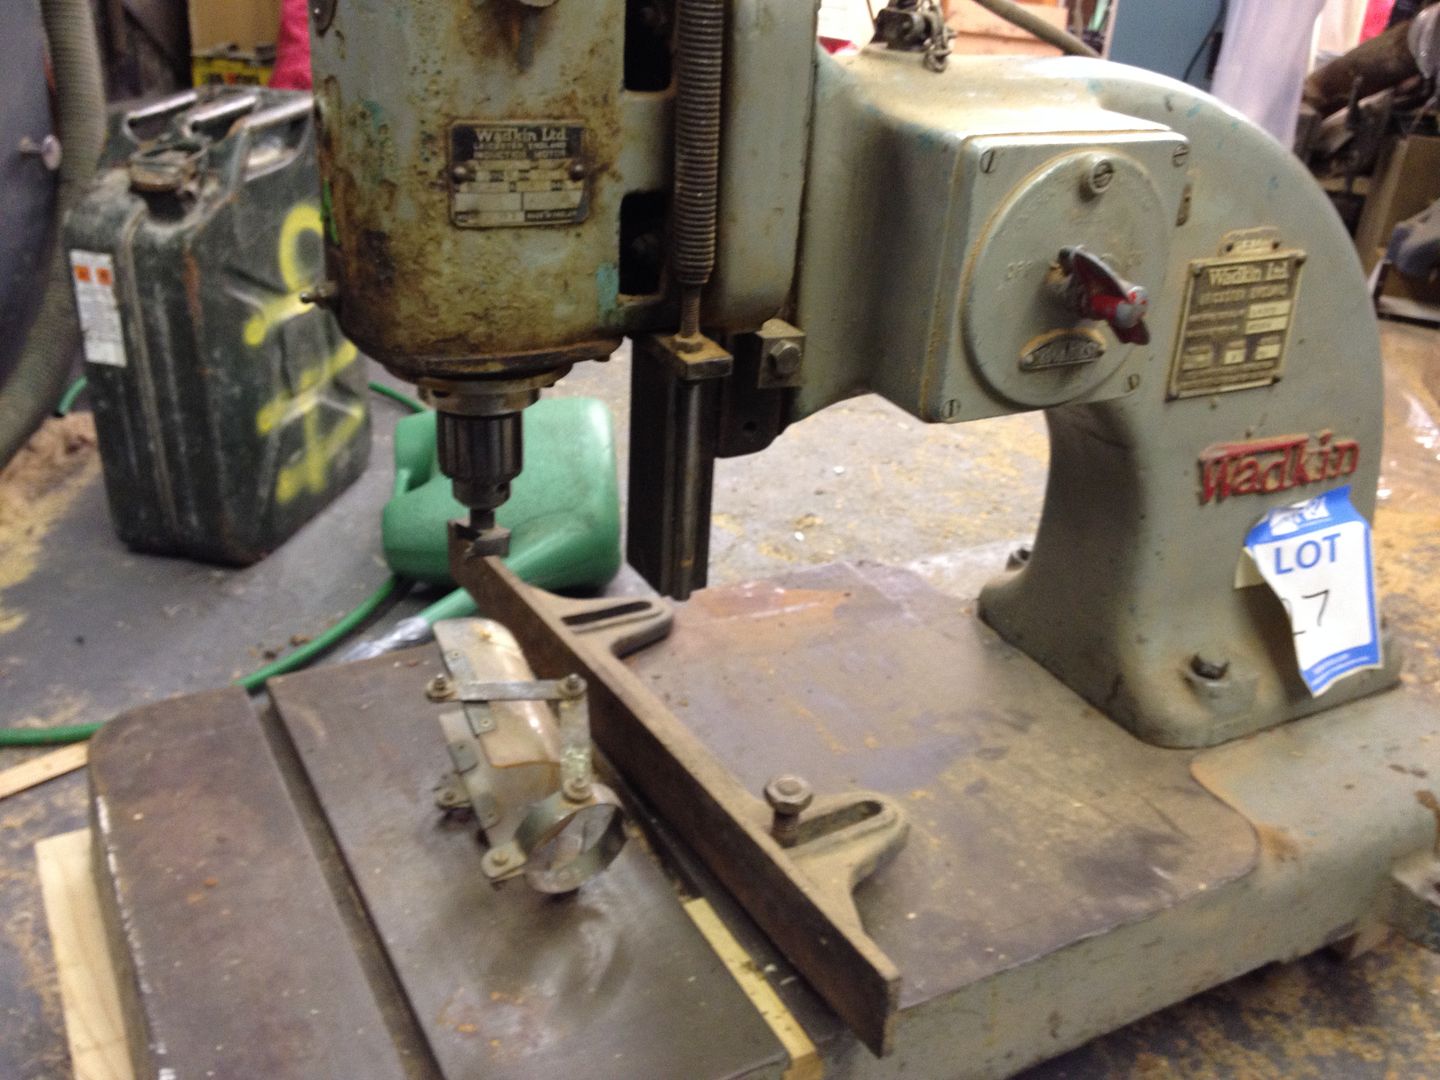
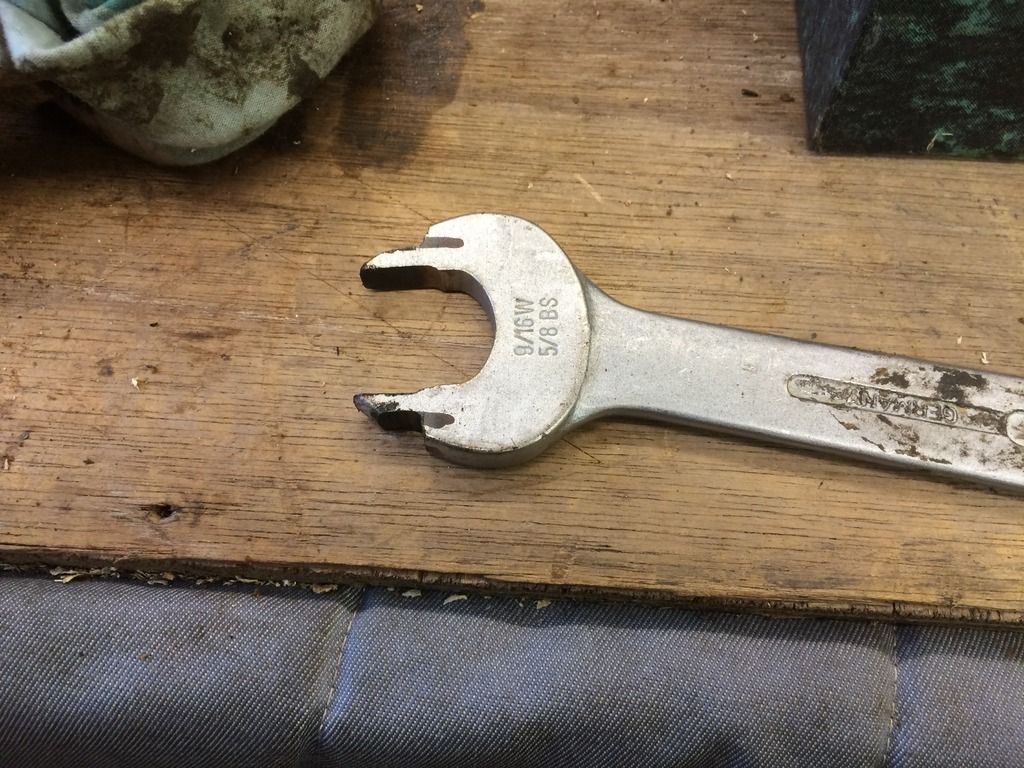
Butchered spanner to get the nut off


It was well greased if nothing else

 
How do you know it was for the aircraft industry?

Looking forward to this one.
 
I got told of someone in the know that it was for aircraft industry. They are pretty rare in the wild. This is the only info I have come across.


I got one of the bearings out and measured it. OD 39.65mm Bore 15.75mm and 11.05mm thick. Skefco RL55. Are their any bearing gurus in the house?
 
Very true but it always surprizes me the wealth of knowledge on this forum :D
There seems to be quite a few asset tags on this. Can anyone make out what it says at the top of the sticker, Looks like BA Ltd?


I quite like these isolators. This ones in rough shape inside the ceramic is cracked and loose. There doesn't appear to have been any provision for a on/off switch you just use the isolator.


Because they are made from cast ali you cant really use anything too aggressive like a wire wheel. Otherwise you'd loose the writing. A little paint stripper an a stiff brush.


When taking the tags off that are pinned I have learnt that its best to protect the tag from drill slippage. These pins were made of hardanium because it took ages to drill them. Even new HSS jobbers would barely touch them. After reducing the head I had to coal chisel the head off.

 
That little asset tag looks like it may say BAC LTD?....British Aircraft Corporation....???

You said these types of drill were mainly used in the Aircraft industry!??


Made some bits shiny


More shiny stuff


I wonder why the cable feeding the motor does not have an earth wire within it, instead it has wire wrapped around and attached on the clamp that holds the cable. The clamps have brass bolts.


derusted some more stuff


A few bits are numbered

 
Fascinating stuff, Mark. I don't have the space for any of this stuff not to mention the absence of three phase power but always enjoy your threads.

I'm a fairly regular visitor to http://www.barnsley-furniture.co.uk/ and they have over the years replaced most of there machines with modern stuff e.g. Altendorf sliding table saw, but the thing they have retained is a lovely old planer (Wadkin Bursgreen if I remember correctly, I'll try to get a picture of it ) with what must be 4' infeed and outfeed tables, and, of course, it's in excellent nick.

Jim
 
Thanks Jim. I don't have 3 phase either, just a static converter.
A little more progress, this is the fence that came with the drill. Weird thing is the T-bolt doesn't fit the slot in the table.


I started removing some paint and noticed that the fence looked to be made from brass.


Then I started cleaning up the edge on the bobbin sander and realised the dust was grey, I could have sworn it was brass. It had a yellow hue on the bare metal.


The table looked to be in decent condition.


After cleaning it showed some weird damage


I needed something to run the new wires through and found this in my junk box


All cleaned up and shiny


I've been using some of that metal filler that I used on the mitre saw for filling casting defects. I like it a lot better than normal car bodge. It goes on easier and only needs one attempt at filling.

 
Tag pins.
Have you tried gripping them with decent side/end cutters, and twisting them out L/Handed?
I've found some, which are hammered in, but have left hand spirals in the shank. If the head can be gripped they often unscrew out.
The trick is gripping the blooming things. Using the tips of the cutter vertically, twist out and up.

Bod
 
Bob sorry for the late reply I never noticed any comments, the stuff I used was this.


It smells like normal car bodge but it goes off in a crack. I like that it doesn't leave small voids like the car stuff does.

Bod if the pins don't drill out my new method is to protect the tag and use a sharp cole chisel. Because there hard it knocks the heads clean off with no damage to the tag. Of coarse I have to move the tag along a bit to reattach.

I didn't put any updates of spraying up, didn't want to bore you's. One thing I'm not happy with is the paint sheen, theres one guy who mixes what I want perfect and one he always bodges it.


I quite liked the finish on the fulcrum castings so have left them bare and used boeshield


I had to make some 'T' bolts and found these handles in my stash, I think their off a RM planer

 
well you won't believe it but I am in the middle of moving workshop so the RS has been packed up ready to move, not sure when i am going to get it finished.
 
Mark have you got a bit traveller blood in you :D Matt I just use a wire wheel then a buffing wheel
 

Latest posts

Back
Top