memzey
Established Member
Hi Gang,
So as I mentioned on a previous post I have embarked upon another first in my woodworking - this time it's a box. A box with a specific initial purpose though. Let me explain...
My eight year old is one of many little girls indulging in the new craze of slime making. I'm OK with it - encourage it in fact as being something creative and loosely related to learning (science innit) but it does have draw backs. Primary amongst these is the large collections of gubbins that ends up here and there around the dining table where she likes to make and play with her slippery creations. There are lots of bits and bobs; large containers of PVA, mixing bowls, stirrers, activators, foam beads, glitter, various pigments and additives - you name it. It all adds up to a big mess my little one has trouble keeping on top of which does not much please SWMBO.
I came up with the idea that a box large enough to keep them all in one place was required. I also figured that to keep it usable the box would have to have removable dividers that would provide some order as to how they are stored and accessed. Finally I resolved to make said box with a removable lid that could double as a tray to contain the slime while she plays with it. So off I went with my tape measure and figured that the external dimensions would have to be about 16" wide by 23" long and 16" tall. This would allow a home for everything and still leave clearance for floating top and bottom.
Now if I just wanted to lash something together for the time being I would have gone down the route of MDF+Glue+Screws+Paint= job done. However as I'm a sentimental (or just mental) old fool, I want to make something that will stay with her for long time. A box this big is really a chest of sorts so if I make it well enough, hopefully she will find new purposes for it as she gets older. This meant I ruled out MDF and went for oak instead. This is where the pictures start:
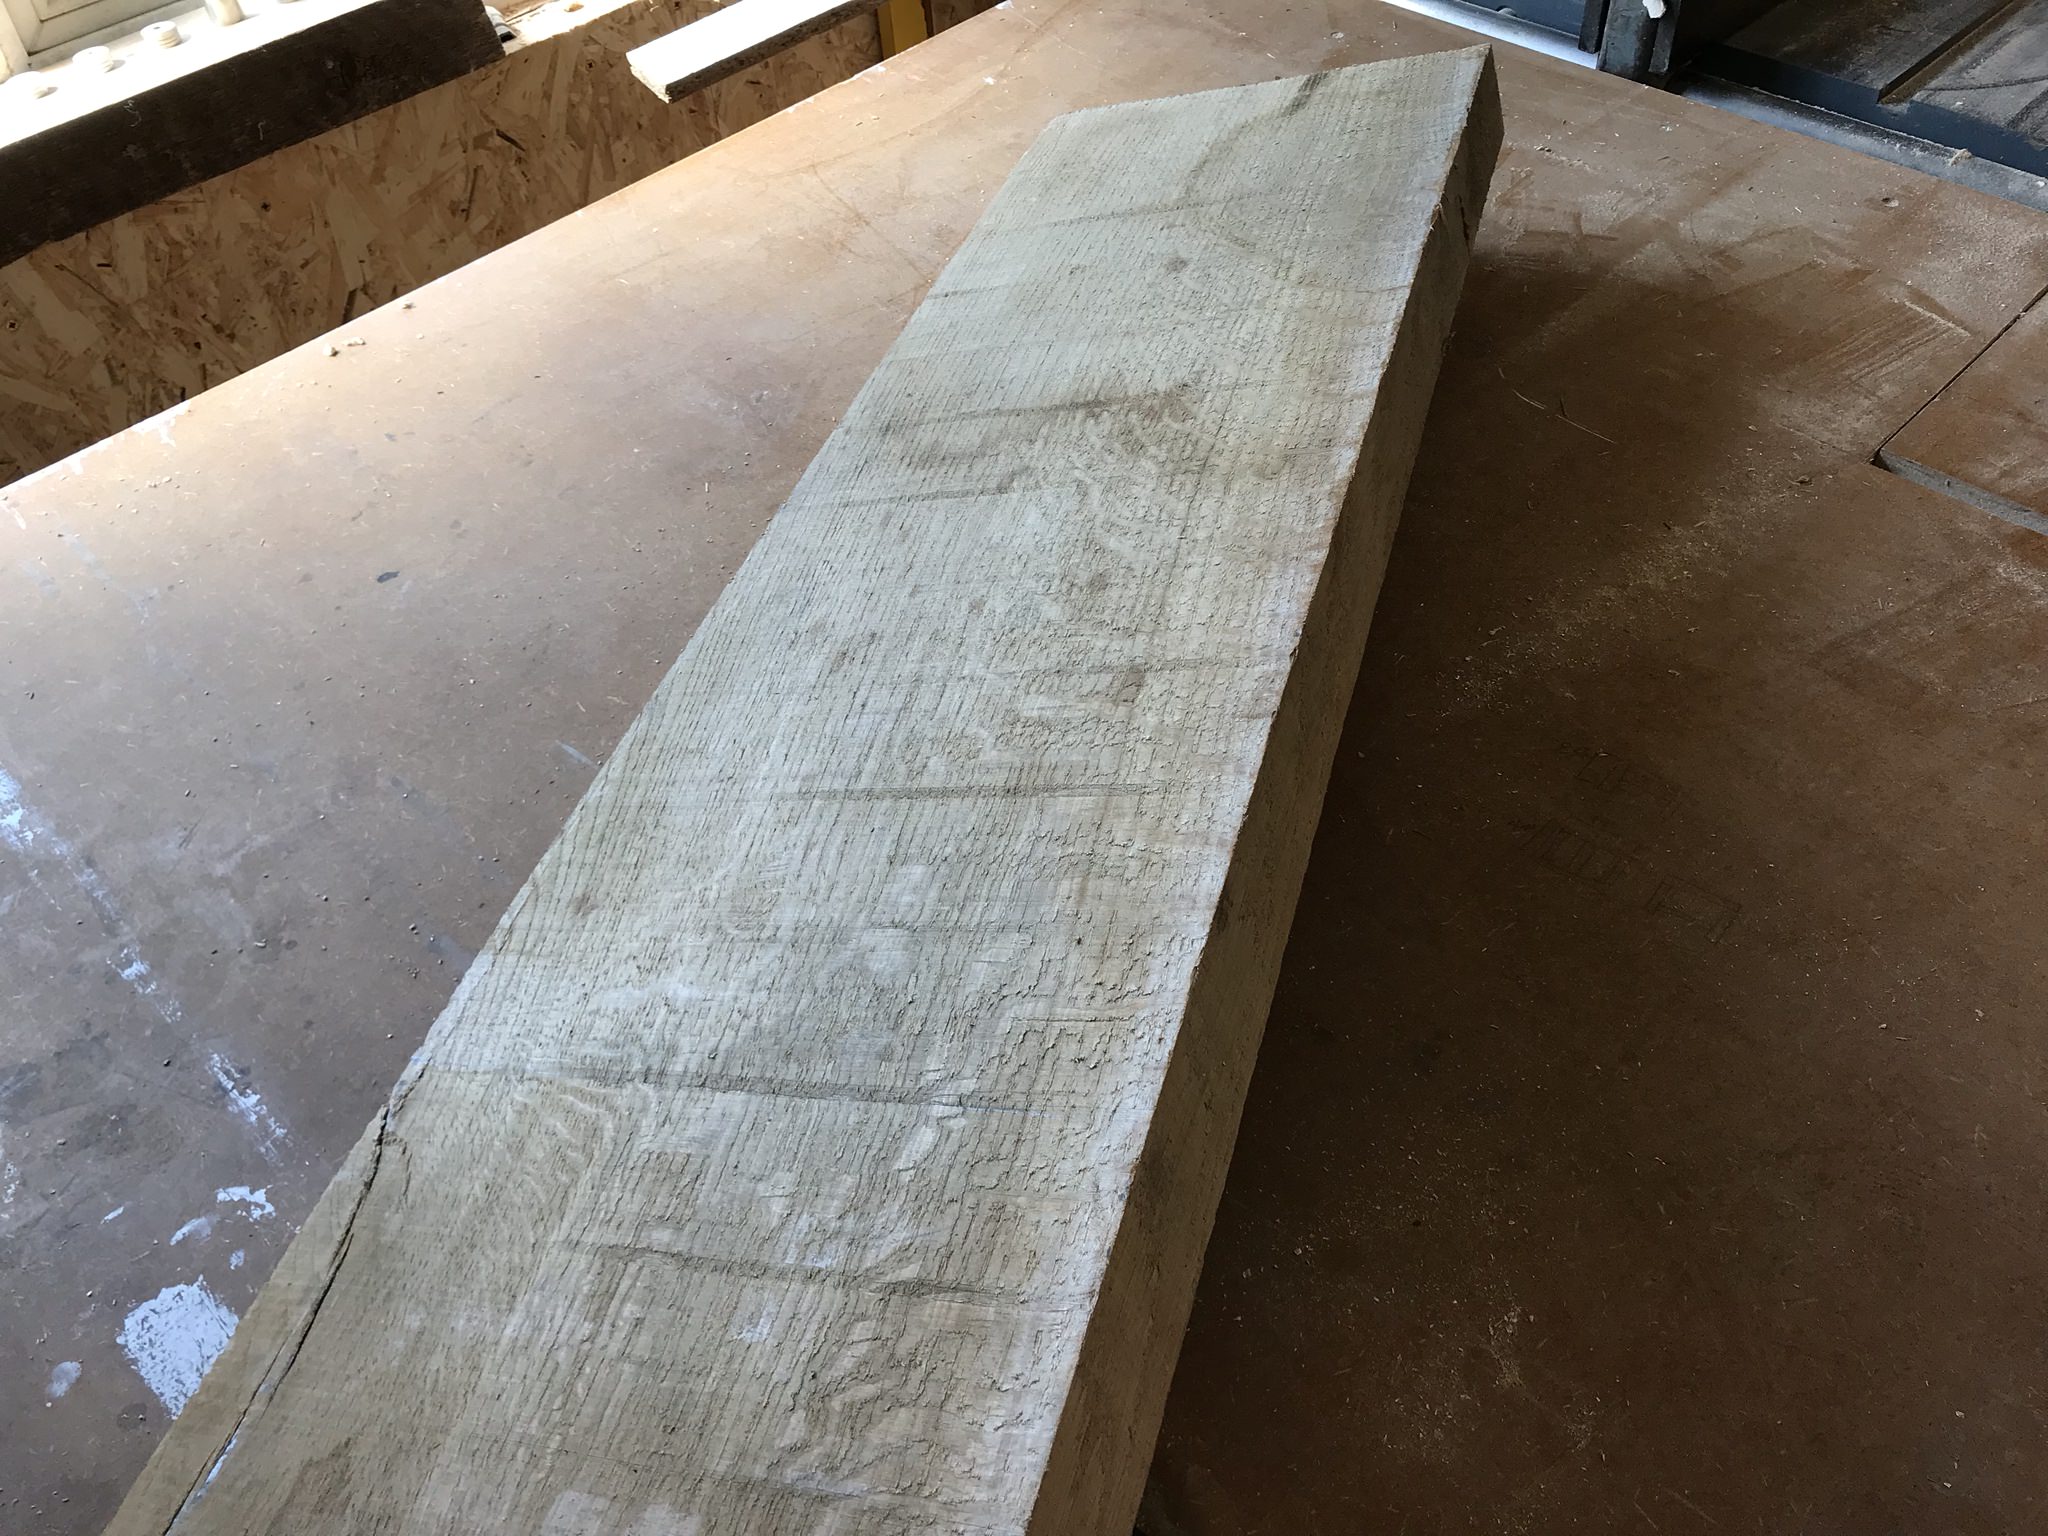
All my projects start with rough sawn or waney edged stock, sawn in this case:
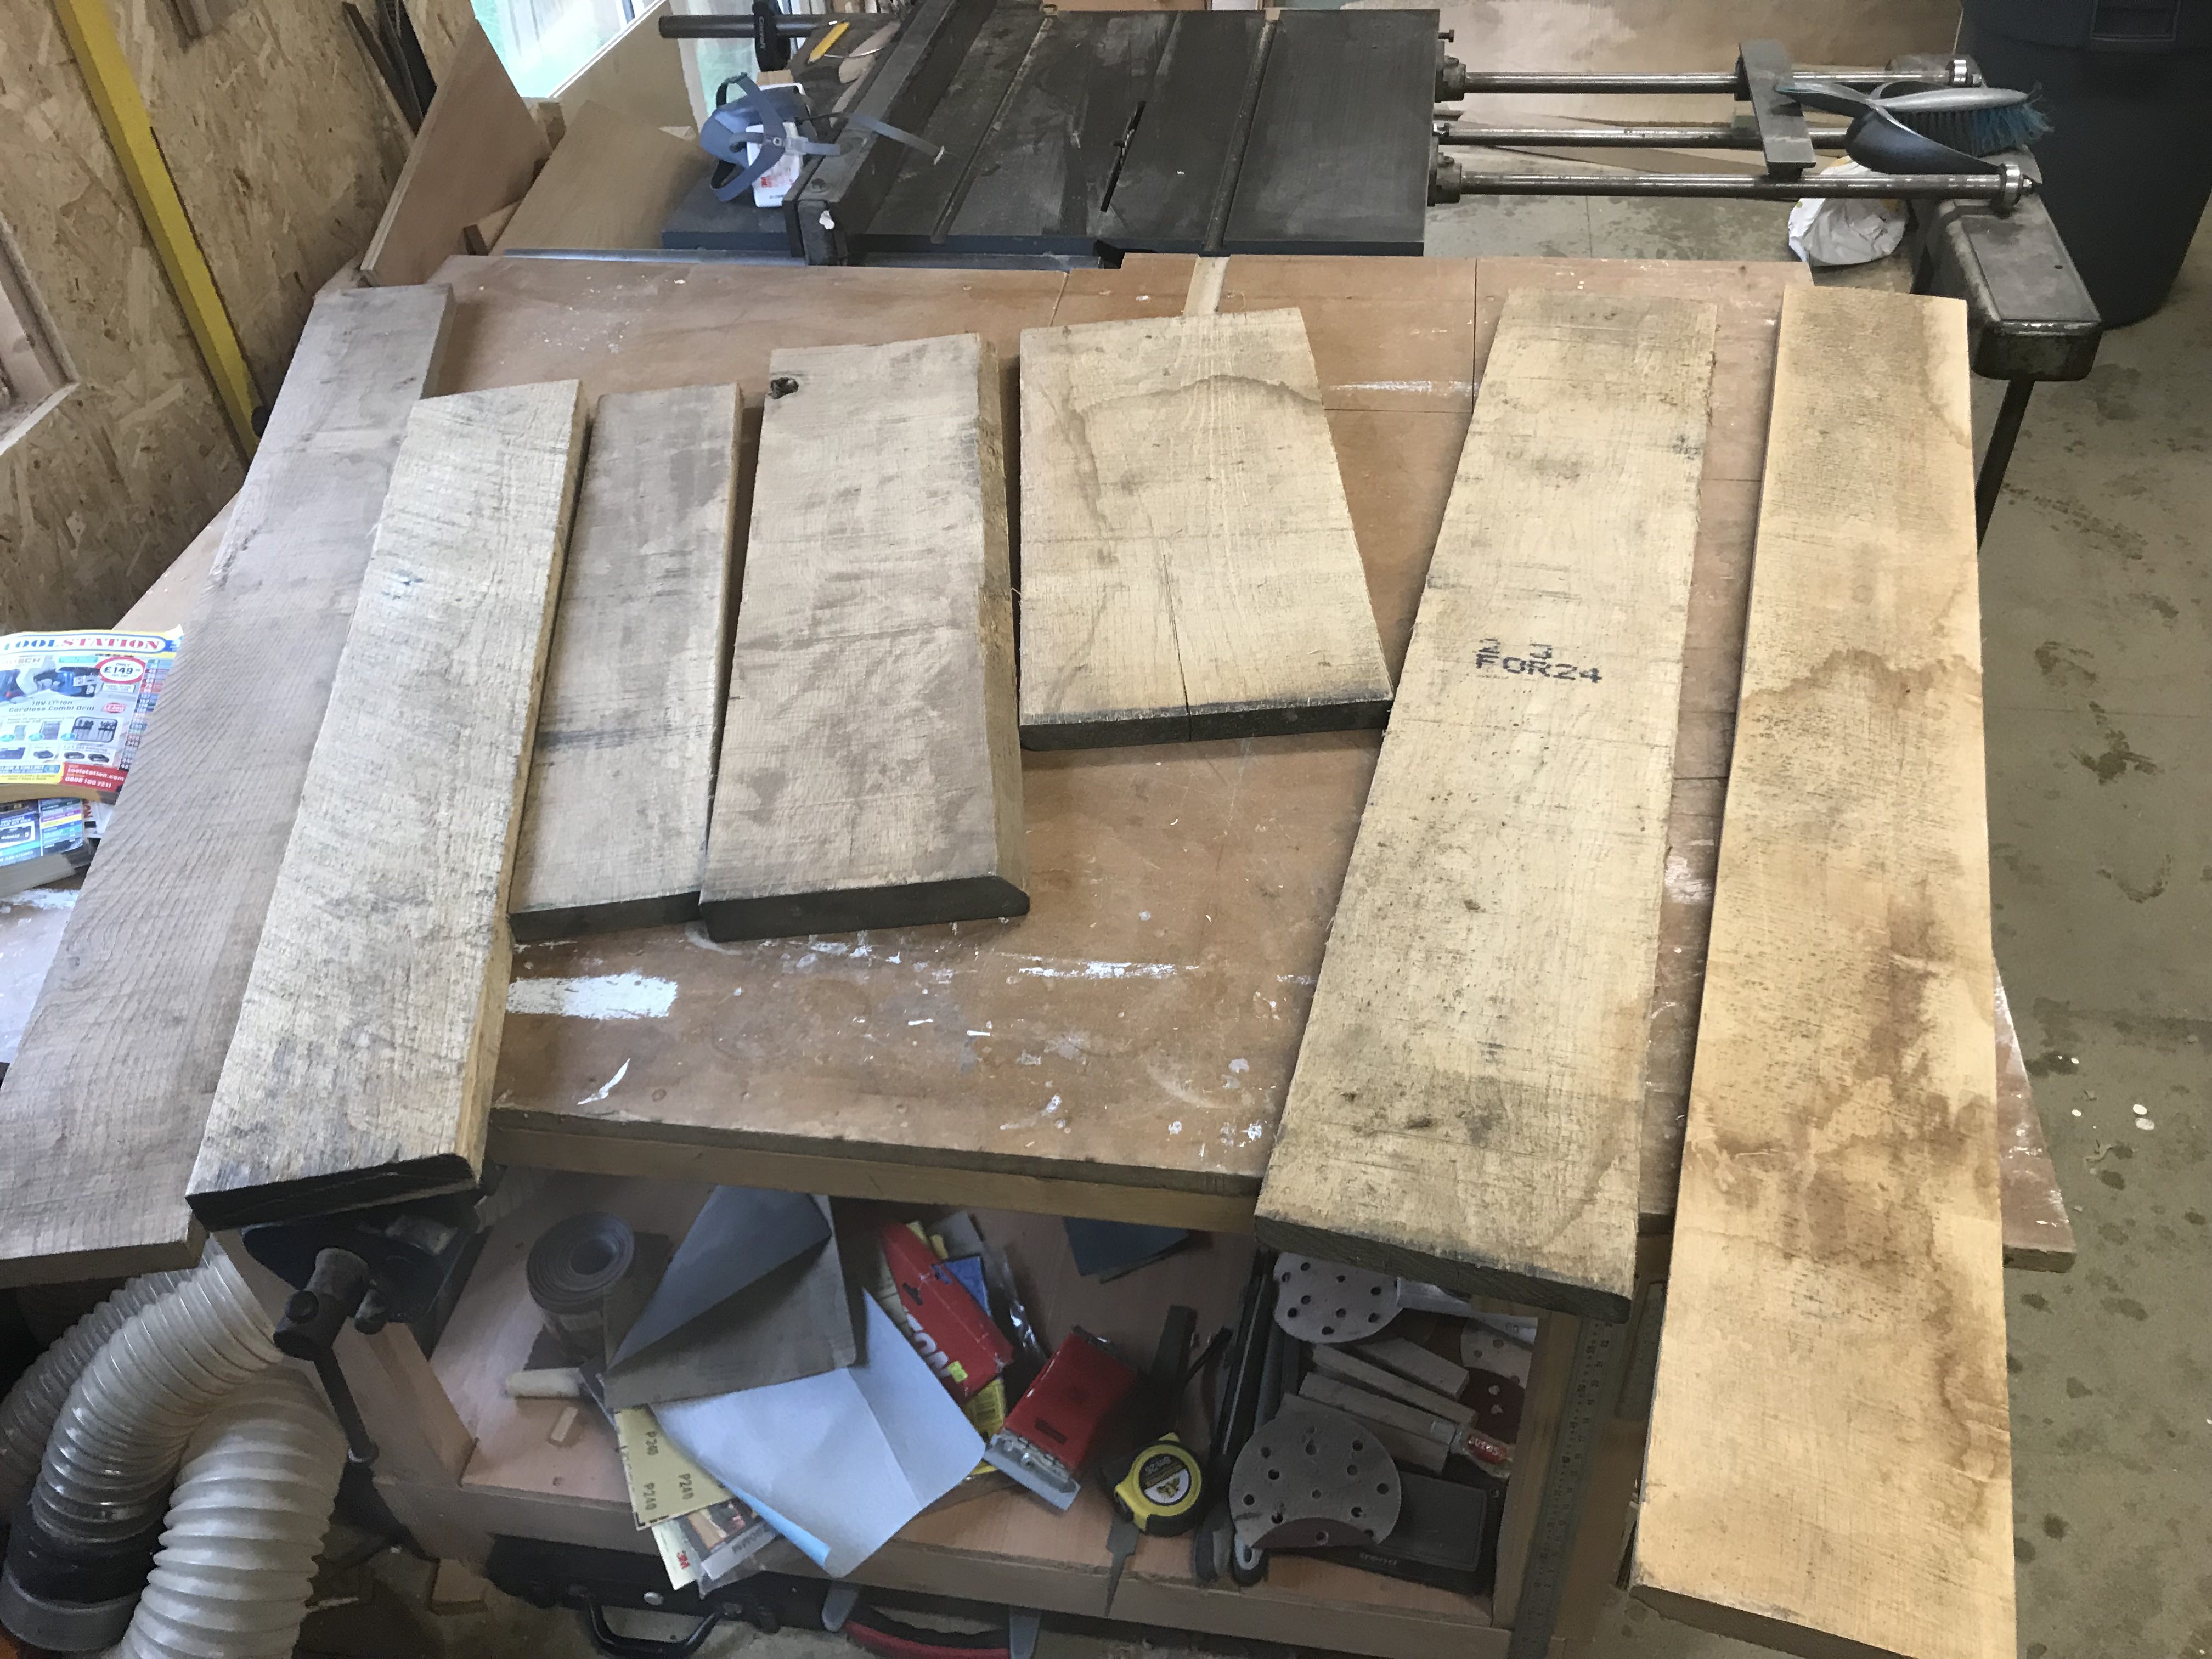
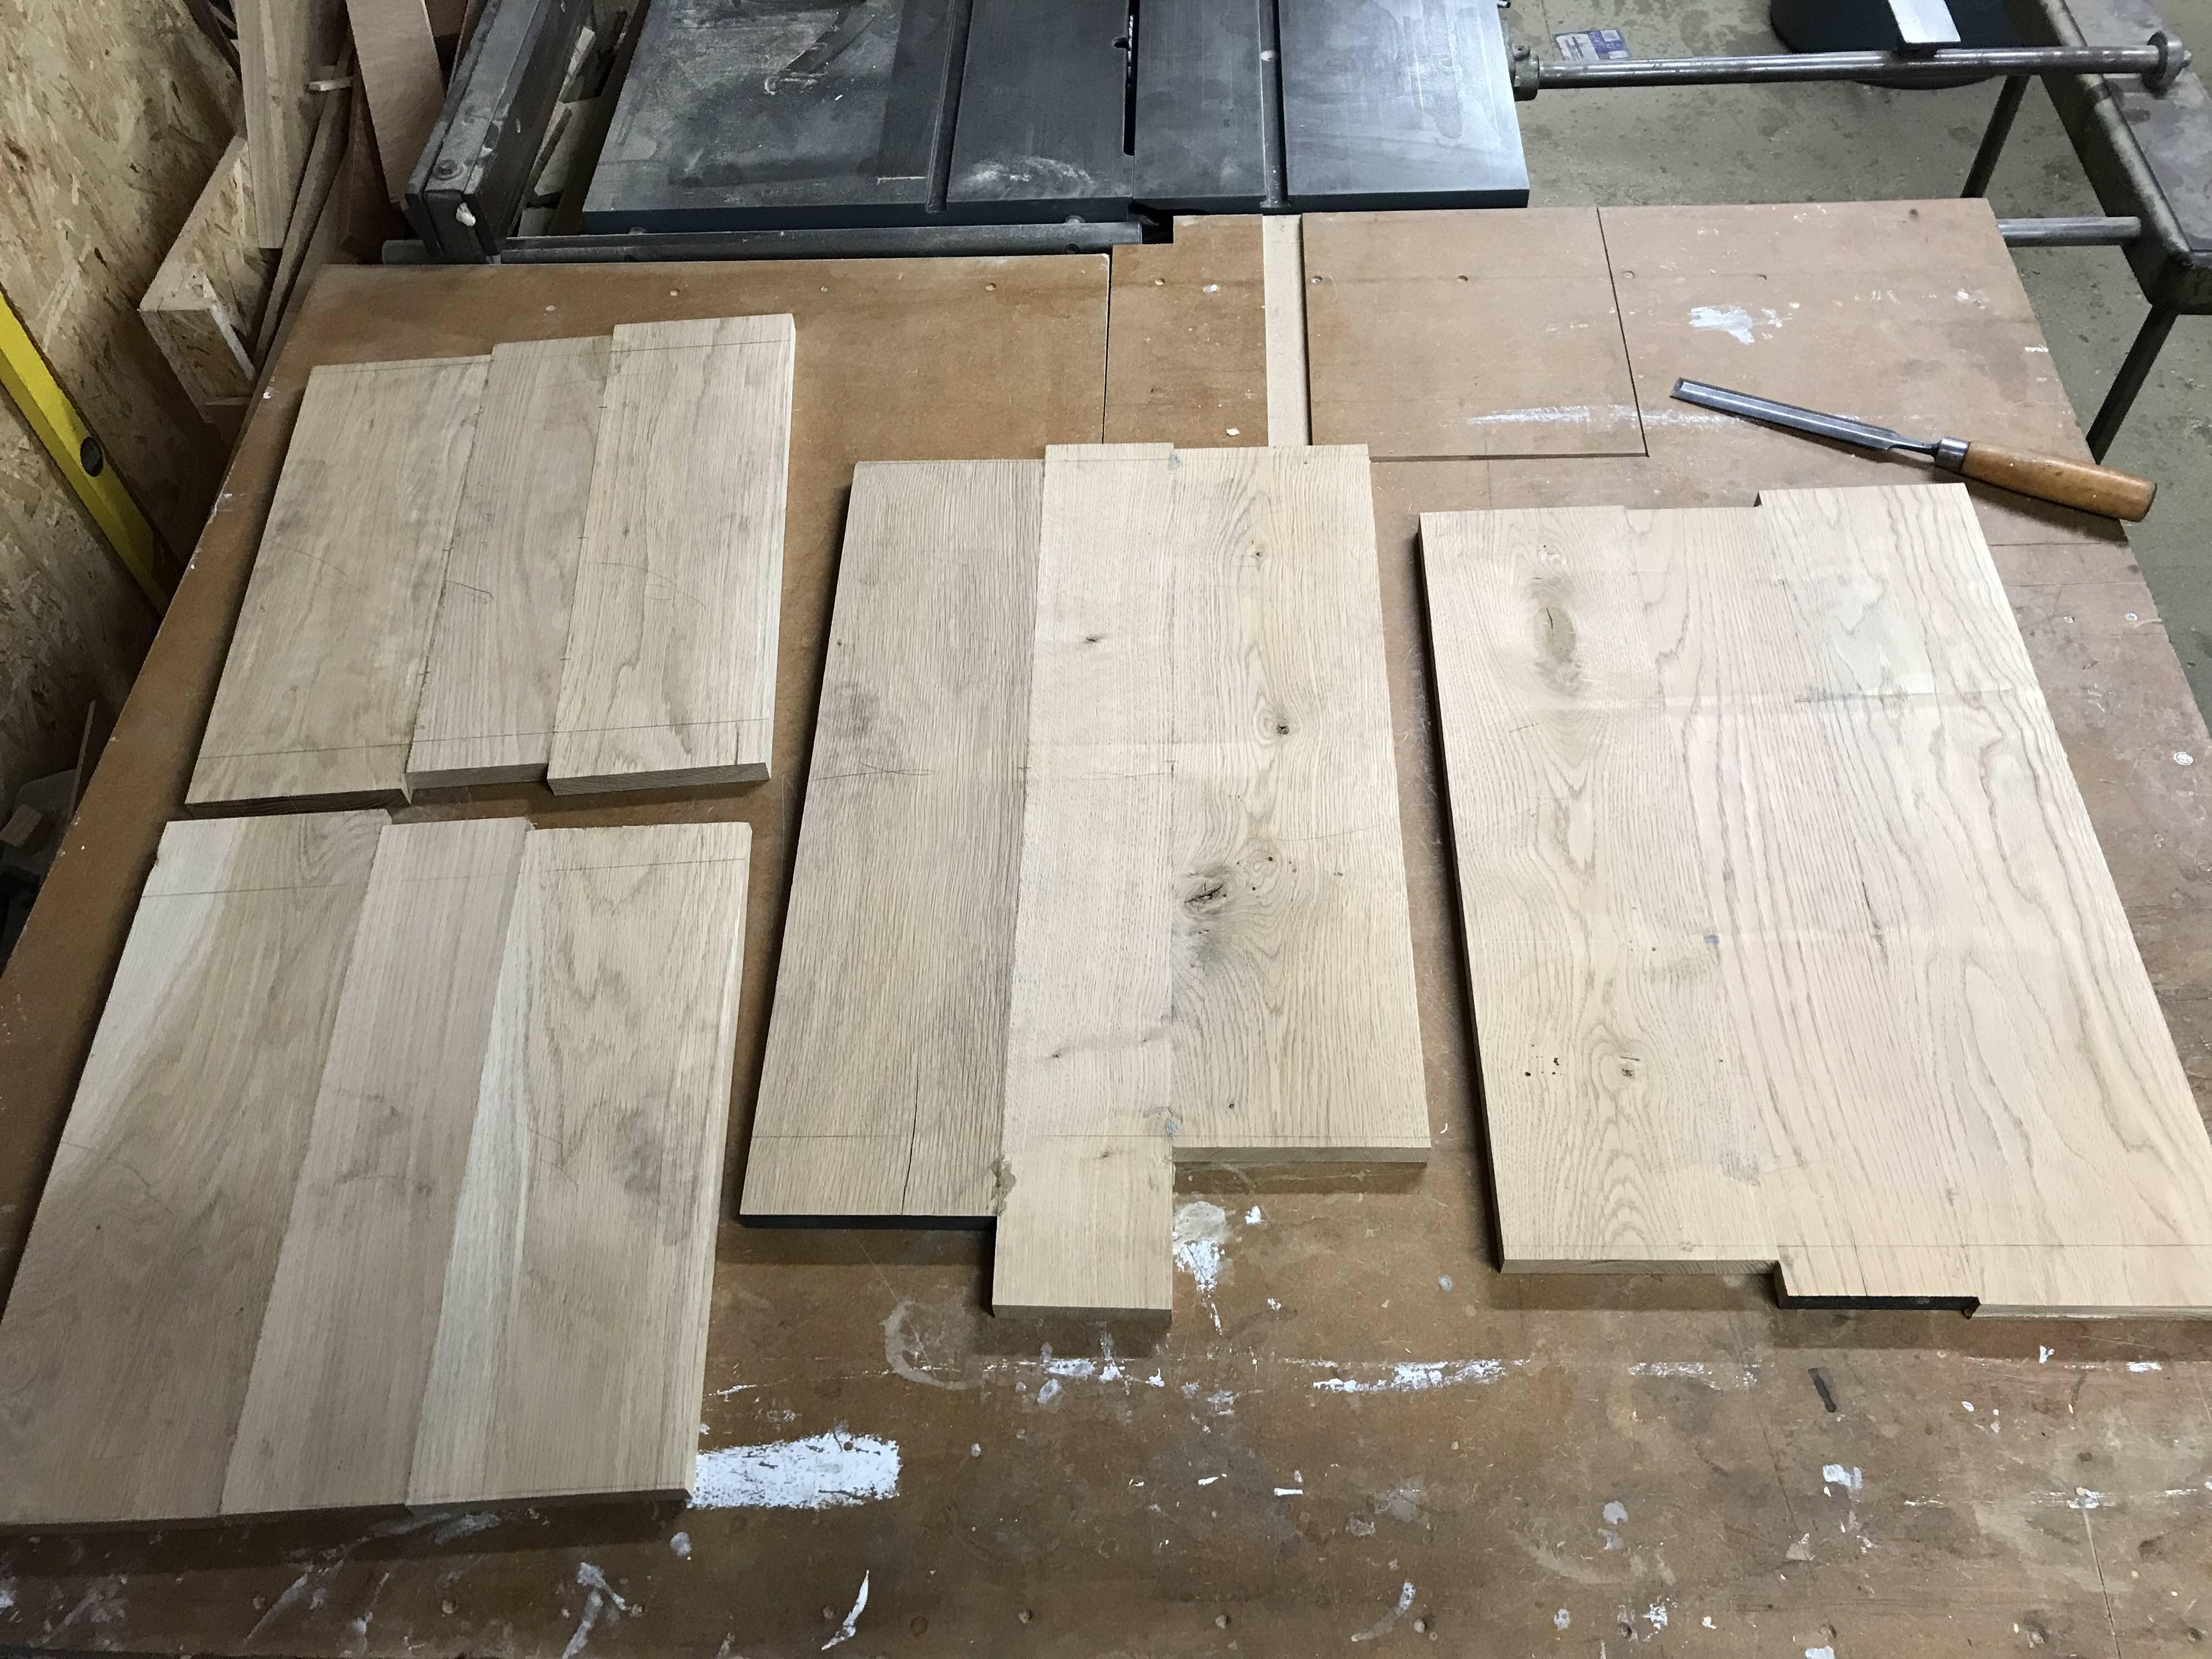
I ripped and cut them to rough dimensions (a couple of inches over long) and put them through my planer thicknesser to get clean square stock:

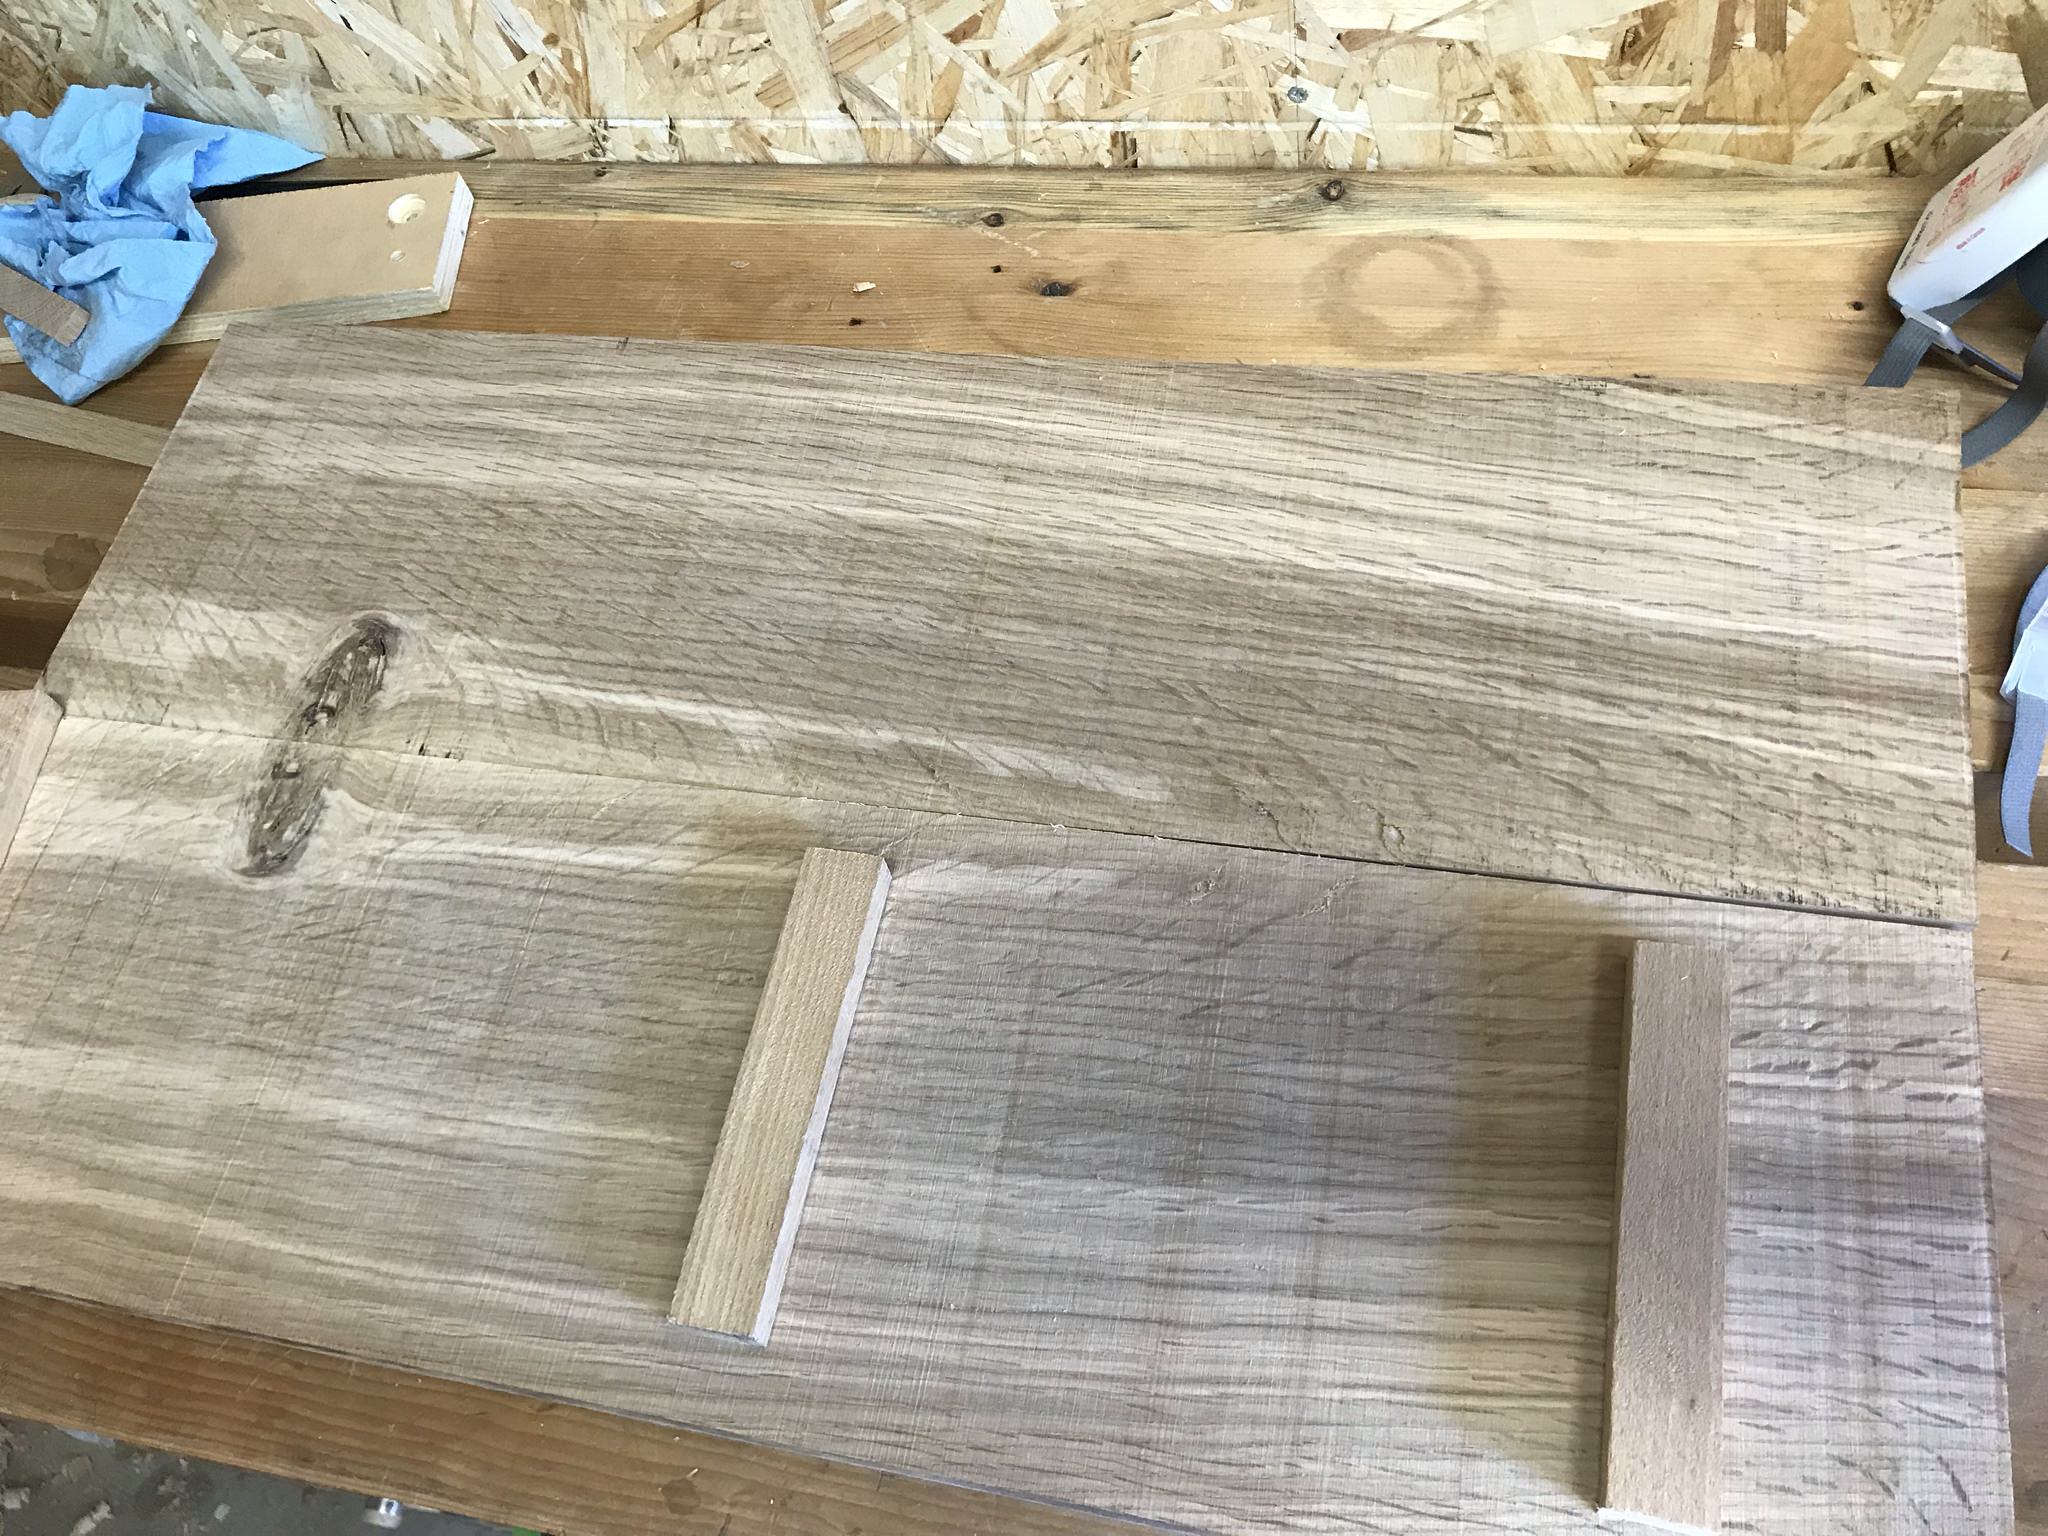
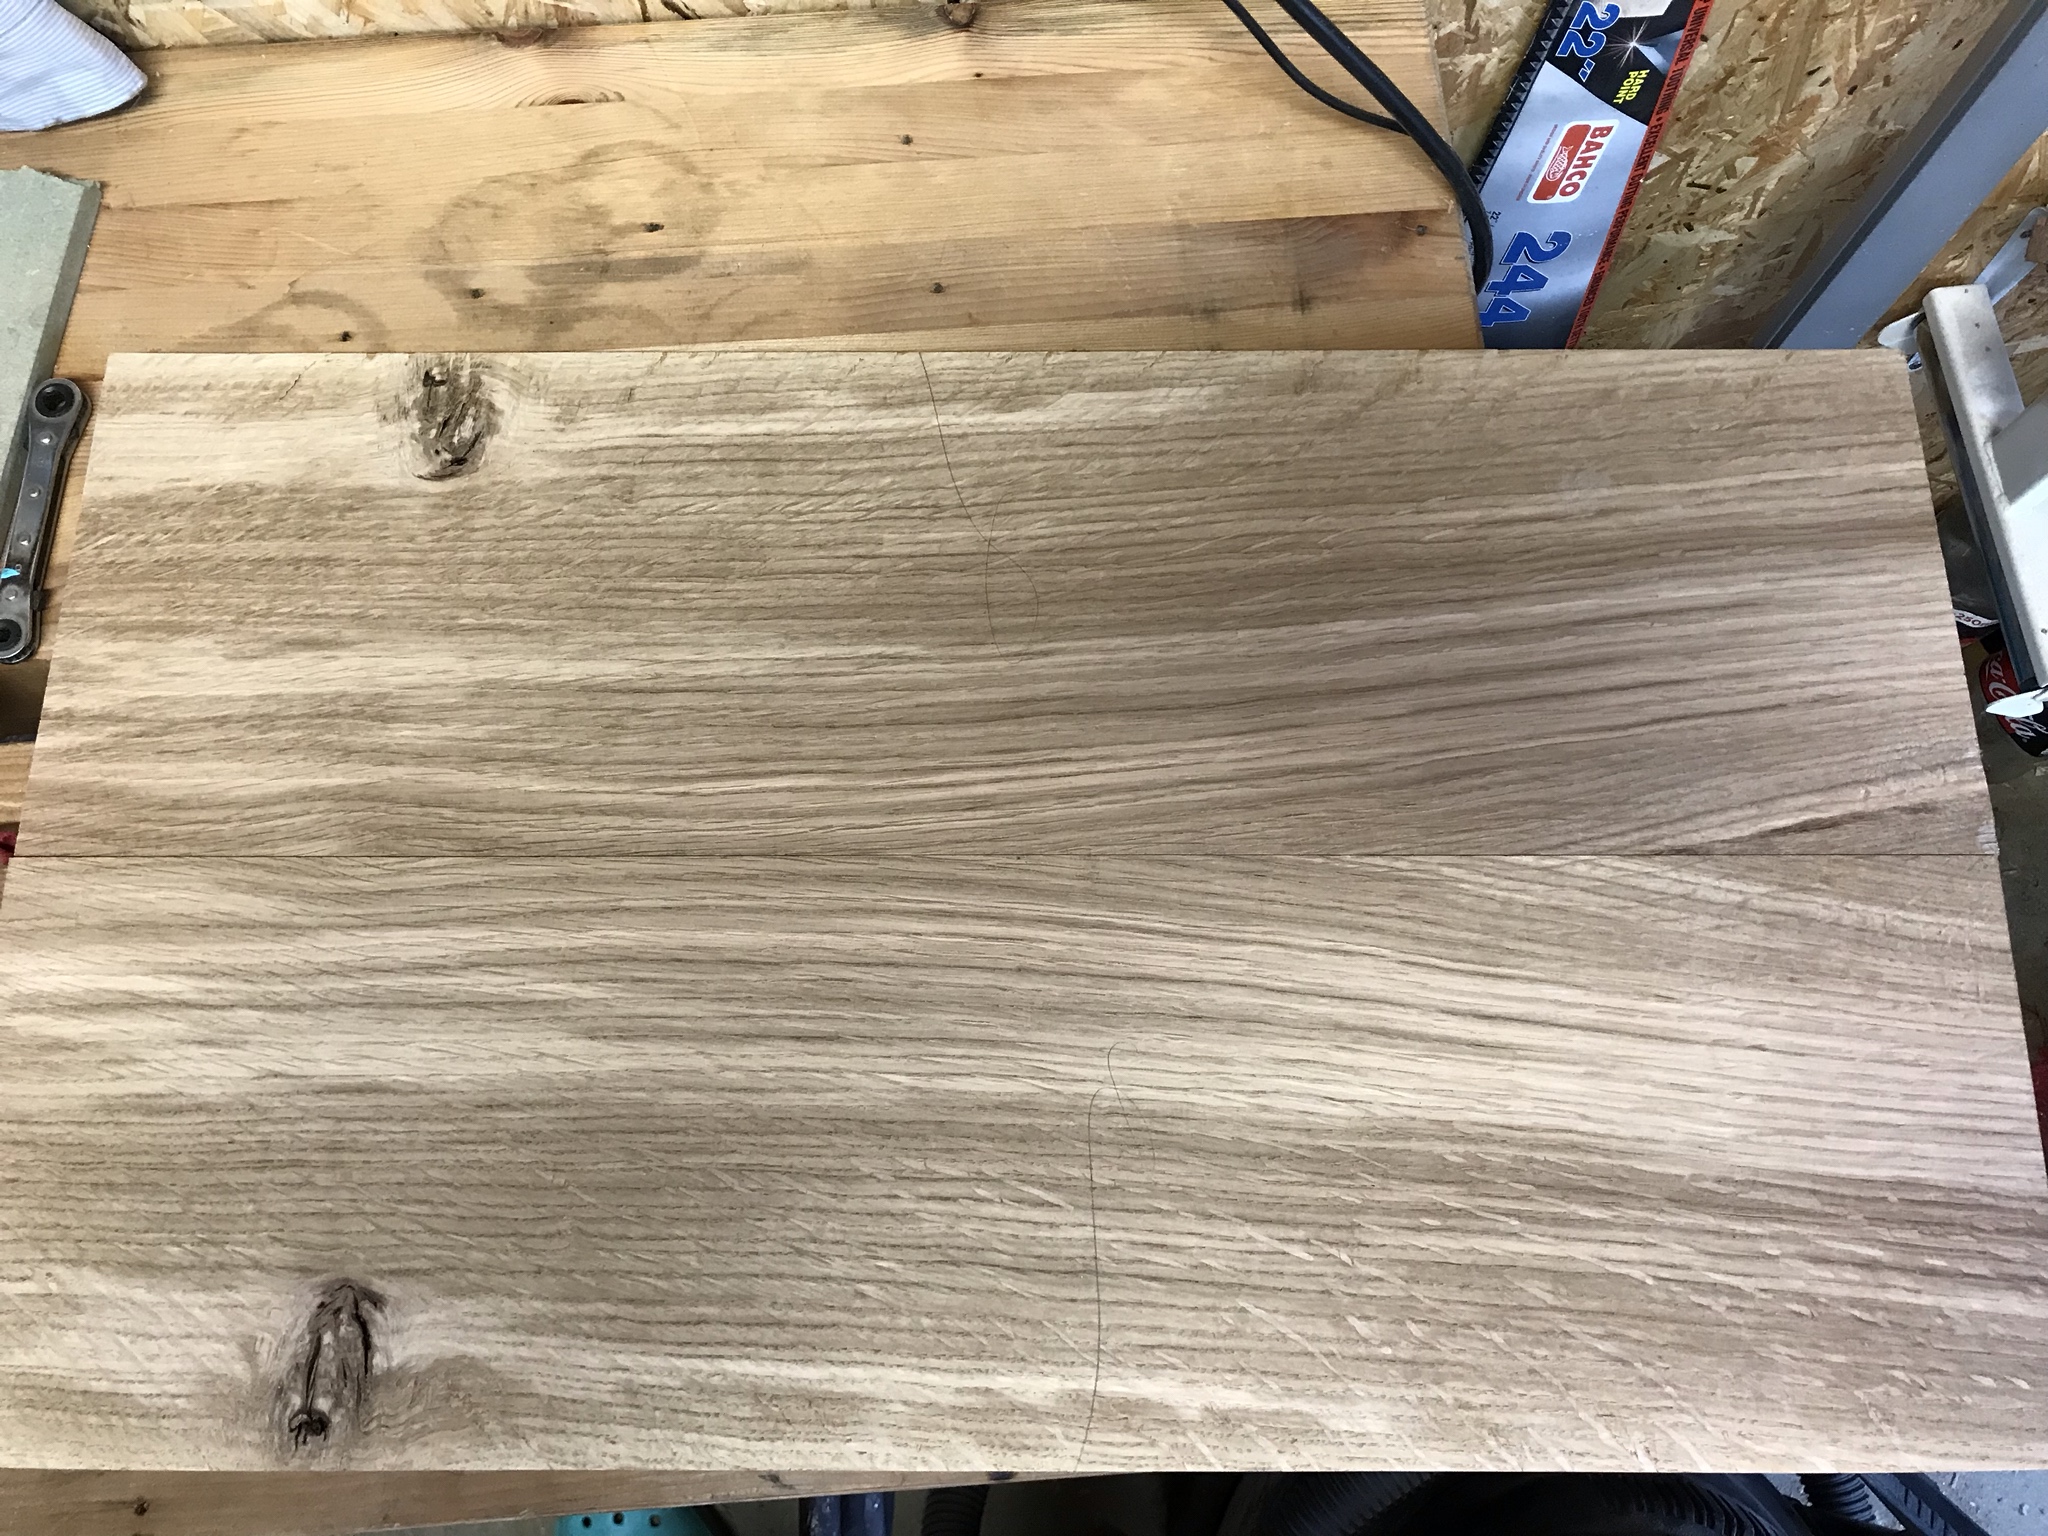
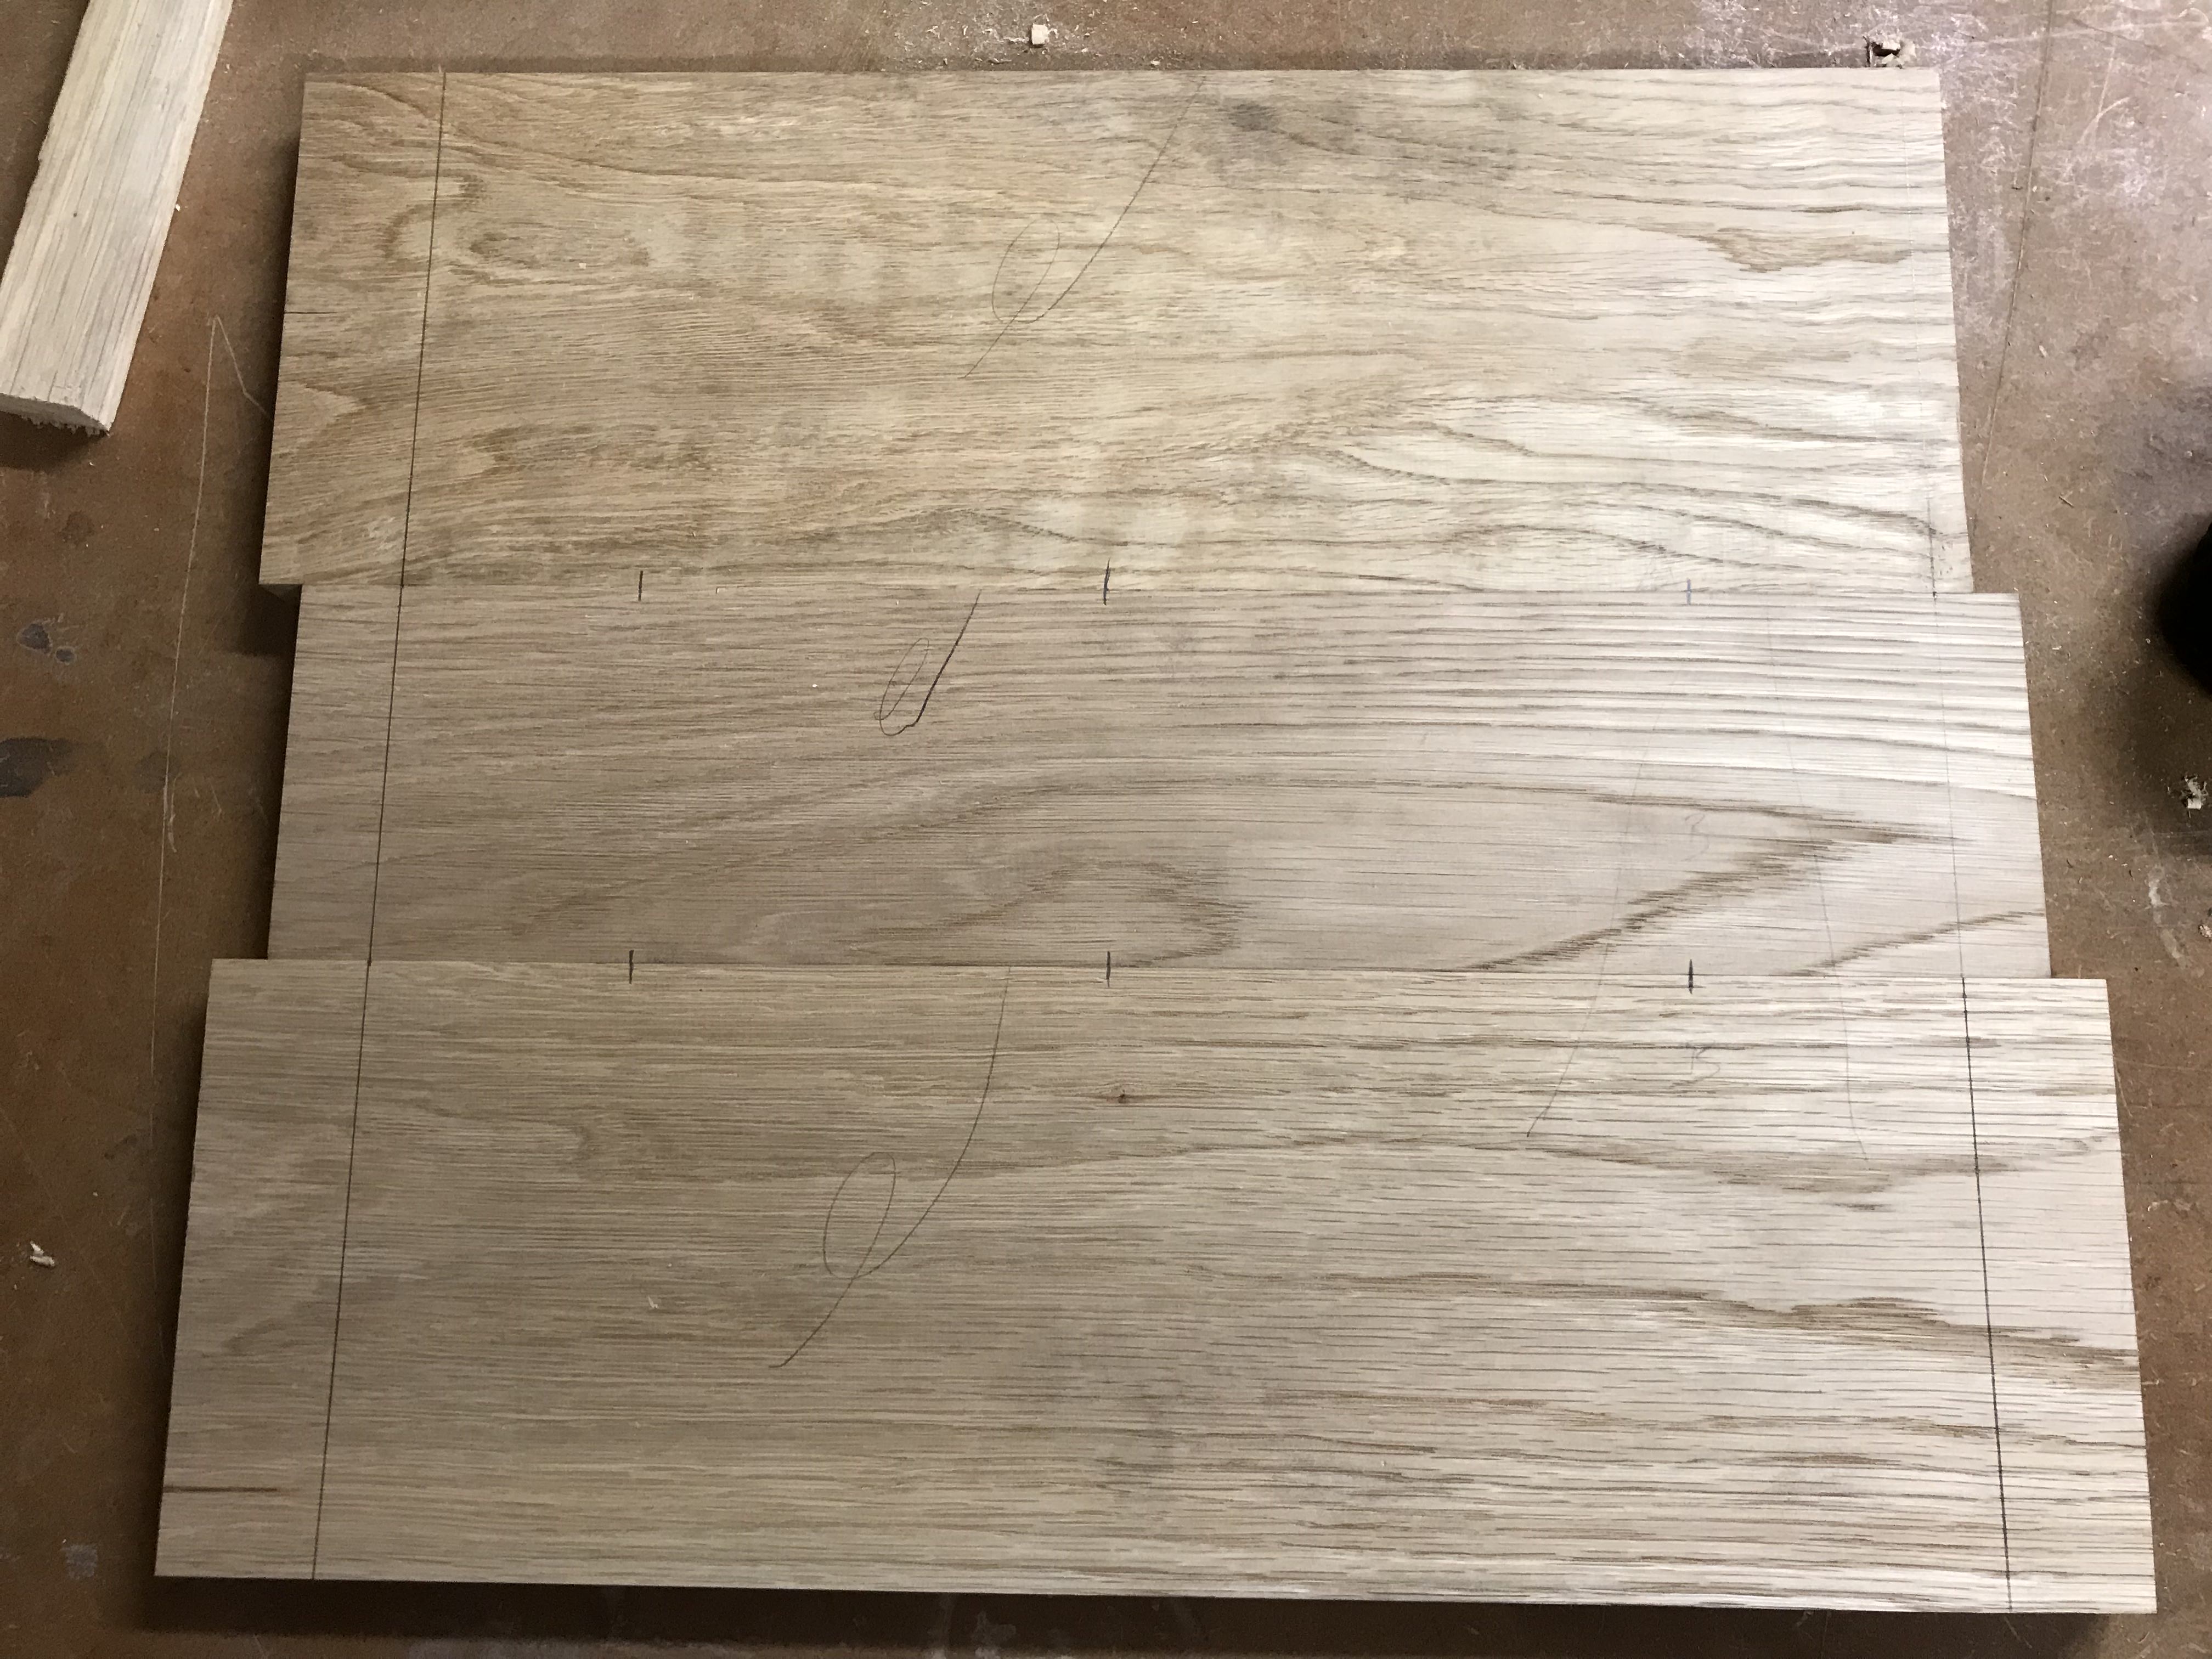
As I don't have 16" boards each side will be made up of three smaller, edge joined, pieces. I wanted the glue lines to be invisible so after machine jointing I set about them with my No. 7:
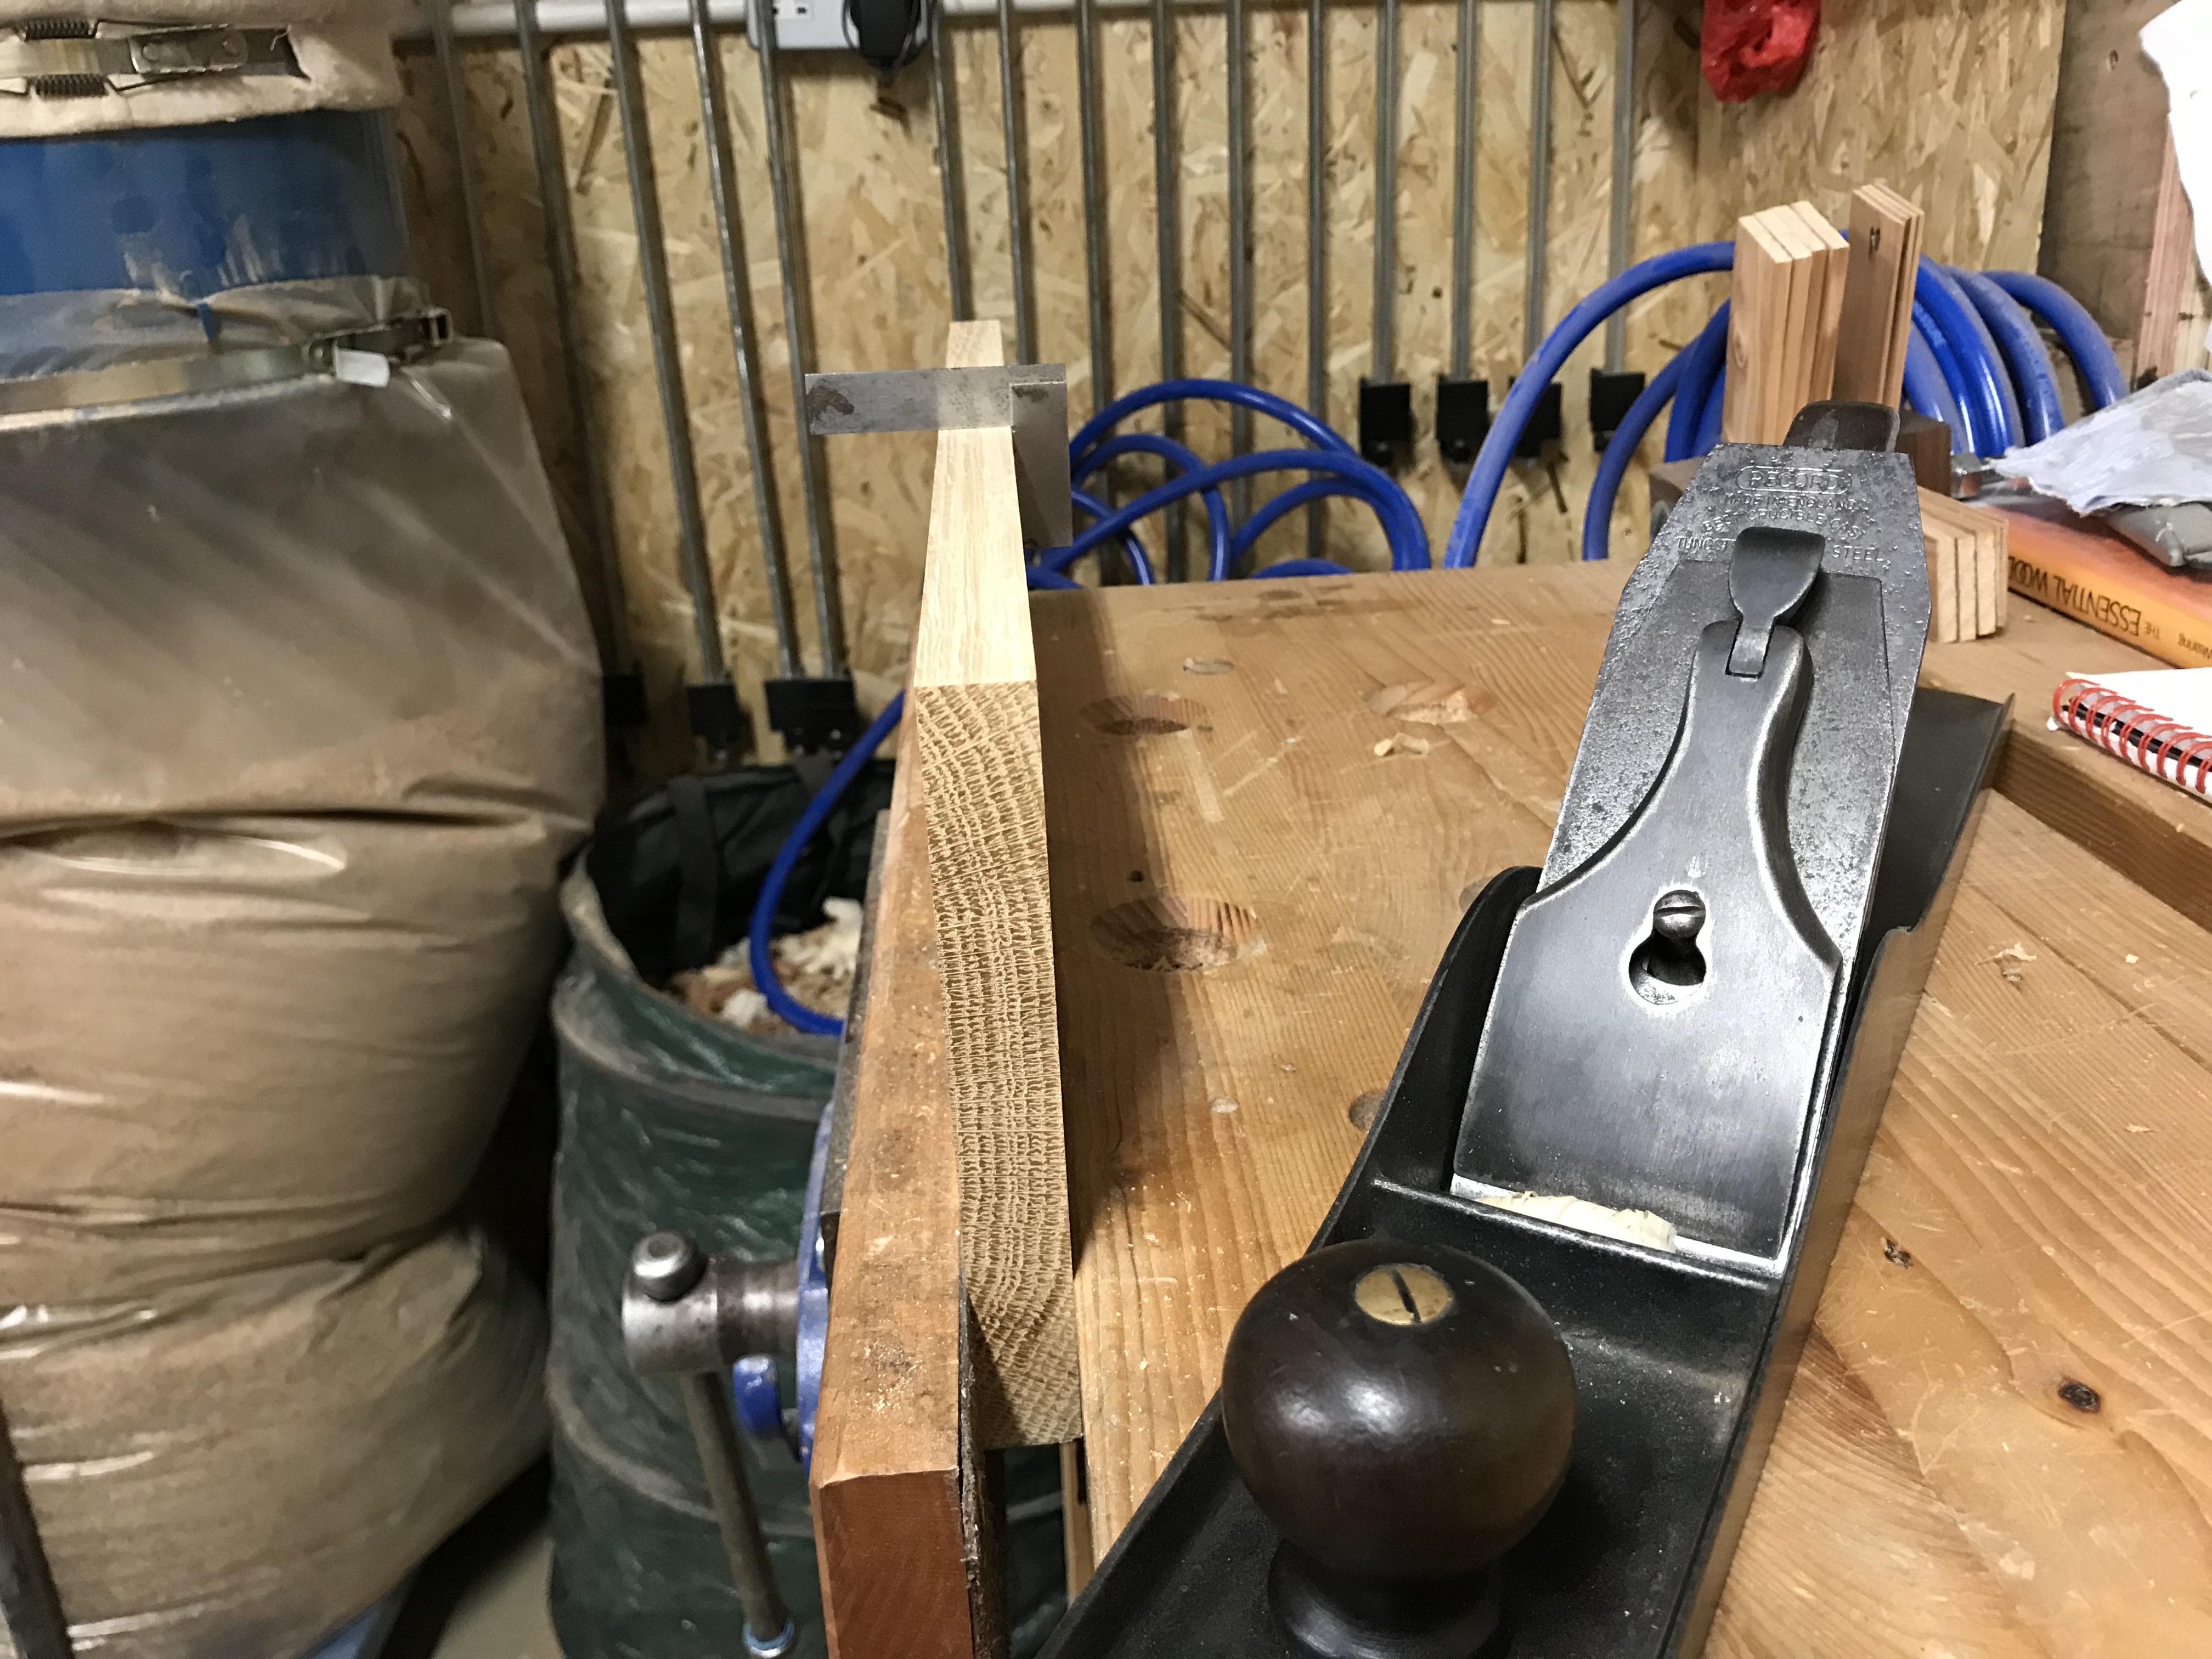
This is a tricky incremental process whereby getting your edge just so in one plane can lead to errors in another. I'm the least competent person to offer advice to others on this but I have found that given my lack of skill, only thorough, repetitive and frequent checking gets me where I want to be. The picture above illustrates this well as the small square checks that I haven't warped the edge but I use a long steel rule in the other plane to ensure I have the correct amount of spring in the joint. All a big faff but worth it in the end I hope. When the joints are nice and tight I also find that it makes selecting the sequence of boards easier as you can see how the grain meets more clearly.
To help alignment while gluing up the edges I used biscuits. Whilst doing so I did have to use a stop fixed to my bench top for the pieces to register against and still hang over the edge slightly. Holdfasts were made for this sort of imprecise stuff I've found:
With the slots cut and the cramps out it was time to get gluing up:

Having left them to cook for a couple of days, the cramps came off and all was well (phew):
The glue up worked a treat but the panels were still overlong so I had to get them down to final size.
I did this using the sliding table on my old Wadkin dimension saw:
It's tiny compared to the PK's and PP's that others have but it handles jobs like this with aplomb and meets my needs perfectly.
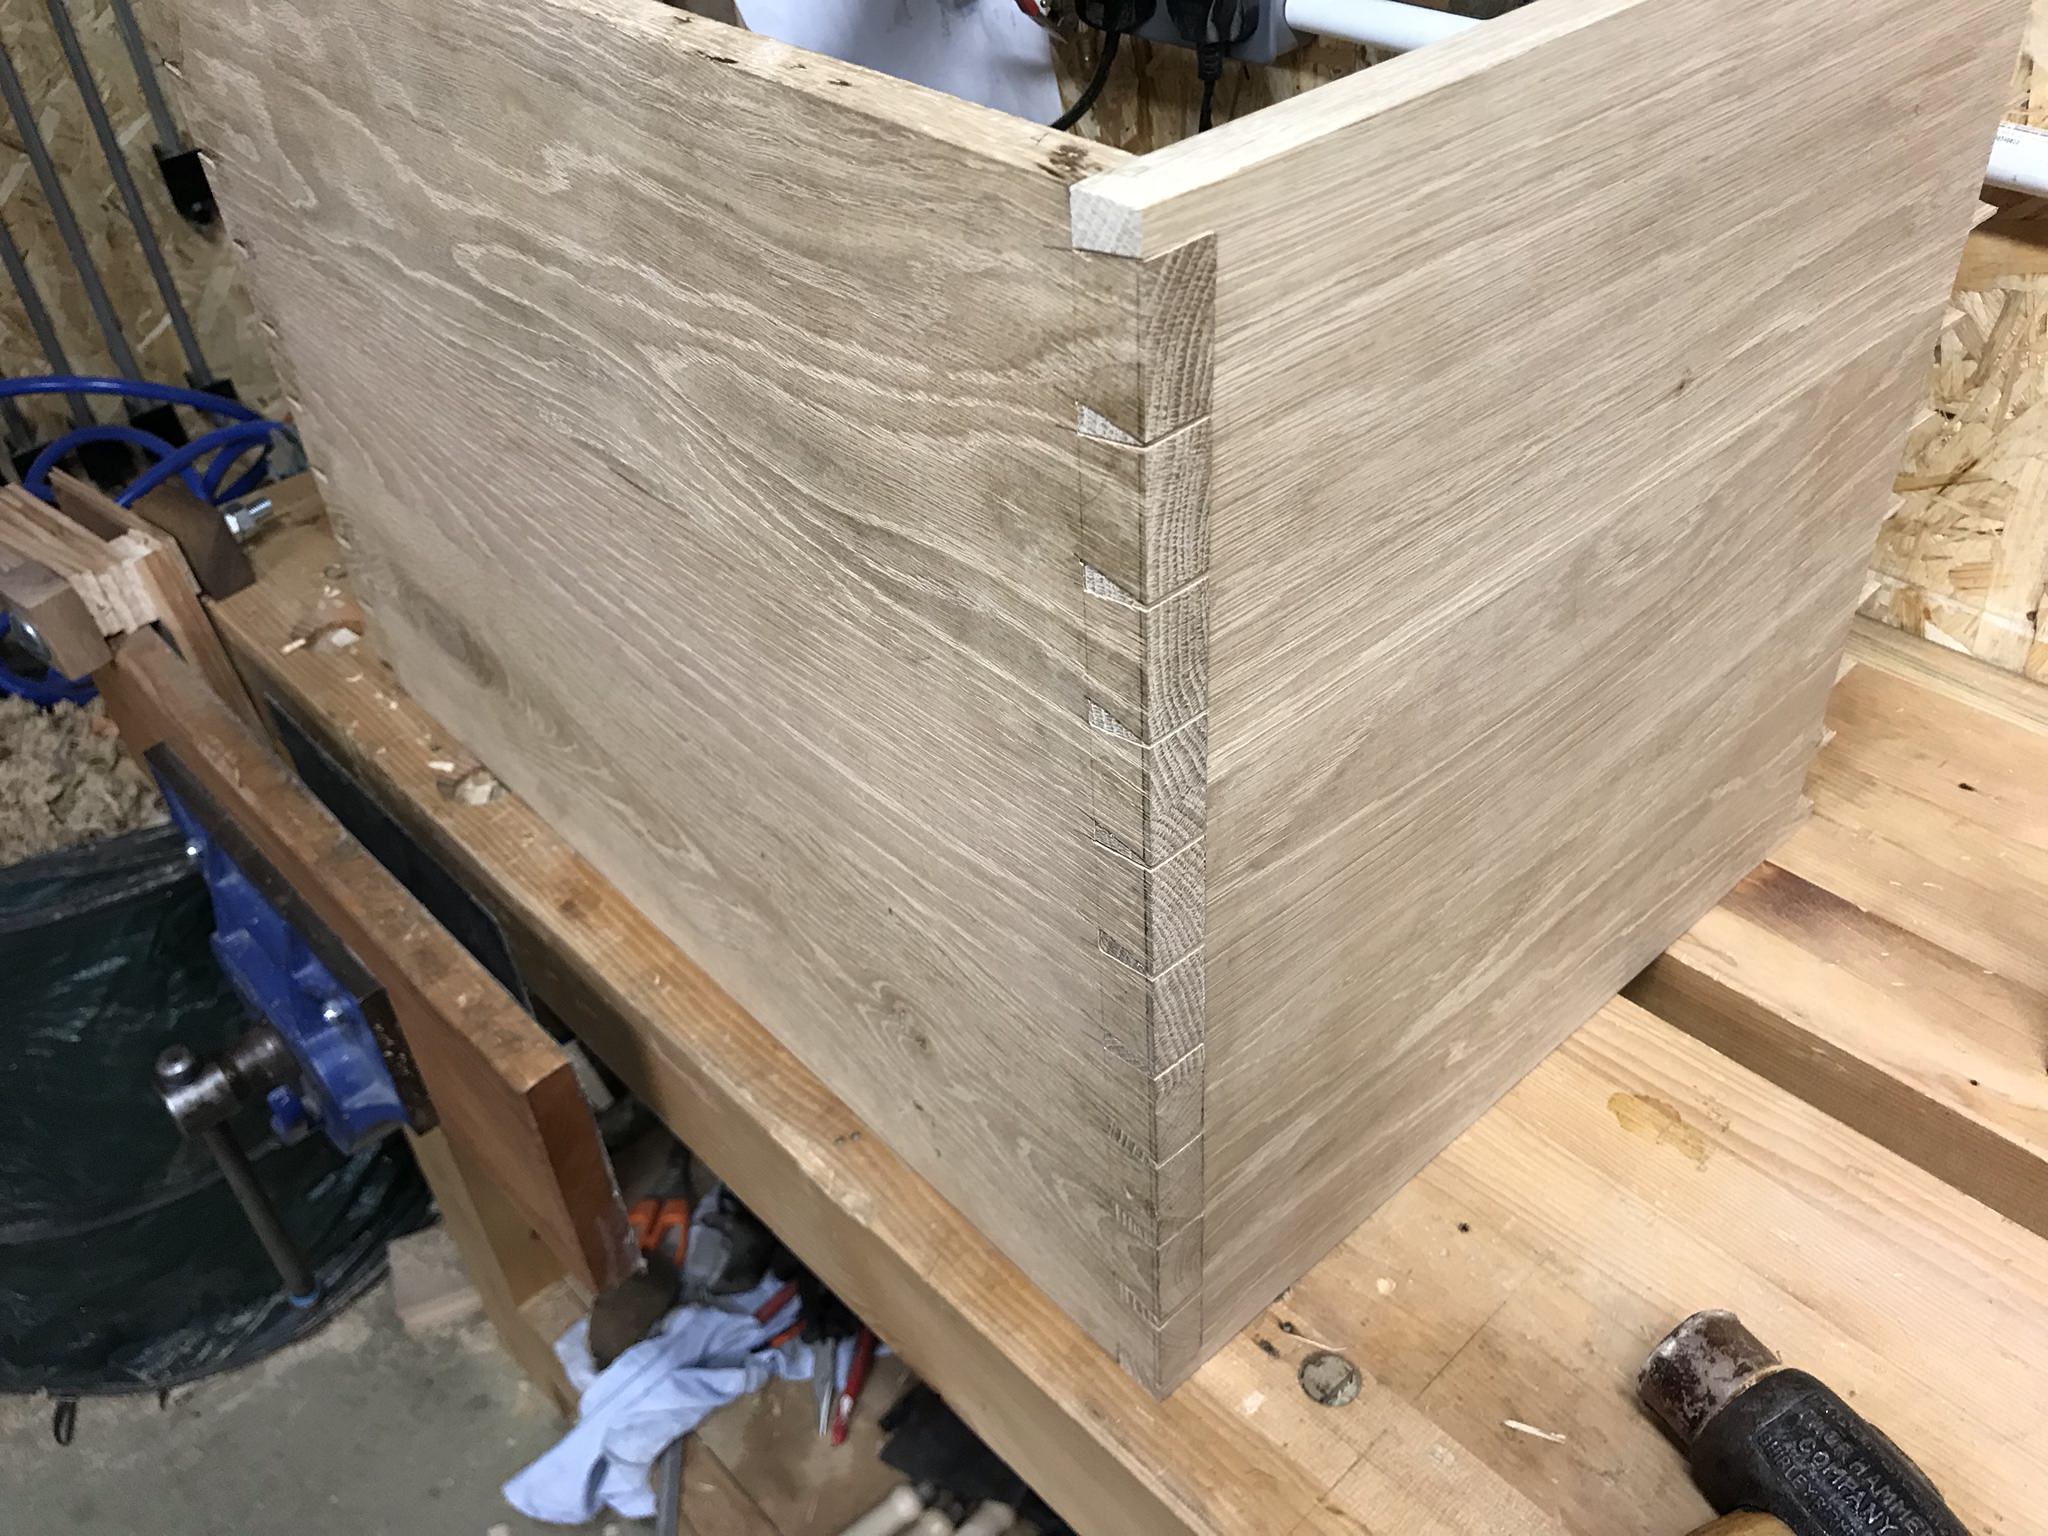
On to the joinery; Now I doubt my eight year old will really take in the special nature of what I'm attempting (beyond "daddy made this for you with his hands and his love" etc.) but hopefully her older self will come to appreciate such things. And if she doesn't she'll be grounded until she bloody well does") . I'm going for single kerf, hand cut dovetails on the corners. Upon measuring up I found I needed 10 on each corner. "Bloody hell. 40 dovetails." was all I could think for a while as that's about twice as many as I've ever put on a project before. Anyway no sense in putting it off. Saw, saw, saw:
. I'm going for single kerf, hand cut dovetails on the corners. Upon measuring up I found I needed 10 on each corner. "Bloody hell. 40 dovetails." was all I could think for a while as that's about twice as many as I've ever put on a project before. Anyway no sense in putting it off. Saw, saw, saw:
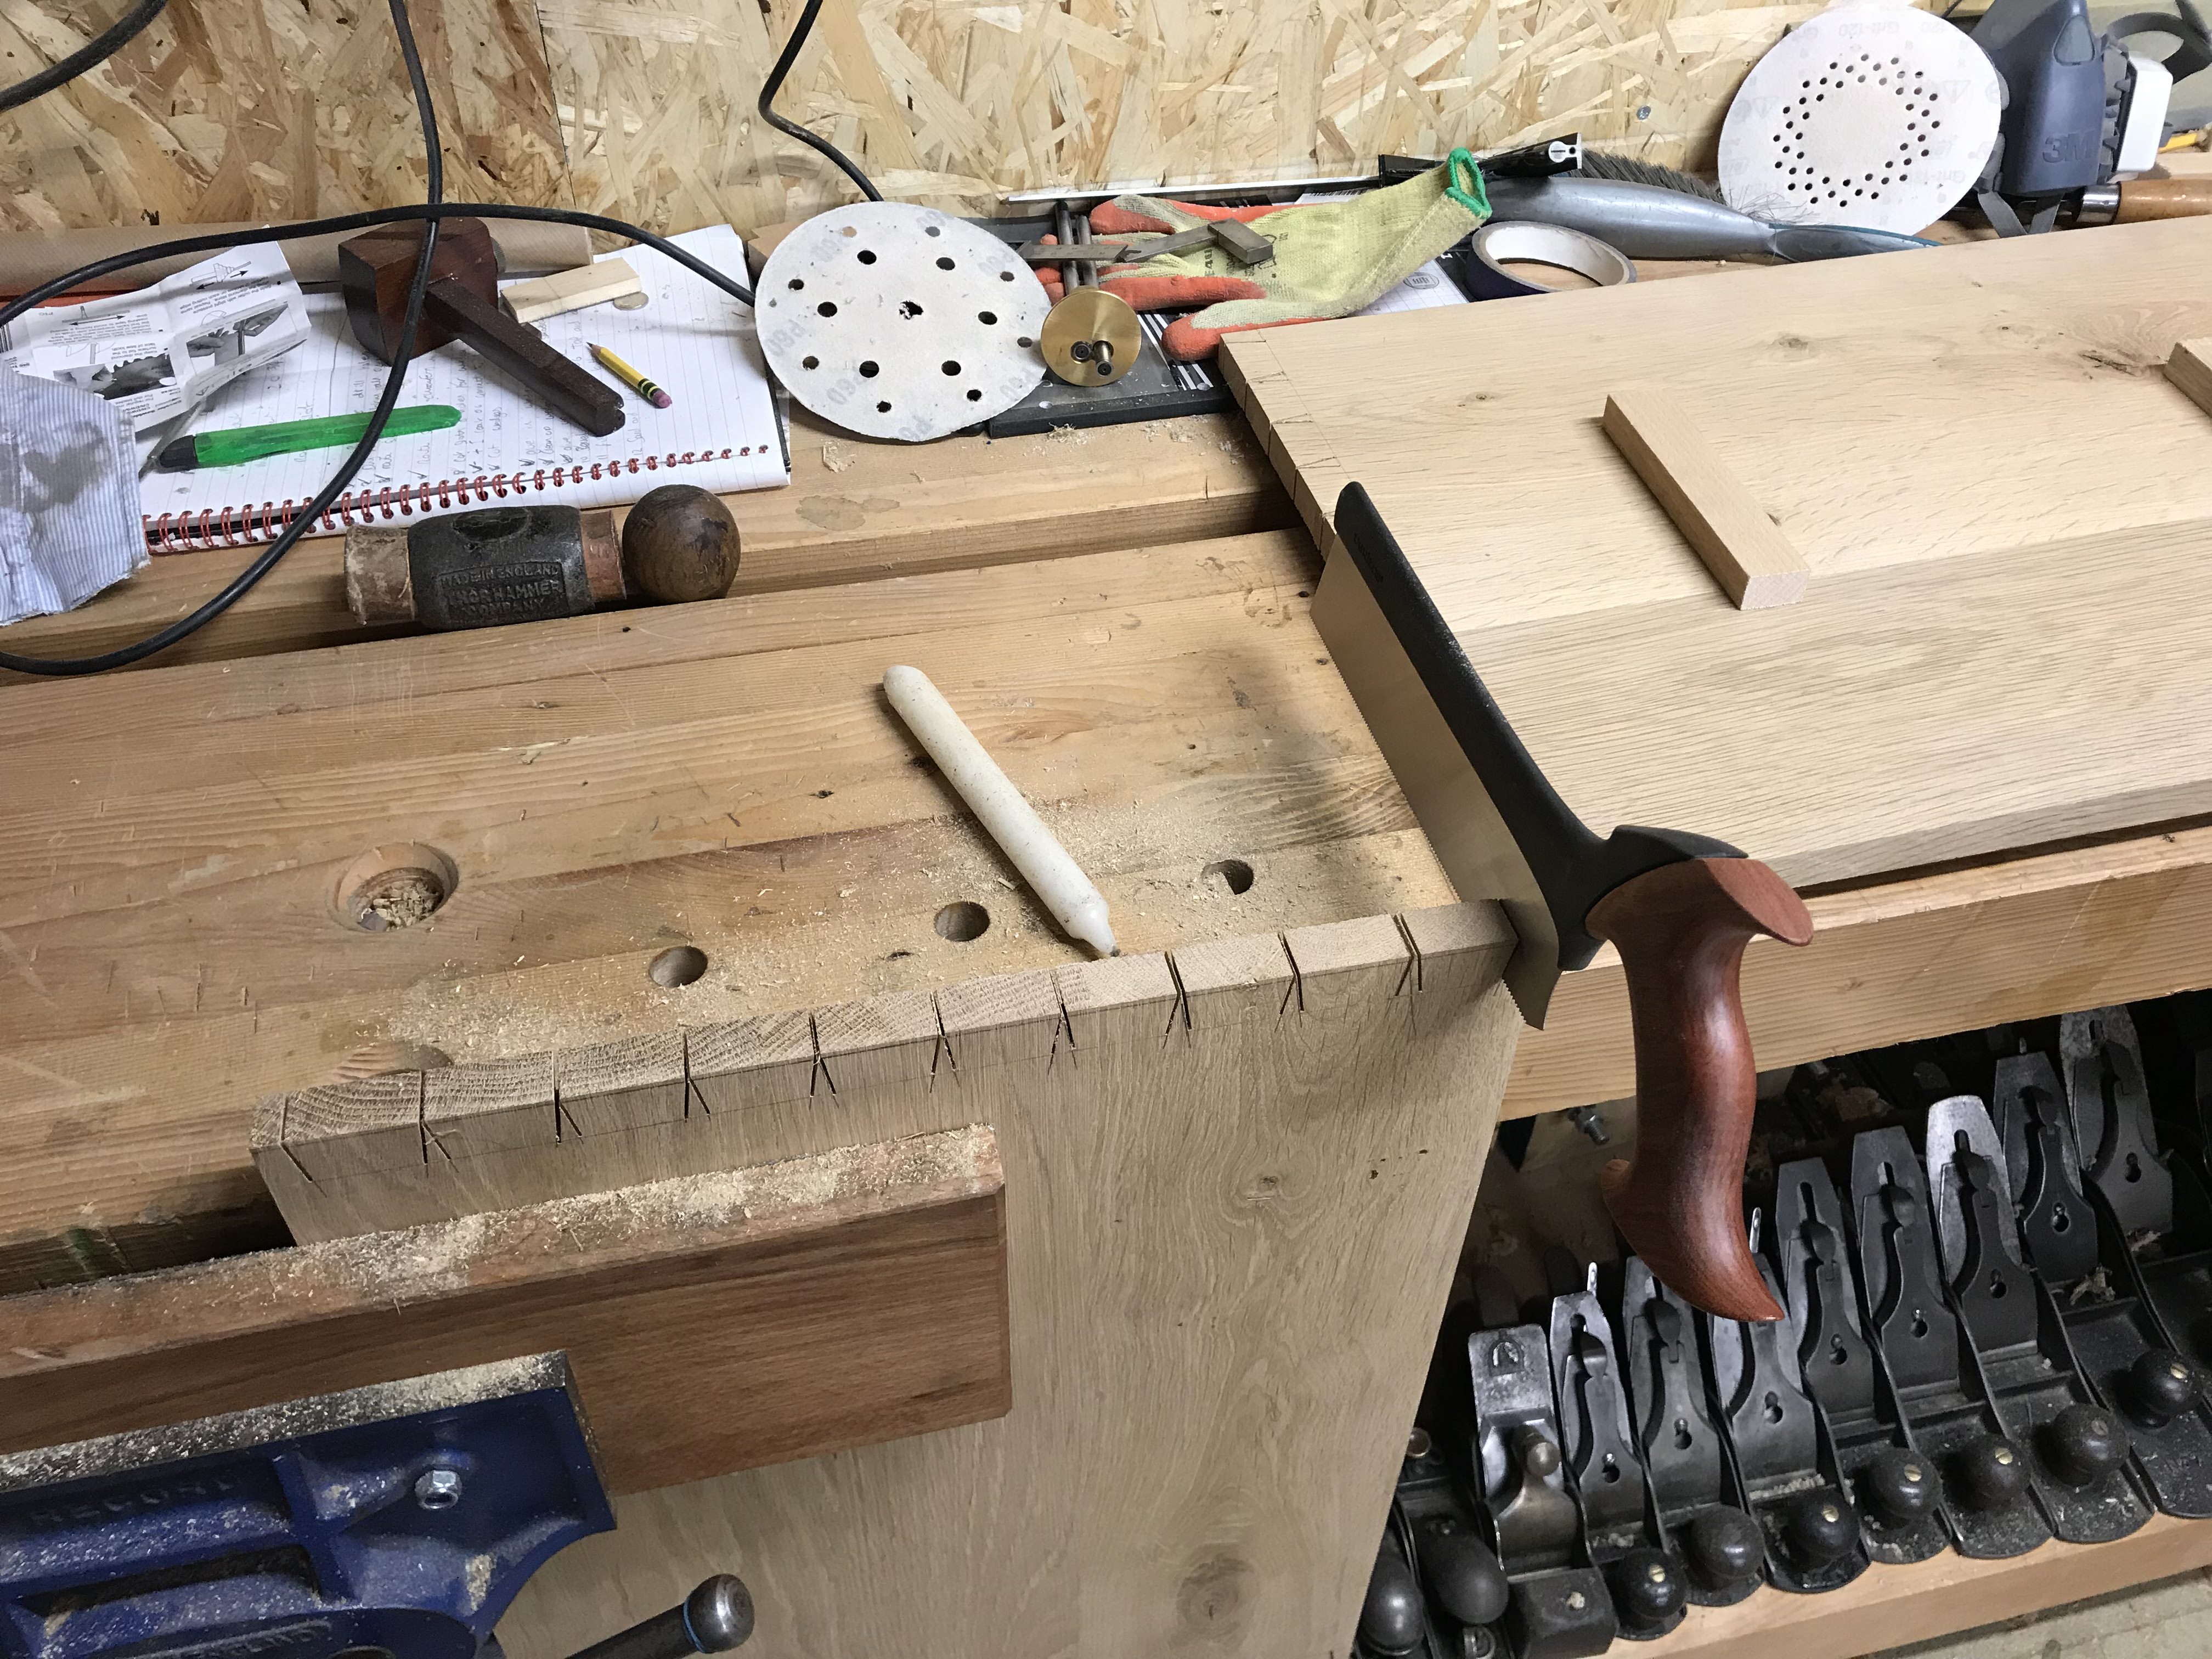
Chop, chop, chop:
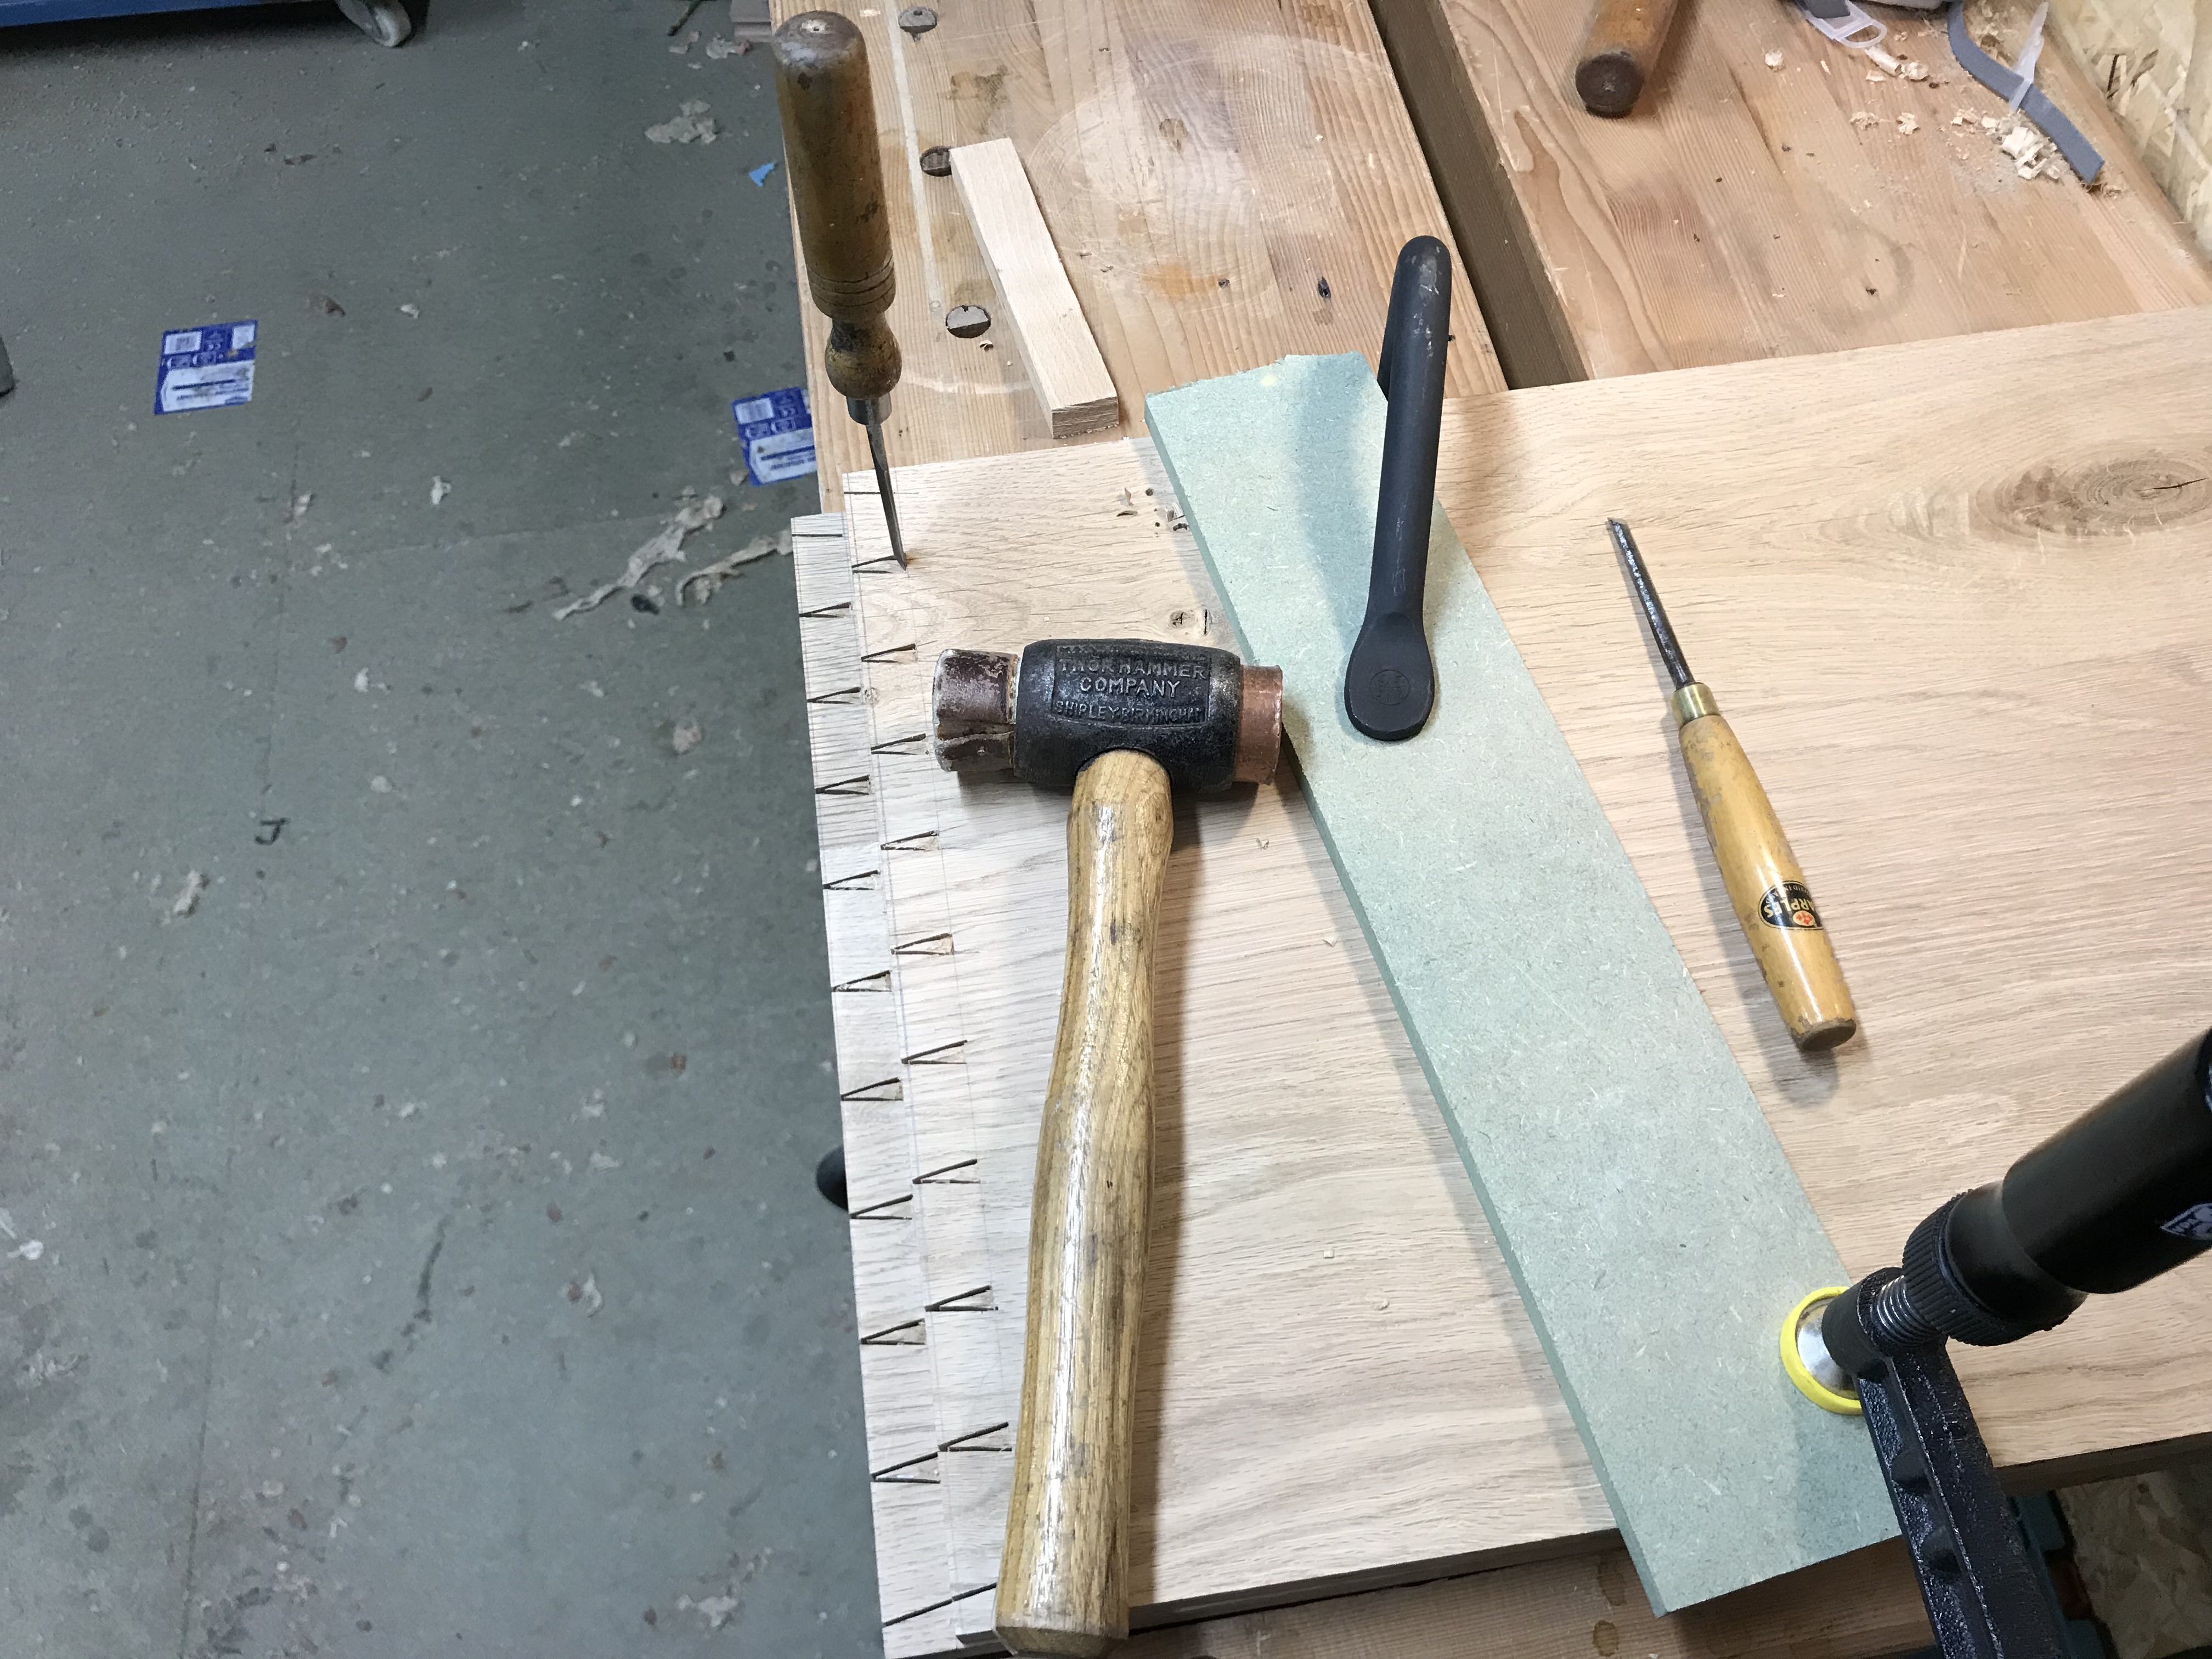
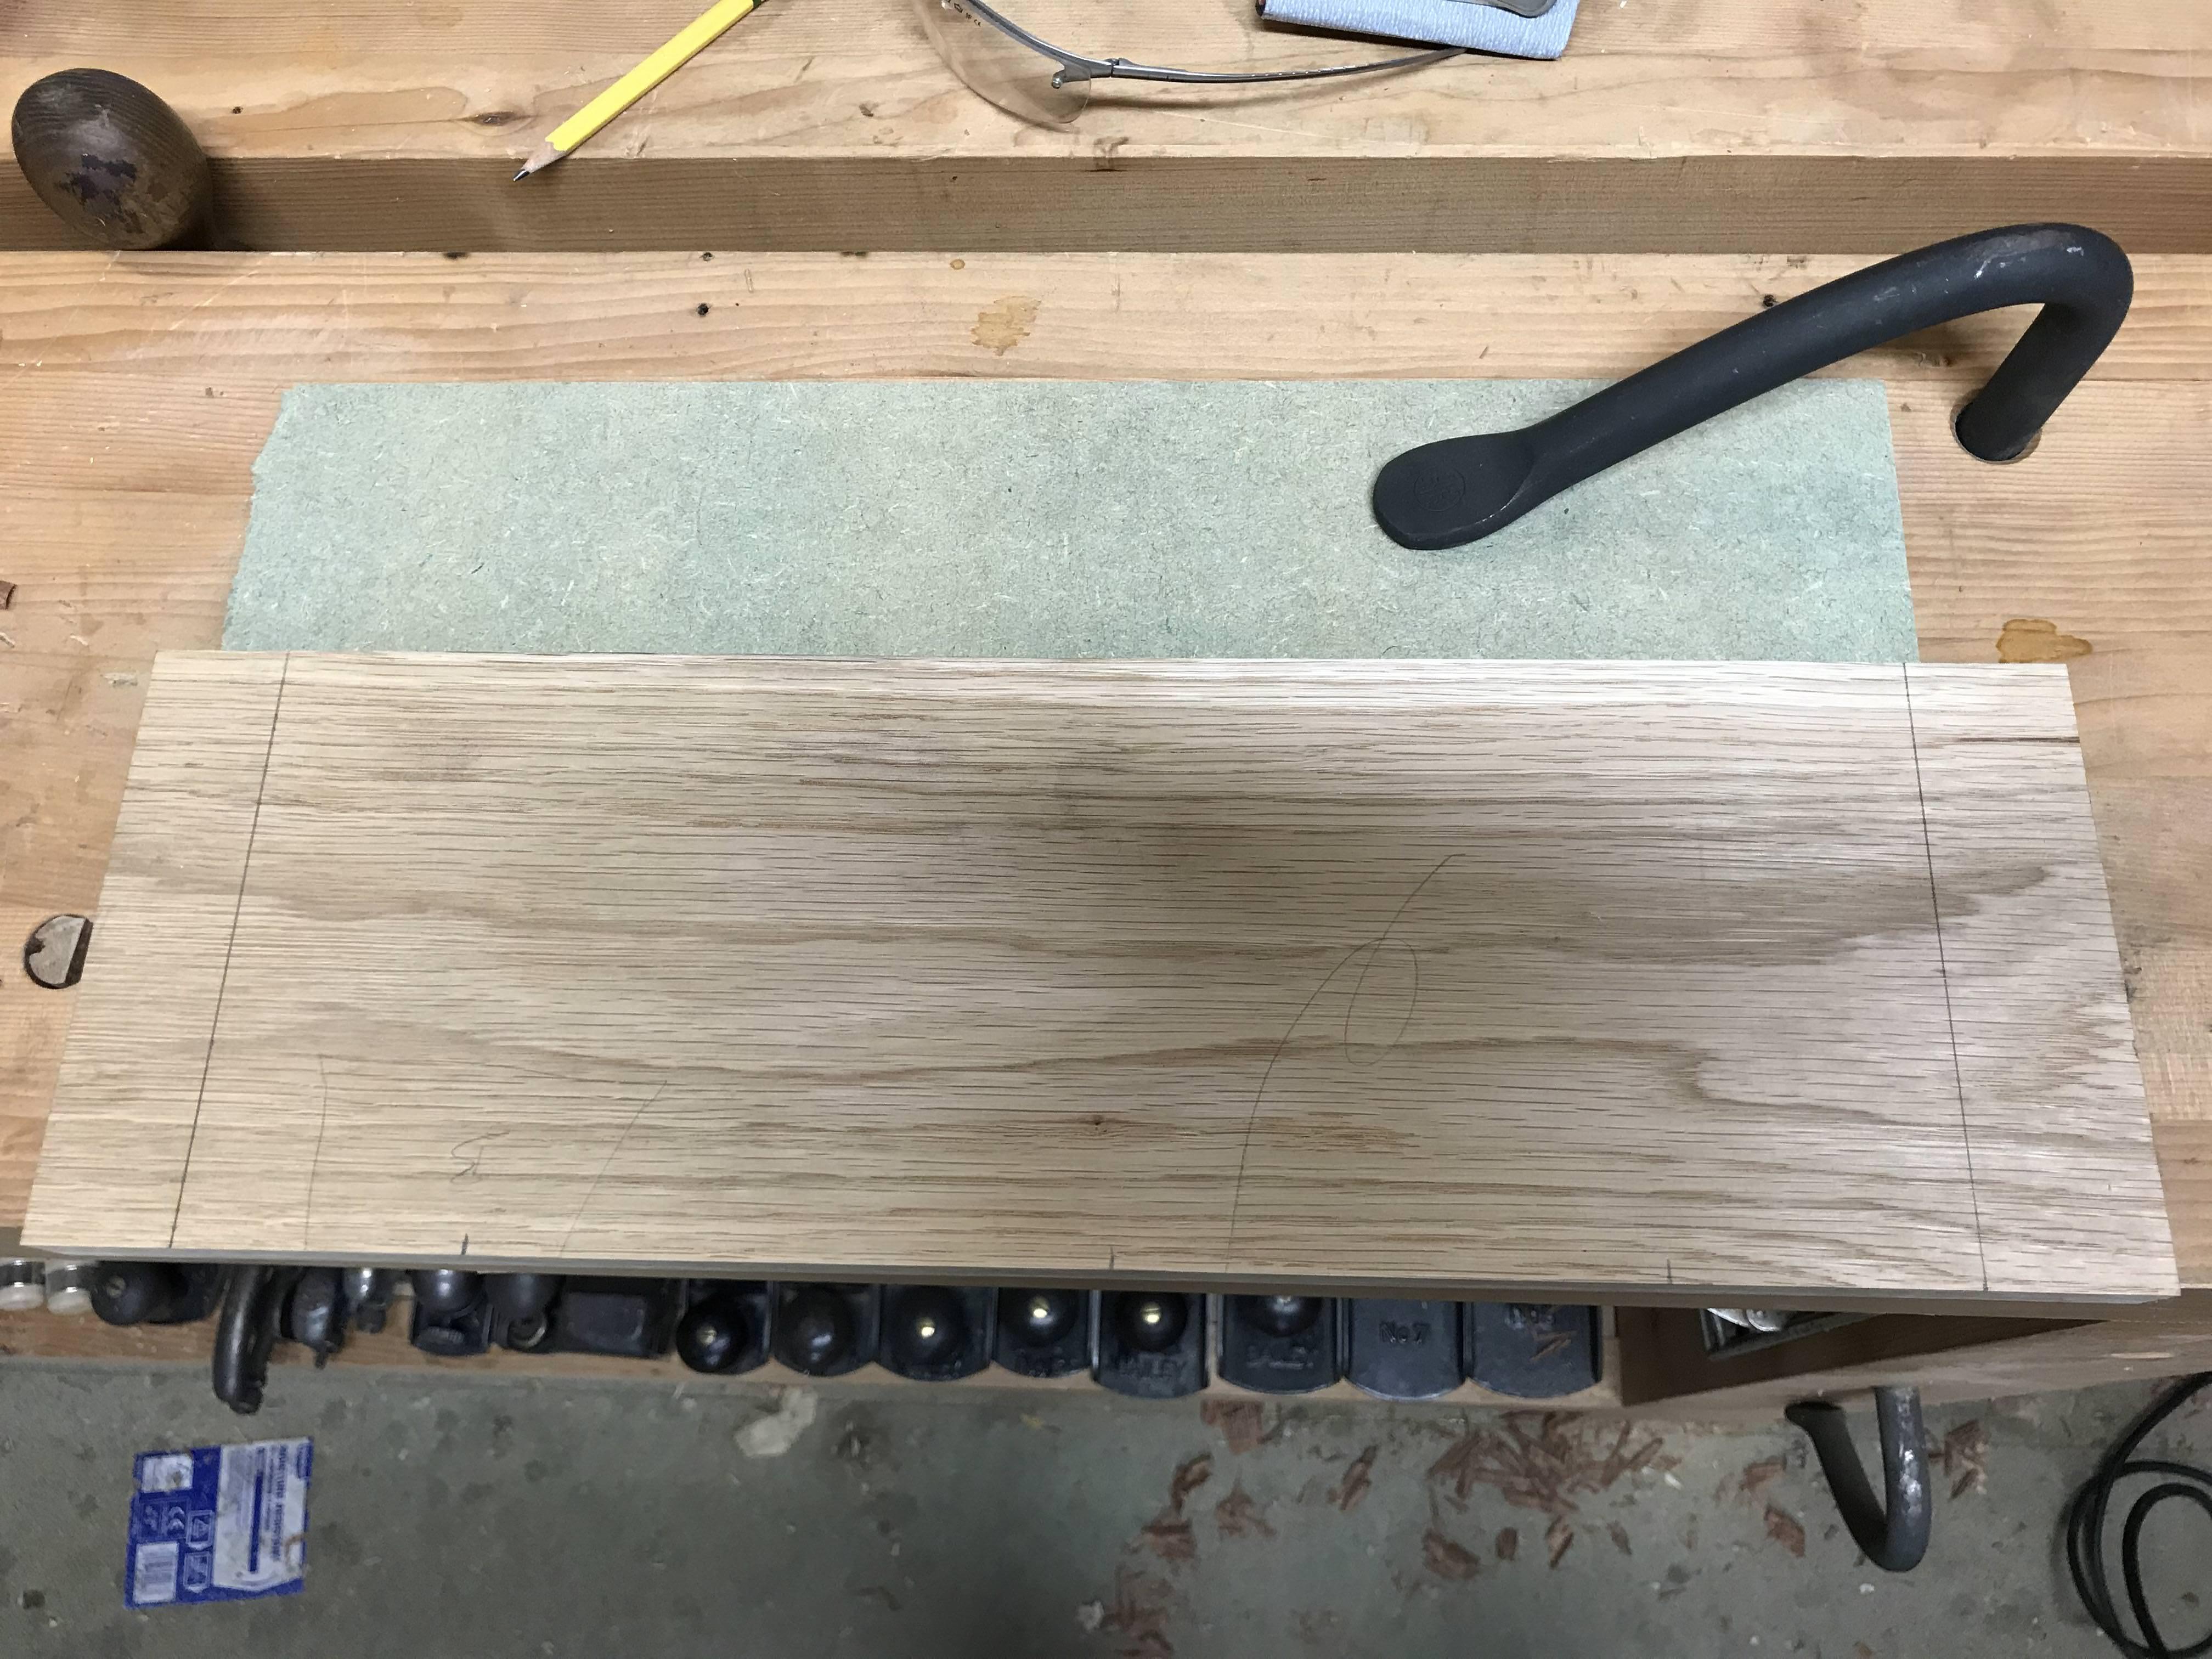
I'm not that bothered about all of the tails having the same rake (1:6 or thereabouts here) but I am bothered about each tail being cut square across the board and that the shoulders should also be square to the faces (slightly undercut inside to make things easier though) :
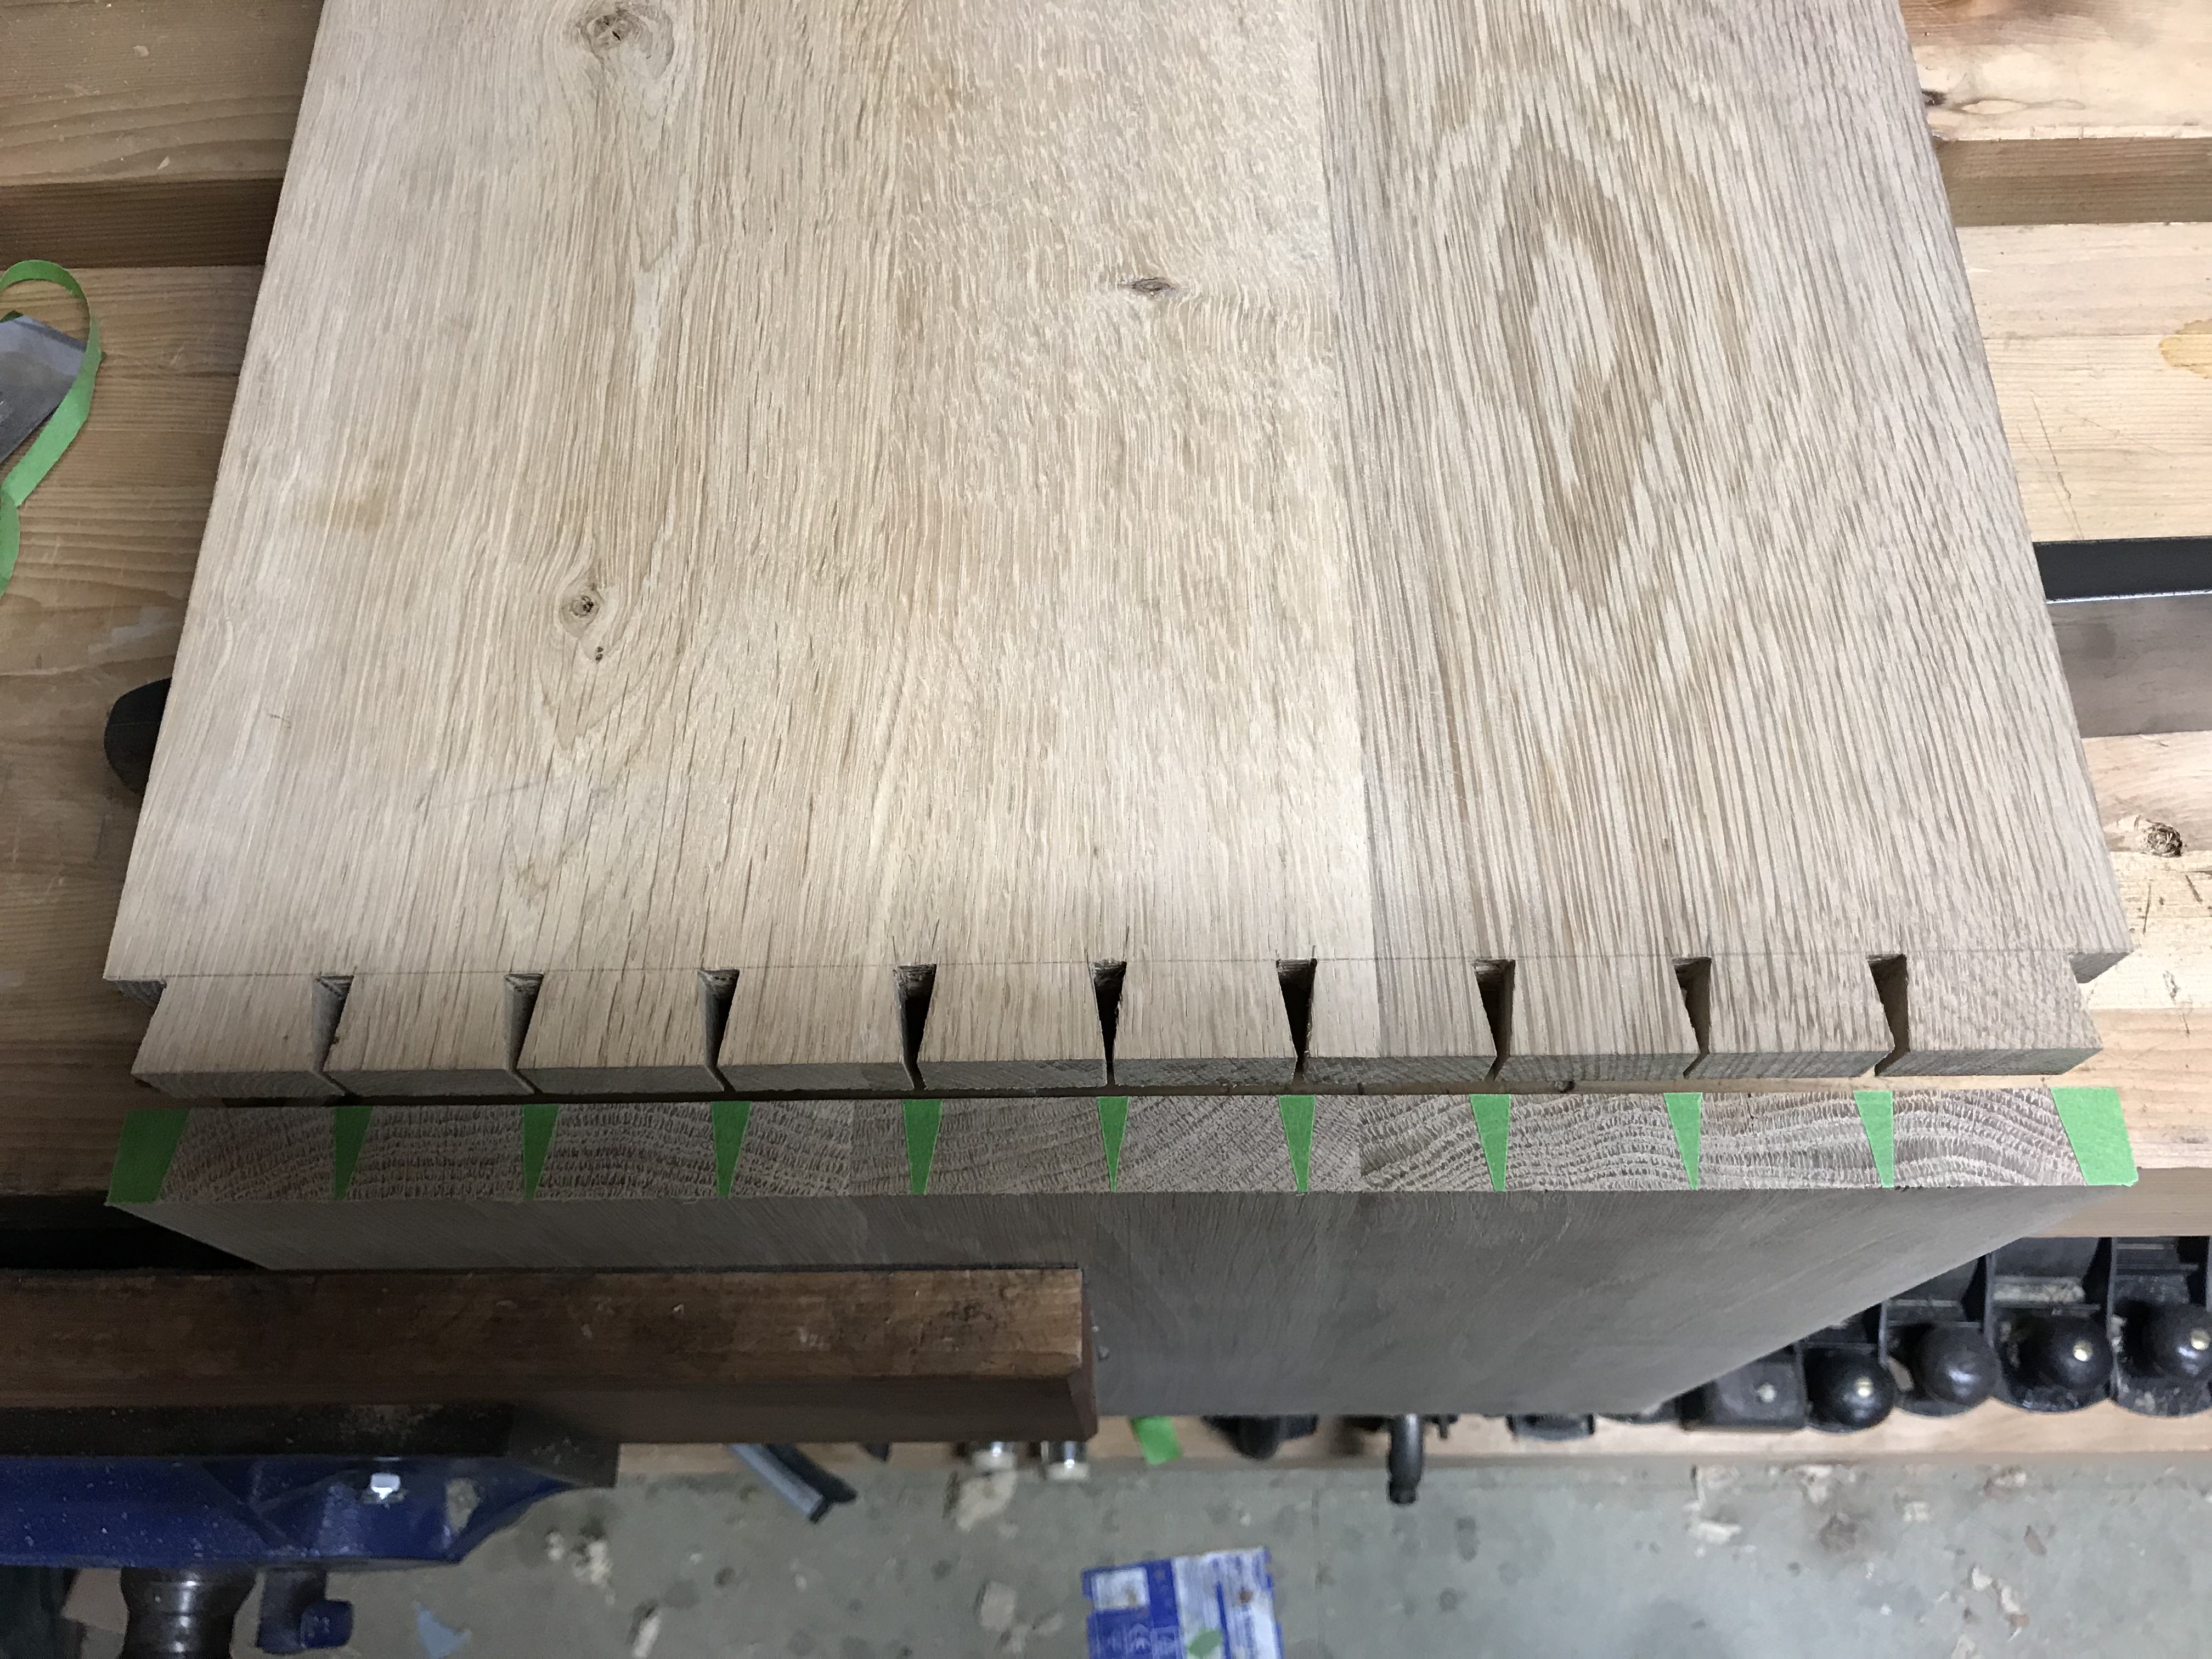
With that done I used the masking tape technique various folks have written about to mark out the pins which works a treat IME:
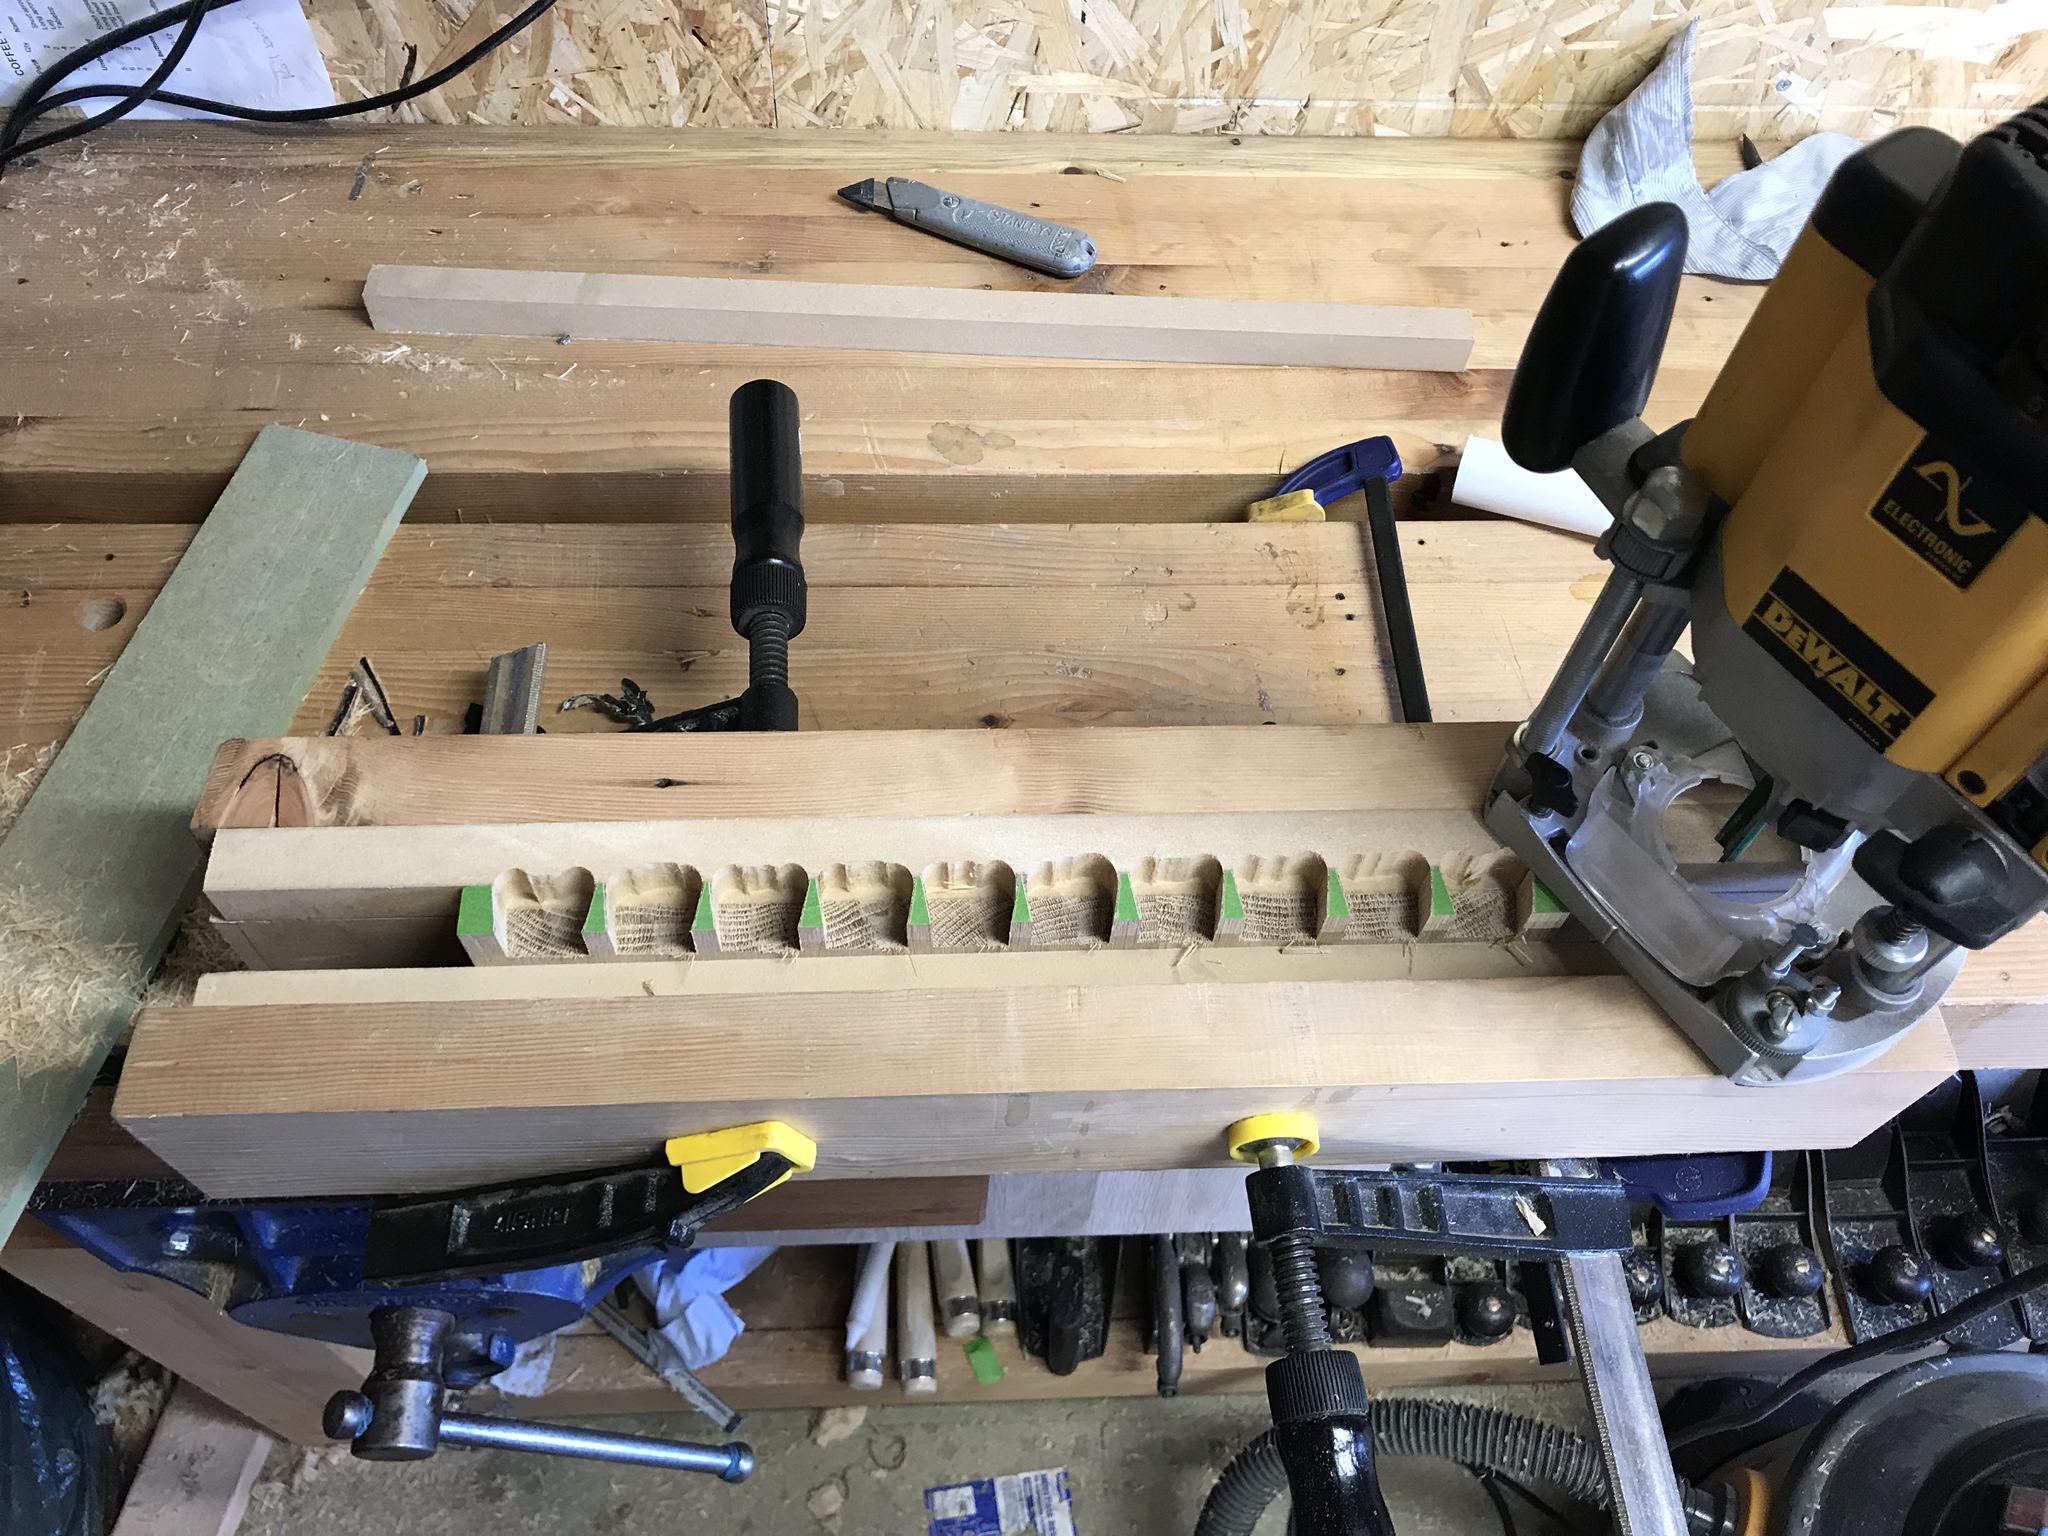
As I wanted her to have this box before she got her driver's license I couldn't spend the time needed to chop them out by hand, so I lashed up a quick jig and wasted most of the stock out with a router:
with final cuts to my marks done with a paring chisel:
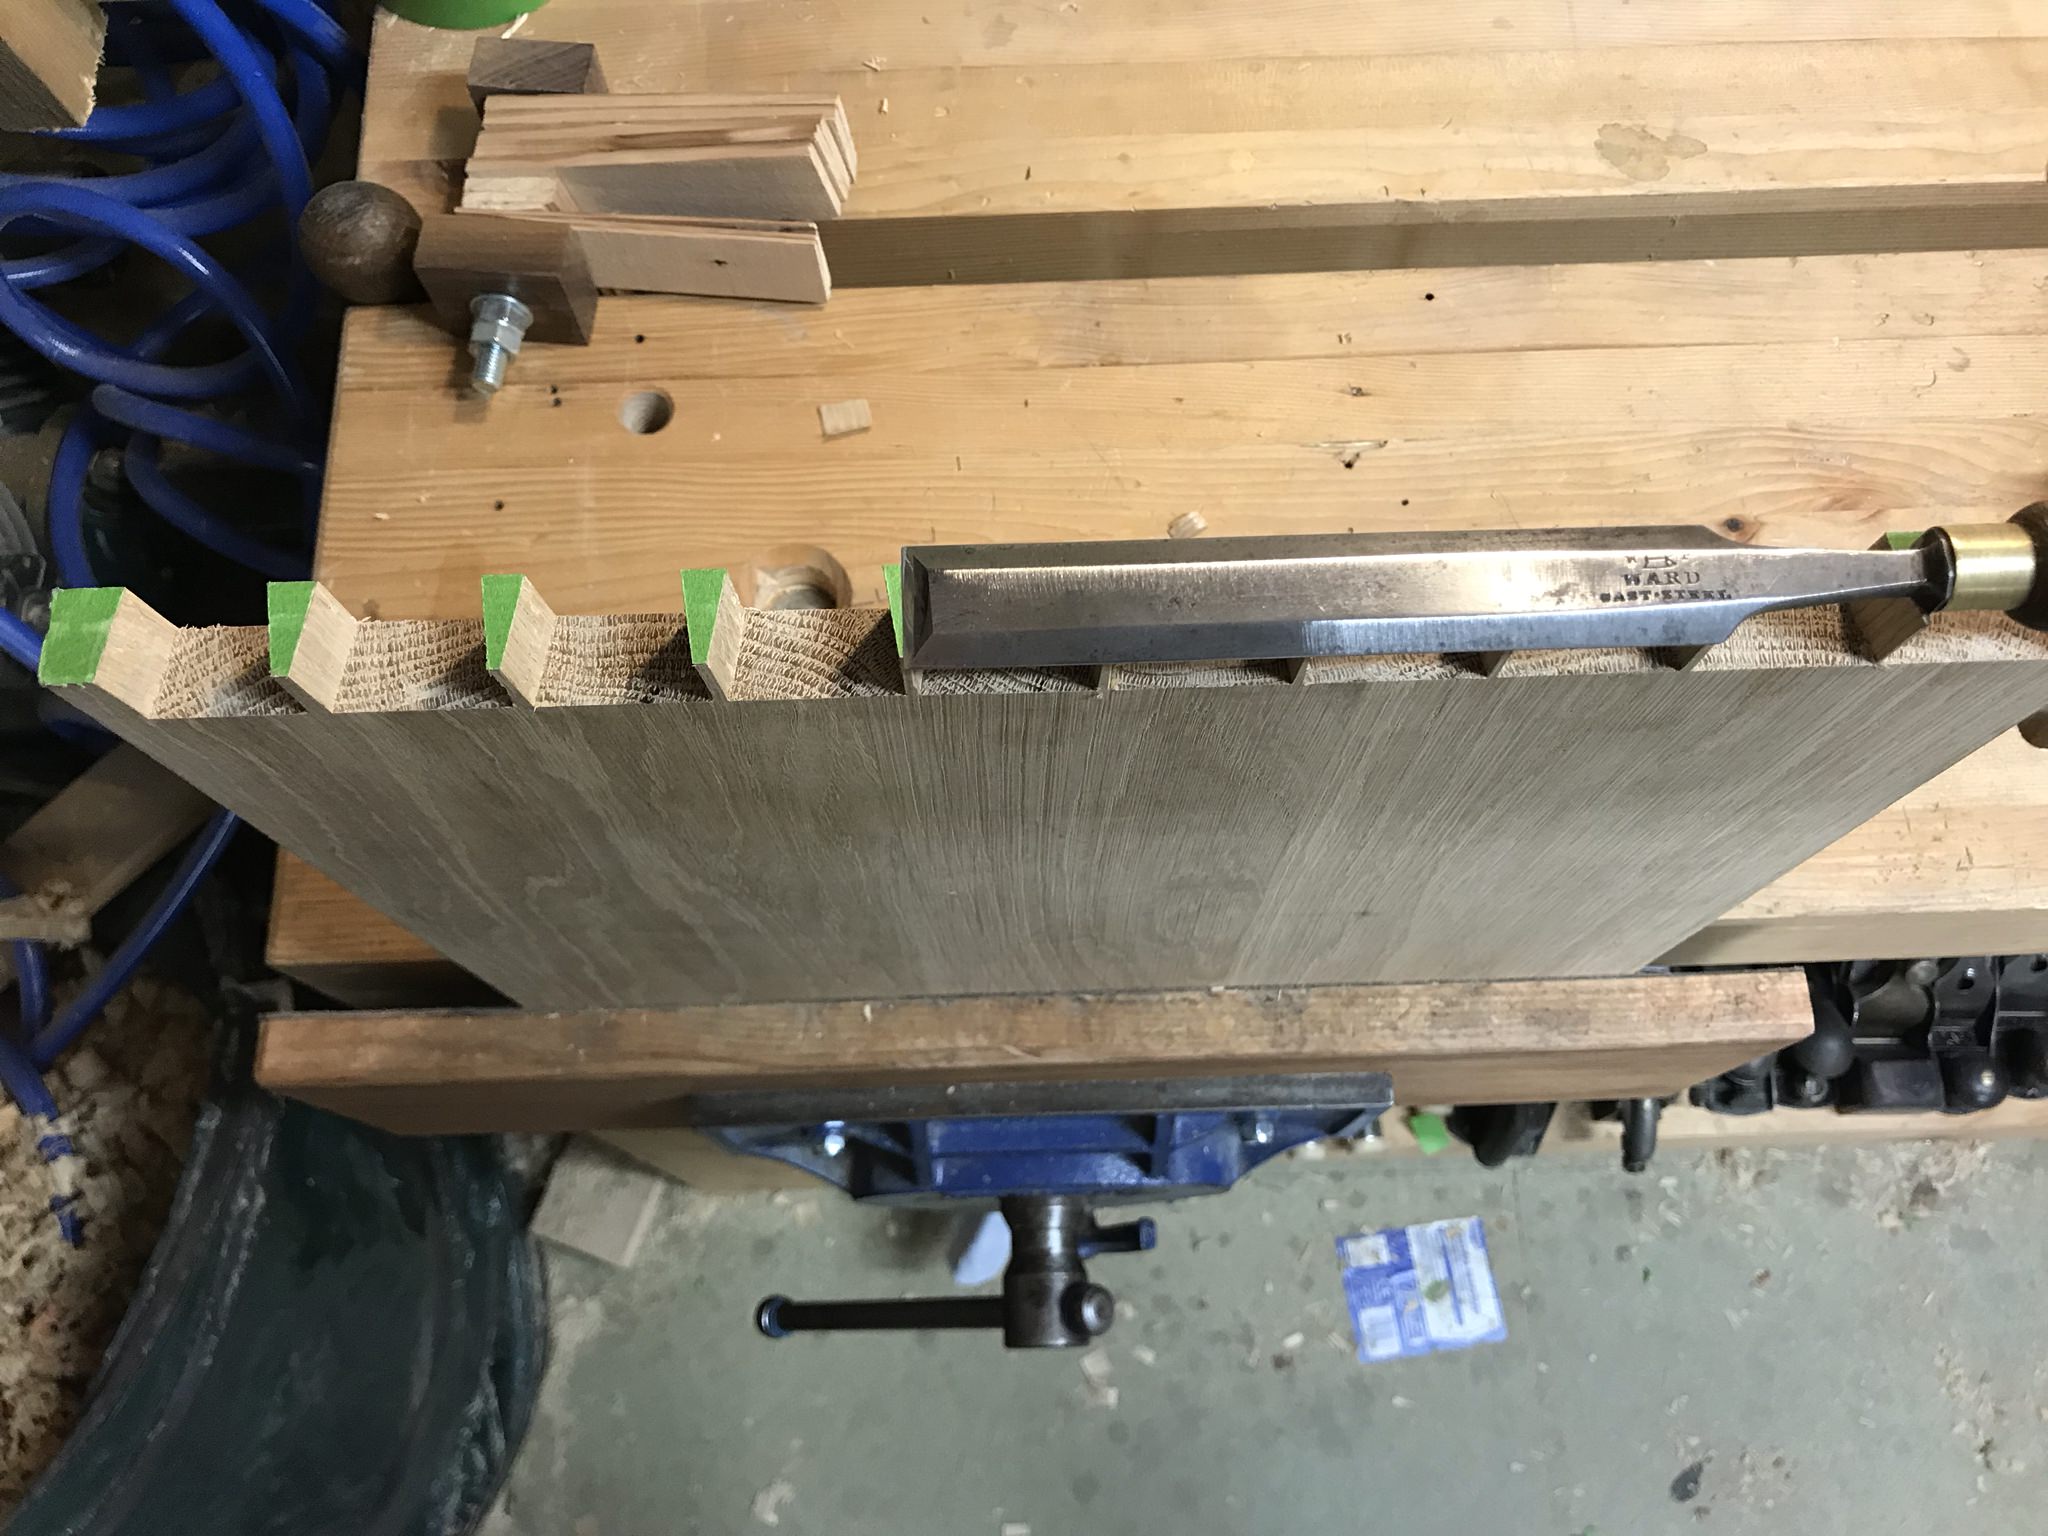
Checking each joint for fit as I went along:
Here is where I am to date:
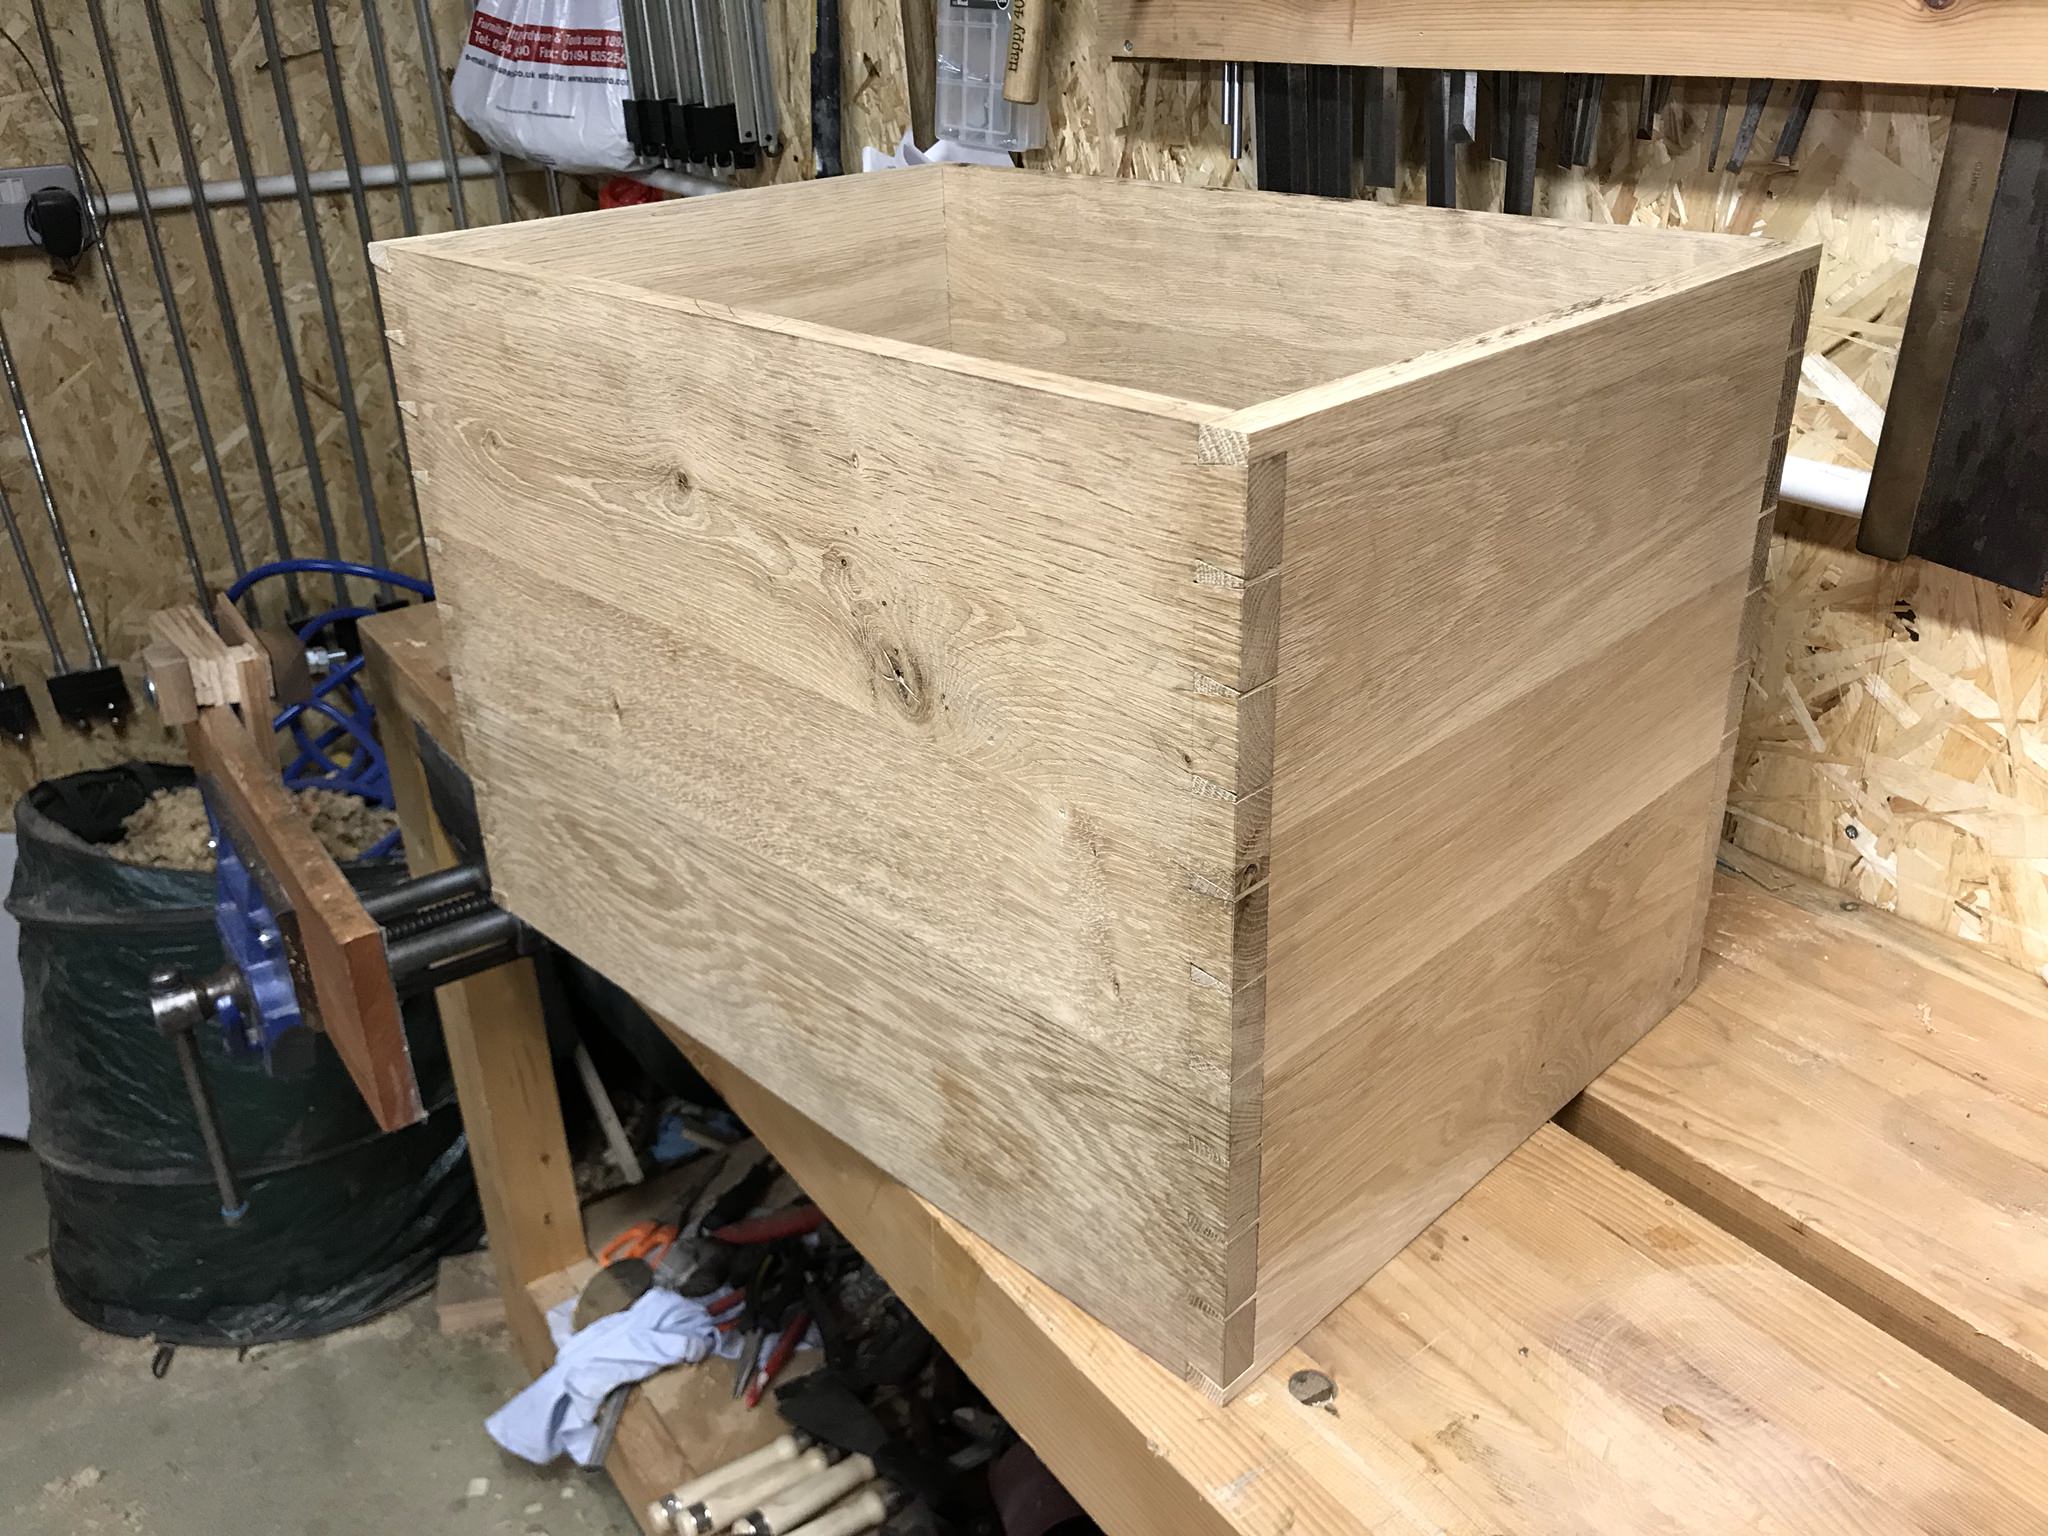
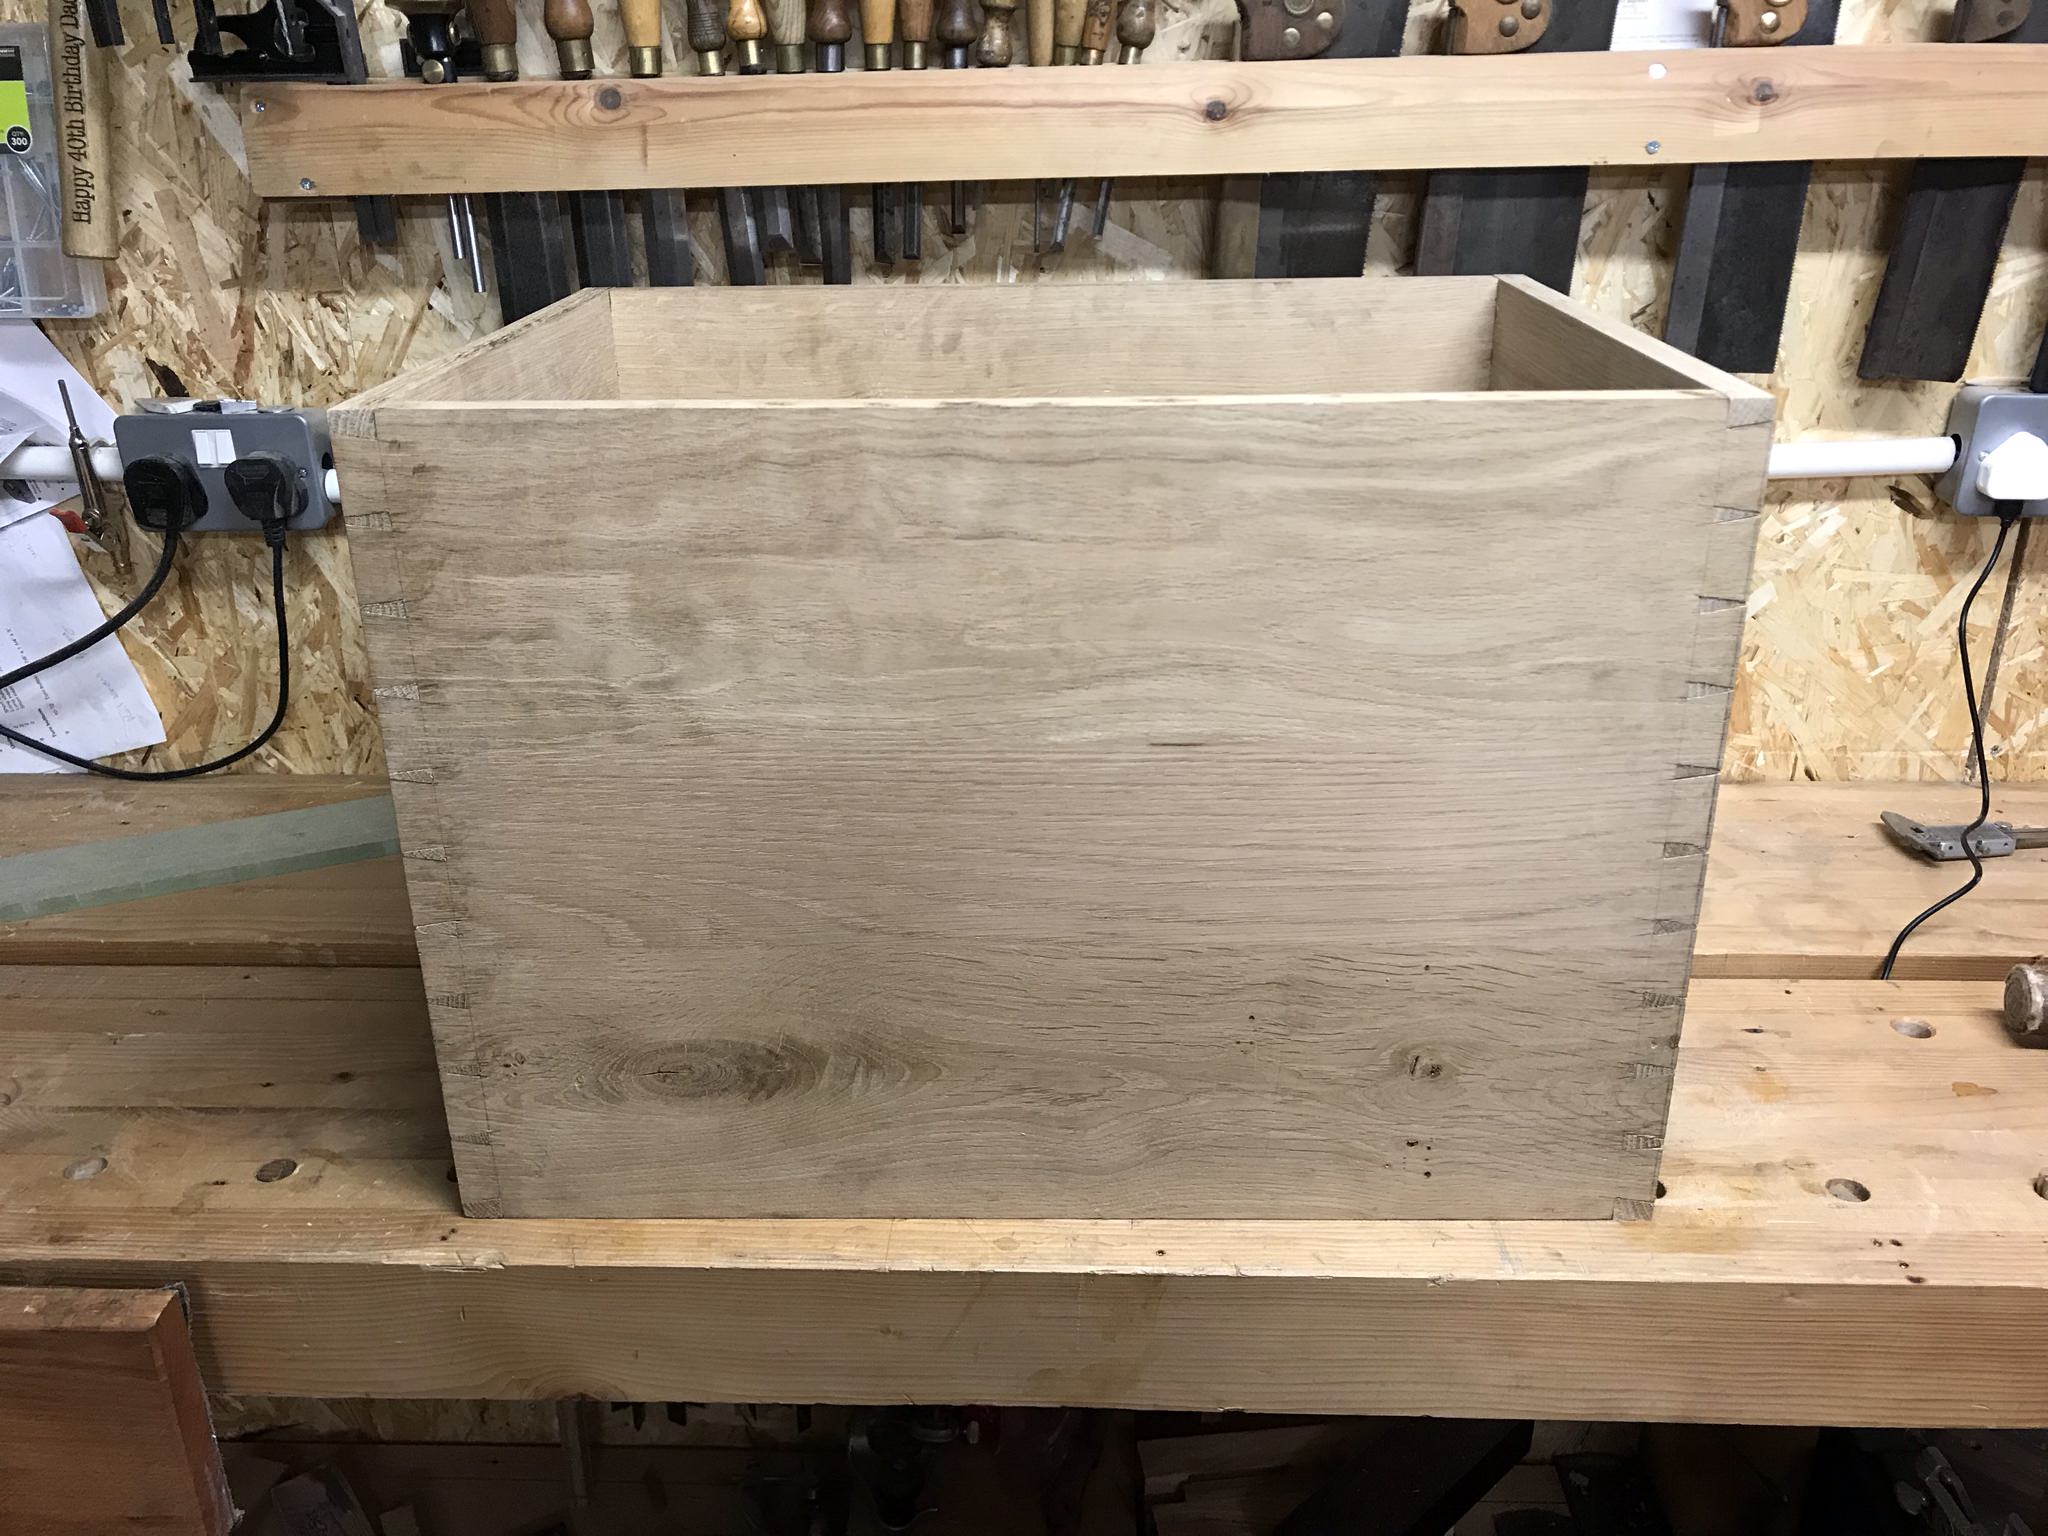
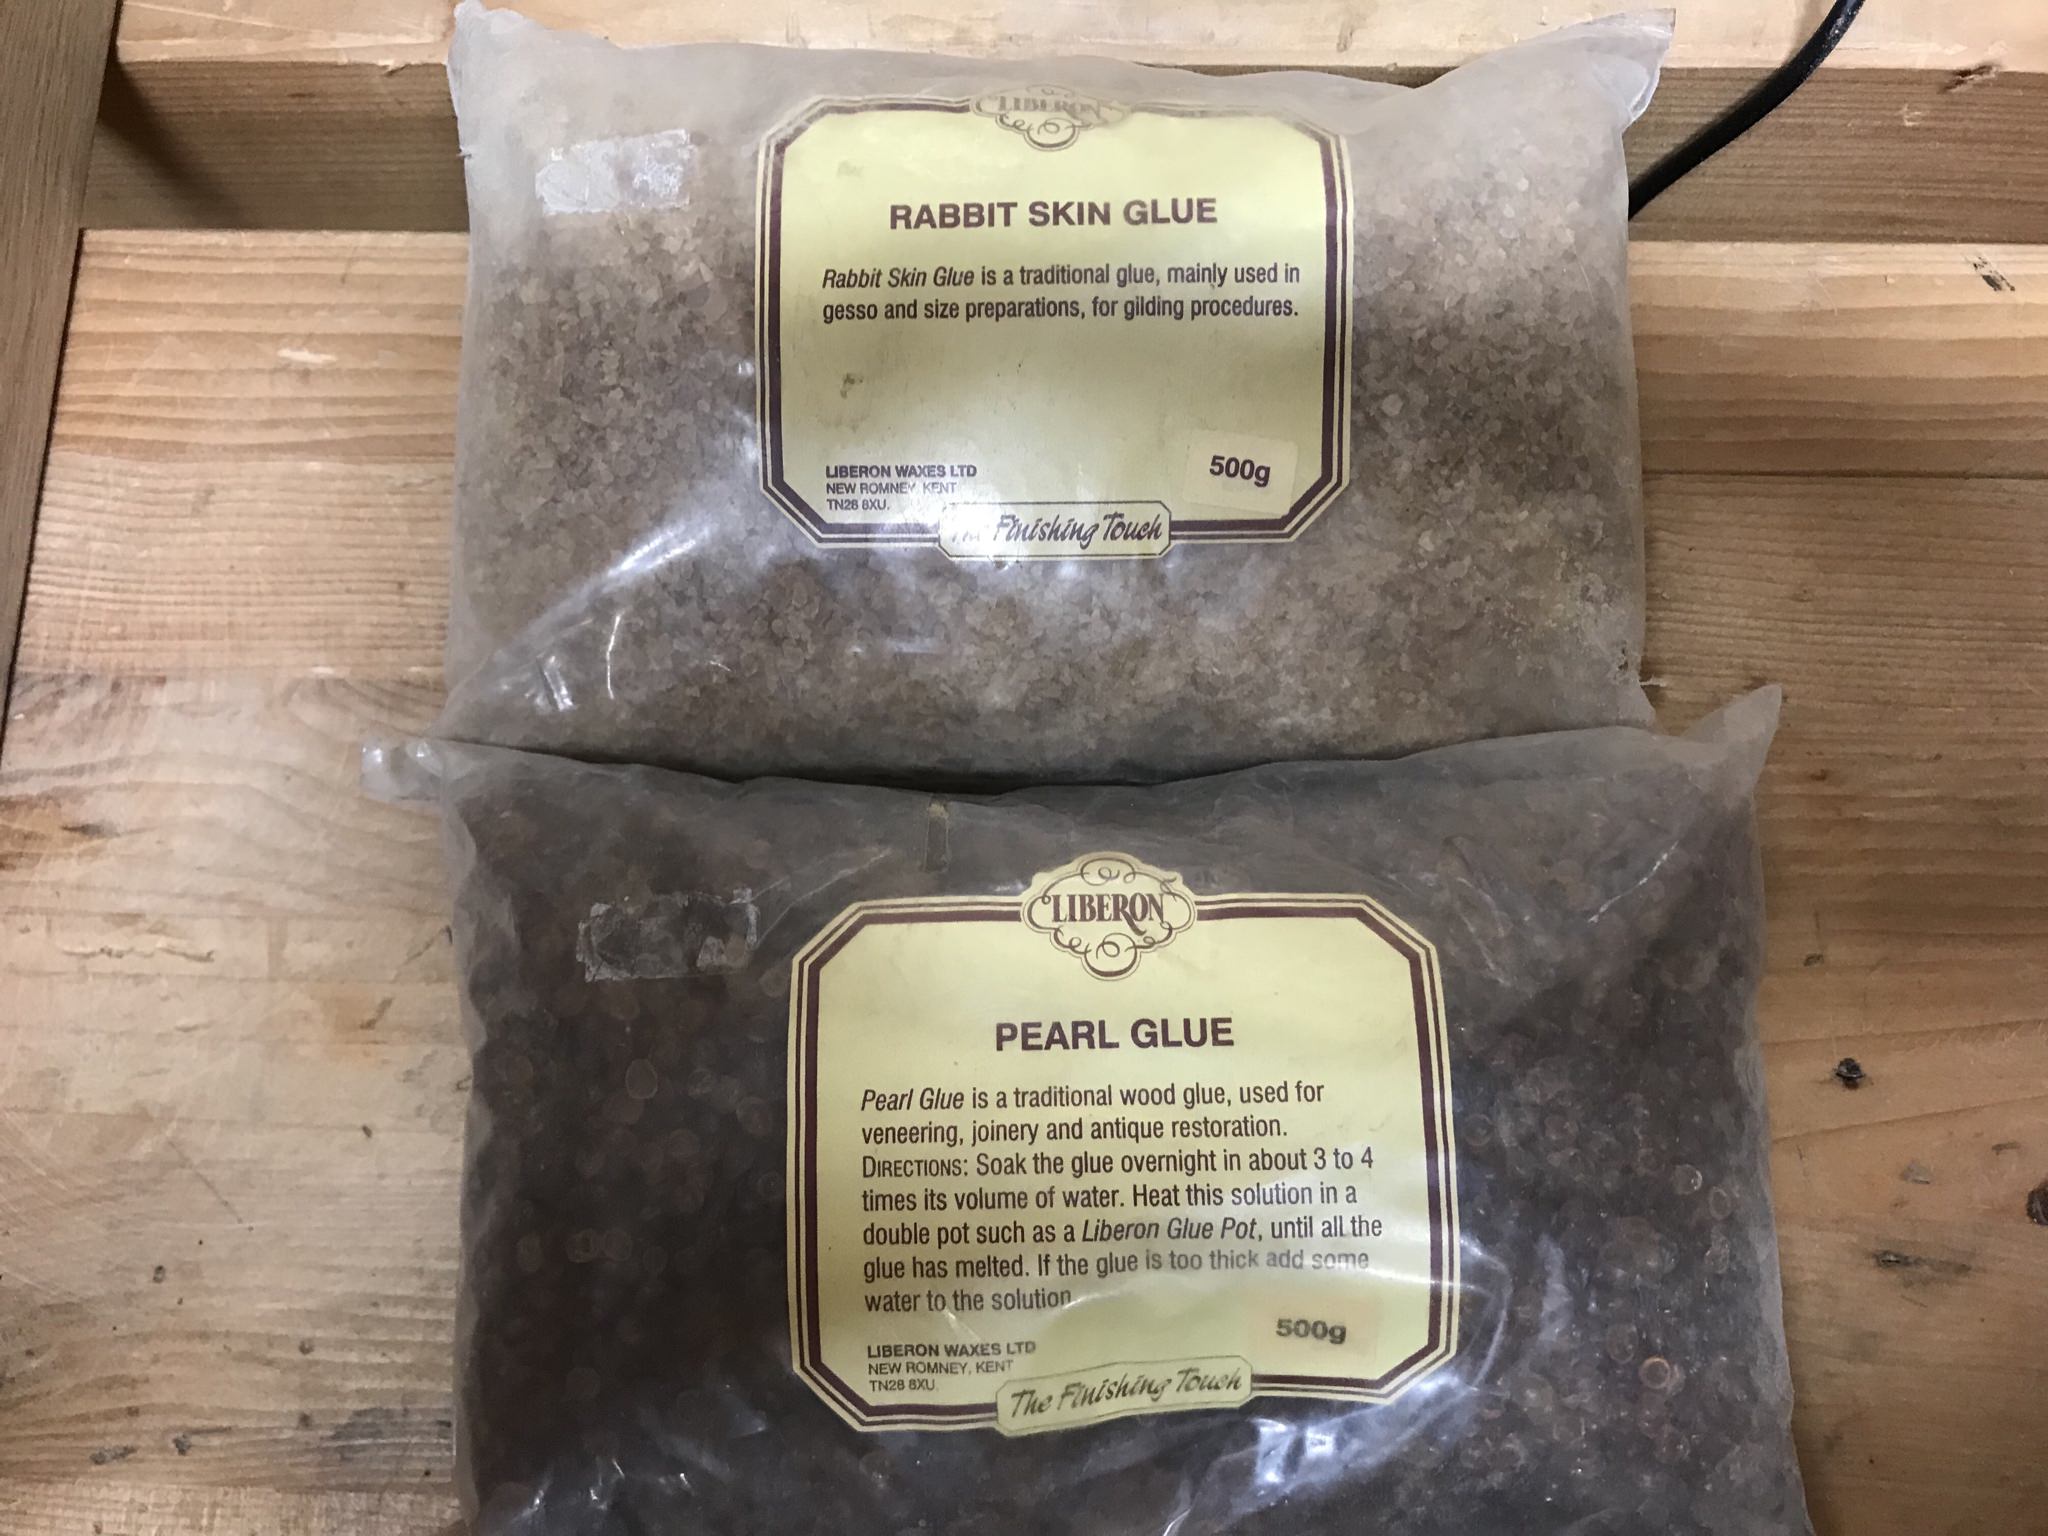
The joints are nice and snug but I'm a bit worried about glue. I was planning on using TB Extend but I'm concerned PVA will grab under the pressure of the joints and make life difficult. Would hot hide glue work? I have some (pearls or rabbit skin I think) but have never used it. Any advice or critique gladly received. I'll hopefully have some more updates after the weekend.
Thanks for reading thus far and hopefully I haven't bored anyone to tears just yet!
So as I mentioned on a previous post I have embarked upon another first in my woodworking - this time it's a box. A box with a specific initial purpose though. Let me explain...
My eight year old is one of many little girls indulging in the new craze of slime making. I'm OK with it - encourage it in fact as being something creative and loosely related to learning (science innit) but it does have draw backs. Primary amongst these is the large collections of gubbins that ends up here and there around the dining table where she likes to make and play with her slippery creations. There are lots of bits and bobs; large containers of PVA, mixing bowls, stirrers, activators, foam beads, glitter, various pigments and additives - you name it. It all adds up to a big mess my little one has trouble keeping on top of which does not much please SWMBO.
I came up with the idea that a box large enough to keep them all in one place was required. I also figured that to keep it usable the box would have to have removable dividers that would provide some order as to how they are stored and accessed. Finally I resolved to make said box with a removable lid that could double as a tray to contain the slime while she plays with it. So off I went with my tape measure and figured that the external dimensions would have to be about 16" wide by 23" long and 16" tall. This would allow a home for everything and still leave clearance for floating top and bottom.
Now if I just wanted to lash something together for the time being I would have gone down the route of MDF+Glue+Screws+Paint= job done. However as I'm a sentimental (or just mental) old fool, I want to make something that will stay with her for long time. A box this big is really a chest of sorts so if I make it well enough, hopefully she will find new purposes for it as she gets older. This meant I ruled out MDF and went for oak instead. This is where the pictures start:
All my projects start with rough sawn or waney edged stock, sawn in this case:
I ripped and cut them to rough dimensions (a couple of inches over long) and put them through my planer thicknesser to get clean square stock:
As I don't have 16" boards each side will be made up of three smaller, edge joined, pieces. I wanted the glue lines to be invisible so after machine jointing I set about them with my No. 7:
This is a tricky incremental process whereby getting your edge just so in one plane can lead to errors in another. I'm the least competent person to offer advice to others on this but I have found that given my lack of skill, only thorough, repetitive and frequent checking gets me where I want to be. The picture above illustrates this well as the small square checks that I haven't warped the edge but I use a long steel rule in the other plane to ensure I have the correct amount of spring in the joint. All a big faff but worth it in the end I hope. When the joints are nice and tight I also find that it makes selecting the sequence of boards easier as you can see how the grain meets more clearly.
To help alignment while gluing up the edges I used biscuits. Whilst doing so I did have to use a stop fixed to my bench top for the pieces to register against and still hang over the edge slightly. Holdfasts were made for this sort of imprecise stuff I've found:
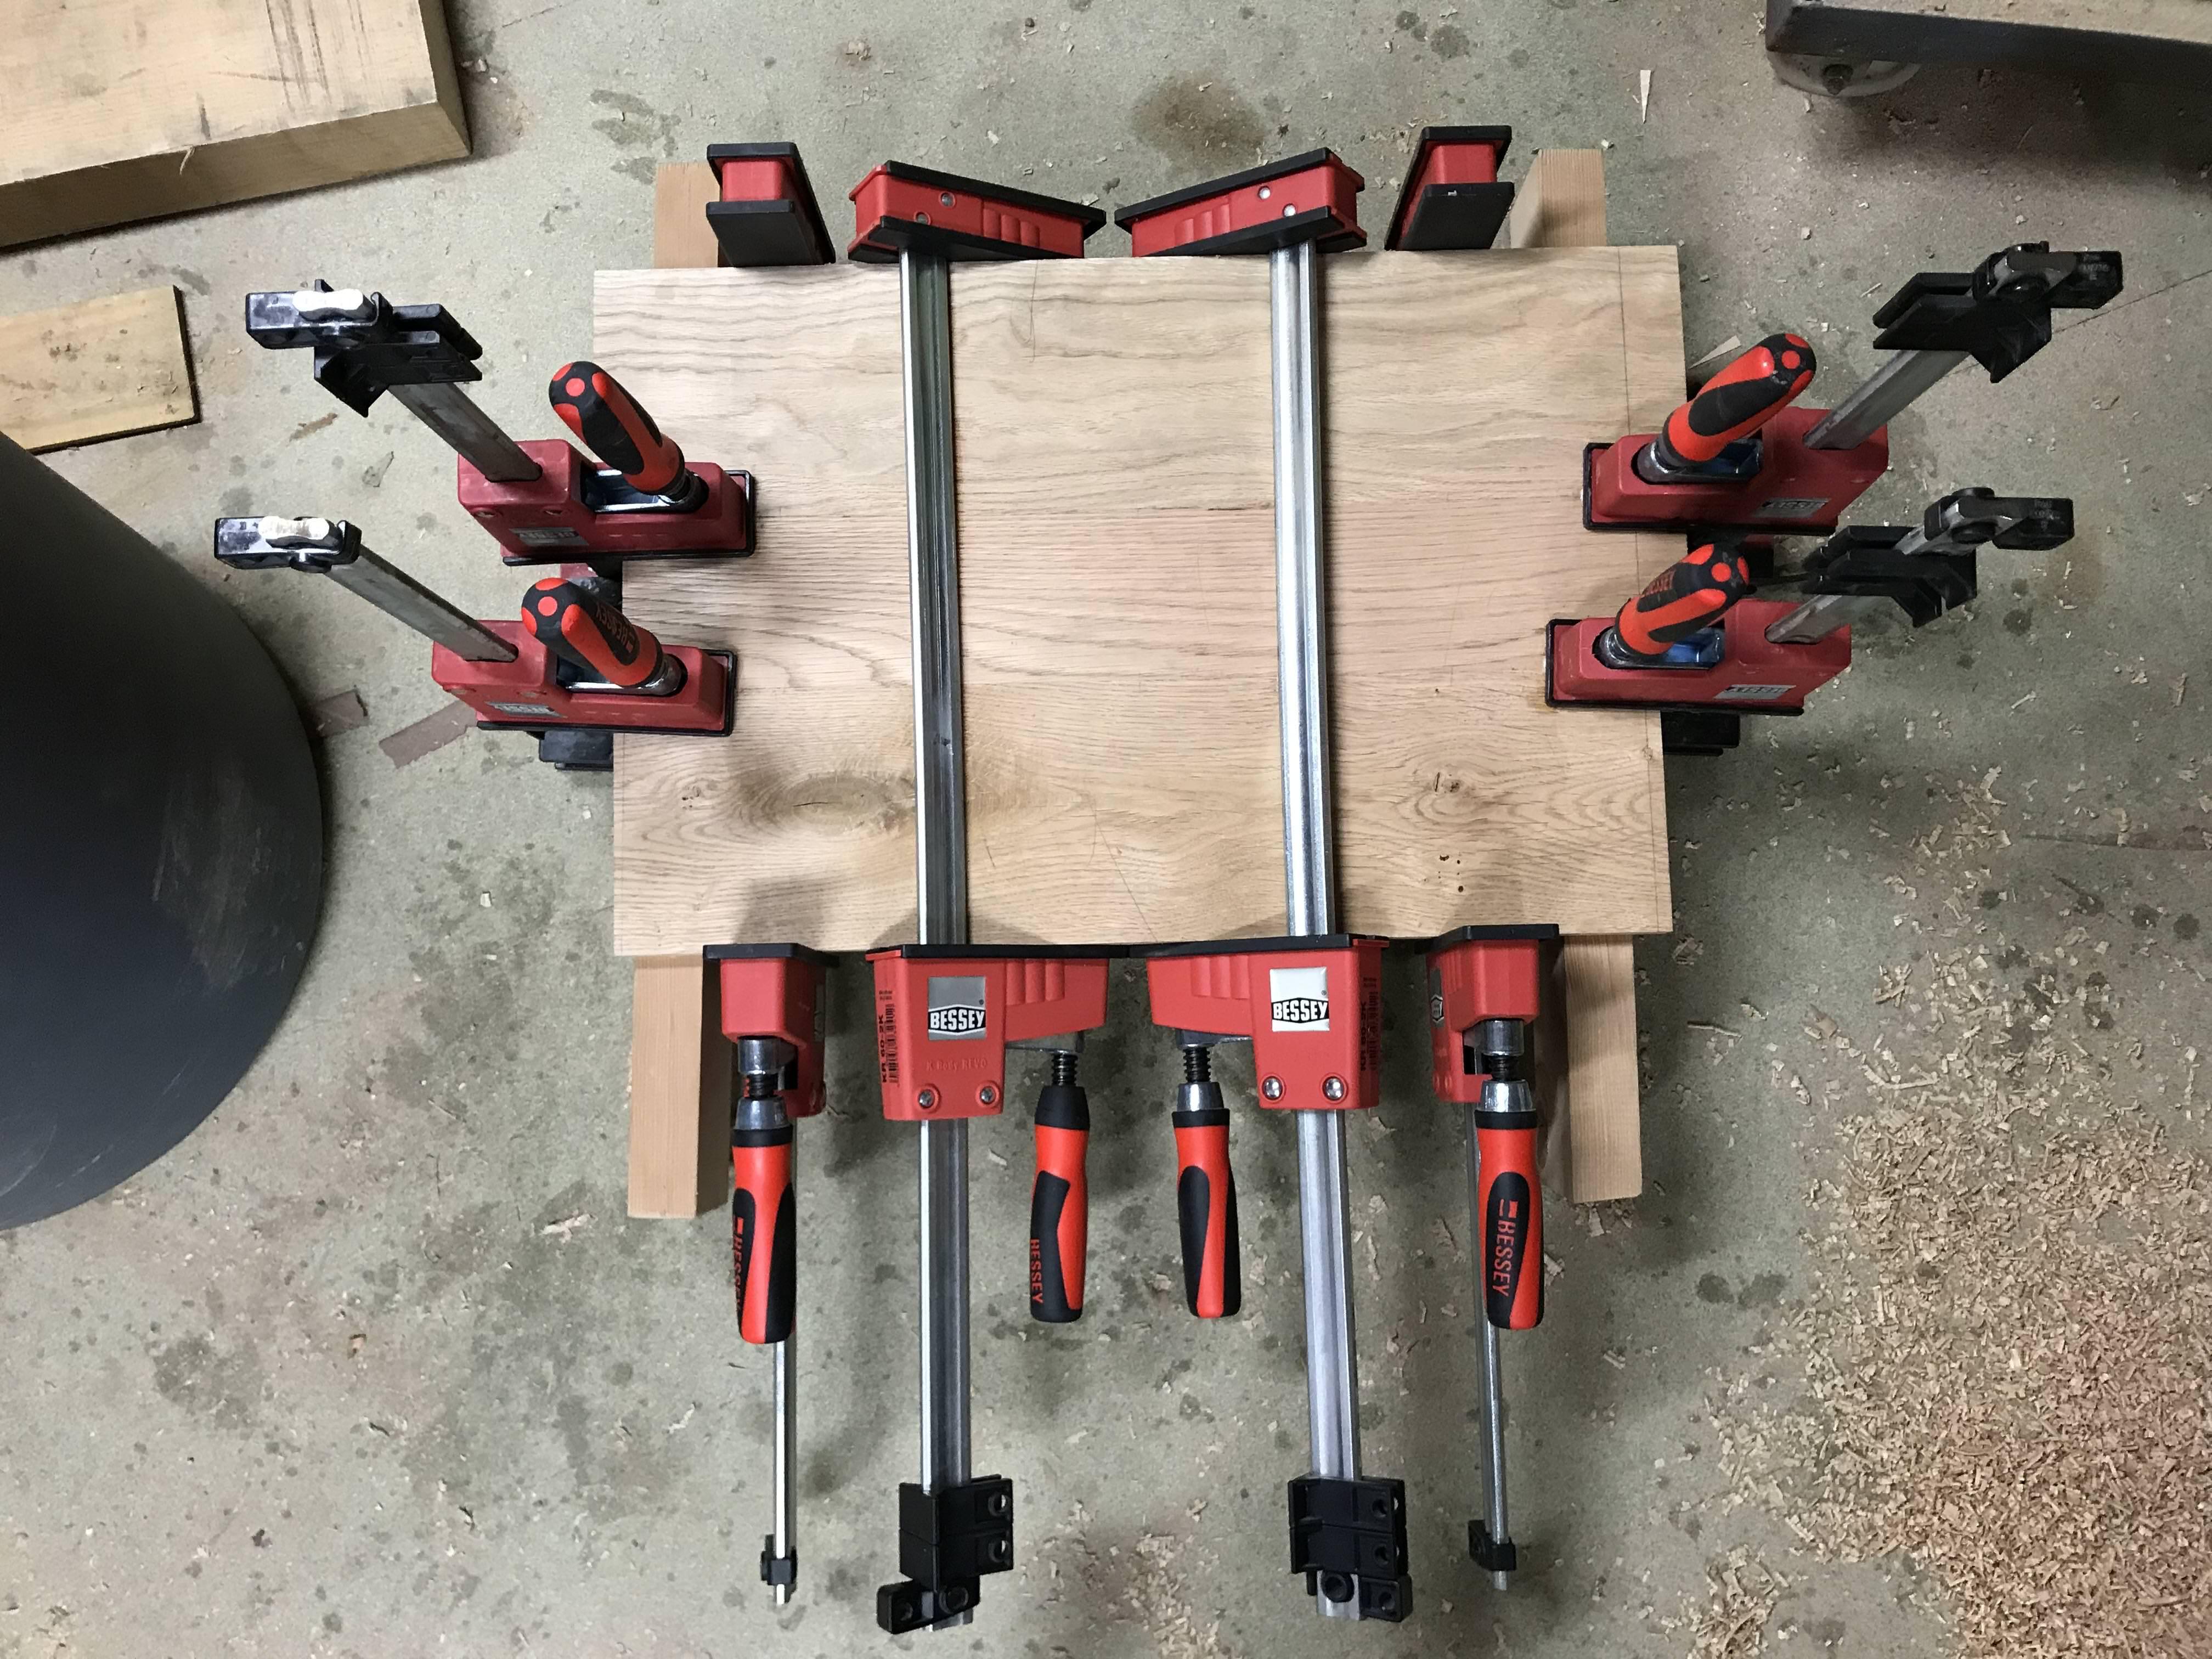
With the slots cut and the cramps out it was time to get gluing up:
Having left them to cook for a couple of days, the cramps came off and all was well (phew):
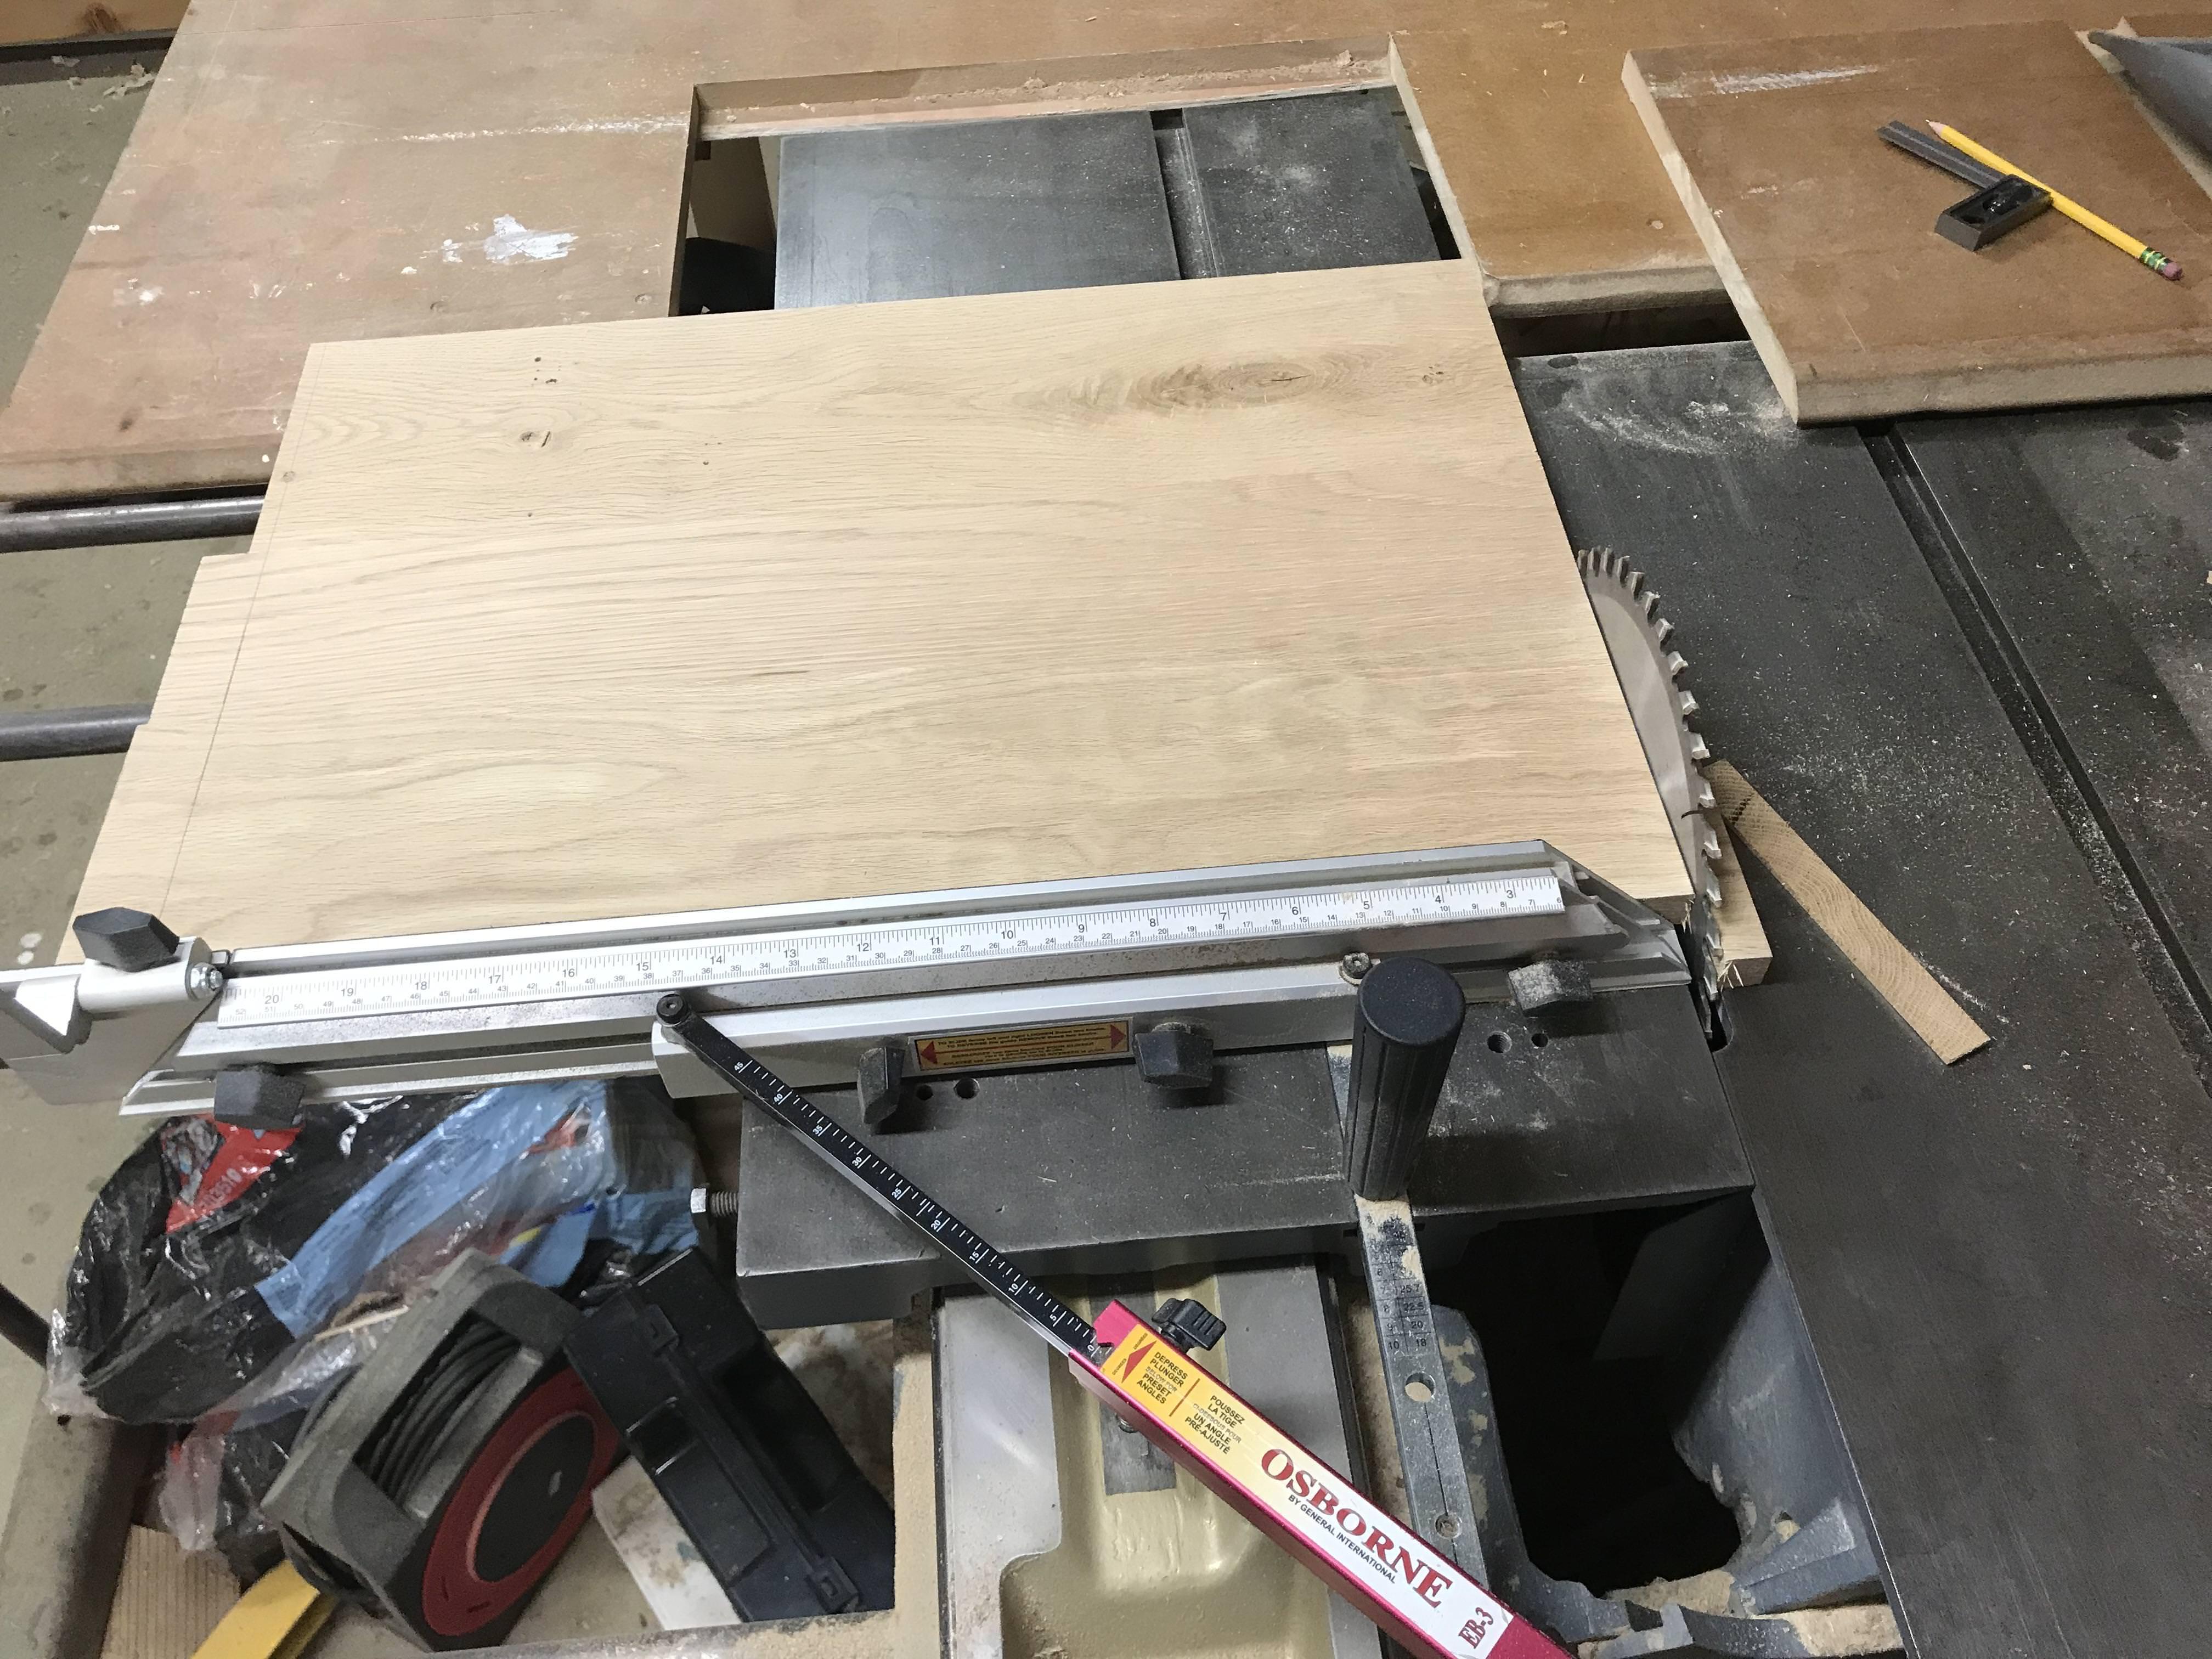
The glue up worked a treat but the panels were still overlong so I had to get them down to final size.
I did this using the sliding table on my old Wadkin dimension saw:
It's tiny compared to the PK's and PP's that others have but it handles jobs like this with aplomb and meets my needs perfectly.
On to the joinery; Now I doubt my eight year old will really take in the special nature of what I'm attempting (beyond "daddy made this for you with his hands and his love" etc.) but hopefully her older self will come to appreciate such things. And if she doesn't she'll be grounded until she bloody well does
. I'm going for single kerf, hand cut dovetails on the corners. Upon measuring up I found I needed 10 on each corner. "Bloody hell. 40 dovetails." was all I could think for a while as that's about twice as many as I've ever put on a project before. Anyway no sense in putting it off. Saw, saw, saw:
Chop, chop, chop:
I'm not that bothered about all of the tails having the same rake (1:6 or thereabouts here) but I am bothered about each tail being cut square across the board and that the shoulders should also be square to the faces (slightly undercut inside to make things easier though) :
With that done I used the masking tape technique various folks have written about to mark out the pins which works a treat IME:
As I wanted her to have this box before she got her driver's license I couldn't spend the time needed to chop them out by hand, so I lashed up a quick jig and wasted most of the stock out with a router:
with final cuts to my marks done with a paring chisel:
Checking each joint for fit as I went along:
Here is where I am to date:
The joints are nice and snug but I'm a bit worried about glue. I was planning on using TB Extend but I'm concerned PVA will grab under the pressure of the joints and make life difficult. Would hot hide glue work? I have some (pearls or rabbit skin I think) but have never used it. Any advice or critique gladly received. I'll hopefully have some more updates after the weekend.
Thanks for reading thus far and hopefully I haven't bored anyone to tears just yet!