Tilt Top Table Now Finnished Hope you like it

UKworkshop.co.uk

Help Support UKworkshop.co.uk:

This site may earn a commission from merchant affiliate links, including eBay, Amazon, and others.

worsley947

Established Member
Joined
1 Feb 2008
Messages
252
Reaction score
0
Location
Worthing
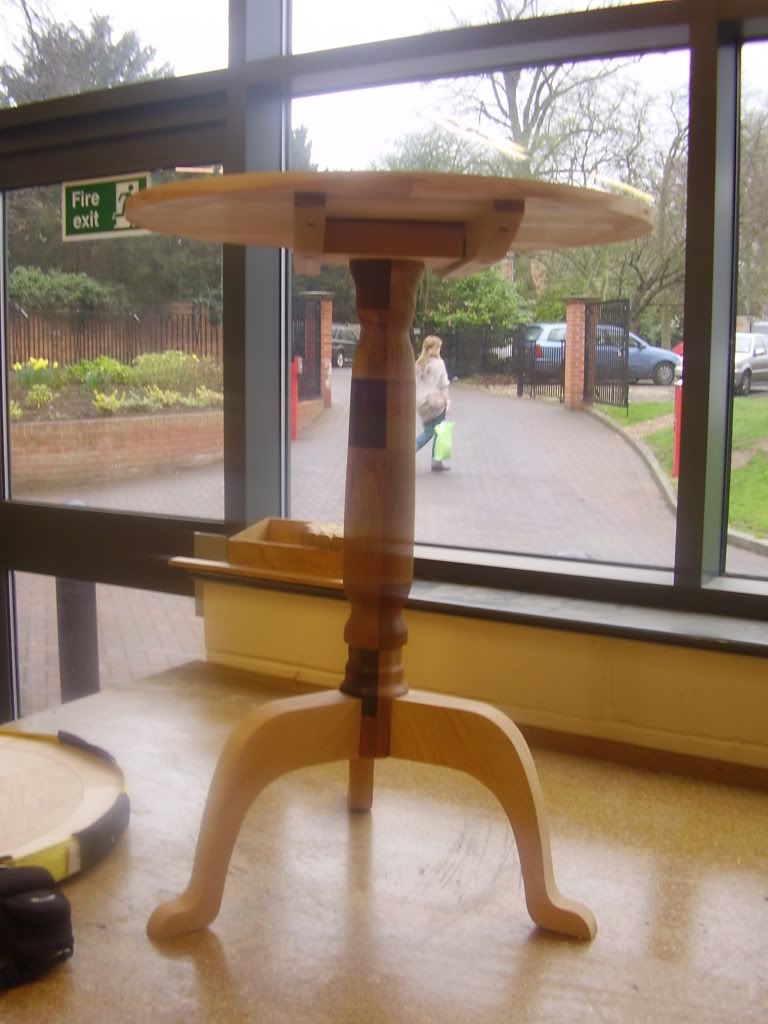
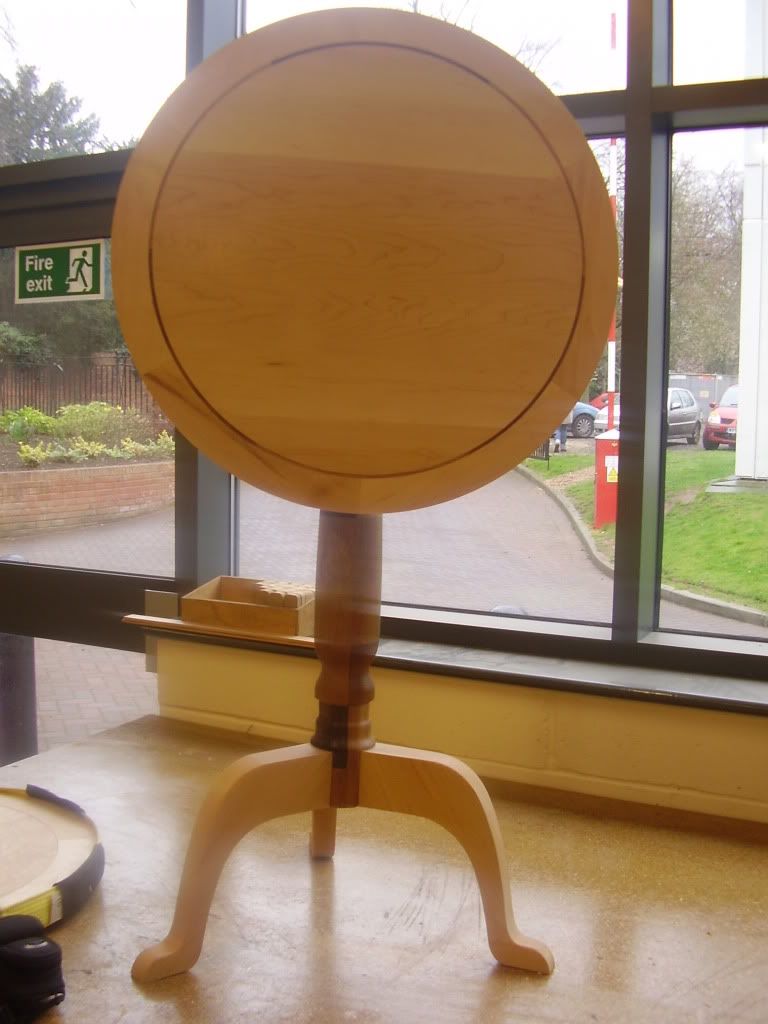
Latest college project a tilt top table made mainly from hard maple

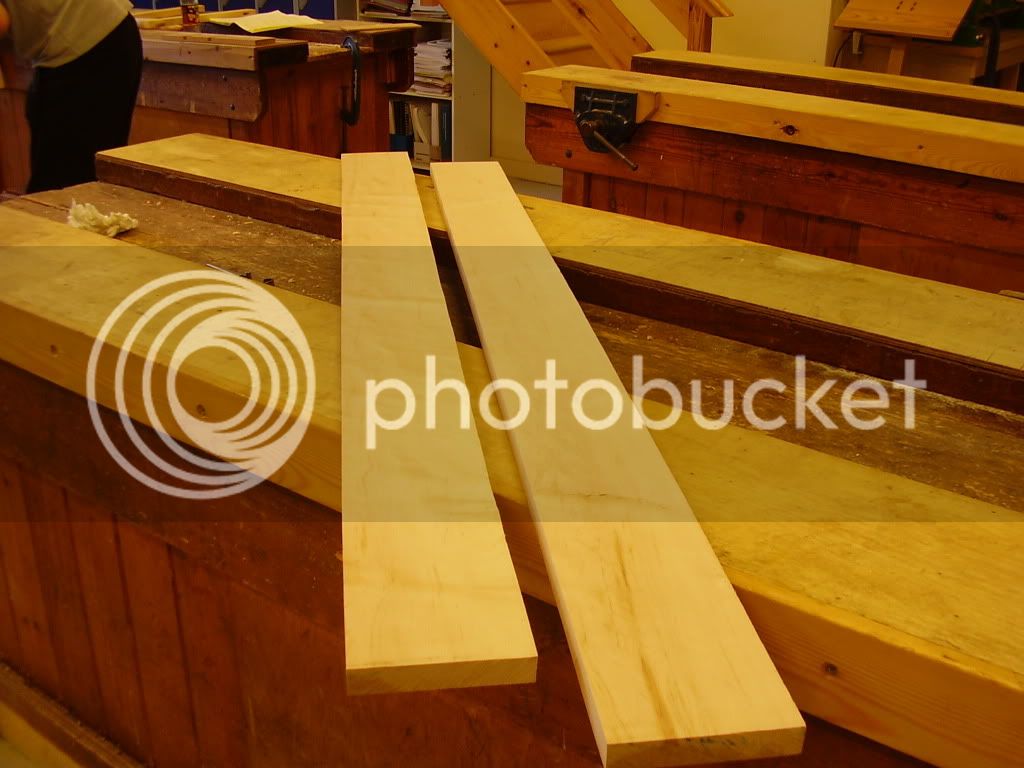
This is the timber that I started with
[url=http://i983.photobucket.com/albums/ae311/worsley947/P1100002.jpg]http://i983.photobucket.com/albums/ae31 ... 100002.jpg[/url]

Planed and ready for cutting
Tilt-toptable007.jpg


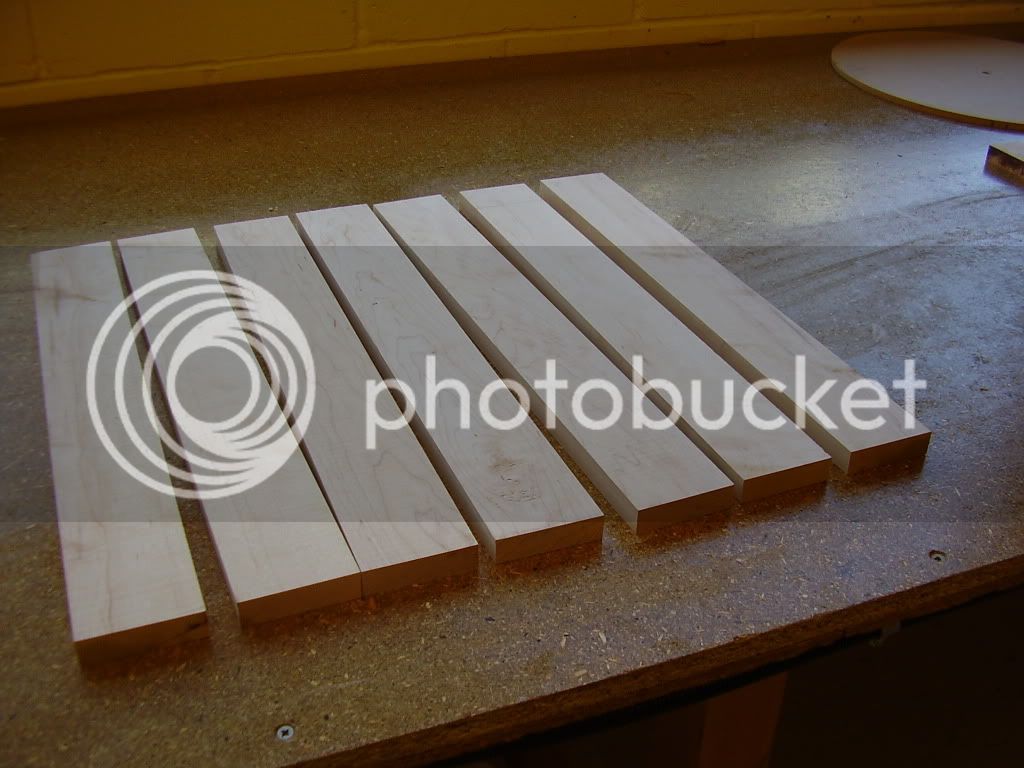
Cut into pieces ready for biscuit jointing to make central part of top
Tilt-toptable005.jpg


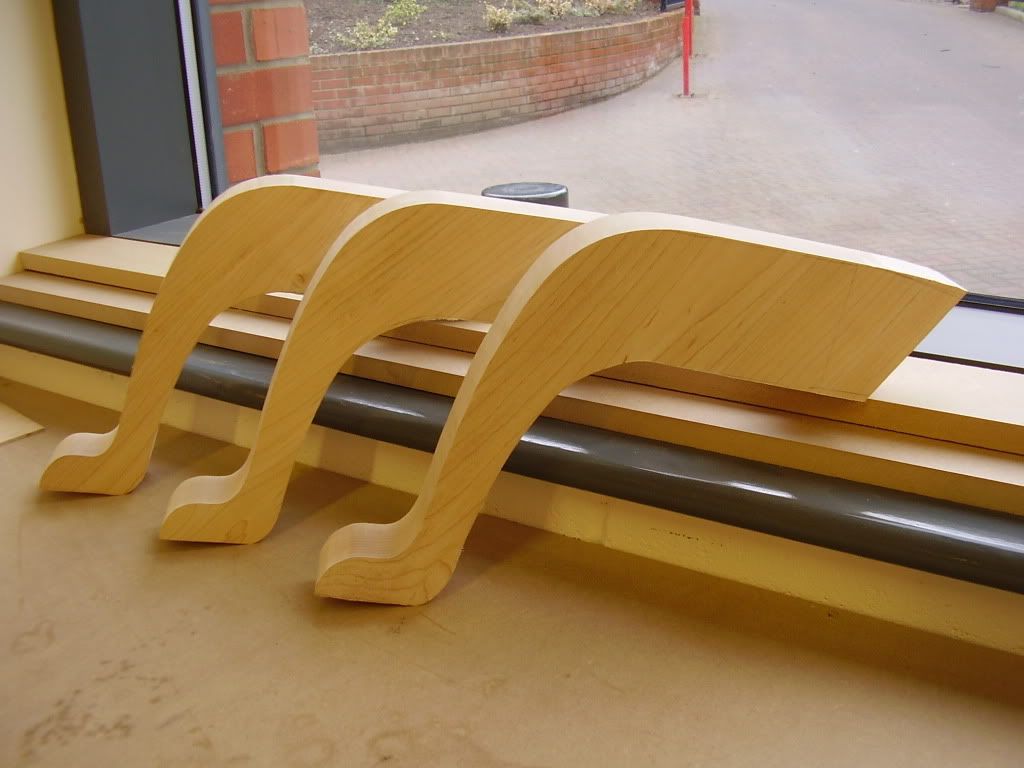
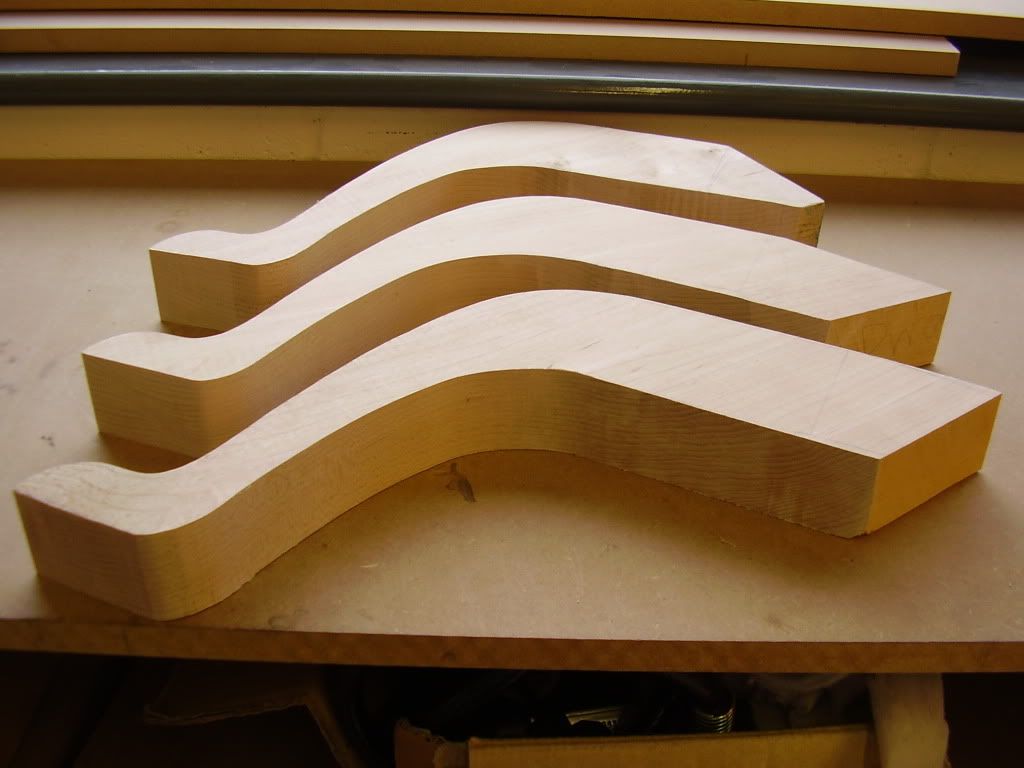
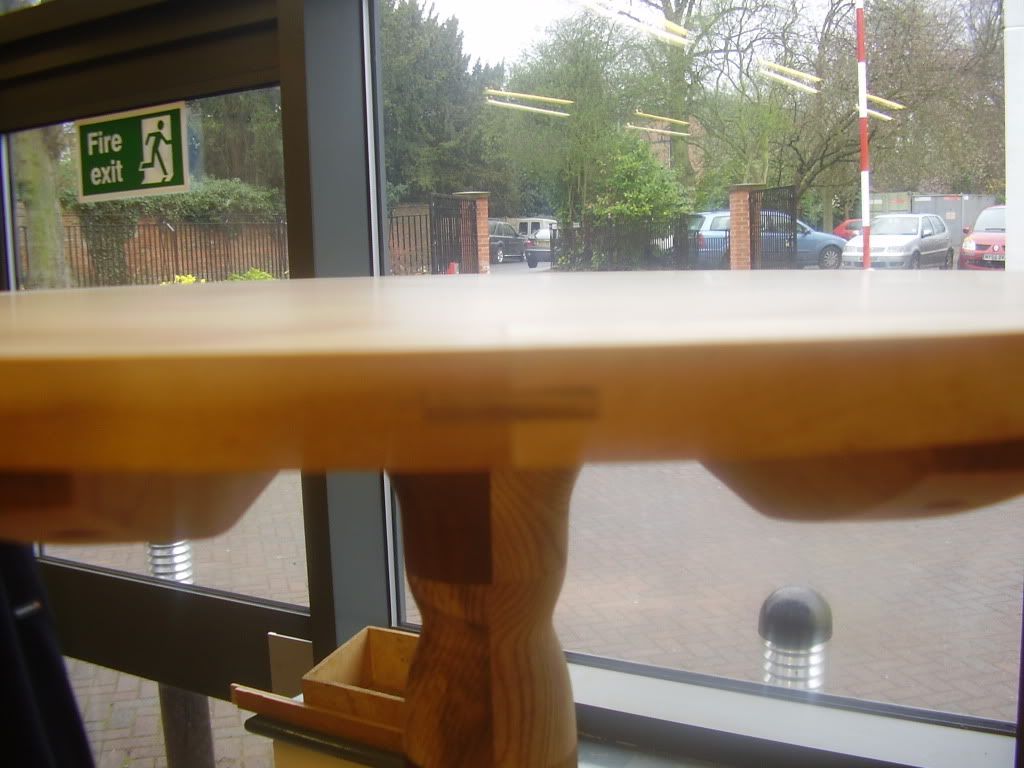
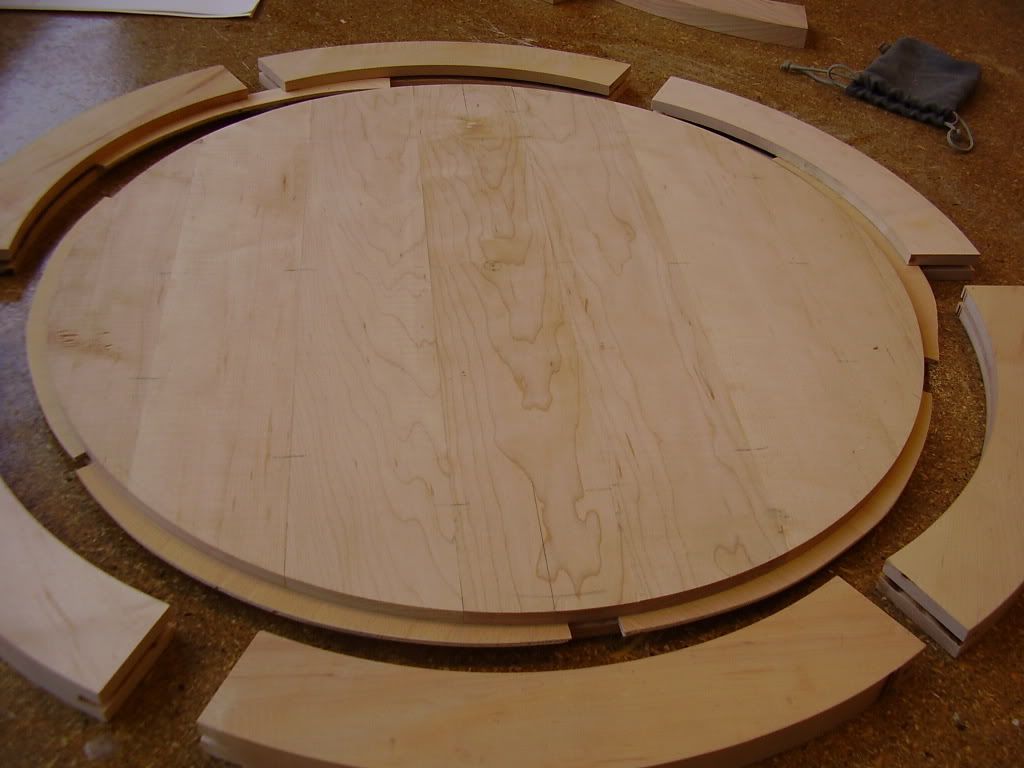
Cut out with router by hand, the bit to the right and left edge is where it broke out and I have glued back into place ready for the spoke shave
Tilt-toptable011.jpg


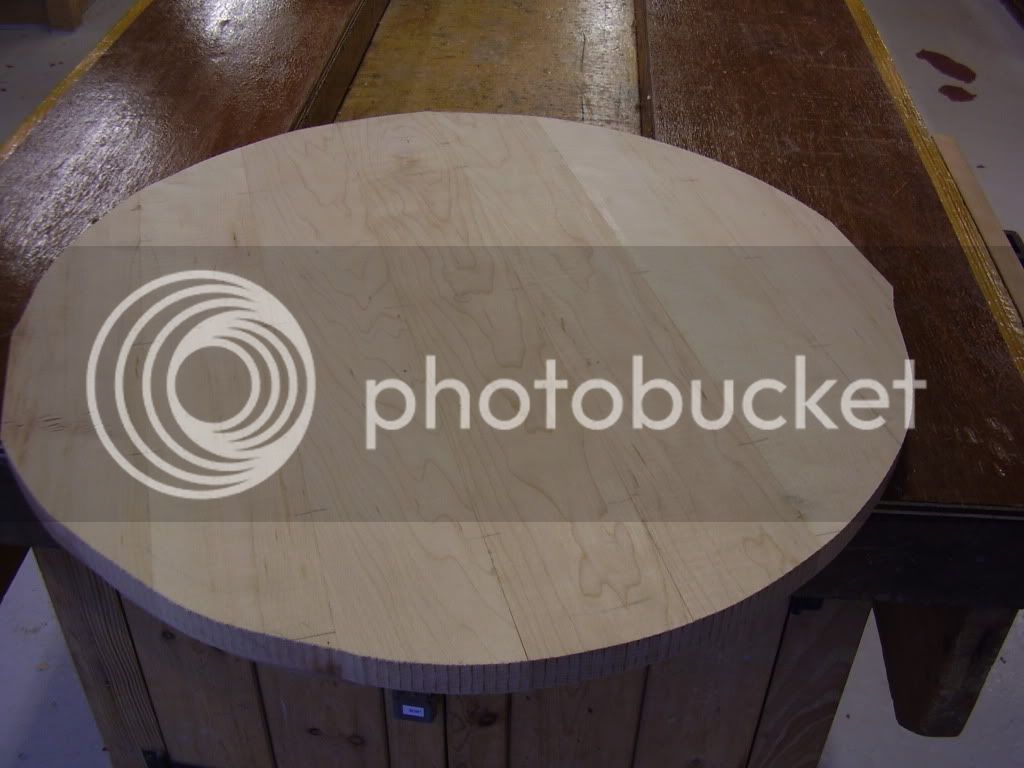
Lippings made on the spindle moulder and plywood tongues made
Tilt-toptable015.jpg


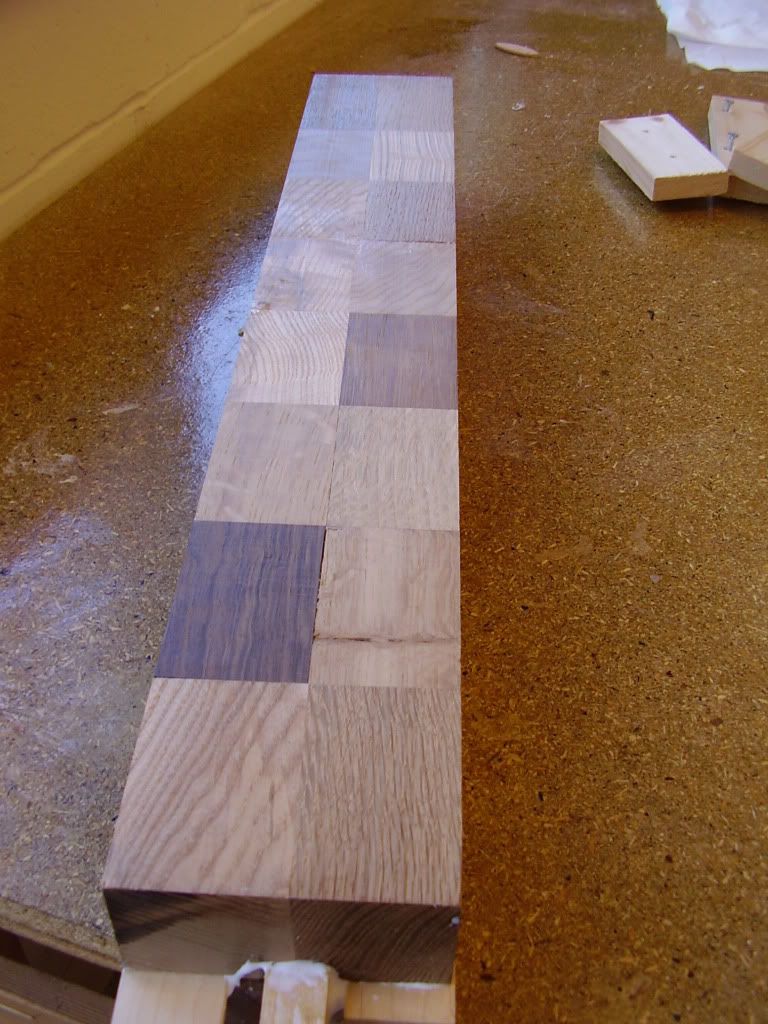
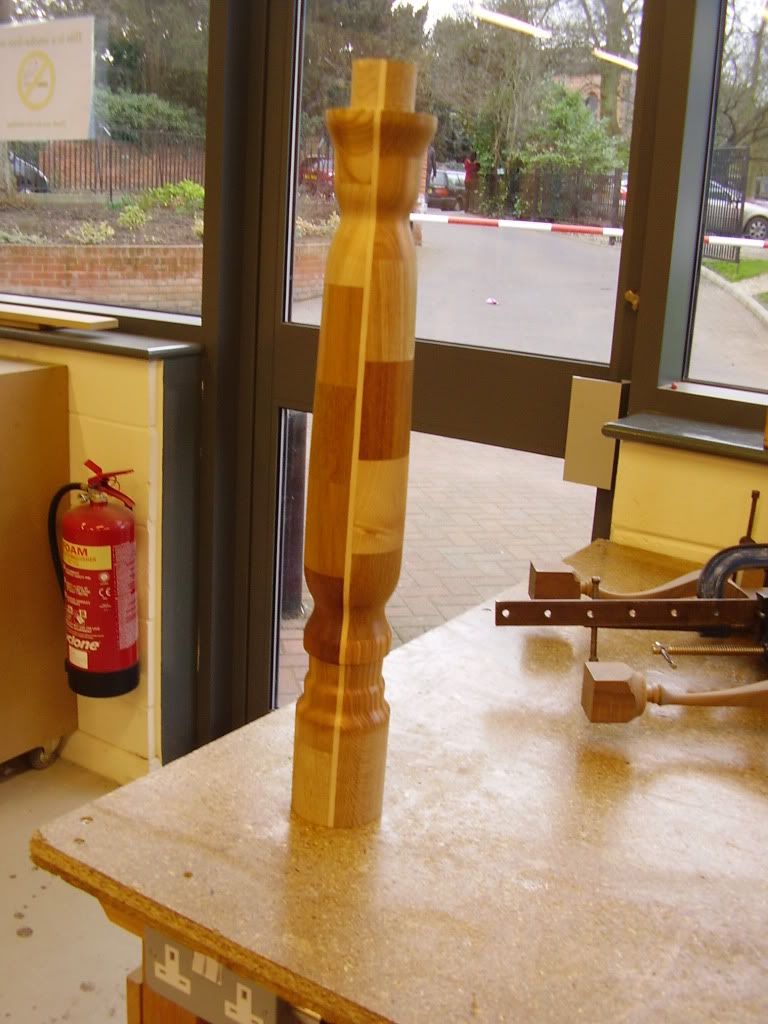
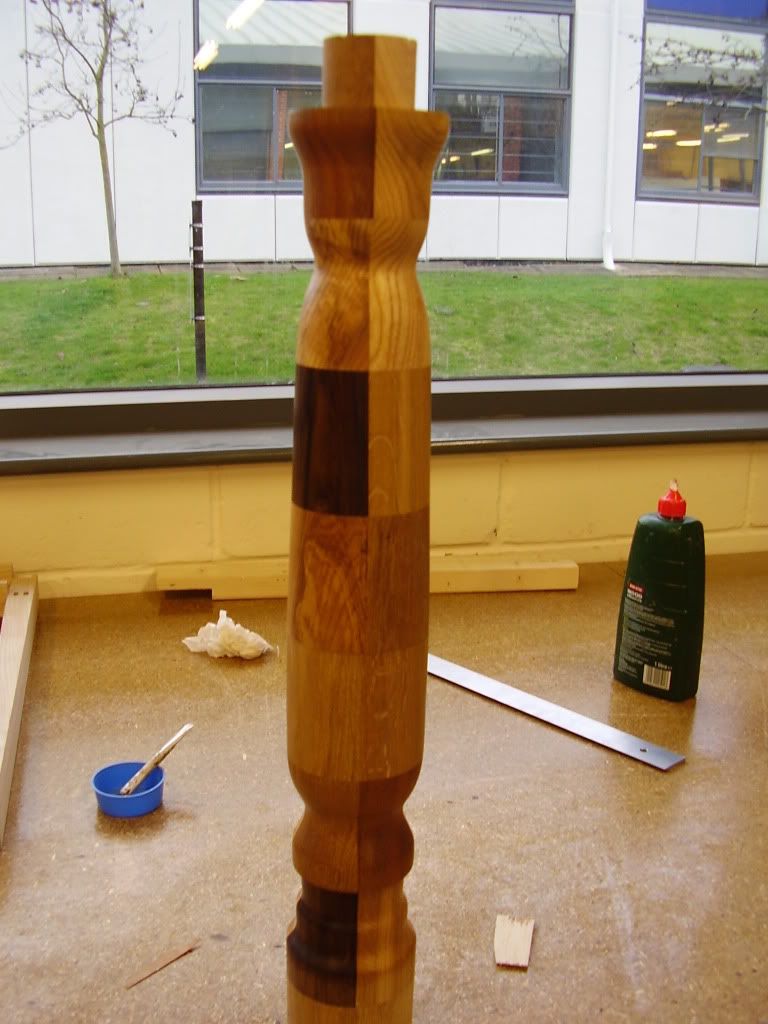
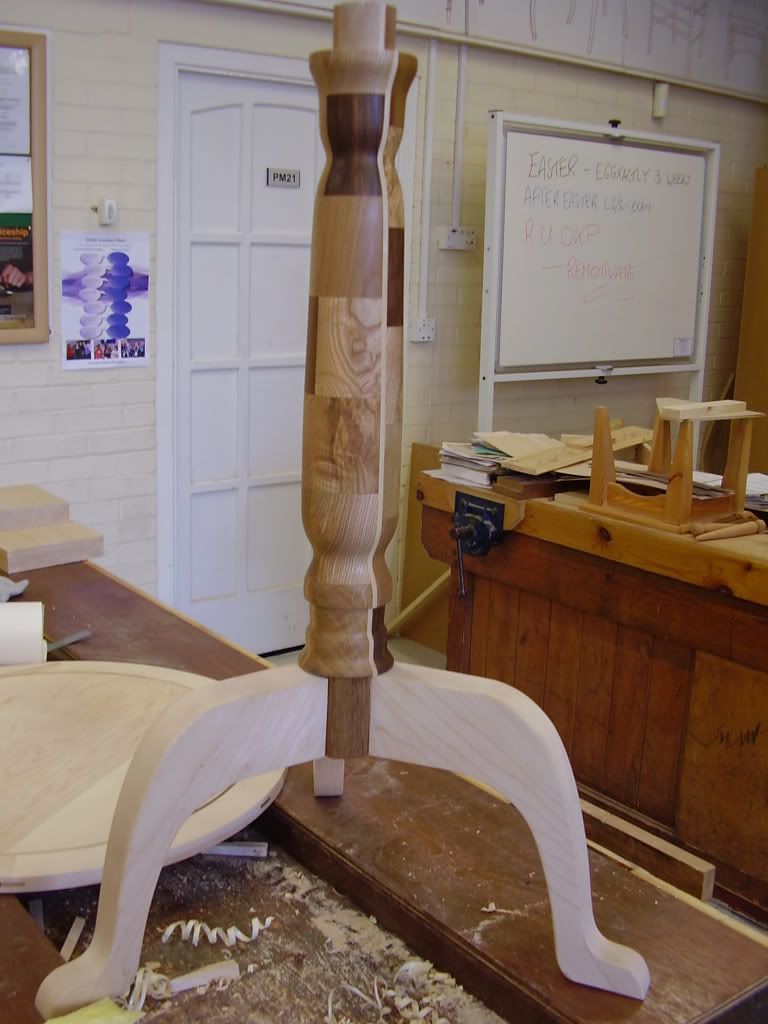
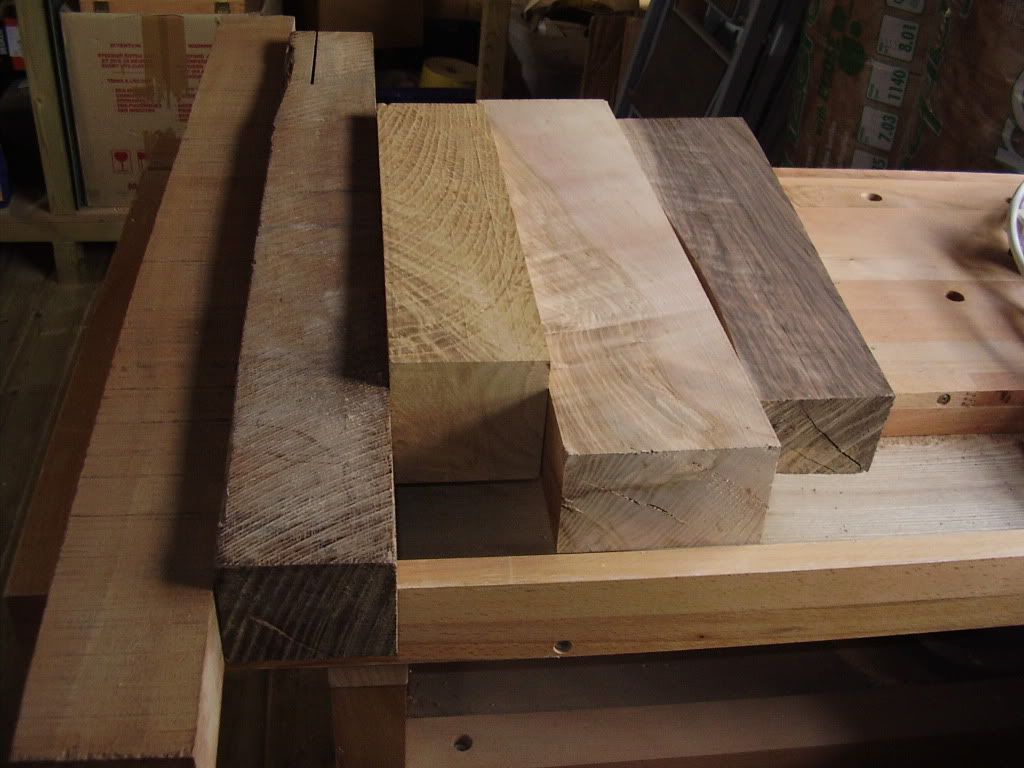
This is the some of different timber that I am useing to make up the central pedistal
Various types walnut, ash european oak, american oak iroko plus others
Tilt-toptable001.jpg


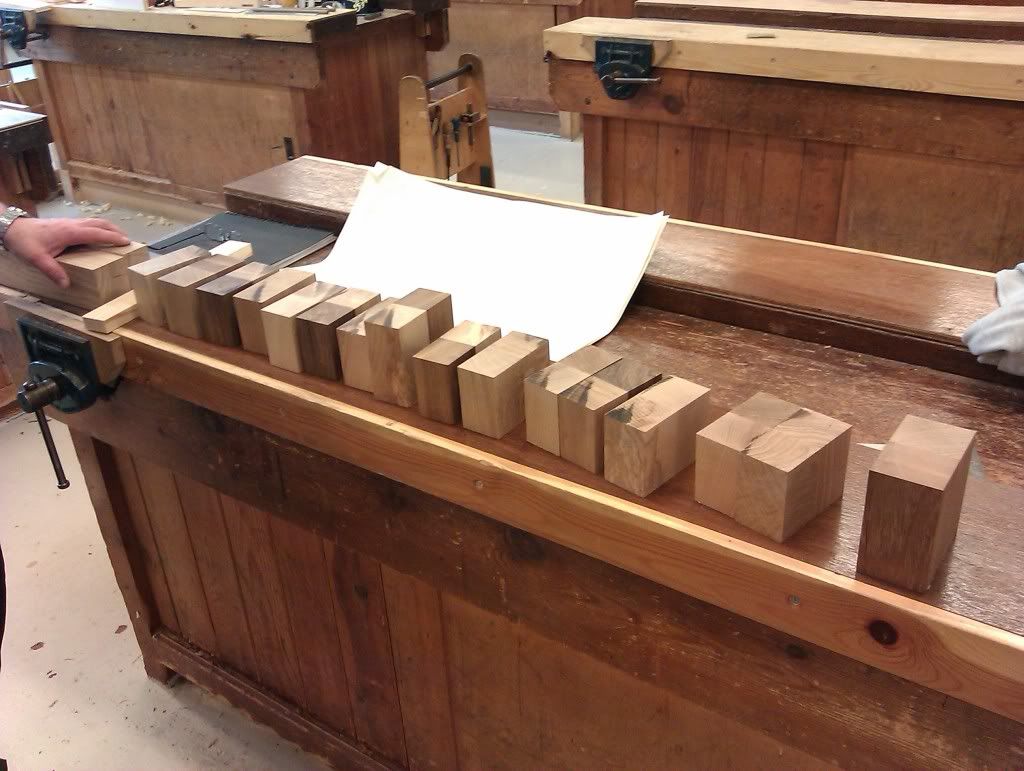
Some of the timber glued together to make up the pedistal, it will have an harliquin effect
I hope
IMAG0007.jpg


More to follow
Any thoughts most welcome good or bad

Dave
 
Looks good so far, I like the top, very nice. I would like to understand the construction of the pedestal , if you could explain that :)
 
Hi Mark and Dan, what I have done so far is to glue the different types of timber in various lenths to gether to form a pieces that are 4x2
then I have cut them down into 3" long pieces as in the last photo with 2 that are 4" long, I have then glued these pieces together end grain to end grain to make to 2 off 4x2 x 25" long these have been glued with casamite glue (think thats how its spelt) which will give me 2 halves if you like
When dried I will plane all the sides square, then down the the center of each half I will router out a 20mm wide by 10mm deep groove and insert a spine of timber and glue both halves together but the 4" peices will be at opposite end so that the blocks will overlap adding to the strenth when I turn it on the lathe, this will then give me a 4x4x25 piece to turn
I will take more photos tomorrow that might explain it a bit better
I am hopeing this is going to work or it will be a visit to the wood yard for a solid piece to turn the pedistal
Dave
 
I love the idea Dave, I've never done any end-grain gluing like this before though. I would be worried about the glue joints failing, the blocks overlapping each other will help the strength obviously. But as I say, I've never glued up anything like this so I'm sure it'll be fine. Hope it ends up as good as the picture in my head mate :) Good luck with it. _Dan.
 
Looks like an interesting project. Please keep the pictures coming.
I'm not quite sure as to how your going to stop the top moving though and thus ruining your nice edging?
 
Sorry no photos as the batteries went dead but will take some more next week at college
Matty sorry I dont understand what you are saying re stopping the top from moving
Dave
 
Here are the latest photos of my wip Hope you enjoy your comments are most appreciated

Both halfs glued together with a maple spine that you can just see at the bottom of the photo
[/IMG]http://i983.photobucket.com/albums/ae311/worsley947/P2140019.jpg[/IMG]

Had a small gap after timber spine had swelled so I put a groove with the spindle moulder down oppsite sides and added in a thin piece of maple
http://i983.photobucket.com/albums/ae31 ... 140020.jpg[/IMG]

Started to turn on the lathe
http://i983.photobucket.com/albums/ae31 ... 160025.jpg[/IMG]

Finnished pedistal sanded and oiled
http://i983.photobucket.com/albums/ae31 ... 170027.jpg[/IMG]

http://i983.photobucket.com/albums/ae31 ... 170029.jpg[/IMG]

Feet/Legs cut out and reasdy for shaping
http://i983.photobucket.com/albums/ae31 ... 170031.jpg[/IMG]

http://i983.photobucket.com/albums/ae31 ... 170030.jpg[/IMG]

Thanks Dave
 
Looks an interesting project and will be intrigued to see the finished result, just be a little careful with the short grain in the legs particularly with the weight of that solid top.

Rog
 
worsley947":1nnaor1g said:
Here are the latest photos of my wip Hope you enjoy your comments are most appreciated

Both halfs glued together with a maple spine that you can just see at the bottom of the photo
P2140019.jpg


Had a small gap after timber spine had swelled so I put a groove with the spindle moulder down oppsite sides and added in a thin piece of maple
p2140020.jpg


Started to turn on the lathe
CopyofP2160025.jpg


Finnished pedistal sanded and oiled
p2170027.jpg


copyofp2170029.jpg


Feet/Legs cut out and reasdy for shaping
P2170031.jpg


CopyofP2170030.jpg


Thanks Dave

There you go Dave, BTW nice table

Steve
 
Legs now made and fitted with sliding dovetails
P3030003.jpg


Table fully assembled with top on
P3090006.jpg


Stringing detail, I used 6 differant types of timber to tie in with the pedistal
P3090007.jpg


Small wedge detail in edge of top x 6 off each matches the same type of timber in the stringing
P3090008.jpg


Hope you like it and I awaite all you coments good and/or bad
Many thanks for looking
 
I like the idea of using contrasting timbers for the pedestal, with the spline running through to tie it all together. I not keen on the shape of the legs, and feel the curve is a bit severe for my taste. I like the top with the inlay, looks good, would be interested in seeing it after it's been indoors for a bit.
 
Looks great. It really makes it more interesting with the various timbers. Nice bright workshop you have there. :lol: :wink:
 
Back
Top