Fishandchips
Established Member
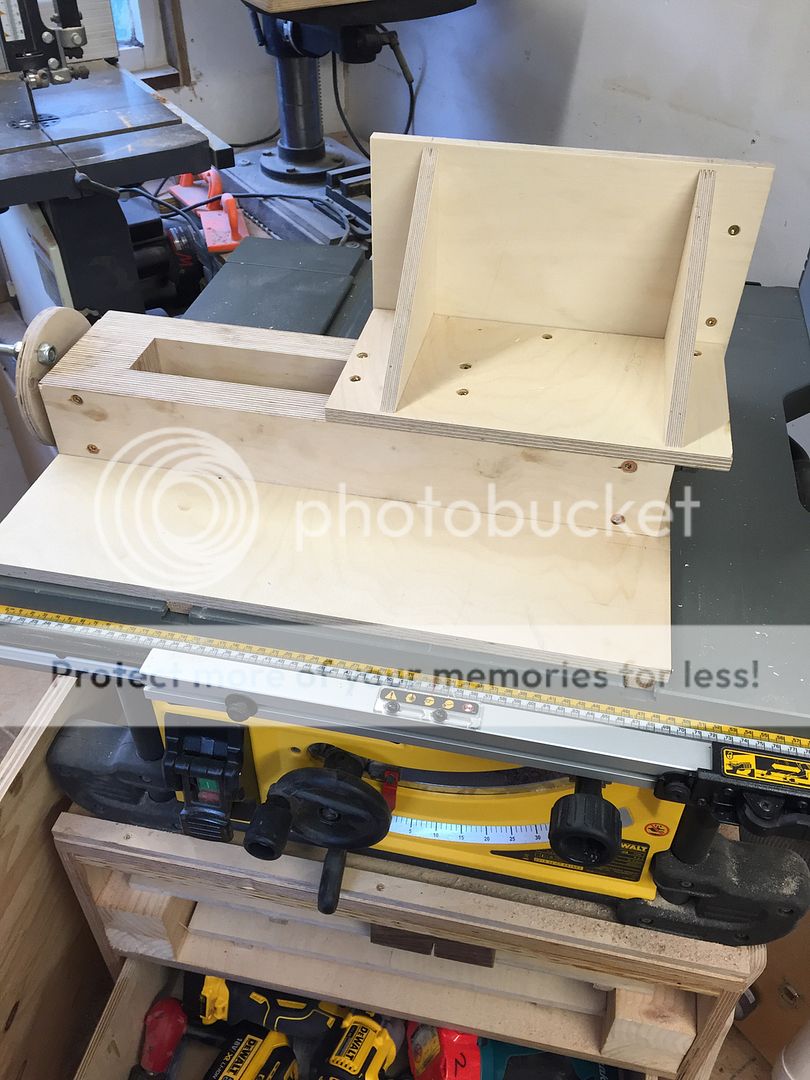
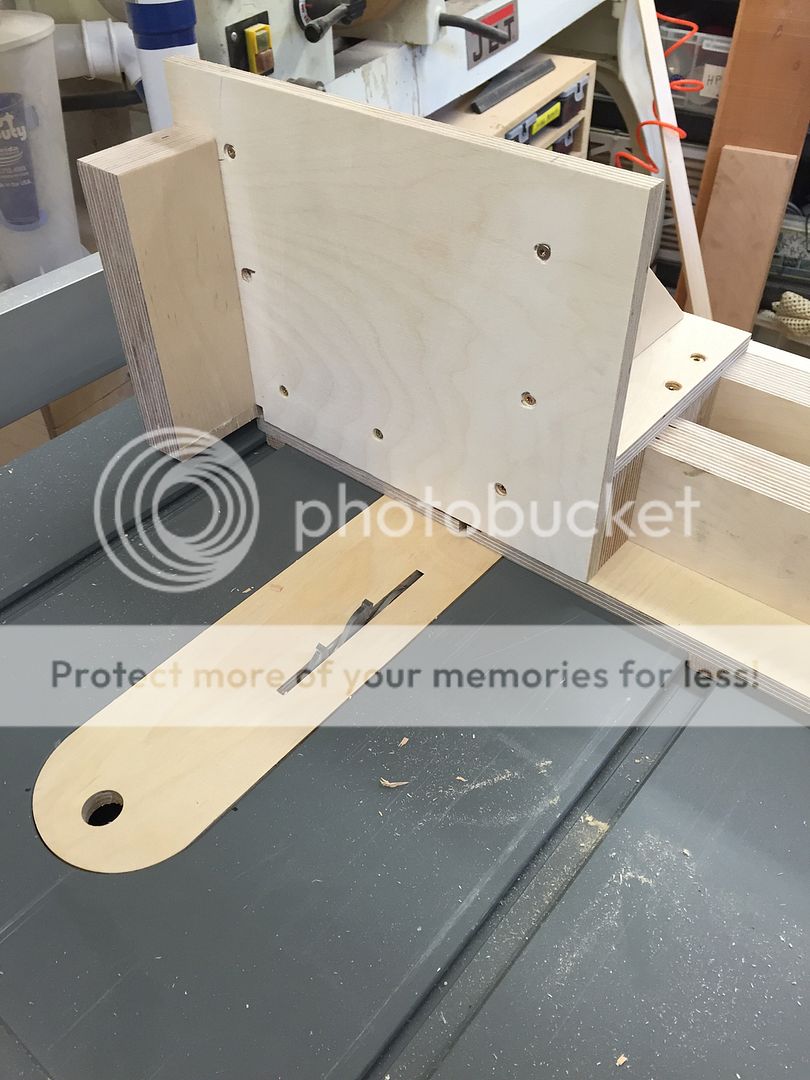
I have been planning to make this jig since I bought the threaded rod over a year ago.
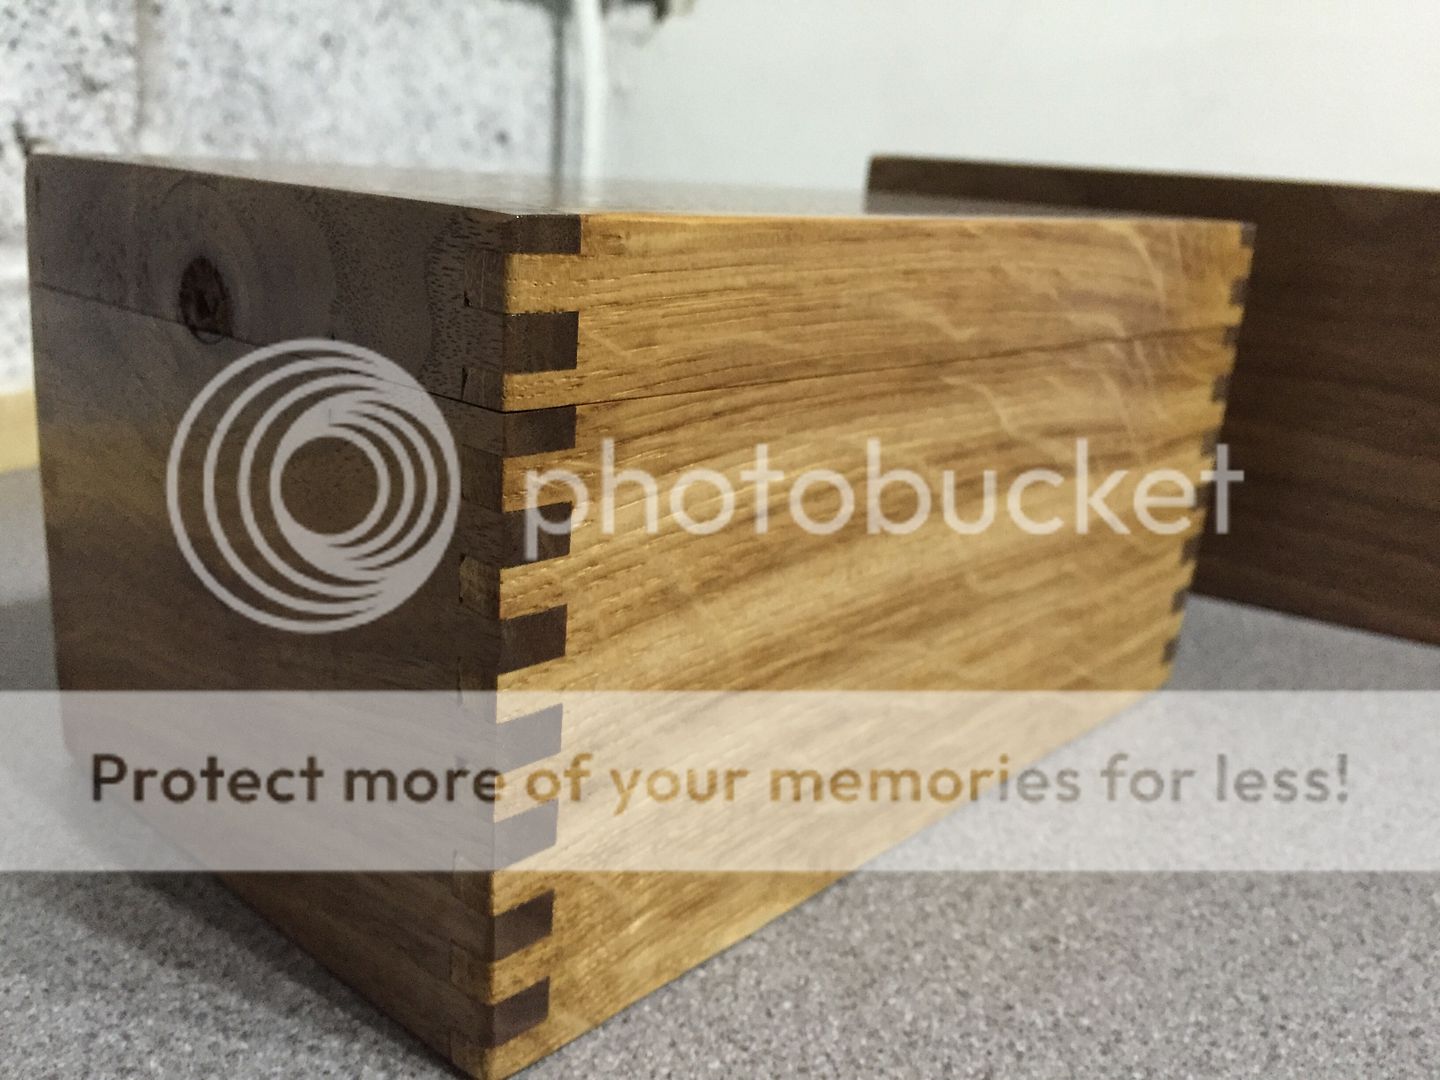
The threaded bar is m16 and one complete revolution = exactly 2mm, I was originally going to buy a dado set for the saw but my new saw does not support one so I opted for a 6mm grooving saw blade which fits very well for this purpose (also works really well for drawer bottoms), I was looking for a solution that devided by 2mm easily and the blade is exact 6mm.
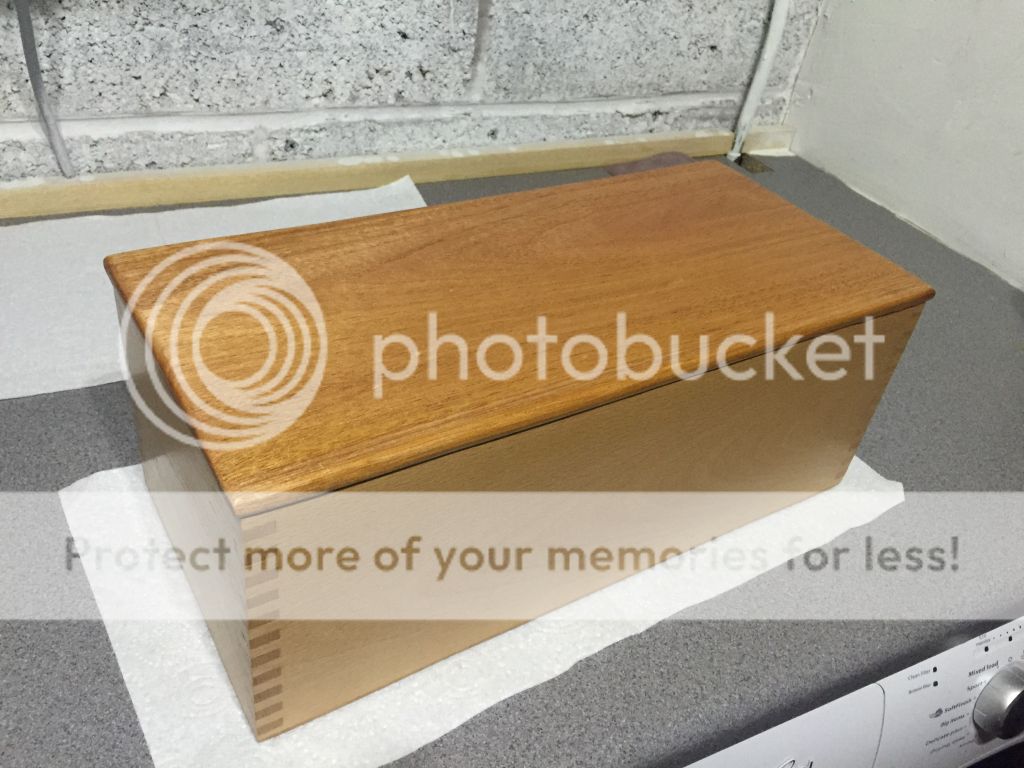
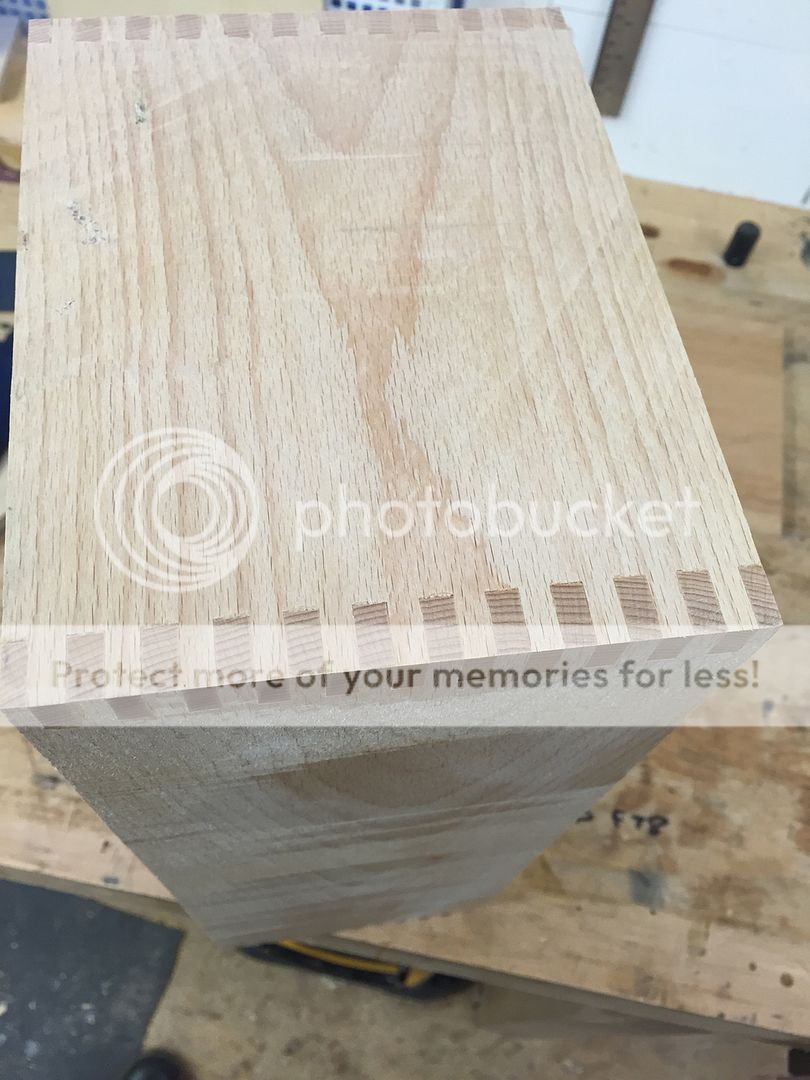
See the last pic is the first box joint I made
Cheers for looking.

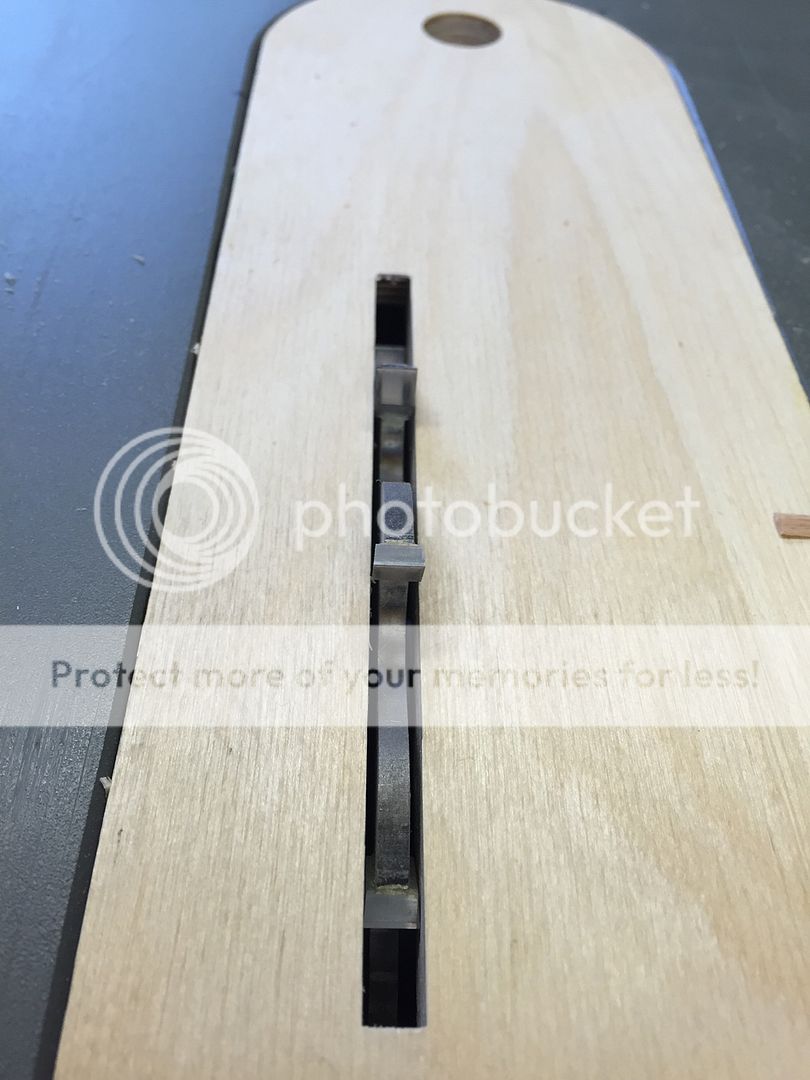
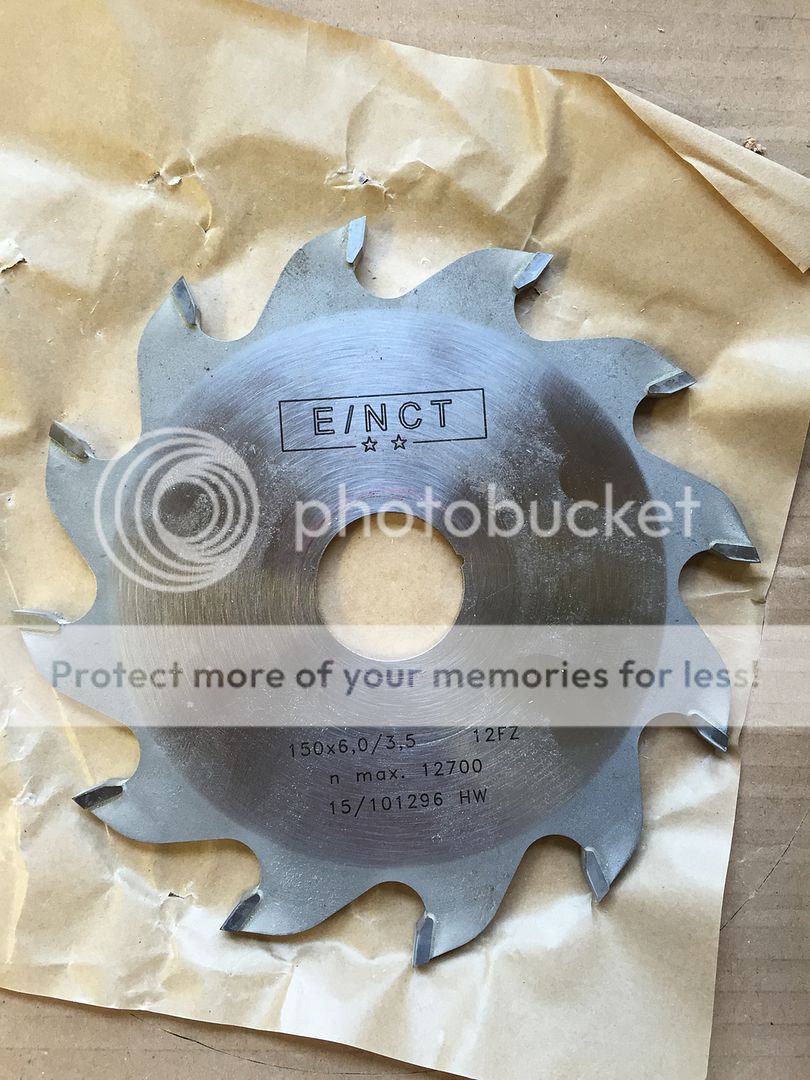
The threaded bar is m16 and one complete revolution = exactly 2mm, I was originally going to buy a dado set for the saw but my new saw does not support one so I opted for a 6mm grooving saw blade which fits very well for this purpose (also works really well for drawer bottoms), I was looking for a solution that devided by 2mm easily and the blade is exact 6mm.
See the last pic is the first box joint I made
Cheers for looking.