started a new box with another idea

UKworkshop.co.uk

Help Support UKworkshop.co.uk:

This site may earn a commission from merchant affiliate links, including eBay, Amazon, and others.

devonwoody

Established Member
Joined
11 Apr 2004
Messages
13,493
Reaction score
25
Location
Paignton Devon
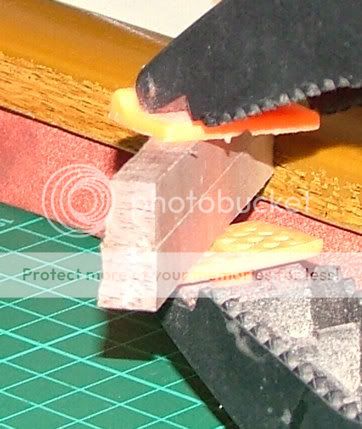
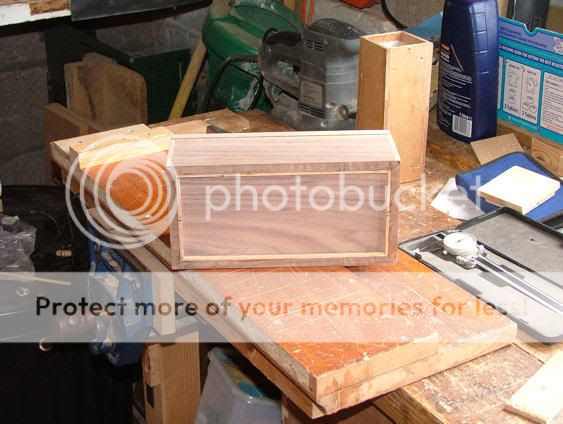
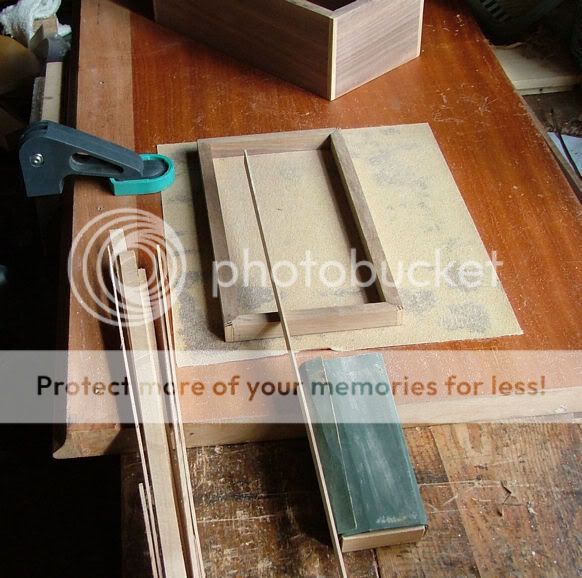
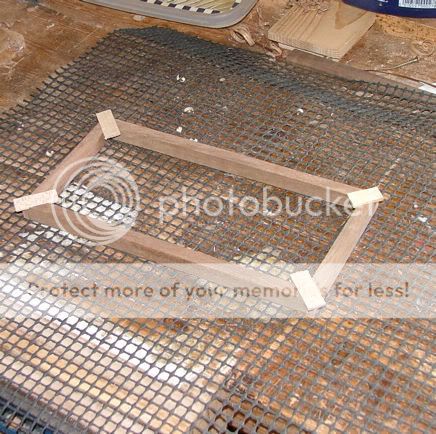
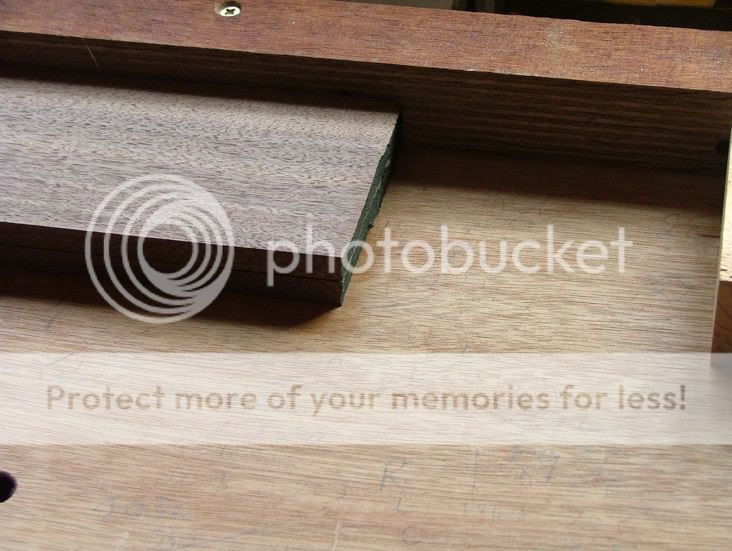
My Triton won't cut mitres for box corners so I did a trial run cutting a piece of scrap sycamore on my SCMS saw glued the two pices up with that PVA & super glue tip from last week, then I cut a rebate (4mm) out of the corner mitre as an experiment. Picture below.

wb1.jpg


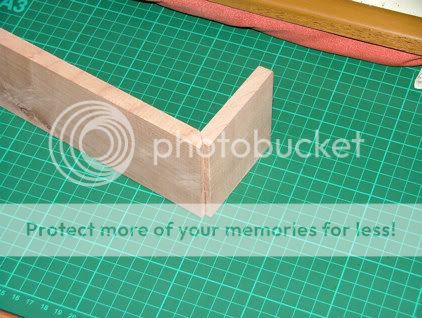
I would then use a contrasting timber and hopefully it will disguise any shortcomings on this type of joint.

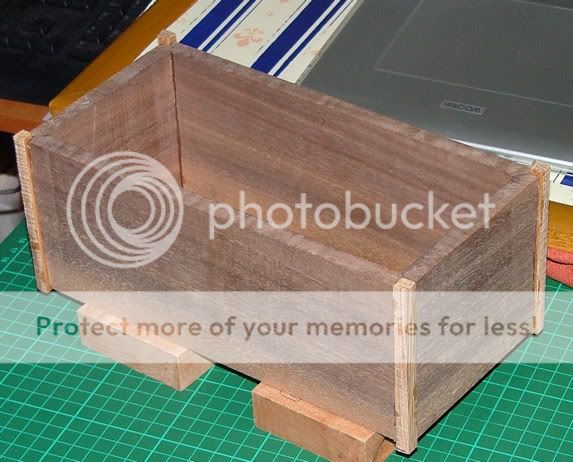
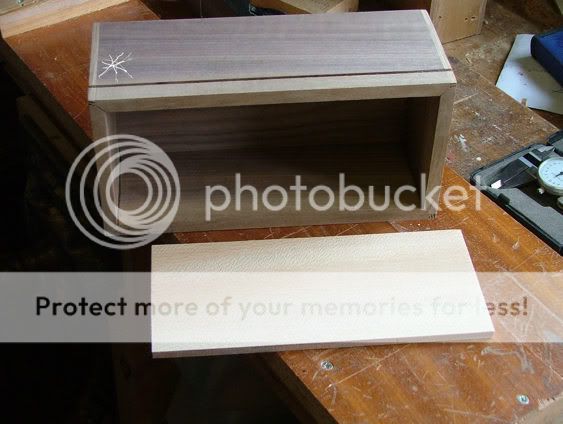
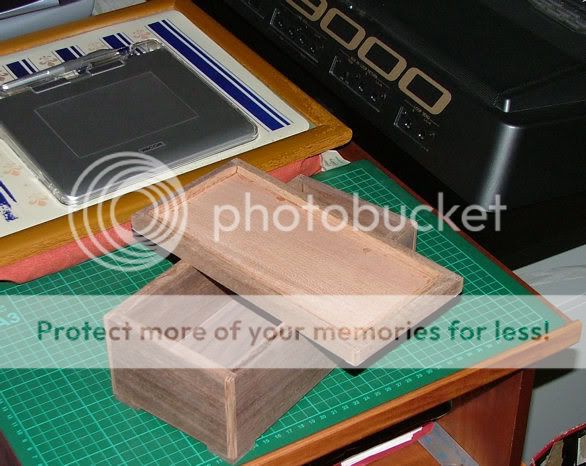
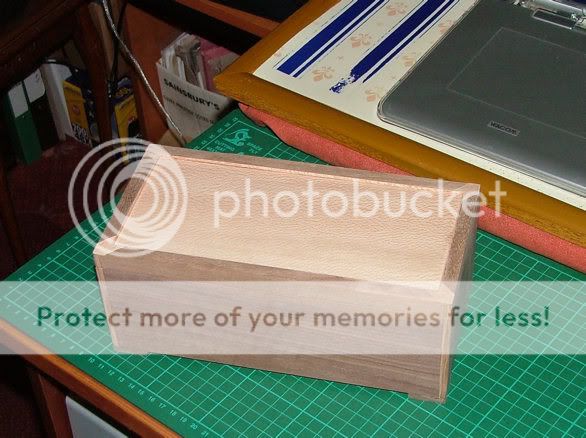
Popped out the workshop again before TV for the evening commences and prepared some black walnut that was just over 25mm thick and finished up with two prepared pieces 10 mm thick as per next pic.

wb2.jpg


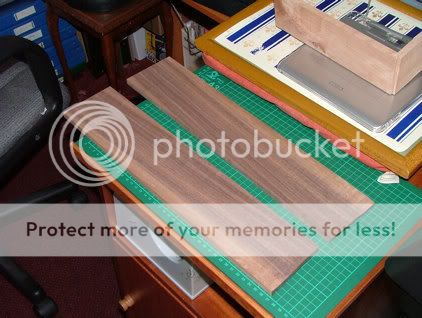
Going out the workshop in the morning again and hopefully the walnut has remained stable.

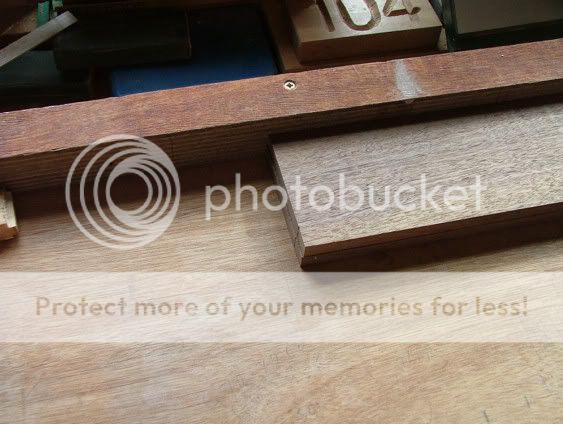
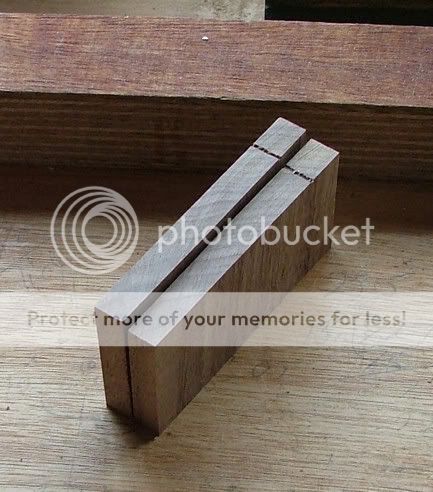
Hope to post more pics tomorrow.
 
DW, have you tried the Triton in cross-cut mode for doing the mitres? I have a Triton Workcentre but with the dust bag fitted it is a bit of a pain to switch from the table saw mode, so I have tended not to bother. I do regular cross cutting with a cross-cut sled, which works really well, but as you say there is no blade tilt for mitres. I just wondered if I was missing something by not utilising the cross-cut mode more.
 
White house thanks for the confidence boost!
GeorgeN it is a pain taking off the dust covers to go into crosscut mode but they are required. However my corner mitres for boxes usually exceed 75mm so that method would not work for me unless I divided the side pieces in half and then reglued.


BUT WOULD YOU BELIEVE THIS?

length1.jpg


L2.jpg


l3.jpg


I am still flabbergasted, those two pieces of black walnut were put on the bandsaw last night from a 16" single piece of timber and resawn.
prepared on the P/T and brought indoors overnight to maintain moisture content yet one piece has definitely grown over night..

What would have happened if I had continued working on them last evening and done corner joints the box would have danced across the floor or something.
Your comments welcome.
 
Not sure I can see how the timber shrunk along the grain overnight. Surely something must have moved or been misaligned during cutting. I'm also not sure what you mean about greater than 75 mm mitres on the Triton in cross-cut mode. It will cross-cut up to about 400 mm. Unless you mean >75 mm in thickness (Very hefty box), or do you gang the pieces together?
 
devonwoody":c5z4mbqm said:
yet one piece has definitely grown over night

Don't think so - wood only expands and contracts across the grain and frankly if they are off the same plank stored next to each other in the same site then I think that what you are looking at there is user error :roll:

Cheers

Tim
 
GeorgeN, Yep I forgot that I can tilt the blade to 45%, so will give it a try in the future.

Tim I know what you are saying, but that timber definately did not have a crosscut after being resawn so where could that change have come about.
Even that over saw cut from a previous sawing shows that the pieces must have originally aligned.


?????????????????????????????????????????????????

Believe me it happened.
 
I couldn't photograph both ends, but I did take this photograph amongst the group at the same time./

Believe me it happened.

theotherend.jpg


.
 
It must be timber stress.
I have just been out and found the two off cuts from the cutting on the other end.

posting two pics of the sealed end that were cut off yesterday evening.

When I brought the pieces in for the evening I would have noticed that they were of different lengths because I folded them together looking for bookmatch halves.

2007_0619theend0001.jpg

2007_0619theend0002.jpg


.
 
Something else strange has happened overnight.

A worm hole has appeared that definately was not there yesterday,
Very small diameter, does that mean it was one that went in?

worm1.jpg


Anyway cleaned up the corners.

cornerson.jpg


And have now started on the veneers for the
top and base, I am doing drop in parts because with the corners taking up 5mm a rebate for the top would have left hardly any meat.
 
Devonwoody said
A worm hole has appeared that definately was not there yesterday,

In the book "The Twits" by Roald Dahl.
The husband would add a sliver of wood to his wife's walking stick every day to make her think she was shrinking, so I'm just wondering............ :)

Dom
 
Did some veneering last night, black walnut veneer on a bit of 3 ply for the base, and then fitted it this morning.
basein.jpg


The top closure is another piece of 3ply with a light contrast veneer.
Veneers are the kindness & generosity of a forum member.

In passing I mention that one of the top mitre joints of lid is gappy (area marked with white cross) so I am thinking opf a get out.

lid.jpg


The lid of box was partially cut on the triton workcentre and then finished using a japaneese pull saw as per pic.
removelid.jpg


I have tried to cut a thin beading to lay on the lid top so covering corner mitres. So I used some double sided sticky tape and combined two pieces of timber to give adequate thickness to go through the thicknesser. No luck the end of the beading strip disintegrated (snipe) so thinking of trying something else.
the strip after passing through thicknesser, good end.

beadingforlid.jpg


.
 
The difference in length in this pic seems to be about the same difference your 2 final pieces were out?
L2.jpg

Maybe one moved before it was cut?
 
DomValente":2trvan0o said:
The husband would add a sliver of wood to his wife's walking stick every day to make her think she was shrinking,

Dom,

This reminds me of a Walter Matthau film (can't remember the name I'm afraid) in which he played the father of a son who was dying. They spent a lot of time together having fun and playing pranks on various people. One such prank was on the neighbour who had a VW Beetle and kept boasting about how many miles it did to the gallon. Each night they would sneak over and add petrol to the tank. When he boasted that it was now doing 100 mpg they started sneaking over and syphoning petrol out. Very funny.....

Cheers :wink:

Paul
 
I needed to do some sanding to the lid and base areas so I used some carpet adhesive spray and fastened some sandpaper down to a flat board and found this idea very useful when sanding large areas and maintaining equal flatness.
sandpaper.jpg


With regard to thin strips that failed earlier on as mentioned in thread I found some scrap offcuts from previous projects and got to work using as per next two pics.

lid1.jpg


lid2.jpg


Those corner pieces are hiding a sin of course.

The lid insert has been fitted.

finshedbox1.jpg


The final photograph for the box before finish is added, (thats two boxes now awaiting finish)

finishedbox2.jpg
 

Latest posts

Back
Top