Well not deterred, but experimenting on a 4 rather than 5 as as result of comments here, I set to today to make a virtual scrubber :lol: :lol:
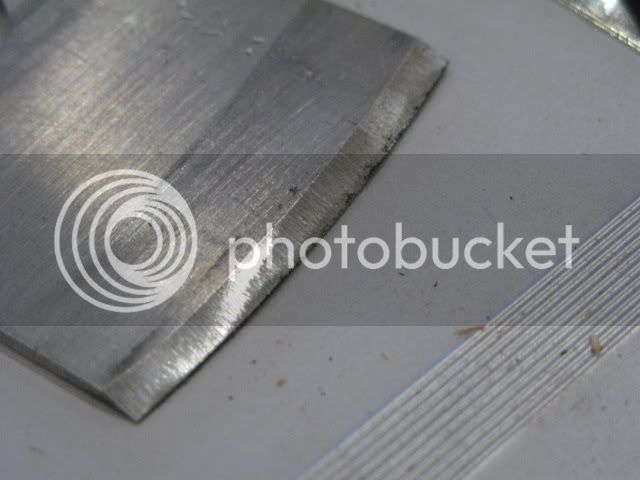
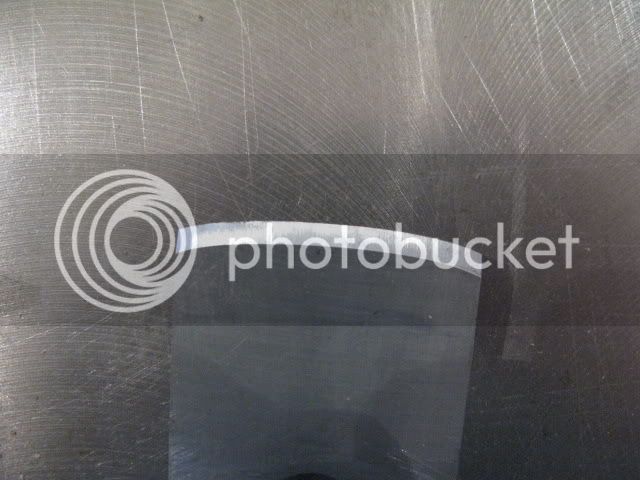
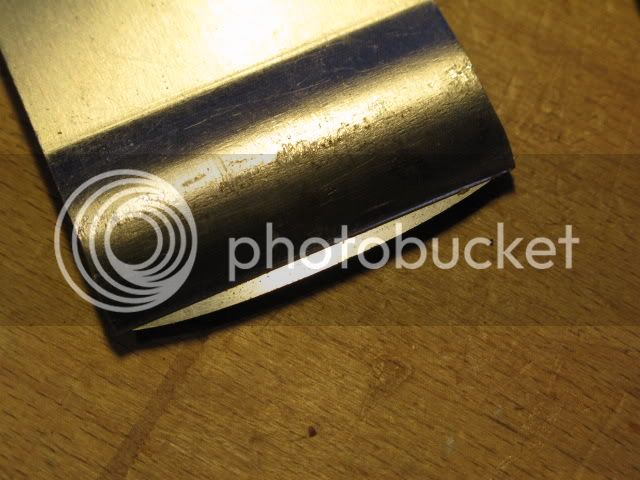
Since the blade was wider than the original I tried to make the maximum amount of curature so that a narrower section of the blade would be in contact with the timber. I marked a 5" radius camber on the blade and roughed down square to that on the dry grinder
I decided on a 35 degree bevel angle to strengthen the edge so rough ground a 30 deg bevel freehand on the dry grinder.
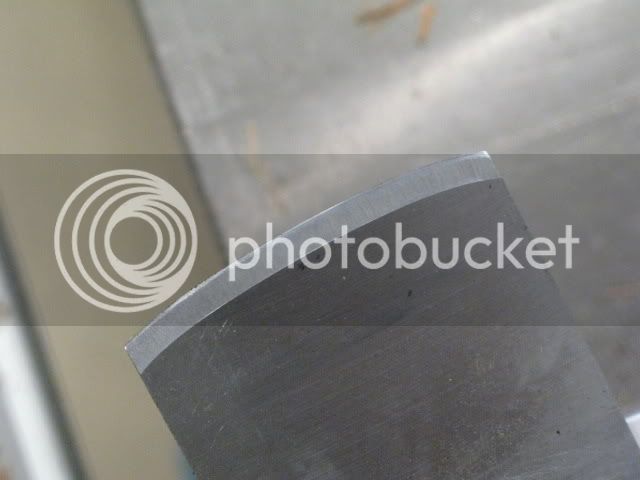
I set up the flat table tool rest on the Tormek and finished the grinding to 30 deg
A quick freehand hone was all that was needed to get a 35 deg edge as the back was already prepped from, the old set-up
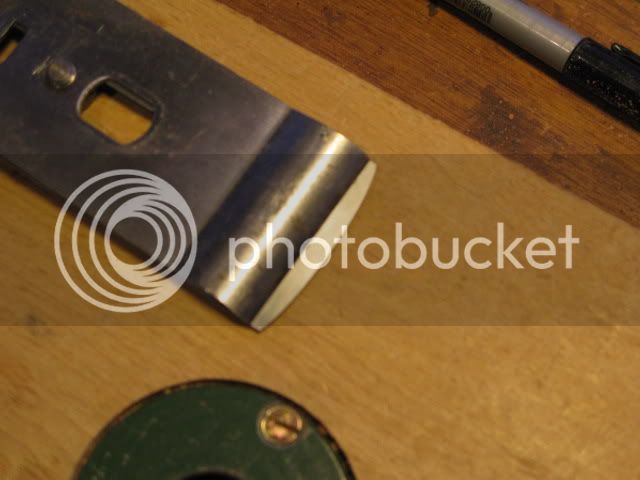
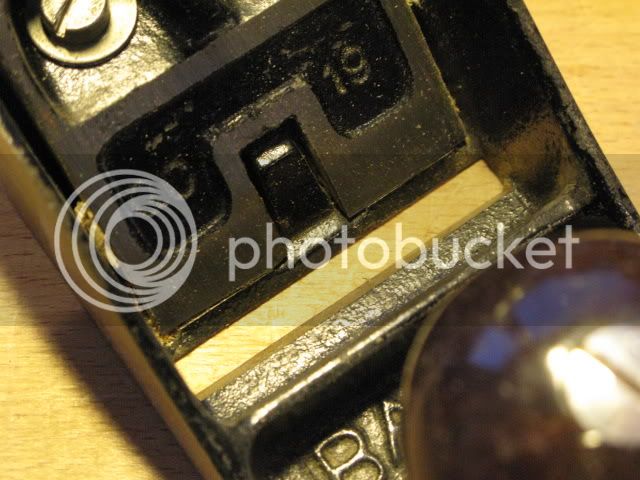
My first attempt to set the cap iron was a bit too optimistic as the blade protruded too far out of the mouth, which I had set right back to gain support from the sole.
In fact I had to hang the cap over the blade to get sufficient adjustment. I should have listened to Paul's 6" radius in the first place

The next pic didn't work out but the blade only spans the centre 2/3 of the mouth to narrow the cutting width whilst having a very heavy cut.
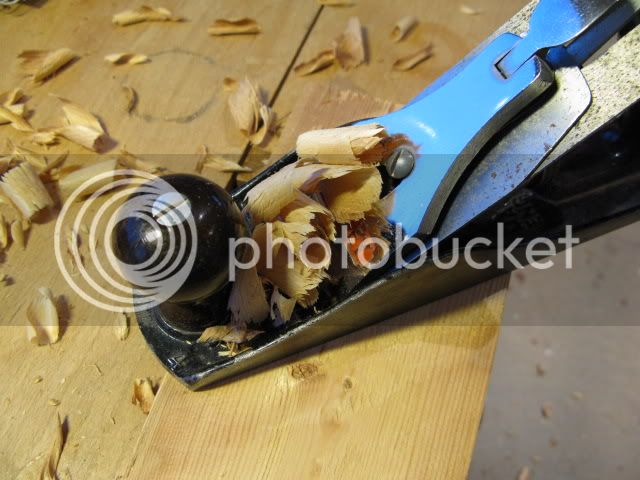
Result!!
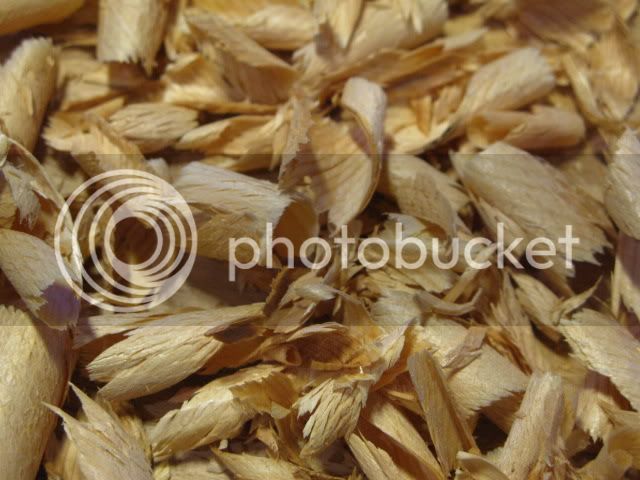
I think the experiment is a success although it remains to be seen how long the edge lasts. Certainly on the NBF (Northern Brown Floorboard) there was no chatter at 45 deg and it was possible to reduce the thickness at a frightening rate. I'll give it a go on hardwood next.