davem62
Established Member
Nice to watch Colin your a clever man, I presume the next part wil be when the router arrives that you've been waiting for
Regards David
Regards David


Walney Col":3e1djszc said:I did the very first planing cuts on my router lathe this aft.
Lots of lessons to be learned from it, not least of which is if you're going to make something round out of rectangular stock for heaven's sake save yourself a whole load of time and knock the corners off on the bansaw before you start. Another lesson I learned as I began to turn the feed rate up a bit is I really (REALLY) need to make some sort of guard in an attempt to keep at least some of the chips off me. ;-)
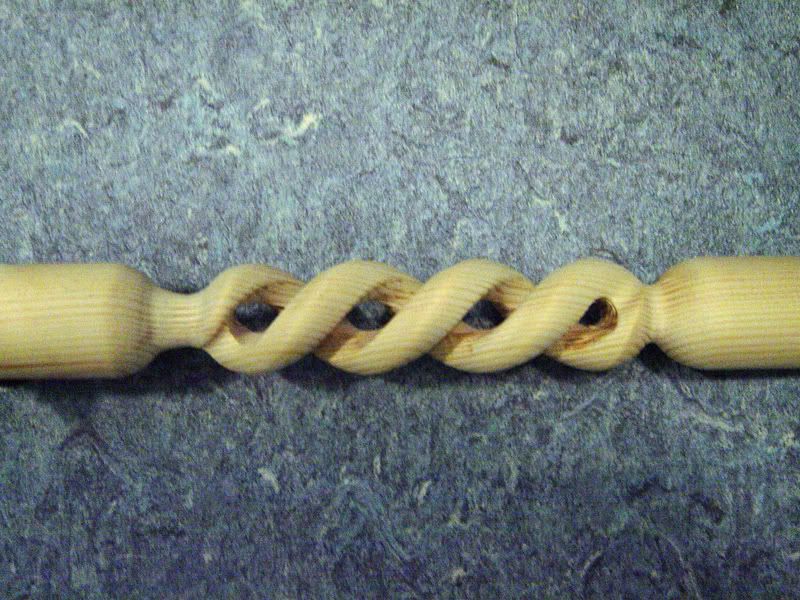
Having said that it went pretty well. It was only 4 degrees above freezing in the shed today so I didn't fancy staying out for long but in a little over 20 minutes I'd set the machine up for planing and made 4 progressively faster 3mm deep cuts with a 1" flat bottomed cutter with the photo showing it approaching the end of the last one. Tomorrow (all things being equal) I hope to finish rounding it and make a start on some sort of spiral cuts. I only have a limited number of cove cutters (1/2 inch and 1 inch) and the 1" cutter only has a 1/4" shank so I'm not sure how it'll cope but I plan on giving it a go.
There's a short video of the last cut here https://youtu.be/Ezz7pvrlI3k
Col.
") I already have some perspex for a chip guard and the plans also show a dust shoe but in the interest of having an unhindered view of the action till I get used to how it behaves I haven't got round to making either yet.
I already have some perspex for a chip guard and the plans also show a dust shoe but in the interest of having an unhindered view of the action till I get used to how it behaves I haven't got round to making either yet.
Mine's gone to bed so I'm safe but 45 years for us in March and I'm still where I started. #-oWalney Col":27dvopep said:Cheers Bob, it's taken a while but it's been a really enjoyable process.
As for the other comment, *looks round nervously* dont tell her I said this but it's taken 43 years of training. ;-)
Col.


Enter your email address to join: