Colarris
Established Member
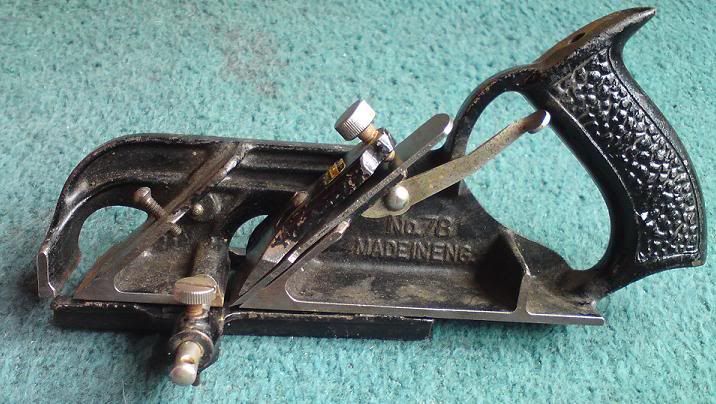
I've just got hold of one of these but dont know who to adjust it? The large screw holds the blade it which obviously loosens to allow the raising and lower of it but theres also a smaller screw, plus the an adjustment lever. I find that my adjustments just seem to make the blade come loose and fall out. Any tips?
")