Back in the spring I received a call from a farmer in the Preseli mountains who had seen my work at an earlier craft fair and who had offered me some Laburnum when it was felled, the felling had been done and so we went to collect the prize. As always when anyone offers me wood, I always make them something from it as a thank you and as a memento of the tree etc. The big problem this time though was not realised until later, once I started to prepare the wood for storage it became obvious that it would not really be much good for anything of any size, the timber was pretty old for it's size and had shakes all through it, no doubt from the harsh conditions up the mountain, but there should be sufficient to get a piece or two out.
First task then was to at least sort out a piece for Richard, the farmer. He and his wife had recently refurbished their house, utilizing a good amount of Ash from a tree felled outside the building, widow sills and various beams and shelving had been made and there was a considerable usage of the more rustic parts, nice looking it was too. So in keeping with that theme I went for a somewhat rustic piece (not that I had a lot of choice!)
I had roughed it out back in the spring, and even that proved tricky as one of the shakes broke clean away and had to be re-glued into place, I used gorrila glue as it filled the rather gappy crack where the wood parted.
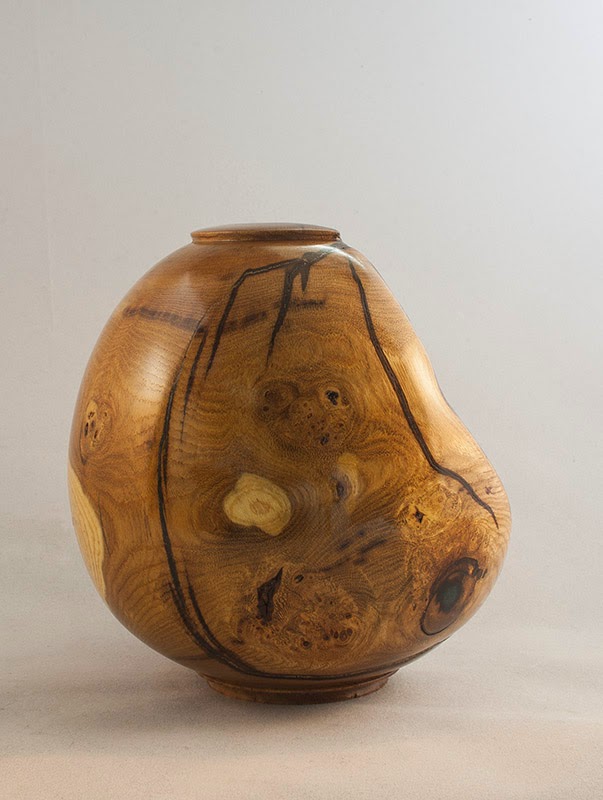
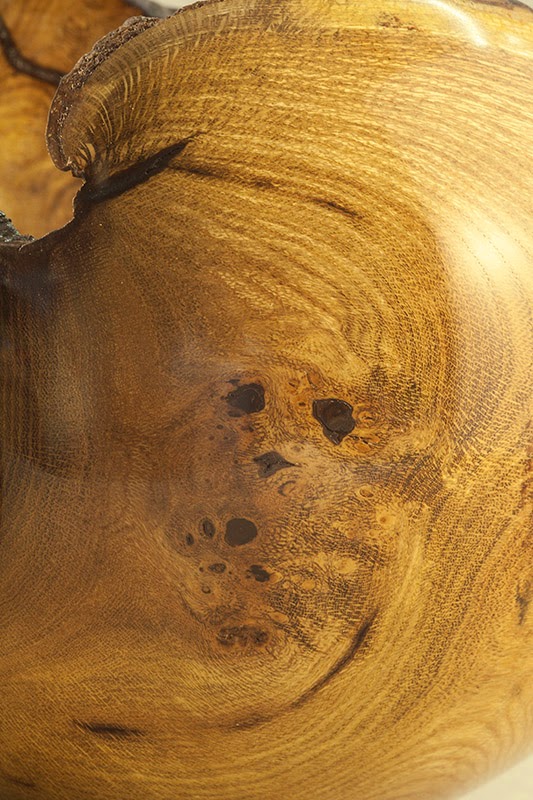
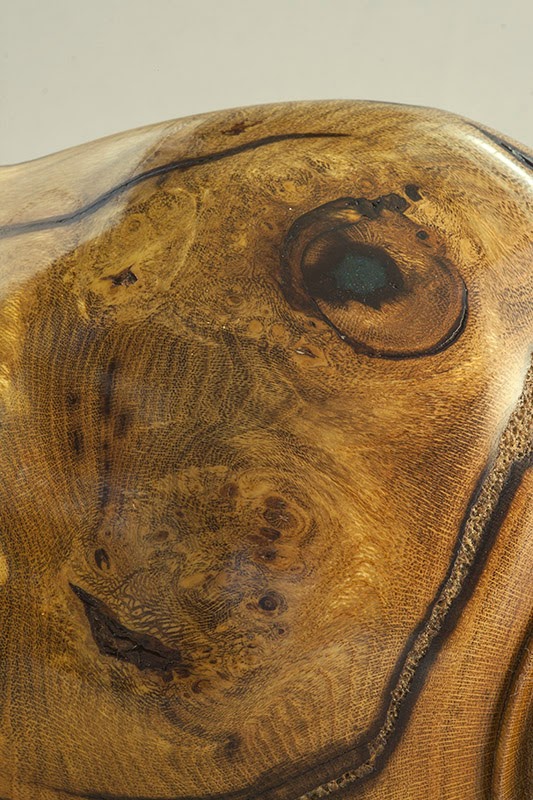
It was not until I got to work finishing it though that I noticed that it had burrs, I have not seen a Laburnum burr before, but combined with the already complex Laburnum grain, the burrs look very nice. I have included a couple of close up images of the Burrs.
There were quite a few drying cracks as well, they did not really enhance the piece, so I decided on a colour fill for these, I took a couple of pictures and opened them in photoshop, then inverted the image, this gave me a colour, the exact opposite of the wood, I blurred this to get an average which was a mid Grey-Blue, this would be the best contrasting colour. To get the colour, I used some Ash sanding dust (I save lots of dust in little bags) and mixed up some stains to get the colour as close as I could, I dried it, then mixed the coloured dust into an epoxy resin and used it to fill various gaps. It actually ended up a bit darker than was ideal, but it works for me anyway. Plus it was an entirely new idea as a way to get the colour, next time I will make it lighter (it goes darker when it gets mixed with the glue)
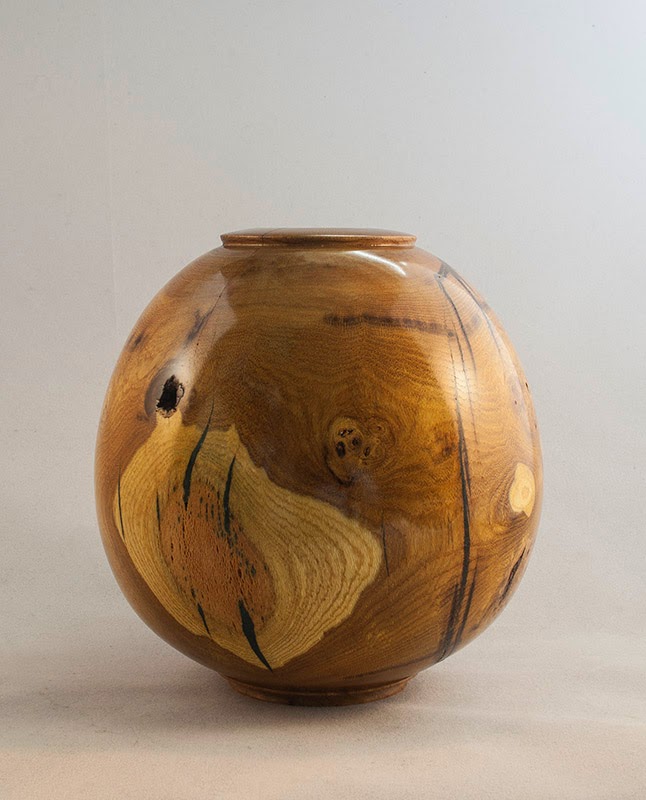
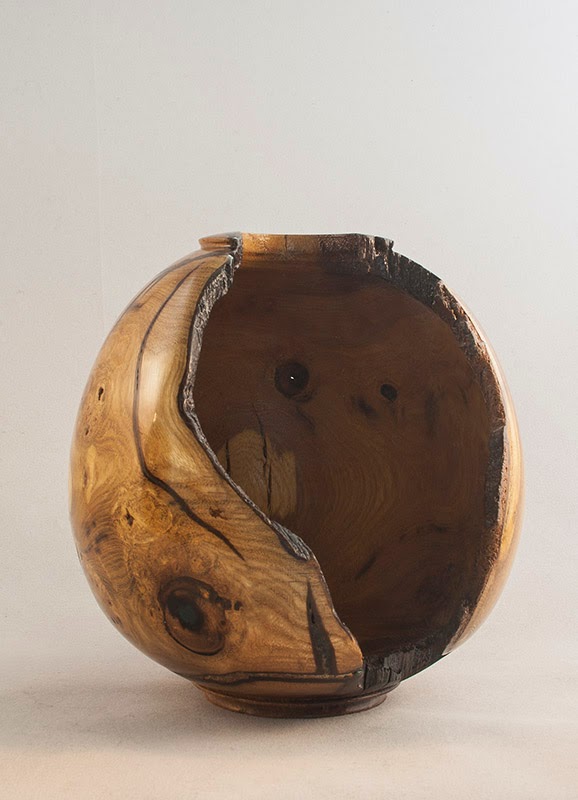
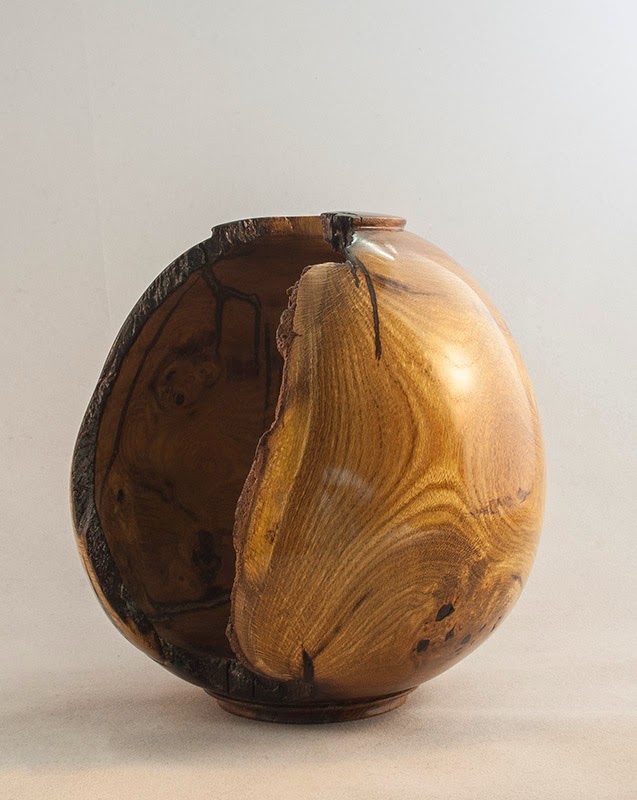
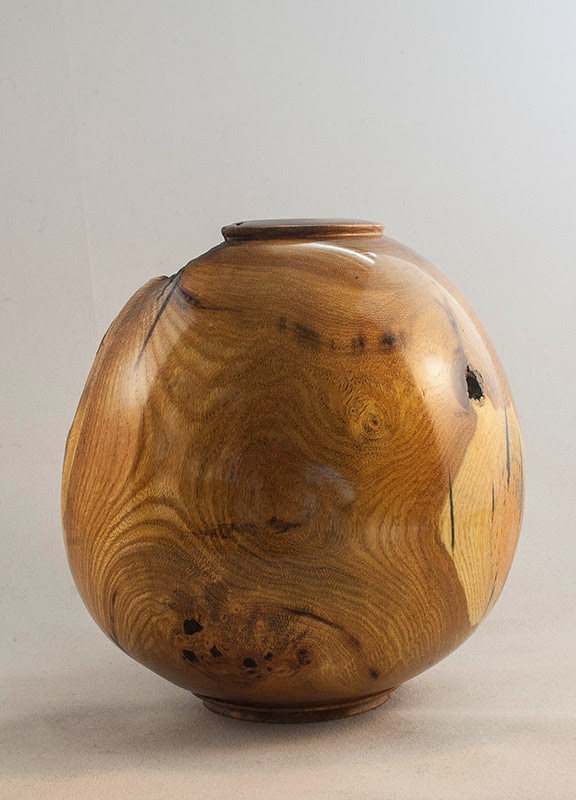
Dimensions are 5" hieght and 4.5" width, finish is gloss shellac, the wall thickness is about 5mm, but slightly heavier at the top and bottom where reach and snatching were a bit of a problem, I decided it was as close as I was going to get to a constant.
Here then is the completed piece, I hope Richard likes it, it should fit in with his new house very well I feel.


