devonwoody
Established Member
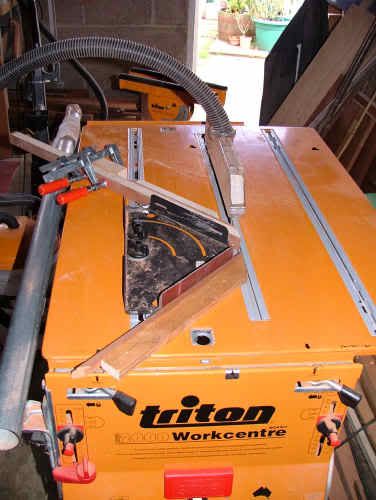
I am looking around for some small and short projects to take up because of holiday arrangements this year. (Off to Europe shortly to do the last Grand Tour and then having the pleasure of visiting Oz. later in the year to see the contest of Australia v England at cricket) I have decided to co-ordinate all of the picture frames in our home using the same timber and moulding design.
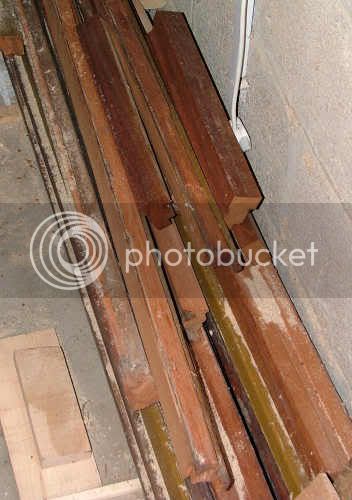
Below is the photo showing the sapele (I think) which came from our old window frames and was being tossed in the skip by the fitters, I begged them to go easy on the demolition but they were more interested in their time than my concerns.
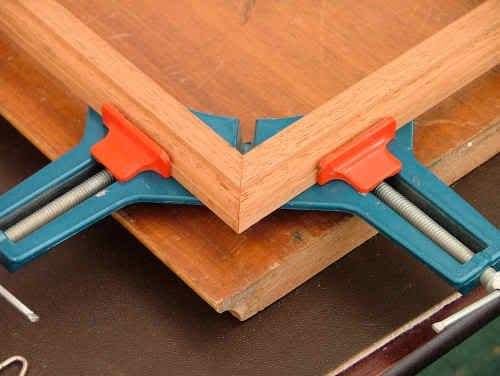
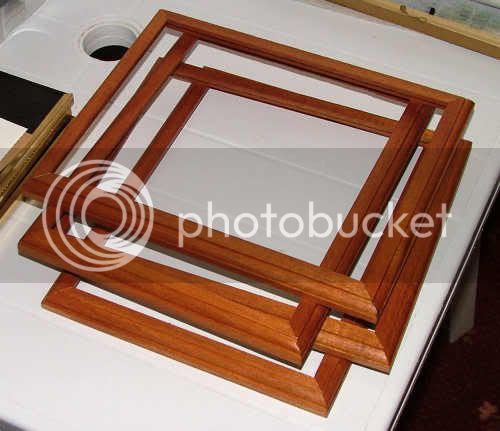
The first four frames were completed as a dummy run earlier this week as per the stack in this picture.
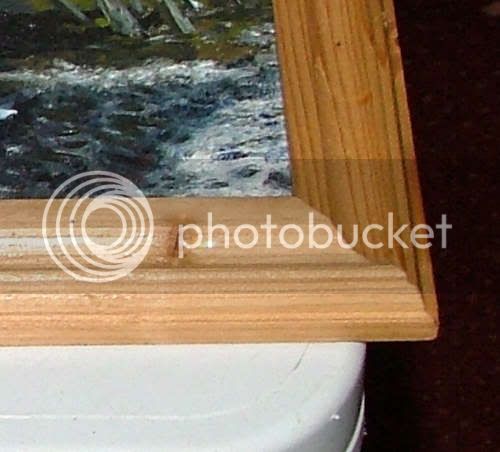
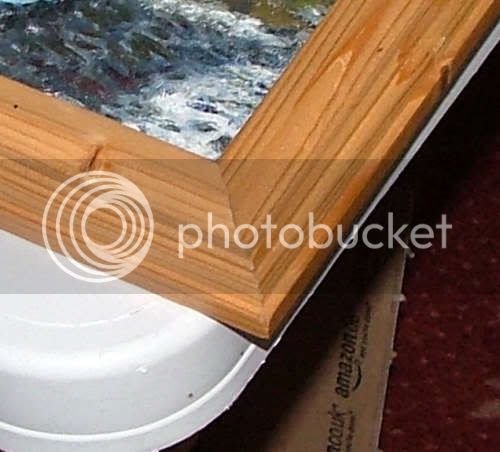
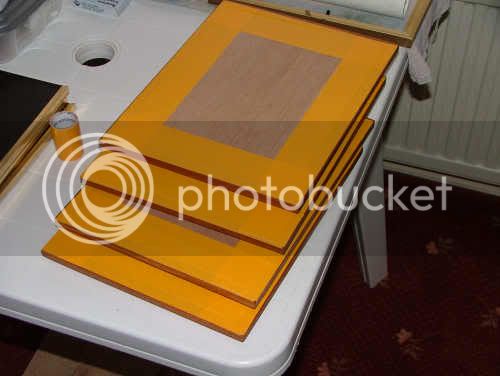
The backings are built up with some 6mm ply stuck down with that yellow duct tape. (incidentally the tape came from a garage on O'Riordian St. Sydney. I purchased 4 rolls of the stuff because my suitcase was breaking apart owing to a Triton respirator packed in the case and bursting the seams of the suitcase).
So it looks I shall have a fair number of frames to make for those embroideries knocking around and another six jewellery boxes to keep me quiet from further picture postings.
Below is the photo showing the sapele (I think) which came from our old window frames and was being tossed in the skip by the fitters, I begged them to go easy on the demolition but they were more interested in their time than my concerns.
The first four frames were completed as a dummy run earlier this week as per the stack in this picture.
The backings are built up with some 6mm ply stuck down with that yellow duct tape. (incidentally the tape came from a garage on O'Riordian St. Sydney. I purchased 4 rolls of the stuff because my suitcase was breaking apart owing to a Triton respirator packed in the case and bursting the seams of the suitcase).
So it looks I shall have a fair number of frames to make for those embroideries knocking around and another six jewellery boxes to keep me quiet from further picture postings.