I hardened the iron.
Apologies in advance for the awful photography but I had a lot on my mind.
")
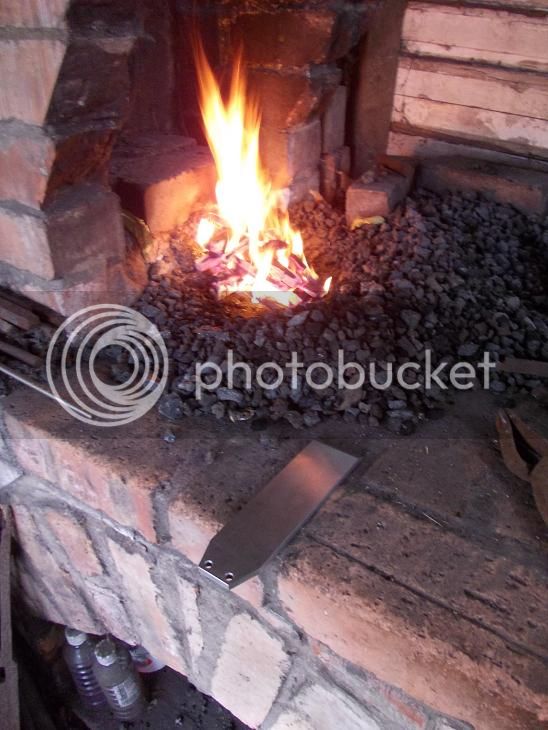
Kindling the forge and getting the iron used to the idea of what is about to happen to it.
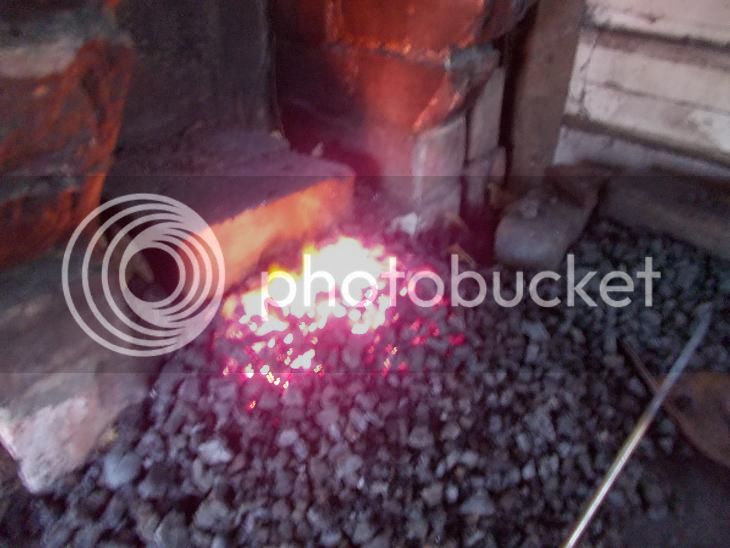
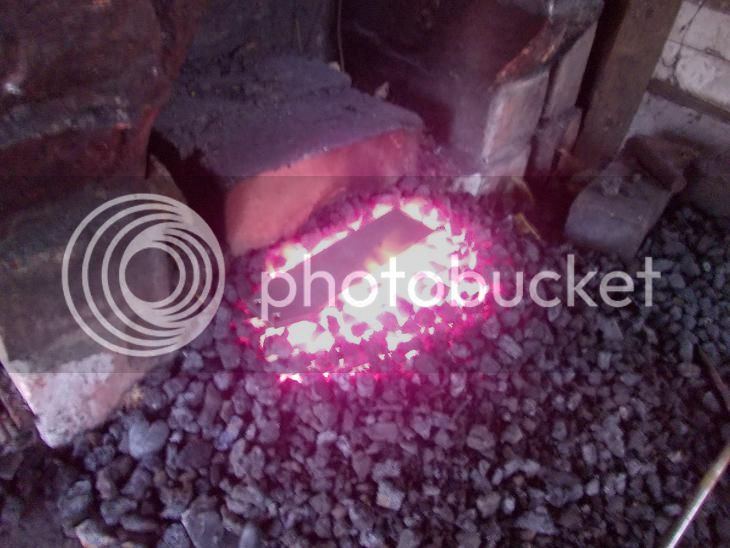
Much pumping later and a good working heat. The colour in this blurred photo is also way off. I do not have a pink forge.
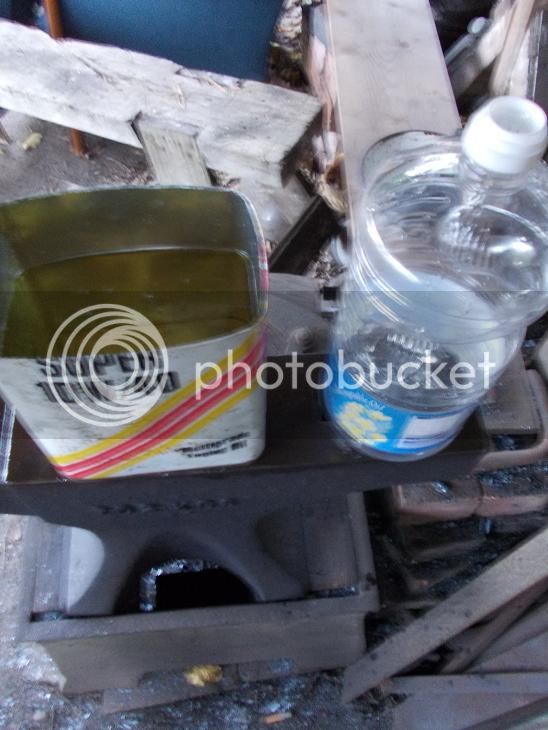
We had gone out and bought 3ltr of Rapeseed oil and I had washed out, cut down and rolled the edges of a 5ltr motor oil can.
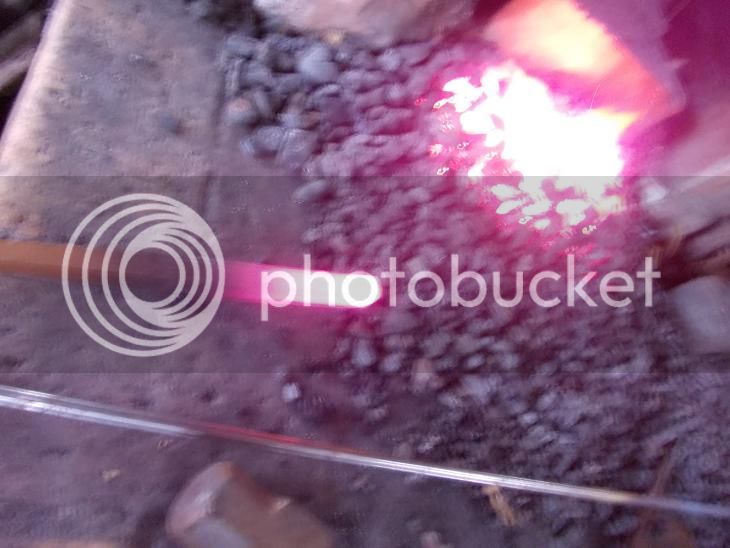
I heated a bit of steel up to a dull red (again, picture miles out) and I let it cool to black before stirring the oil with it.
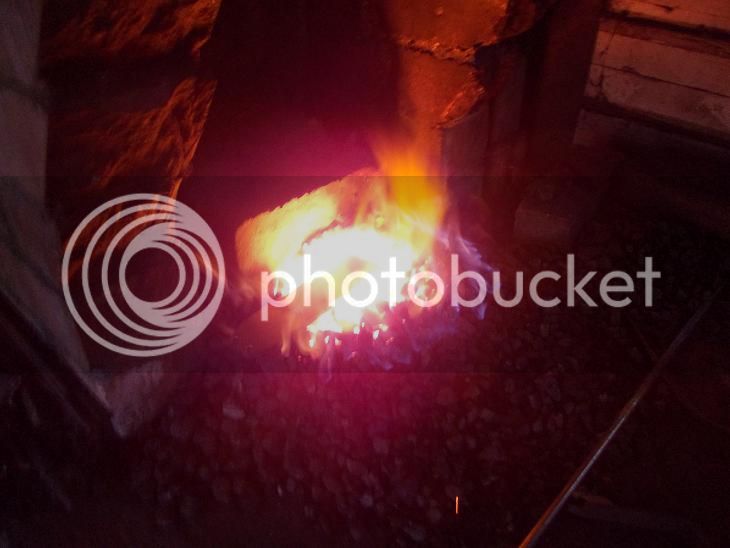
I made the fire the right shape and size and put the iron on top flat side down and heated slowly until the right temperature was evident by colour.
This .... was just coming up to a bright red and not what the camera seems to think was an accident in the fires of Mordor....
I quenched it very successfully (no time for a photo) and after cleaning the oil off it put it in the oven at gas mark 6 for an hour.
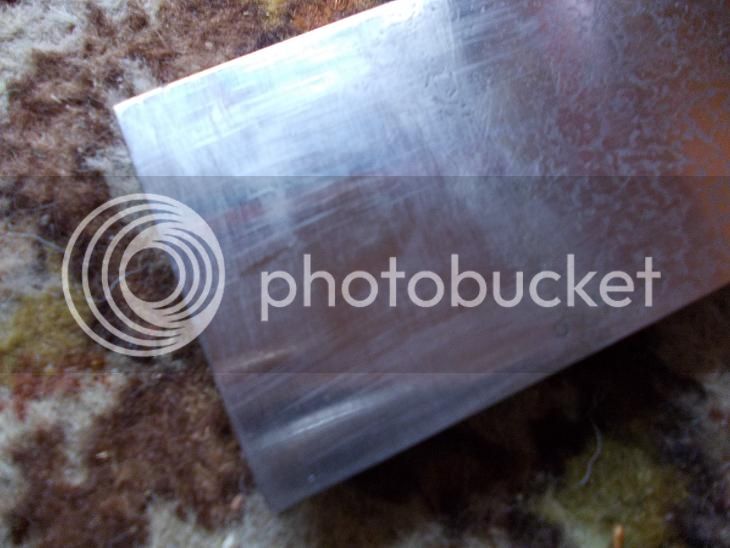
The trouble with heating on top of the coke is that when it gets to temperature it relaxes into the surface...

... and picks up a cokey imprint. Lovely pattern - hell to get flat. It took me the whole of Saturday evening - including Dr. Who - and I hadn't finished it. It's very close now though.
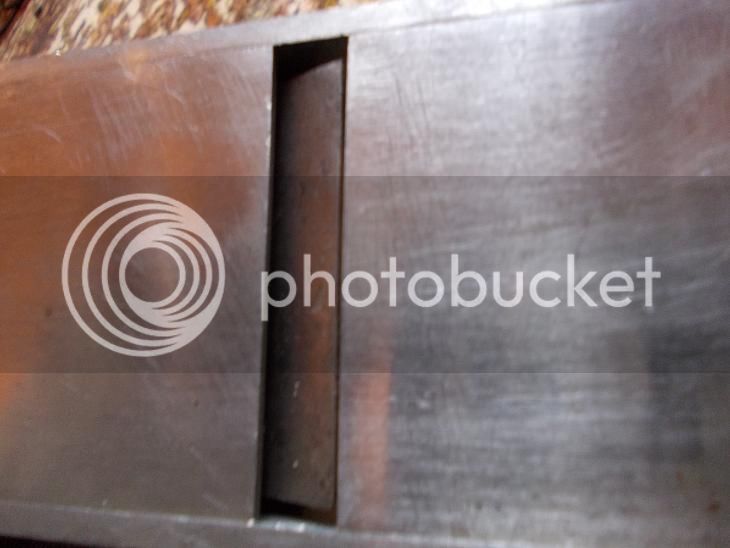
Something else that slipped my mind was the scale. Before I hardened it, the iron would not pass through the mouth. After hardening and the loss of thickness through scale, it is just about perfect and I won't need to file the mouth.
No matter how much procrastinating and worrying I do, there is always something to be forgotten or not thought about in the first place. Now to lap it, sneck it and grind the bevel ....


