Despite our reasonably large workshop, a woeful lack of storage space usually means that stuff gets put on the nearest flat surface that comes to hand. When all flat surfaces have been filled, stuff is placed on the lowest pile of other stuff that comes to hand. All in all I’ve found that we seem to spend more time tidying up than we do actually making bits of wood smaller.
To combat this it has become obvious that some sort of system is required. Phase one of this system is going to be the Norm style Mitre station and storage thingummy bob. We pitched up at the workshop on Saturday morning, took some painkillers and cracked on…..
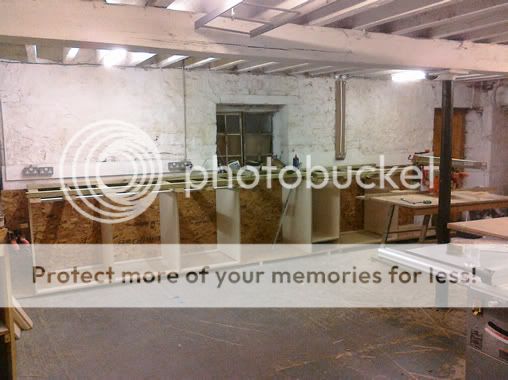
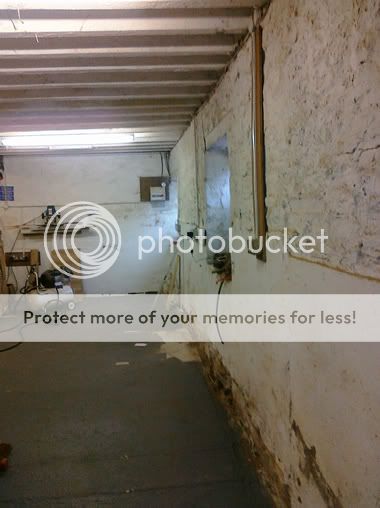
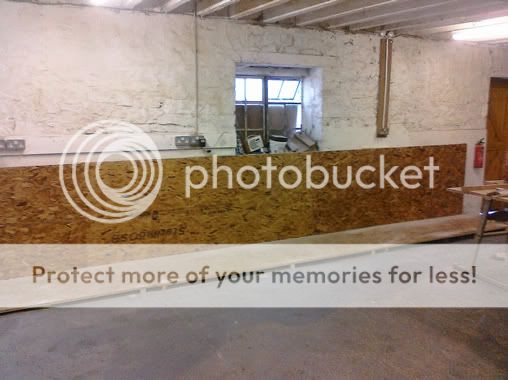
The first problem we encountered was the floor. With the workshop building being quite old, and designed for a completely different purpose, there is a four inch drop from one end of the workshop to the other (over about 23’). Also, the wall is a bit wibbly wobbly and not particularly plumb.
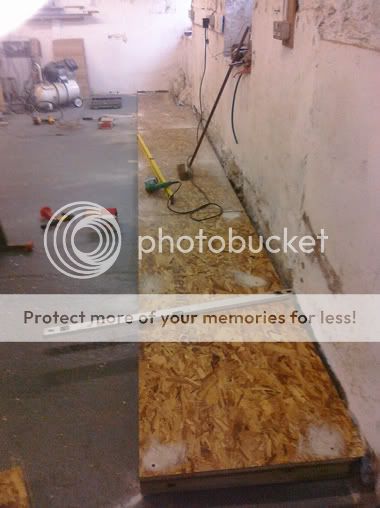
To get around these problems we decided to make a level OSB staging.
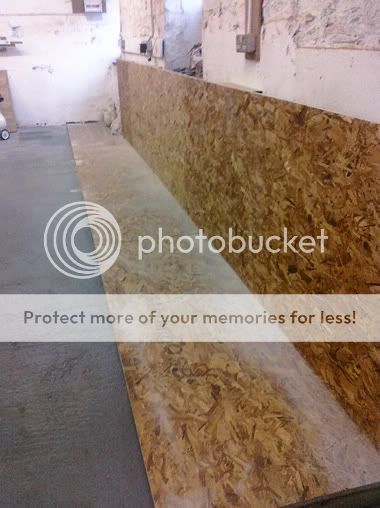
Once the staging was in, we put some OSB sheets vertically at the back to alleviate the unevenness in the wall.
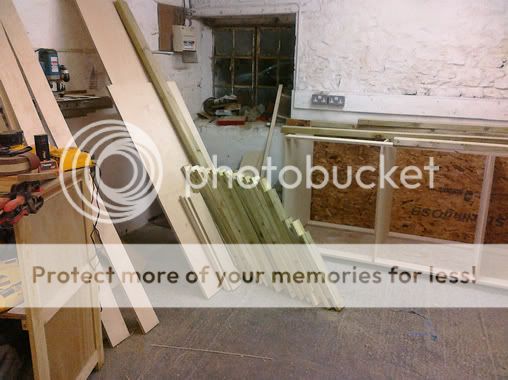
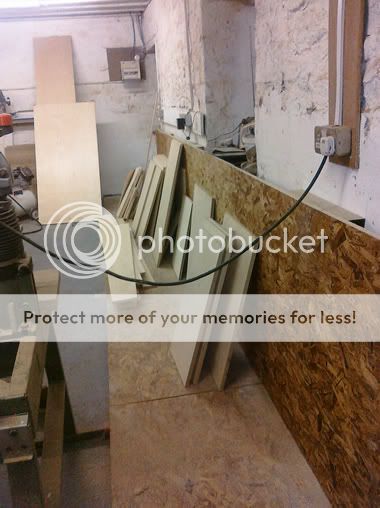
Next came a shopping trip to the local builders merchant for a load of sheet material. We bought ¾” birch ply for the carcassing and drawer fronts and ½” CDX for the drawers. We also got a load of four by two for the counter top frame.
The rest of the afternoon was spent cutting the ply into bits.
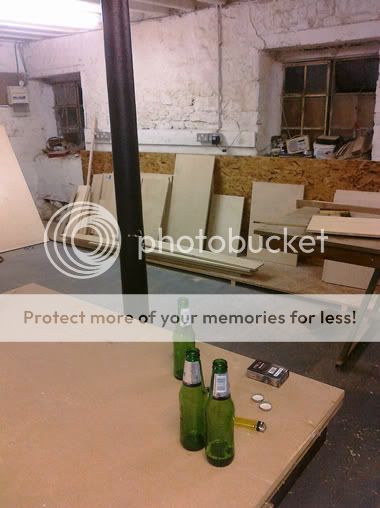
Once the ply was cut we’d both had enough, so tools were downed and it was officially declared to be the “BEER HOURS”.
We had a day off on Sunday. Neil had to remind his family that he hadn’t run away to join the circus, and I repaired an office chair (don’t ask).
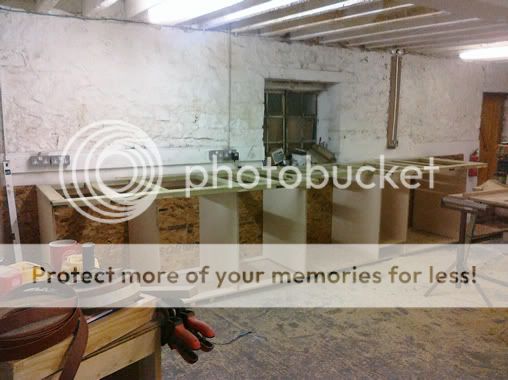
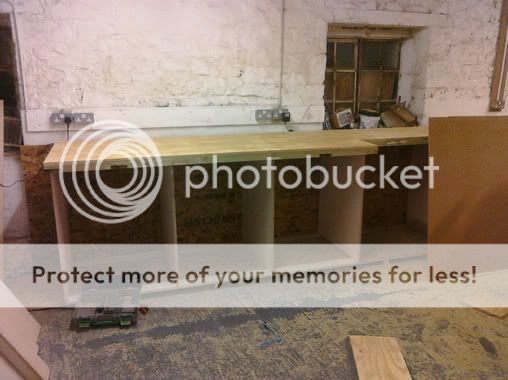
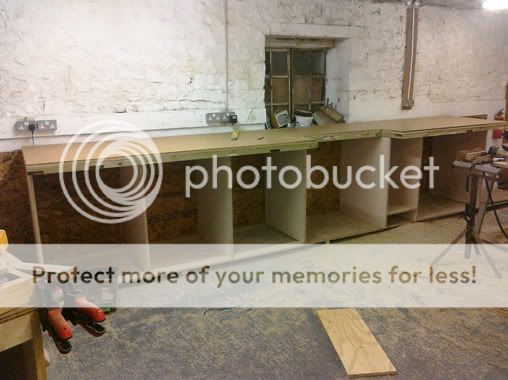
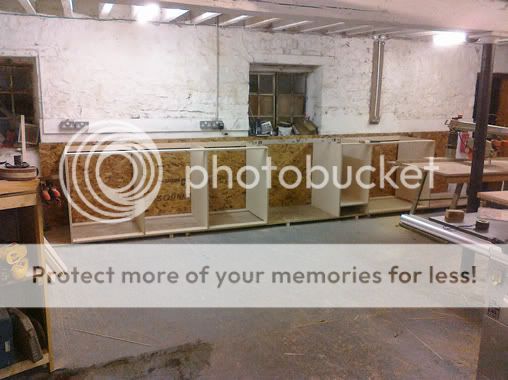
Work was renewed with a vengeance on Monday evening. We cut the rabbets and dados in the ply and assembled the carcass. The time we spent on Saturday fitting the OSB staging really paid off. The carcass was assembled and fixed into position with everything square and plumb in about half an hour.
Tonight is going to be spent cutting the four by two to length, and making the half laps.
Cheers,
Ed.
To combat this it has become obvious that some sort of system is required. Phase one of this system is going to be the Norm style Mitre station and storage thingummy bob. We pitched up at the workshop on Saturday morning, took some painkillers and cracked on…..
The first problem we encountered was the floor. With the workshop building being quite old, and designed for a completely different purpose, there is a four inch drop from one end of the workshop to the other (over about 23’). Also, the wall is a bit wibbly wobbly and not particularly plumb.
To get around these problems we decided to make a level OSB staging.
Once the staging was in, we put some OSB sheets vertically at the back to alleviate the unevenness in the wall.
Next came a shopping trip to the local builders merchant for a load of sheet material. We bought ¾” birch ply for the carcassing and drawer fronts and ½” CDX for the drawers. We also got a load of four by two for the counter top frame.
The rest of the afternoon was spent cutting the ply into bits.
Once the ply was cut we’d both had enough, so tools were downed and it was officially declared to be the “BEER HOURS”.
We had a day off on Sunday. Neil had to remind his family that he hadn’t run away to join the circus, and I repaired an office chair (don’t ask).
Work was renewed with a vengeance on Monday evening. We cut the rabbets and dados in the ply and assembled the carcass. The time we spent on Saturday fitting the OSB staging really paid off. The carcass was assembled and fixed into position with everything square and plumb in about half an hour.
Tonight is going to be spent cutting the four by two to length, and making the half laps.
Cheers,
Ed.
")