devonwoody
Established Member
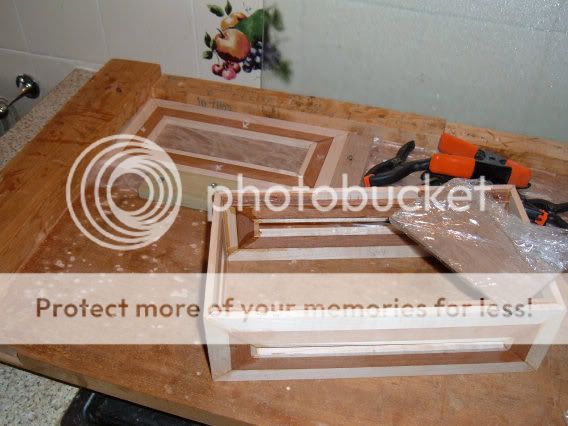
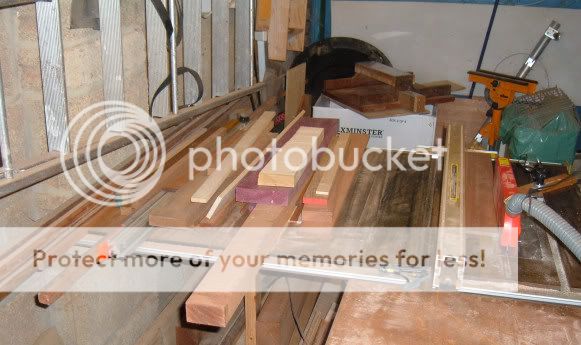
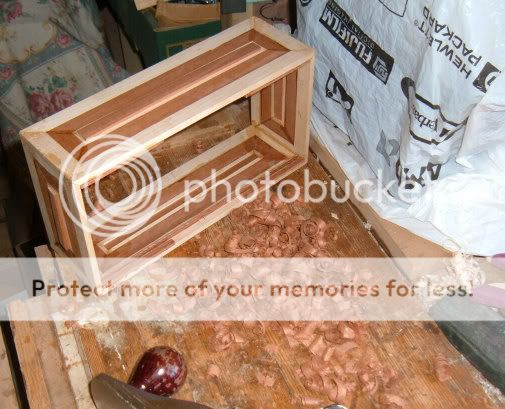
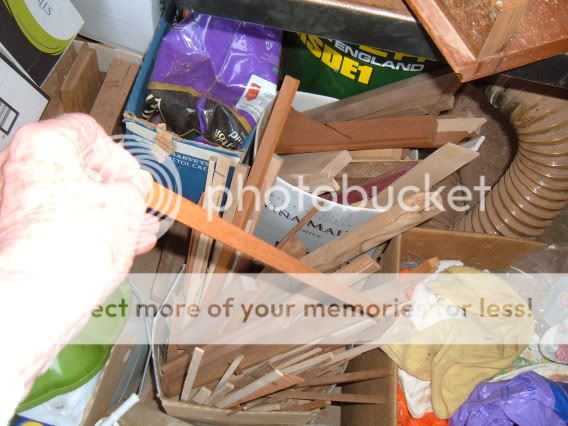
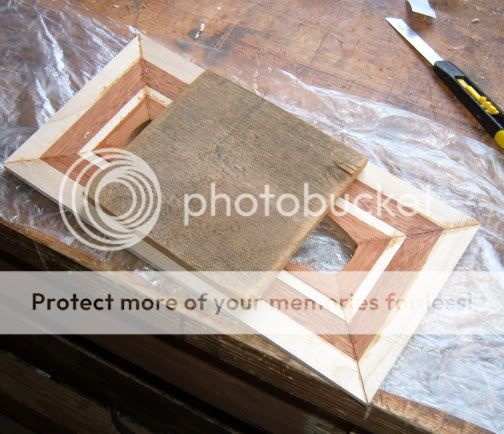
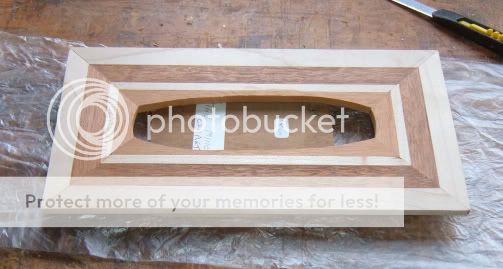
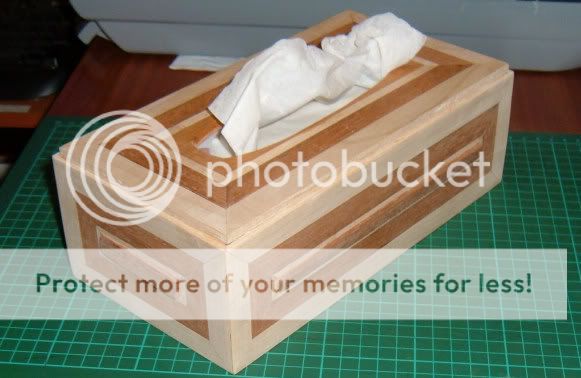
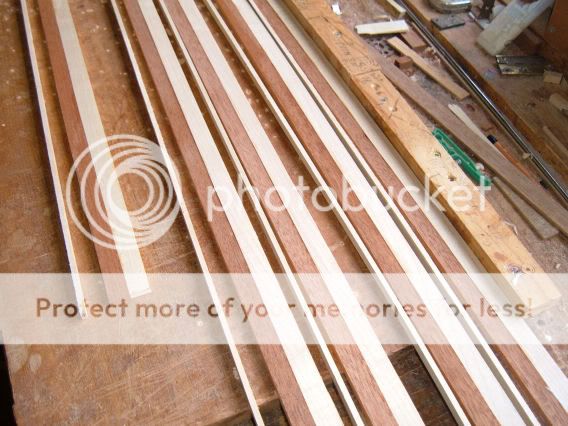
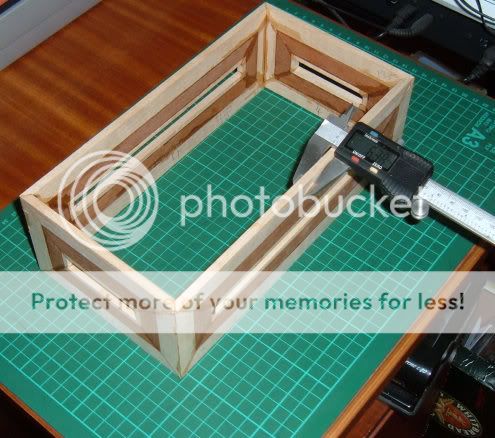
I am preparing some timber (old Sycamore and meranti) to strips, this time the carcass sides will most probably finish under 6mm thick and I am quite prepared for the project to end in disaster.
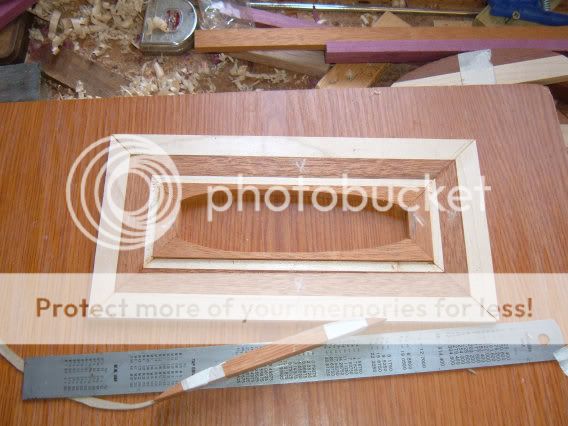
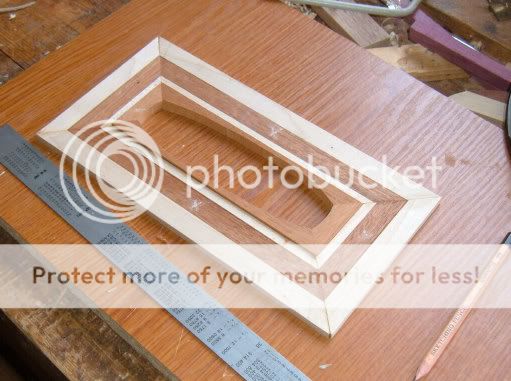
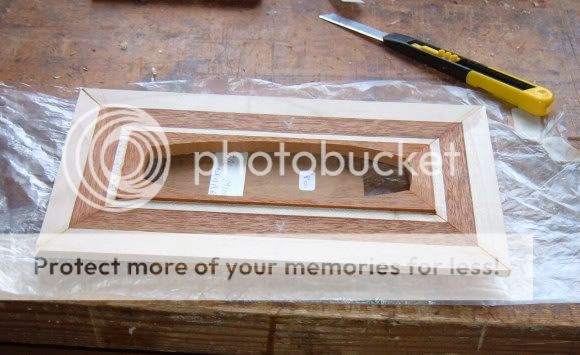
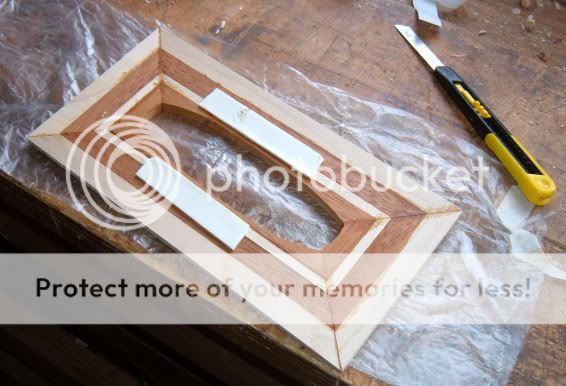
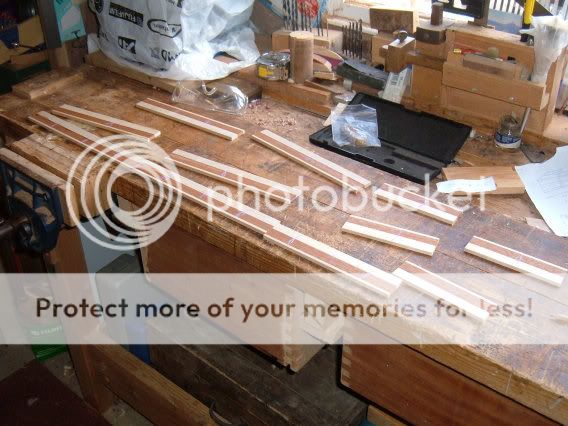
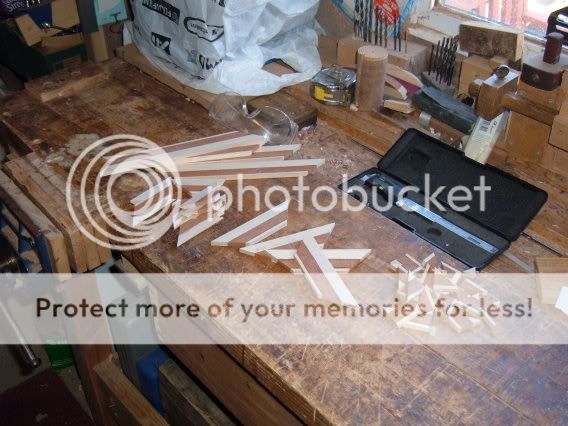
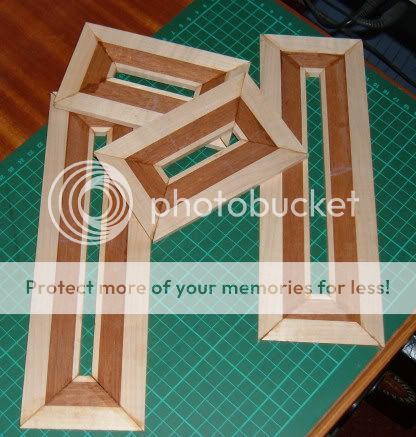
Progress to date.
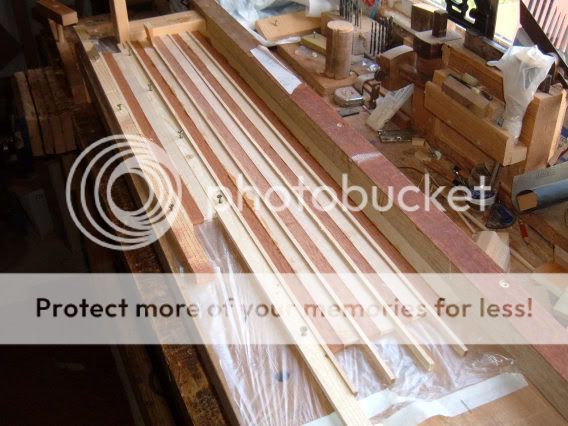
Progress to date.


") Just my opinion though! :?
Just my opinion though! :?