OPJ
Established Member
The plan, then, is to build something following the basic idea behind this. Key features for me are the space-saving flip-up support tables and also the ability to raise and lower the bed to suit several different machines (the morticer is the other one on my mind here).
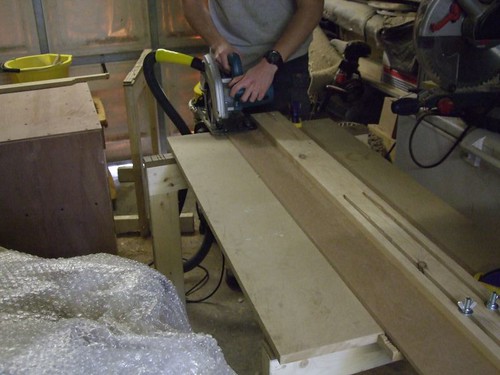
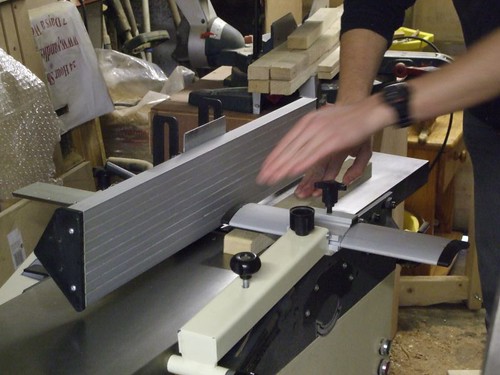
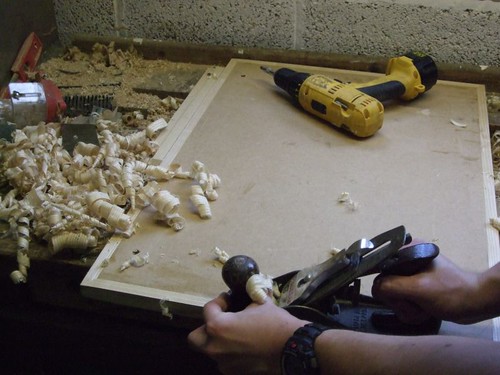
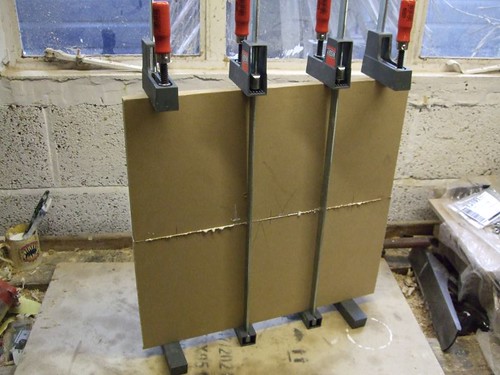
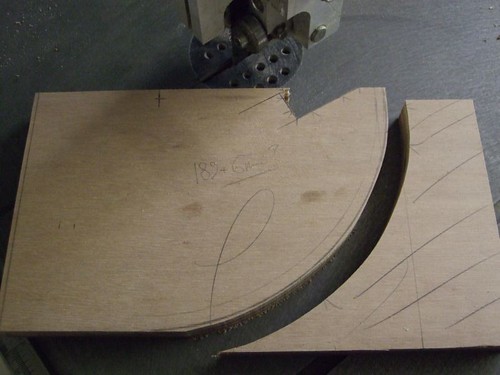
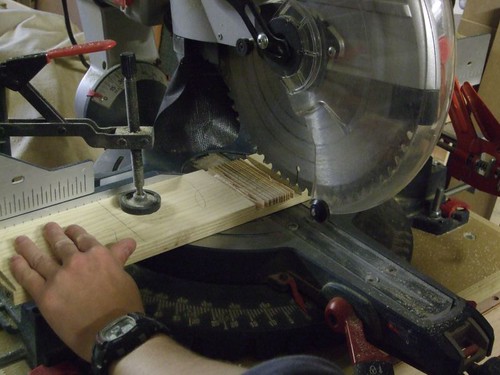
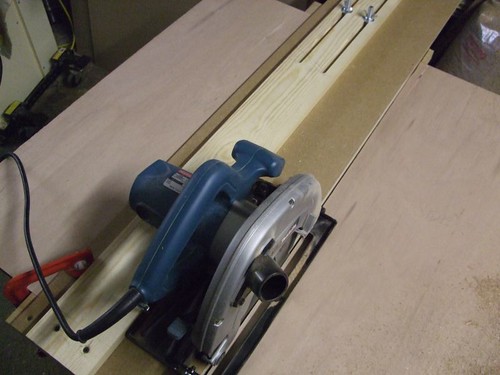
With the aid of the sheet-cutting jigs I made on Monday, I was able to dimension the 18mm WBP/Exterior ply pretty swiftly with my circular saw.
My cabinet is going to be 800mm high x 700mm wide x 500mm deep.
And also a sheet of 19mm MDF for the shelf and one more for the adjustable part of the top. Yes, ply would've been better but, I never usually have any left-over when I need some for other things, so I'm trying to save what I can (I have too much MDF also!).") :roll:
:roll:
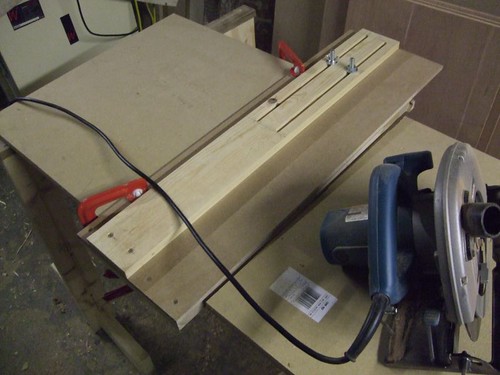
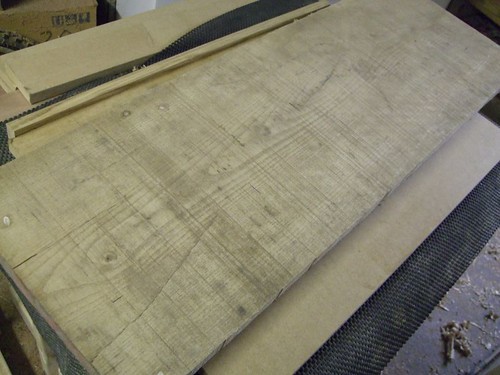
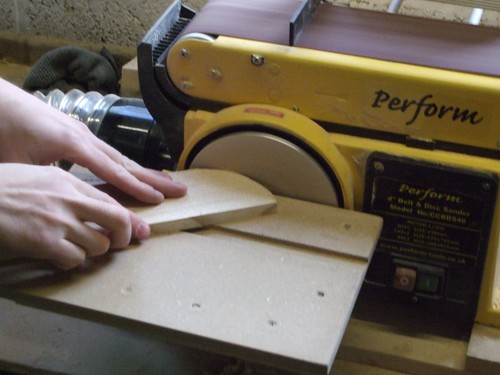
I lost patience with the extraction hose catching on the edge of the ply, so didn't bother...
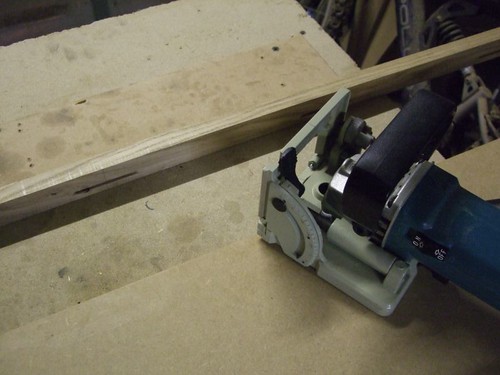
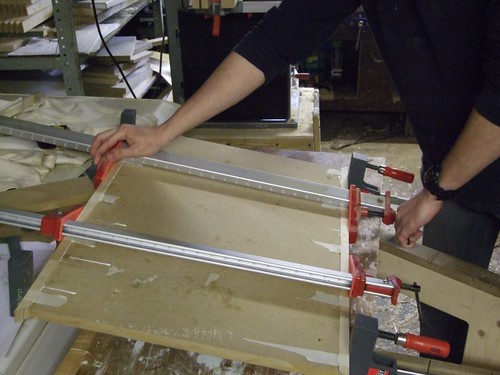
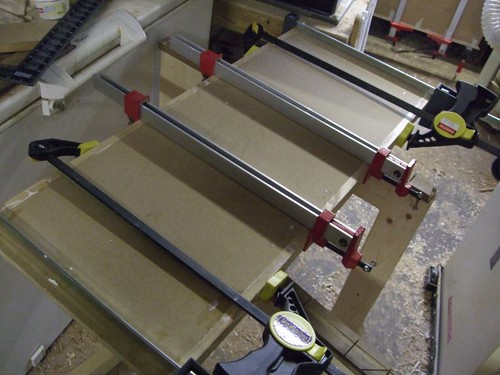
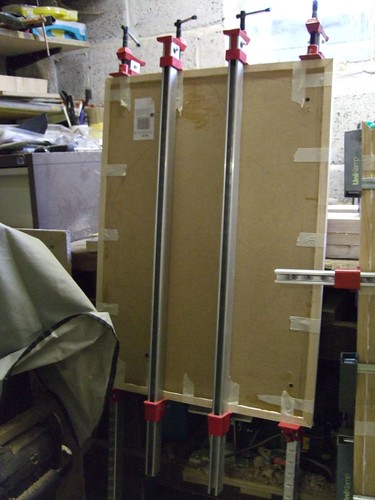
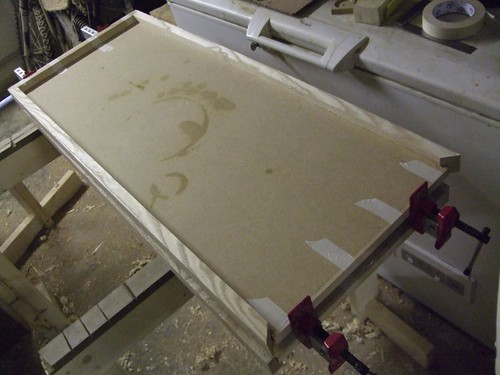
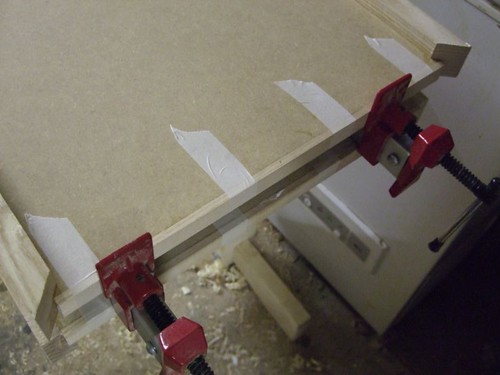
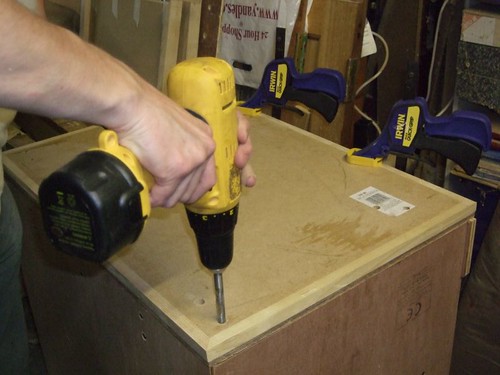
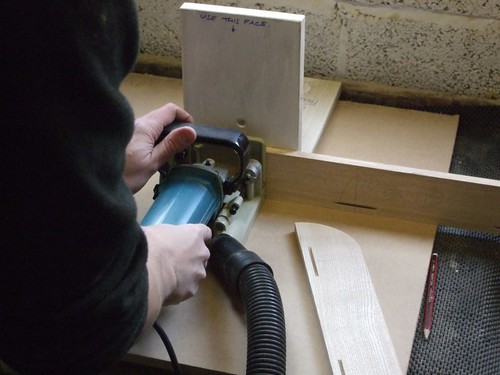
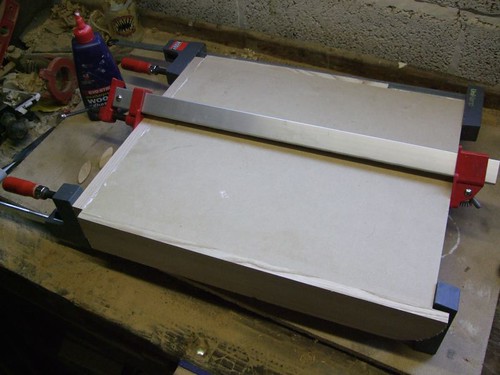
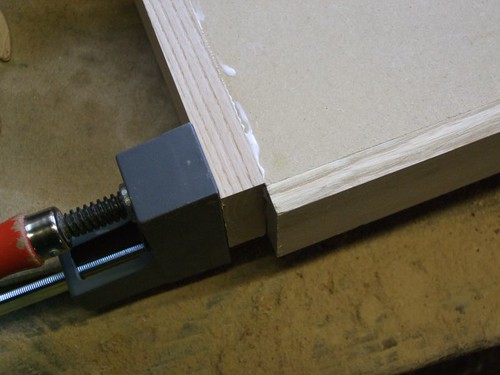
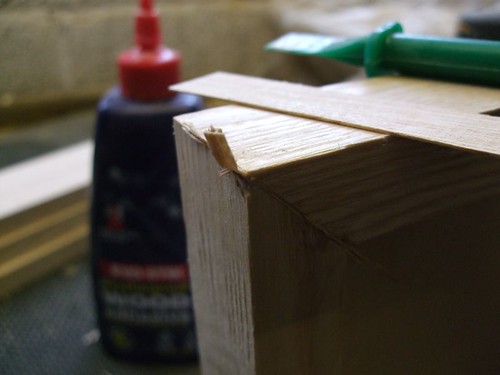
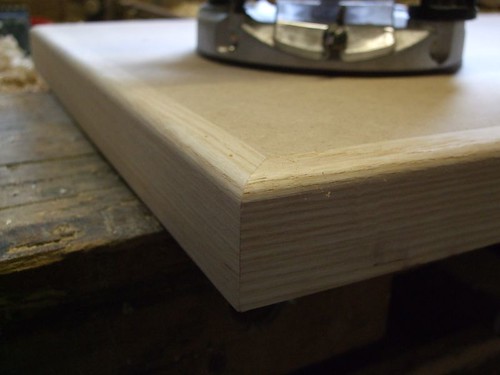
With everything cut to size, it was time to start rebating. The back panel will sit over the sides while the top and base will be rebated to fit over the back and two sides. The door will go in flush - but that'll come much later.
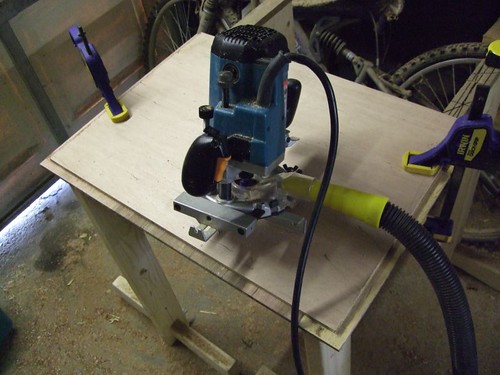
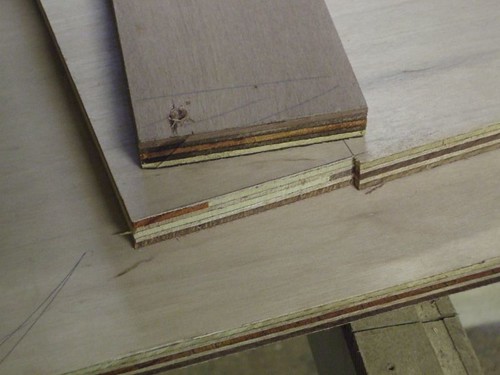
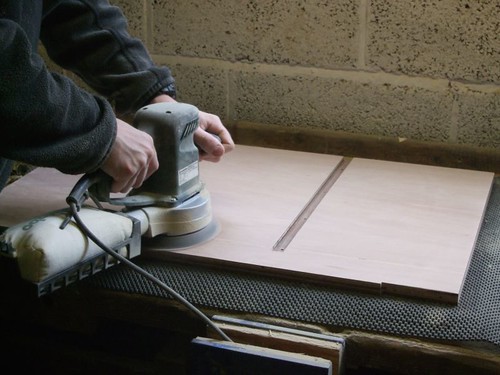
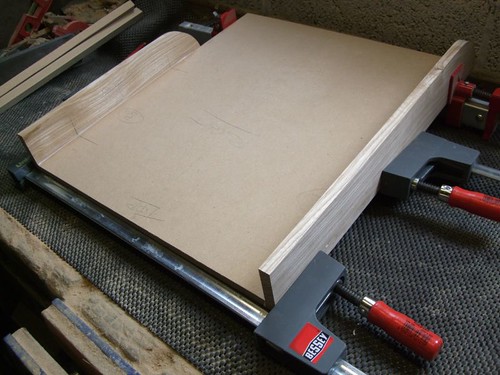
The shelf will fit in a groove which should add strength and stability to the finished unit. Another reason I went for an MDF shelf is because it's 19mm thickness is a better fit in a 3/4" groove than the 17.5mm ply. I don't have to fart around with a smaller cutter.
Why is it that a sheet of plywood (2440x1220x18mm) will be thinner than a sheet of MDF (2400x1200x19mm) - ??? :shock:
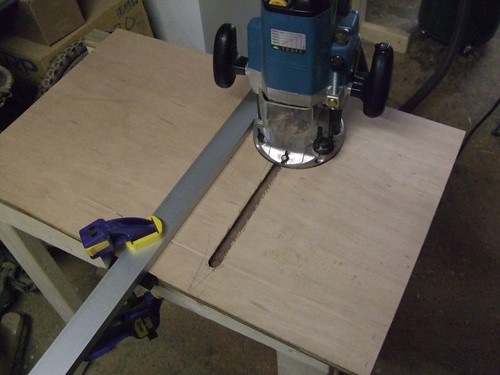
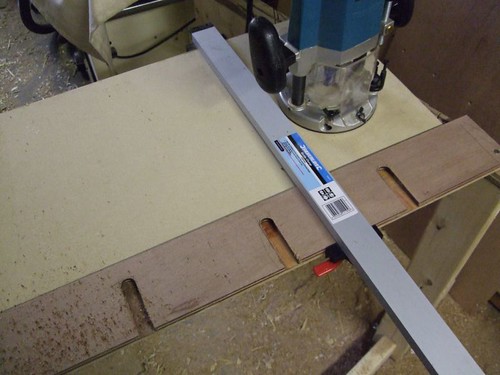
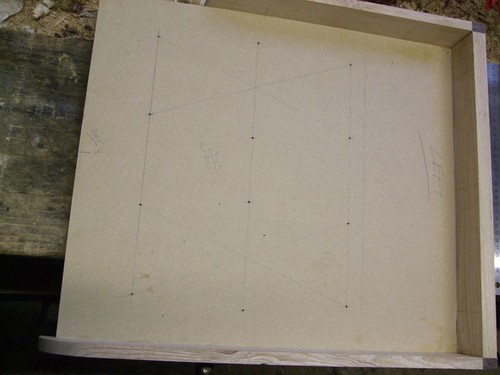
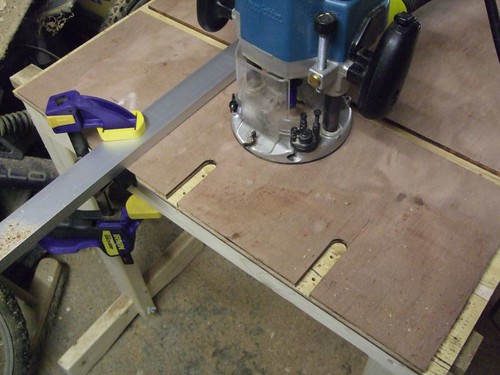
These next grooves will be for the MDF "joists" (spanning the shorter, 500mm depth of the cabinet's top) which I generally find useful for extra rigidity.
Some kind of Housing Jig is next on my list! :wink:
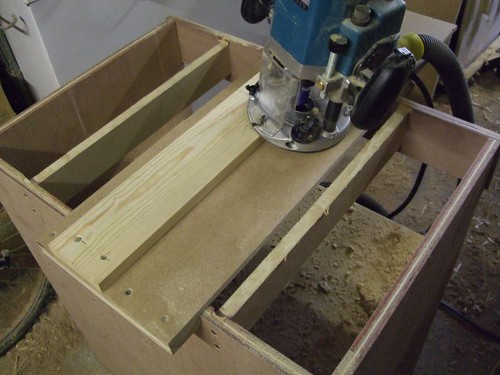
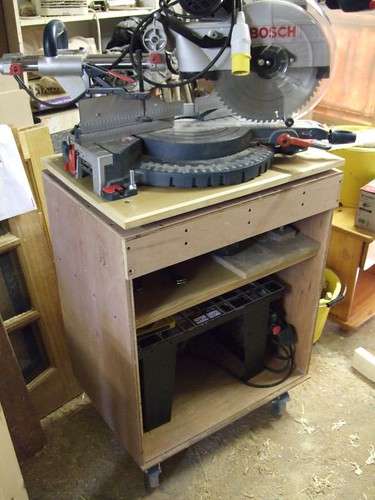
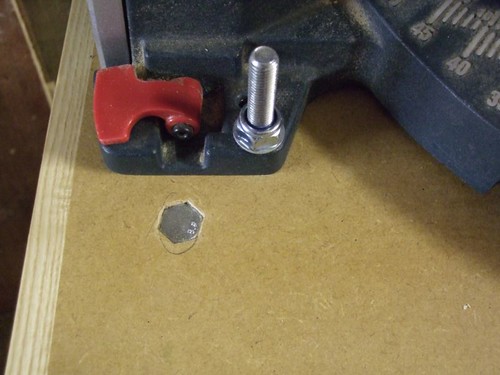
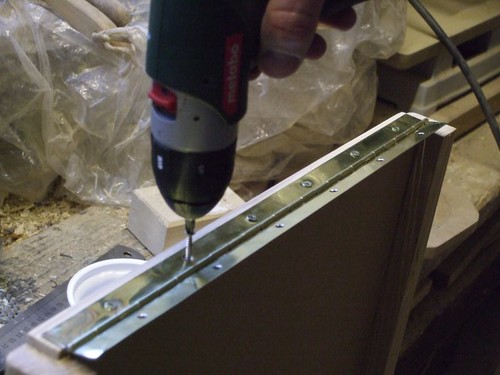
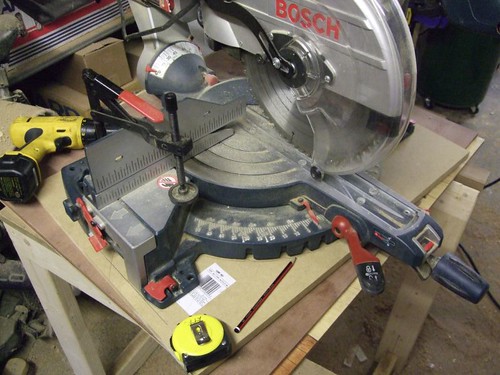
I thought that the best way to get a position for the saw would be too position it on the top itself, and pretty much centre it while getting as close as parallel to the front edge as possible. I screwed it in place temporarily and it looks pretty good. Still need to work out where all the levelling bolts should go.
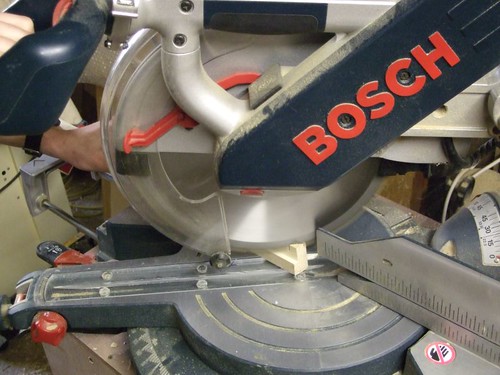
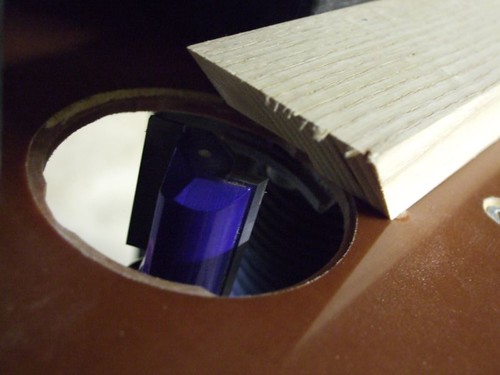
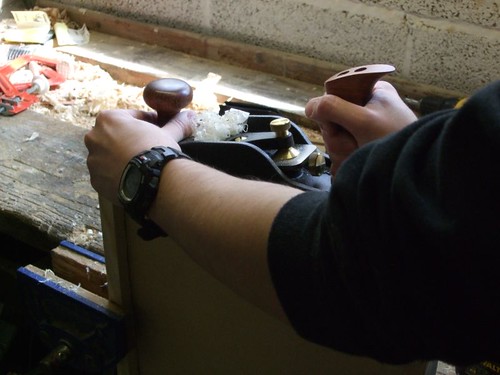
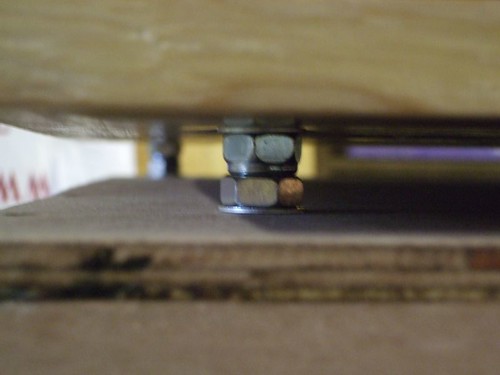
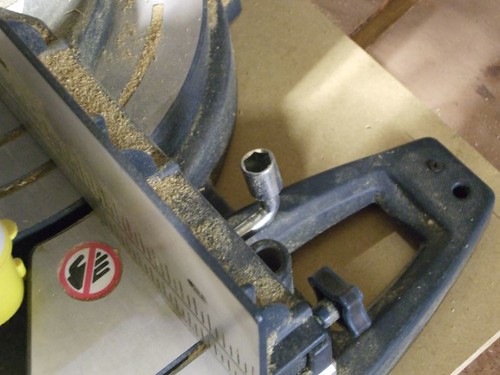
Oh, and also found this hiding away behind the right-hand fence on my saw! :shock: There's a spanner on one end and a phillips screwdriver on the other - why was there no mention of it in the manual?!? I've had this saw since November...
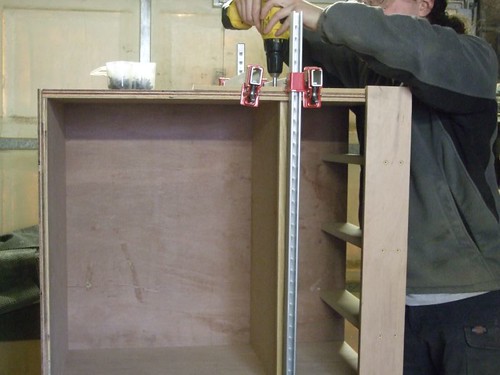
So, I have most of the work on the cabinet itself done but won't be able to go any further until the weekend now. Next I need to start thinking about adding a front rail to sit above the door, lipping the front edge of the MDF shelf (might also lip the MDF top all-round, come to think of it... :wink: ) and then I can hopefully look at assembly, before starting the door.
Once that's all done, only then will I consider how the supports will actually work. :?
With the aid of the sheet-cutting jigs I made on Monday, I was able to dimension the 18mm WBP/Exterior ply pretty swiftly with my circular saw.
My cabinet is going to be 800mm high x 700mm wide x 500mm deep.
And also a sheet of 19mm MDF for the shelf and one more for the adjustable part of the top. Yes, ply would've been better but, I never usually have any left-over when I need some for other things, so I'm trying to save what I can (I have too much MDF also!).
:roll:
I lost patience with the extraction hose catching on the edge of the ply, so didn't bother...
With everything cut to size, it was time to start rebating. The back panel will sit over the sides while the top and base will be rebated to fit over the back and two sides. The door will go in flush - but that'll come much later.
The shelf will fit in a groove which should add strength and stability to the finished unit. Another reason I went for an MDF shelf is because it's 19mm thickness is a better fit in a 3/4" groove than the 17.5mm ply. I don't have to fart around with a smaller cutter.
Why is it that a sheet of plywood (2440x1220x18mm) will be thinner than a sheet of MDF (2400x1200x19mm) - ??? :shock:
These next grooves will be for the MDF "joists" (spanning the shorter, 500mm depth of the cabinet's top) which I generally find useful for extra rigidity.
Some kind of Housing Jig is next on my list! :wink:
I thought that the best way to get a position for the saw would be too position it on the top itself, and pretty much centre it while getting as close as parallel to the front edge as possible. I screwed it in place temporarily and it looks pretty good. Still need to work out where all the levelling bolts should go.
Oh, and also found this hiding away behind the right-hand fence on my saw! :shock: There's a spanner on one end and a phillips screwdriver on the other - why was there no mention of it in the manual?!? I've had this saw since November...
So, I have most of the work on the cabinet itself done but won't be able to go any further until the weekend now. Next I need to start thinking about adding a front rail to sit above the door, lipping the front edge of the MDF shelf (might also lip the MDF top all-round, come to think of it... :wink: ) and then I can hopefully look at assembly, before starting the door.
Once that's all done, only then will I consider how the supports will actually work. :?