


-Matt-
Established Member
This is basically a thread in which I'm throwing pictures into to catalogue and display the little area in which I make... stuff... out of wood and metal.
Its not the biggest nor the best compared to some of the awesome spaces others on here have but I'm making it useable and I hope you enjoy looking at the pictures.
This is not the whole compendium of pictures so some bits I'll chop out for the sake of it being a bit dull but should be able to show enough and explain whats going on.
The whole thing starts about two years ago or so (maybe three) wherein I asked my dad if I could have a little more space in the garage. Its a double garage and was quite untidy and I was making little projects on a board balanced between two workmates:
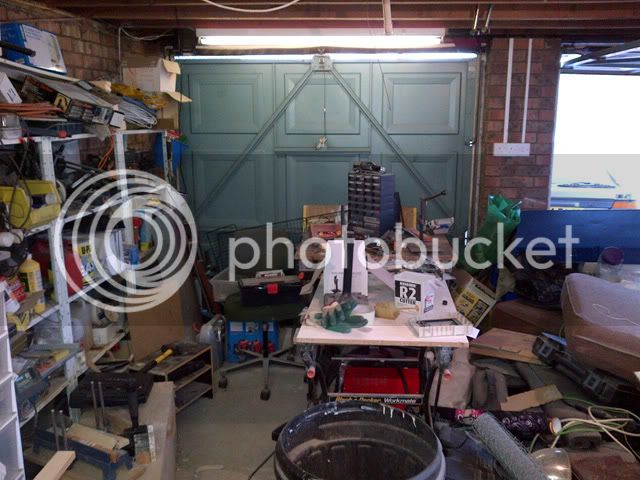
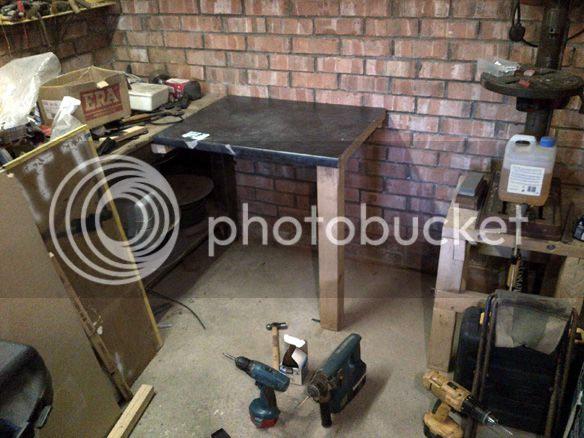
This of course is no and a plan was hatched to board over the up-and-over door (its broken and couldn't be used anyway due to a caravan on the other side)
This was duely done, a sort of benchtop was made using the top and bottom of an old wardrobe which I aquired and cutting a few pics out it then came to be this:
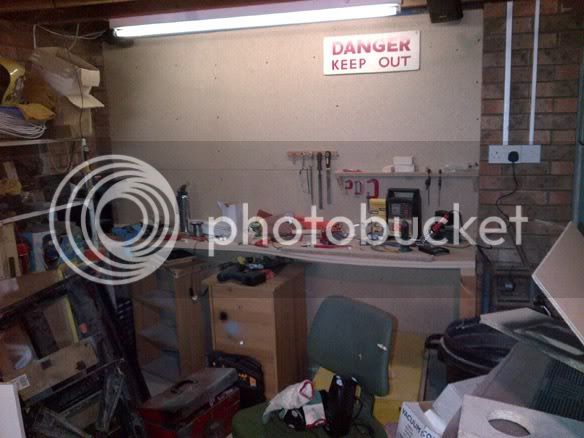
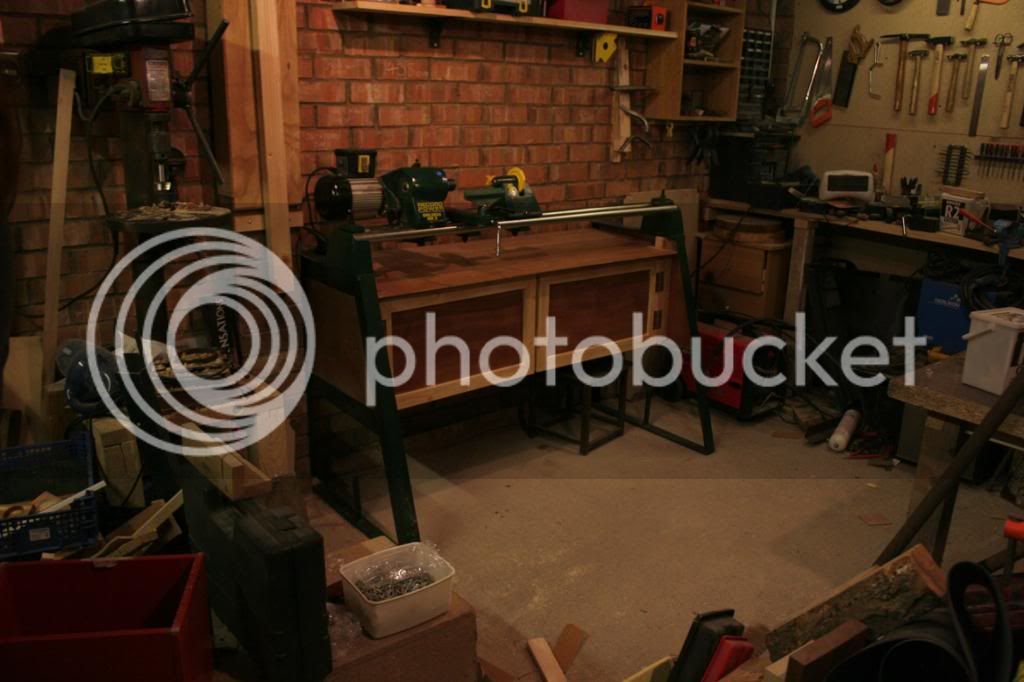
Things got added to the walls as they tend to do, storage was made and thats how it was. Jan 2013. I bought my lathe. The stand was £70 and was essentially four bits of steel tube. I decided I could make a better one and so I did.
I made a sort of A framed thing out of angle:
Got it painted and got the lathe on top:
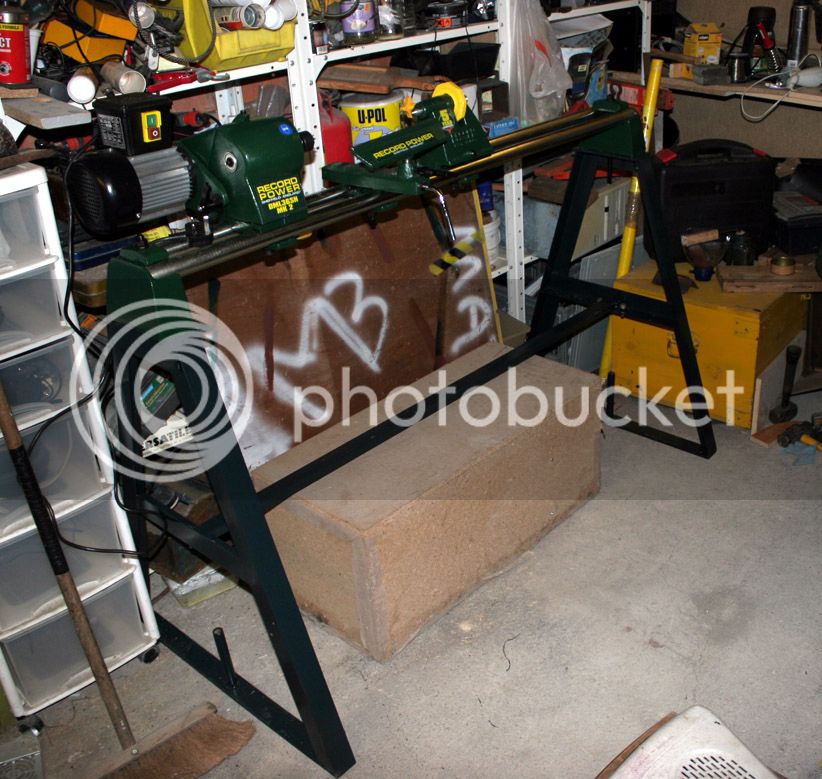
And that was good. It worked. I was happy that it was stable and essentially free. The old chipboard box underneath is full of misc bits of metals.
I was then given (!) a drill press which was something I'd been after. Its a little rattley, the paint is tatty and the table was cracked but it was free so I guess no-ones going to complain at that. I got the table welded back up, and my girlfriend and I set about making a good sturdy stand for it out of palletwood which I'd also obtained for nothing.
The stand is.. shall we say 'over-engineered' but its certainly sturdy:
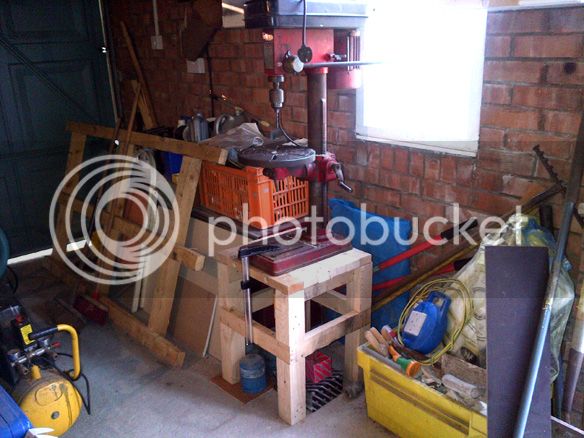
The table top of it has two bits of 12mm bar through the planks, drilled and tapped for M8 bolts which keep the top sandwhiched nicely.
After all that, a massive sort out and move around happened, my dad had given us half the garage to work in and this meant a more organised space.
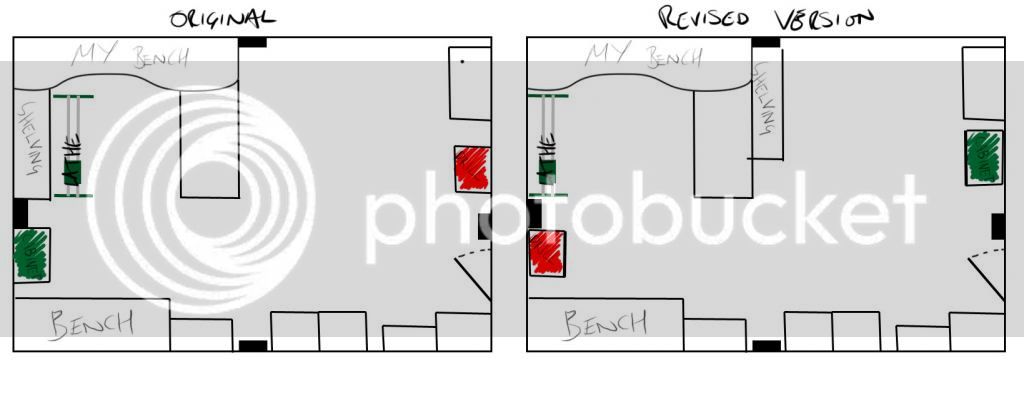
A quick overview of how it looked on the left, and how it would look after:
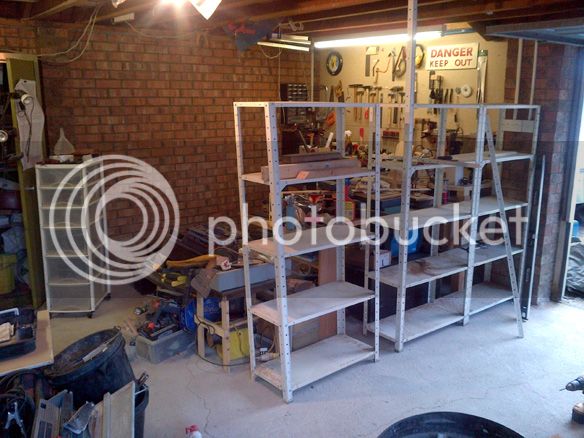
White wall shelving moves to middle:
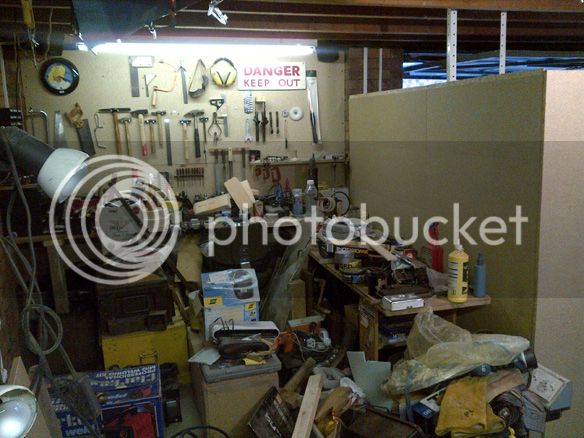
Boarded out on our side (the other side still being my dads storage area)
Bit of worktop rescued from a skip becomes adjoined to the existing bench (essentially given to us to use since it wasn't moving anywhere)
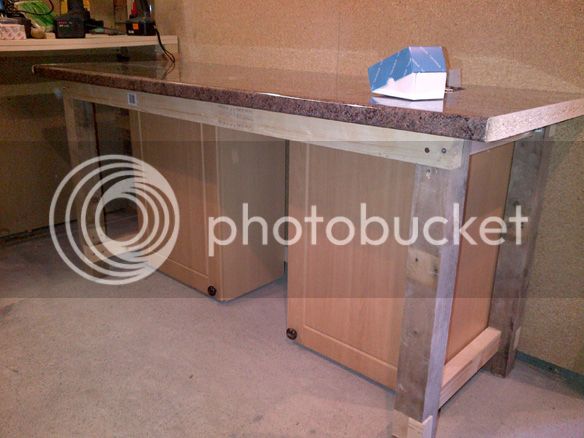
I got a new workbench, worktop was a fiver off Gumtree, cupboards for free from Gumtree again, more palletwood for the legs and 1"½ x 2"½ timber battening from B&Q
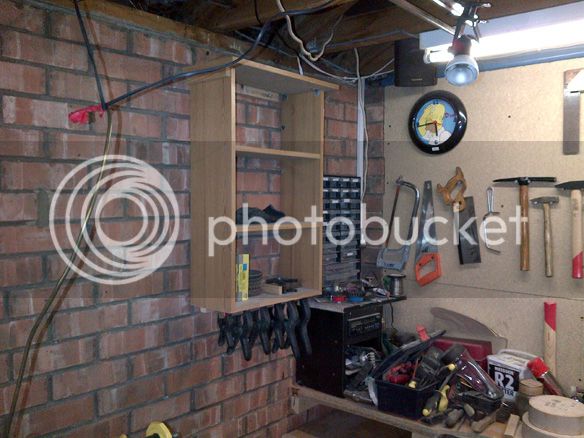
End of my old 'bench' which was really just a bit of old computer desk got attached to wall as shelving:
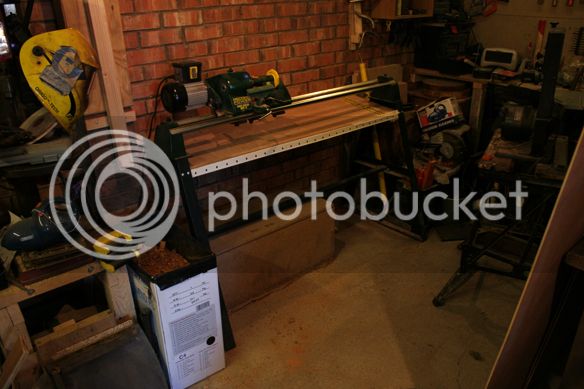
And so that brings me to Christmas. I'd decided to modify and improve the lathe stand. More shelving space and what not.
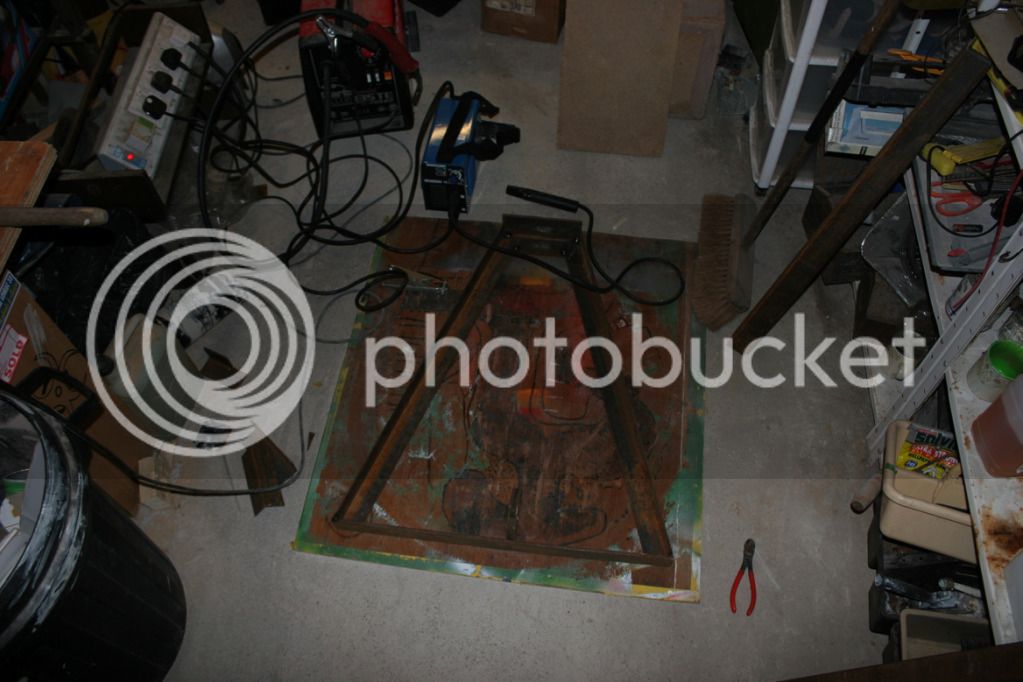
How it looked before Christmas:
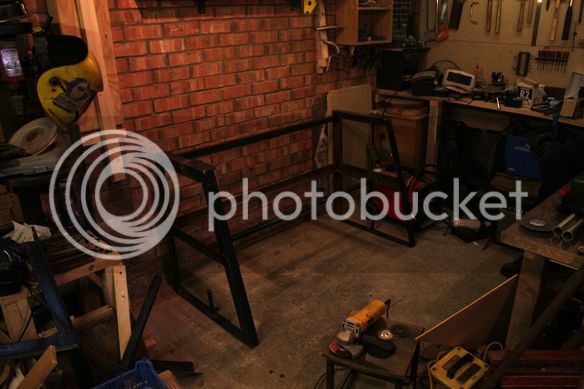
I'd forgotten to take intermittant photos, but I attacked the back of it with the angle grinder, got fresh steel and created the uprighted bits, replaced the middle of the A bit to extend to the back, more cutting and welding with more angle and some box-section from a dismantled treadmill gives me this profile:
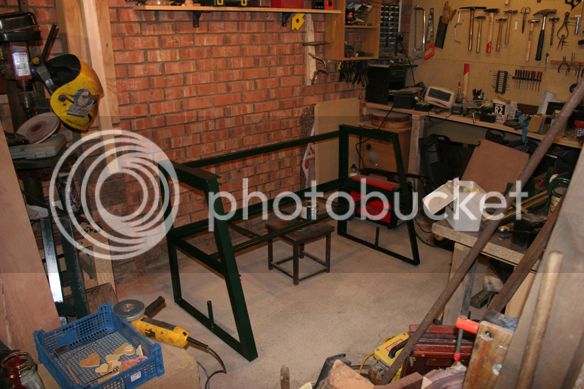
Lower bit with supports added and a fetching coat of dark green Hammerite (closest I could find to Records green, and it was a free tin)
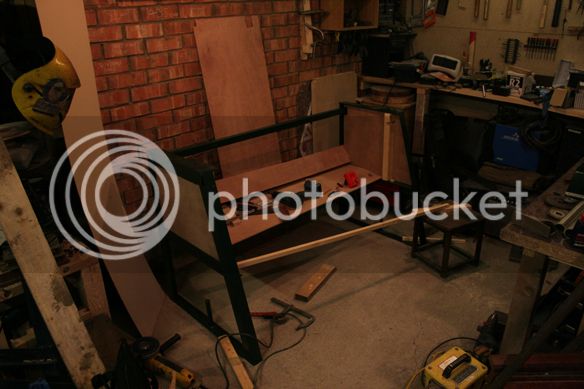
Bandsaw came into play with the plywood, it is hardboard backed but that slimmer piece of of ply acts like a kickboard would, stops it getting too out of shape 20square in the corners, screwed through the frame to trap the ply in place:
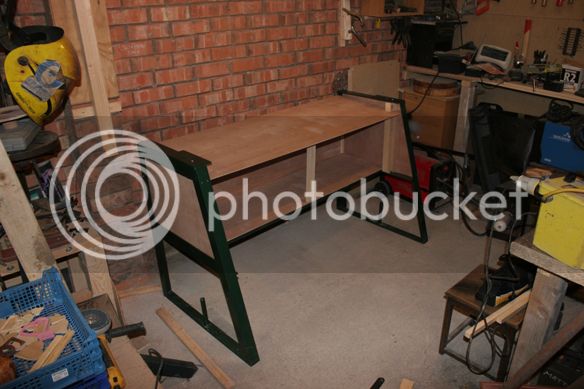
Top on, ready for doors:
And pretty much nearly done:
Door handles to turn, magnets to glue to doors that sort of thing.
Now I know the doors look a little wonky.. because they are a bit.. its cheap pine battens with a bit routed out of the inside for the ply. Woodwork is my hobby and theres many little disciplines about it that I'm learning. The stand serves a purpose and it needed to be done. After all, make a nice place to work/play and then you can concentrate on making some really nice stuff
Sorry if its a bit of a long read, I do apologise for that, I'd meant to create this thread ages ago.
Thanks for reading
-Matt-
Its not the biggest nor the best compared to some of the awesome spaces others on here have but I'm making it useable and I hope you enjoy looking at the pictures.
This is not the whole compendium of pictures so some bits I'll chop out for the sake of it being a bit dull but should be able to show enough and explain whats going on.
The whole thing starts about two years ago or so (maybe three) wherein I asked my dad if I could have a little more space in the garage. Its a double garage and was quite untidy and I was making little projects on a board balanced between two workmates:
This of course is no and a plan was hatched to board over the up-and-over door (its broken and couldn't be used anyway due to a caravan on the other side)
This was duely done, a sort of benchtop was made using the top and bottom of an old wardrobe which I aquired and cutting a few pics out it then came to be this:
Things got added to the walls as they tend to do, storage was made and thats how it was. Jan 2013. I bought my lathe. The stand was £70 and was essentially four bits of steel tube. I decided I could make a better one and so I did.
I made a sort of A framed thing out of angle:
Got it painted and got the lathe on top:
And that was good. It worked. I was happy that it was stable and essentially free. The old chipboard box underneath is full of misc bits of metals.
I was then given (!) a drill press which was something I'd been after. Its a little rattley, the paint is tatty and the table was cracked but it was free so I guess no-ones going to complain at that. I got the table welded back up, and my girlfriend and I set about making a good sturdy stand for it out of palletwood which I'd also obtained for nothing.
The stand is.. shall we say 'over-engineered' but its certainly sturdy:
The table top of it has two bits of 12mm bar through the planks, drilled and tapped for M8 bolts which keep the top sandwhiched nicely.
After all that, a massive sort out and move around happened, my dad had given us half the garage to work in and this meant a more organised space.
A quick overview of how it looked on the left, and how it would look after:
White wall shelving moves to middle:
Boarded out on our side (the other side still being my dads storage area)
Bit of worktop rescued from a skip becomes adjoined to the existing bench (essentially given to us to use since it wasn't moving anywhere)
I got a new workbench, worktop was a fiver off Gumtree, cupboards for free from Gumtree again, more palletwood for the legs and 1"½ x 2"½ timber battening from B&Q
End of my old 'bench' which was really just a bit of old computer desk got attached to wall as shelving:
And so that brings me to Christmas. I'd decided to modify and improve the lathe stand. More shelving space and what not.
How it looked before Christmas:
I'd forgotten to take intermittant photos, but I attacked the back of it with the angle grinder, got fresh steel and created the uprighted bits, replaced the middle of the A bit to extend to the back, more cutting and welding with more angle and some box-section from a dismantled treadmill gives me this profile:
Lower bit with supports added and a fetching coat of dark green Hammerite (closest I could find to Records green, and it was a free tin)
Bandsaw came into play with the plywood, it is hardboard backed but that slimmer piece of of ply acts like a kickboard would, stops it getting too out of shape 20square in the corners, screwed through the frame to trap the ply in place:
Top on, ready for doors:
And pretty much nearly done:
Door handles to turn, magnets to glue to doors that sort of thing.
Now I know the doors look a little wonky.. because they are a bit.. its cheap pine battens with a bit routed out of the inside for the ply. Woodwork is my hobby and theres many little disciplines about it that I'm learning. The stand serves a purpose and it needed to be done. After all, make a nice place to work/play and then you can concentrate on making some really nice stuff
Sorry if its a bit of a long read, I do apologise for that, I'd meant to create this thread ages ago.
Thanks for reading
-Matt-


