LOOK what you lot made me buy...

UKworkshop.co.uk

Help Support UKworkshop.co.uk:

This site may earn a commission from merchant affiliate links, including eBay, Amazon, and others.

Henning

Established Member
Joined
5 Sep 2009
Messages
334
Reaction score
0
Location
Norway
Having enjoyed the abundance of great posts, WIP's, tutorials and everything here, i'll try and contribute a meager little something as well.
Here's WIP- pic's of my new router table. Considering most has been done on my knees in the basement, i'm not very unhappy.
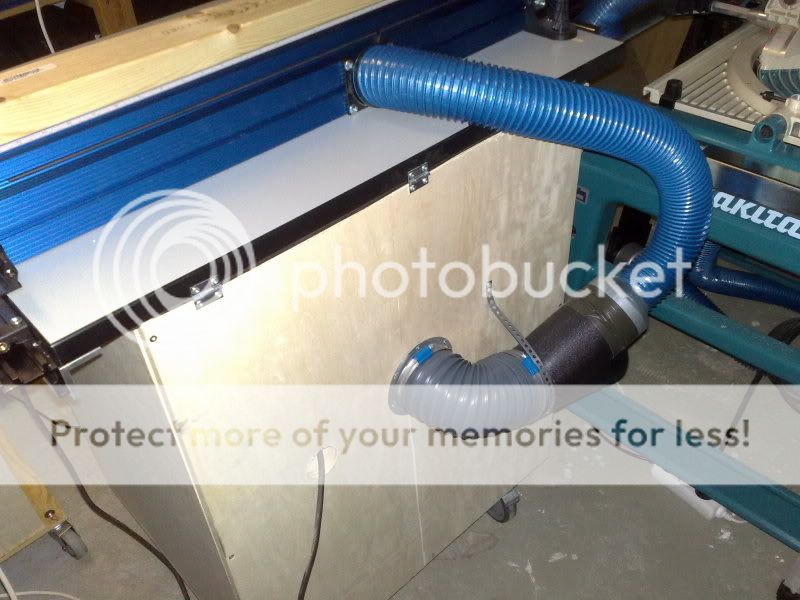
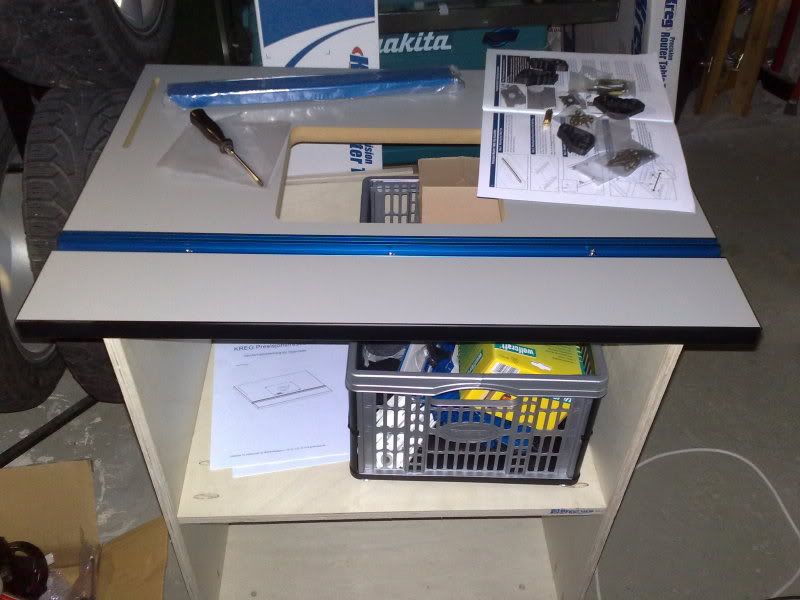
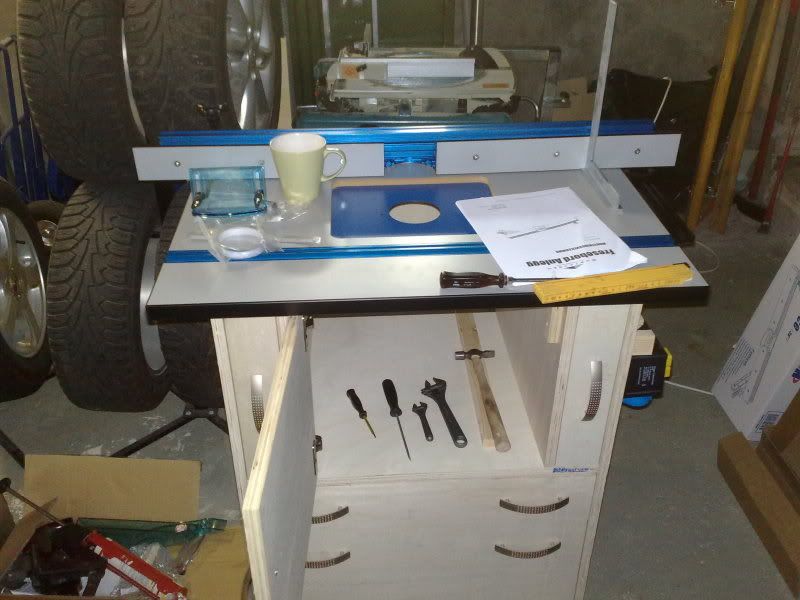
Kreg top and fence ontop plywood...

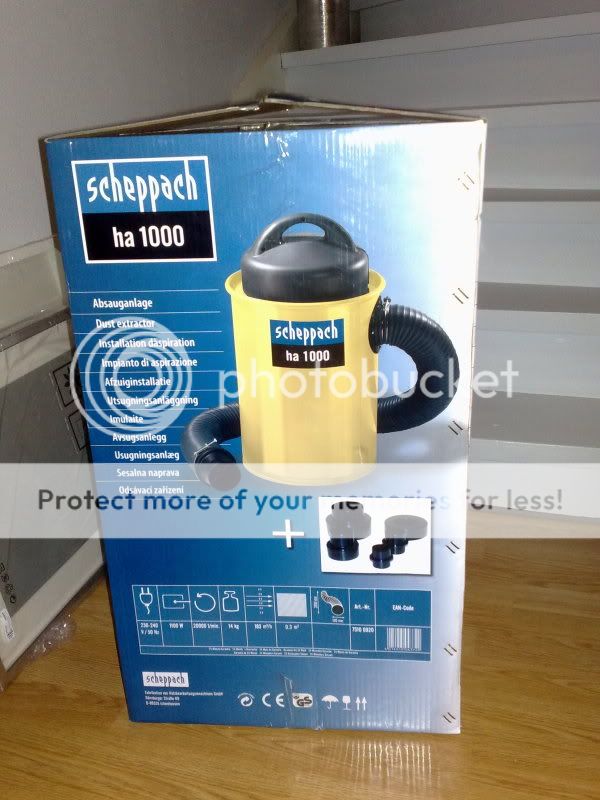
Oh, and i blame you lot for the buying of this. (And a bunch of Bessey clamps :lol: )

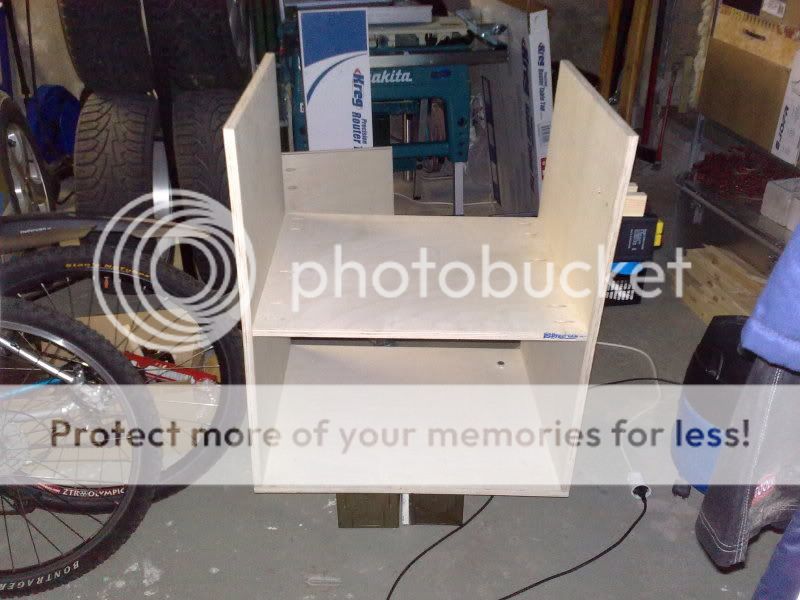
Anyways, here's the first picture. The main carcass. I was a little :roll: eager to get the project going and didn't take any pic's before this one:

1Skrogpbegynt.jpg


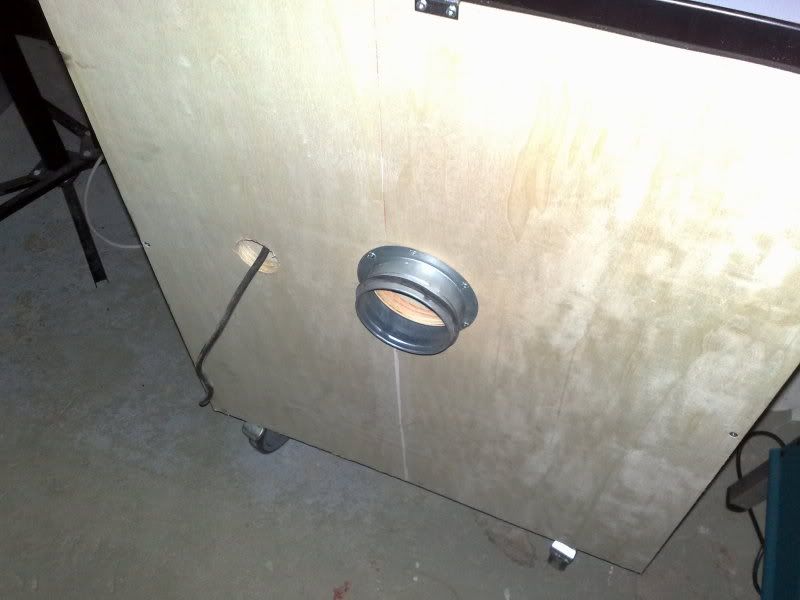
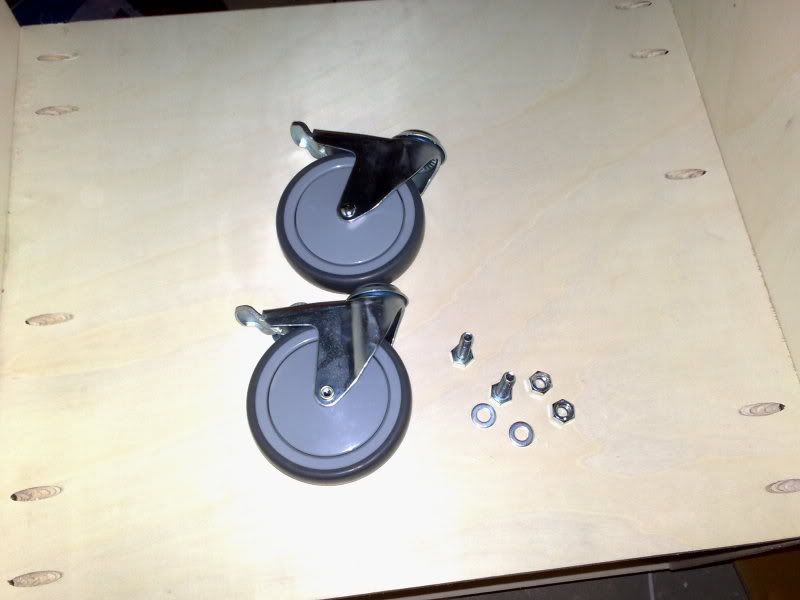
Next job was wheels. As i have very limited space to work on i need them wheels to be able to wheel it away when not in use. I chose 125mm. locking (both turn and roll) wheels:

2Hjulneste.jpg


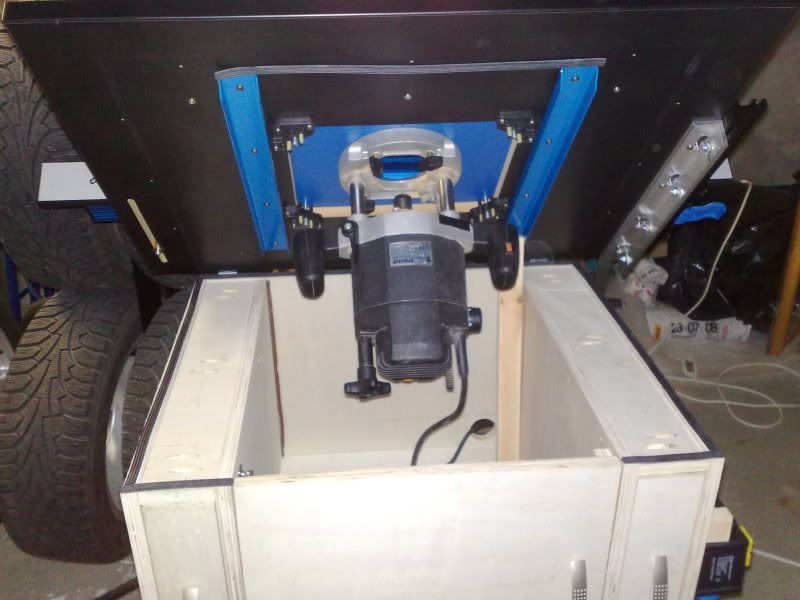
Then it was onto the top. Yeah, i know, i didn't need it at that stage but you know. Had to look what was in the box:

3_1Monteringavplate.jpg


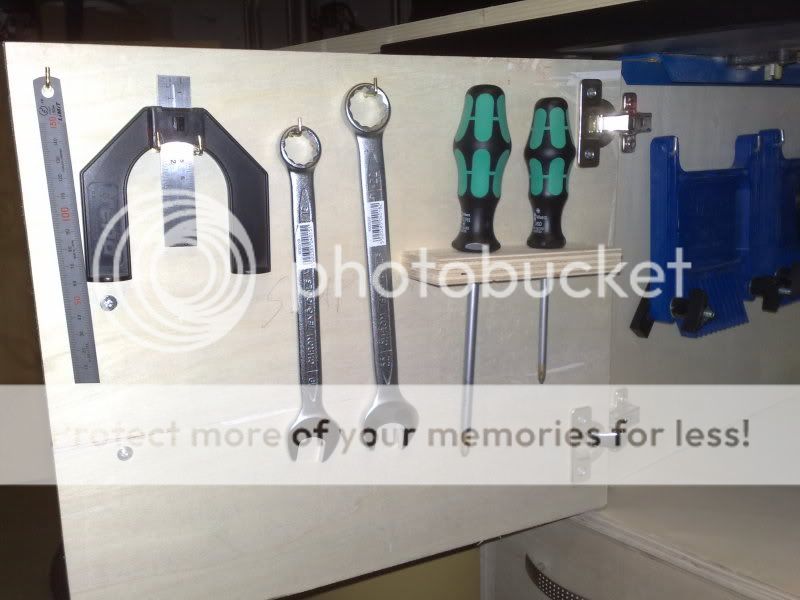
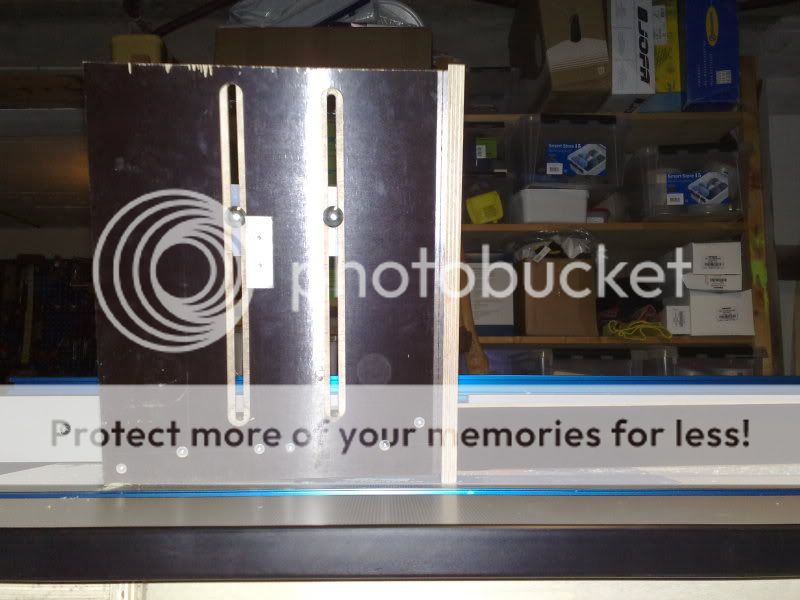
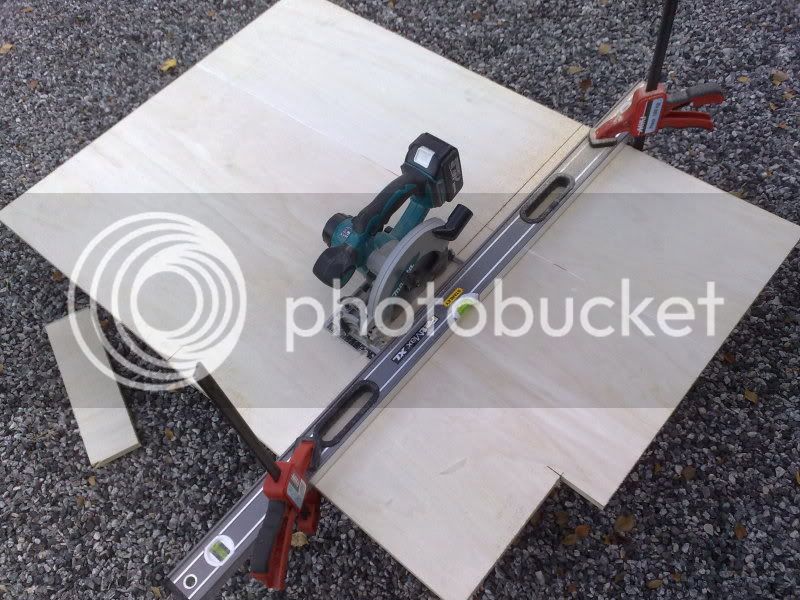
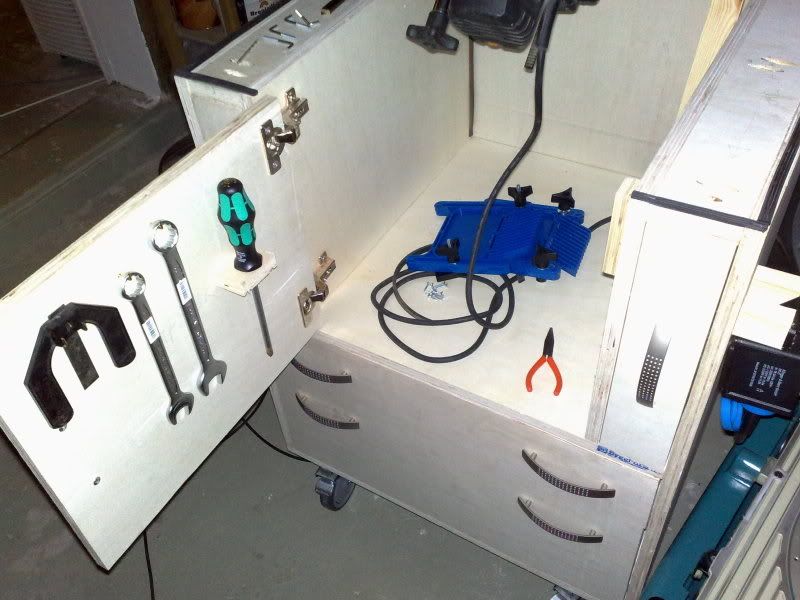
Then i needed a couple drawers. Time for cutting up some more plywood:

10Trengermermaterialer.jpg


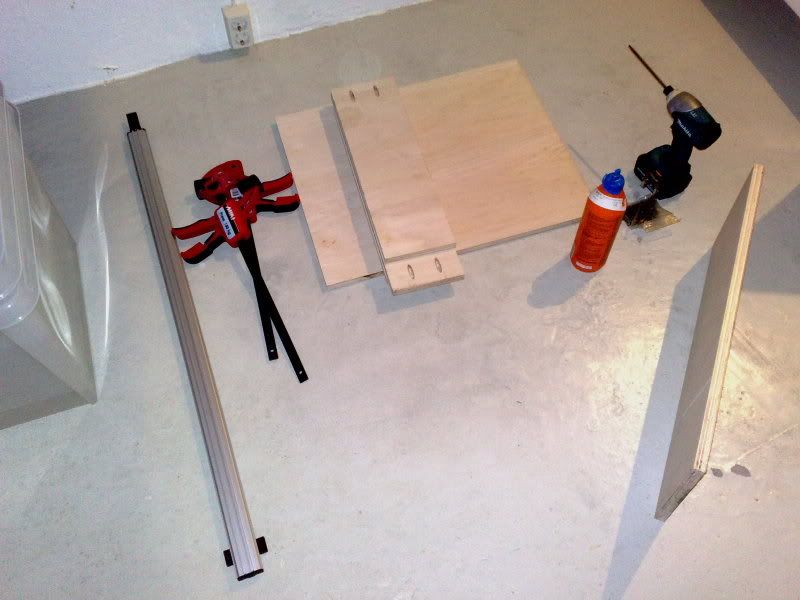
And the station where everything is put togheter:
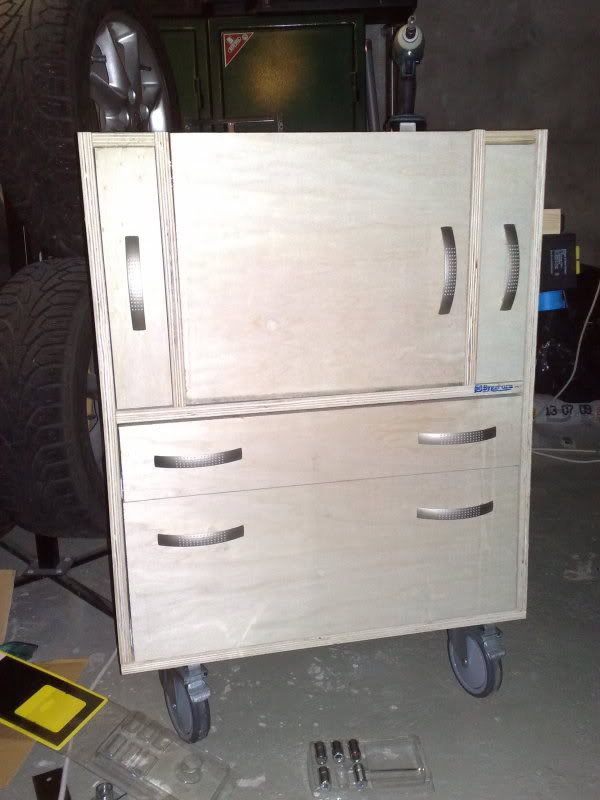
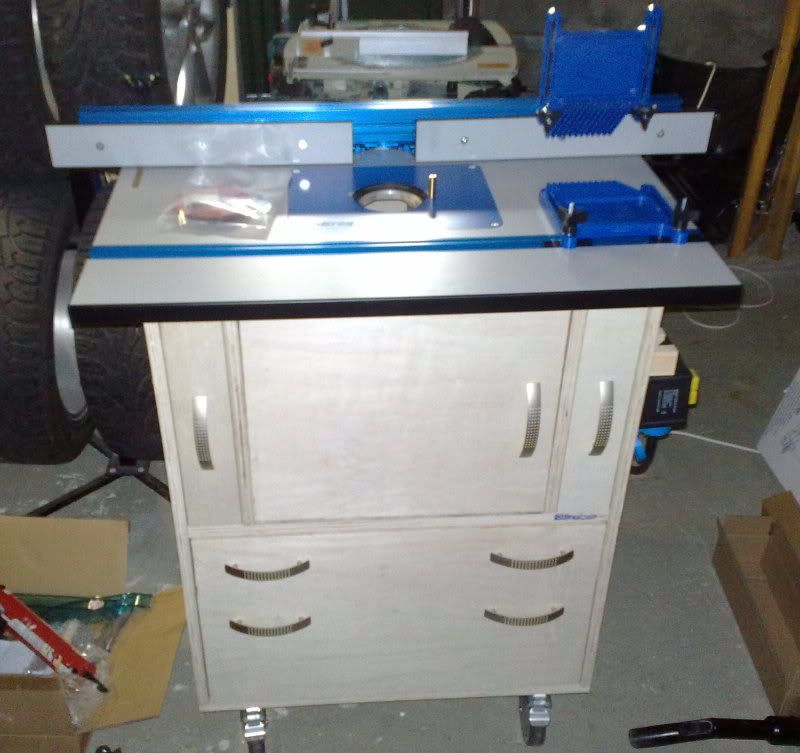
4Monteringsstasjon.jpg


Got me this far:

12drpplass.jpg
 
Going on from that it was time to put everything togheter and i have to say, i was pretty happy i had this one when i needed to drill the holes for my router in the inlay:

16Lagehullifesteplate2.jpg


13_2Anleggmontert.jpg


And here we are ready for the router to be put in:

21Begynnerliknepnoe.jpg


Due to the Trend T10 router i had to hinge the top, buy an extension and then finding out i had the wrong collet, buying one of those as well:

23Hengslettopp.jpg
 
Here's a picture of the inside of the cabinet door:

25Verkty.jpg


And that's about it. It is still under construction, i'll make sure to update this when i feel i'm done.
 
Looks like good work from here Henning, and if you can use words like 'abundance' you're not doing too badly. :)

Well done.

xy
 
xy mosian":3c6fmkeb said:
Looks like good work from here Henning, and if you can use words like 'abundance' you're not doing too badly. :)

Well done.

xy

Thank you very much! I did learn a few things along the way, though, which probably had been better learnt before.

Oh, and the spell check picked up my wrongly written abundance ;-)
Thankfully...
It's more in case something i write can be understood in more than one way, than the actual writing. Burnt myself on that once or twice before... :roll:
 
This is looking like a very tidy table, Henning. I do like the way you've hung your tools off the inside of the door. :)

My only concern is one of ventilation, if you don't already have something in mind...? Routers can get surprisingly 'warm' when their running inside an enclosed space. If possible, I'd at least consider putting a couple of holes in the back to allow your router to 'breathe'. :wink:
 
OPJ":32g3fr1j said:
This is looking like a very tidy table, Henning. I do like the way you've hung your tools off the inside of the door. :)

My only concern is one of ventilation, if you don't already have something in mind...? Routers can get surprisingly 'warm' when their running inside an enclosed space. If possible, I'd at least consider putting a couple of holes in the back to allow your router to 'breathe'. :wink:

There's a larger than necessary hole already where i took out the power cord, but it's in the plans to buy a dustextractor which means a large hole in the back for dustextraction. The way it is now, a lot of the fine dust accumulates inside, which is less than ideal...
Hopefully i will be updating soon with my new dust extractor :-D
 
Well, i should have done this some time ago, but i find it much more pleasant to be in the workspace working ;-)

I have done the following since my last update:

Installed one of these:

Avsugsstuss.jpg


and then installed this:

Avsugsanordning.jpg


Because i just happened to buy this:

Sch_avsug1.jpg


I have also added some more dedicated tools to the routertable:

Dedikertverktyifreseskap.jpg


All in all very happy with both routertable and dust extractor :-D
I have also made a quick and dirty but much better workbench, a clamp roller and a small table to put my pillar drill on. All in all i actually have a useable workspace now. (Still not worthy of being called a 'shop)
 
Mcluma":chve0qd2 said:
That is looking pretty good

but did you not put that Y junction in the extraction the wrong way??

Yes, i did. More or less intentionally though, as that gives me the right angles for all the pipes. I did put it on correctly first and tried the suction at the two ports. Couldn't feel any difference so i thought it didn't matter much?

It works great, at least :lol:
 
Looking vert neat and tidy Henning.
What kind of pipe connection is it you've installed on the back ? It seems to mate well with the 100m flexi-pipe.
Good to hear you're happy with the new extractor :wink:

Mark
 
Krysstel":22w5ubtc said:
Looking vert neat and tidy Henning.
What kind of pipe connection is it you've installed on the back ? It seems to mate well with the 100m flexi-pipe.
Good to hear you're happy with the new extractor :wink:

Mark

Mark,

It's for internal ducting of ventialtion in houses, made for 100mm. ducting and with rubber seal. worked very nicely :)

And thanks!
 
Henning":1snms967 said:
.....
I have also made a quick and dirty but much better workbench, a clamp roller and a small table to put my pillar drill on. All in all i actually have a useable workspace now. (Still not worthy of being called a 'shop)

You know that it's no point to brag without showing us some pictures?? :wink:
 
I have been seen to do a lot of rather strange things to rout the end grain of smaller pieces, and with various results, so yesterday i spent building a coping sled. There's a front fence which registers against the front of the table and also helps keep the main body flat.


301220091094.jpg


I also made a UHMW- shoe that goes in the track in the table and the whole thing is rather like a train now, and gives me 90 degree ends:

301220091095.jpg


I decided to start out with the bare minimum of a coping sled and then i will add to it or build a new one if i feel i need anything else.

As always, i'm very happy for any and all feedback and/or helpful hints and tips!
 
Back
Top