June Box Challenge ( Rules and Requirements )

UKworkshop.co.uk

Help Support UKworkshop.co.uk:

This site may earn a commission from merchant affiliate links, including eBay, Amazon, and others.
Status
Not open for further replies.

Blister

Established Member
UKW Supporter
Joined
10 Nov 2006
Messages
7,461
Reaction score
443
Location
Boston Lincs
June Box Challenge ( Rules and Requirements )

Our Judge for June will be George ( Thanks George )

The Monthly challenge for June is to produce a BOX

Turning boxes can be a source of considerable satisfaction because they require a certain degree of skill.
There is the challenge of creating a satisfactory design, making a well fitting lid
( lid should stay on when the box is turned upside down ) and finishing the box to the level required for an object which is likely to be treasured by its owner

Any wood type
Up to 3 different wood types will be allowed , but not multiple segmented work
Any design

Can have a threaded ( if you have the tools and ability ) or push fit lid , I will ask George not to favor boxes with threaded lids as not everyone has the required tools

NO Critique or comments on any work until July Please, After the Judging and results.
Please state item size, width and height and wood type if known and a little about how you made it and what finish you used (this helps the judge)
The Judges decision is final.

Please post 3 images of your work
1 side profile with lid fitted
1 looking down inside the box with the lid next to the box inverted so the judge can also see the finish inside the lid
1 close up of a part / design element you are particularly proud of

Image size please use image size 640 x 480 0.3 mp, same as previous months

Please notify me your entries are ready by 10 pm on the 25th June after this time the thread will be locked

Entry’s to be uploaded from 10pm on 25th June up until 10pm on the 27th June after this time the thread will be locked for Judging

Results will be given on or before 30th June

Holidays

If you are going to be away when its time to post up your entries please either send them to me or Chas and we will upload for you so you don’t miss out on judging

Have fun and think safety. Allen
 
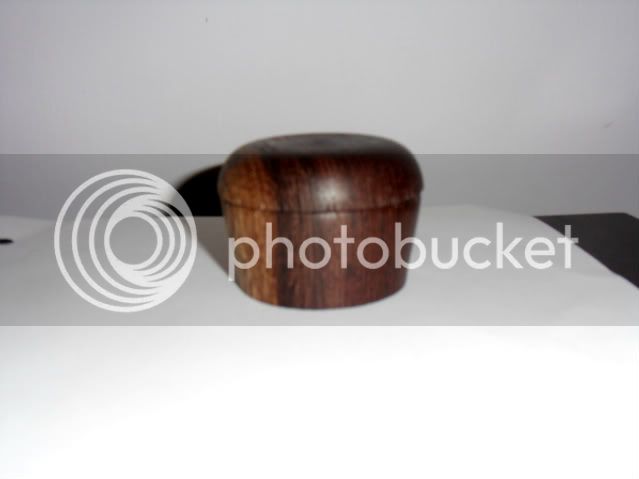
Although not a winner im quite proud with my entry this month. Other then a coupe of catches that I turned out there was no issues and the lid fitted perfectly.
I sized down a a blank and mounted between centres. Used the 1/2 gouge to make round and a parting tool to make a 2.5cm long spigot. I then mouthed the blank into my clubman chuck and turned the box using a skew and bowl gouge. I parted the box from the spigot and mounted the turned end in the chuck to use the skew to finish the foot. Another blank between centre, turned round with 1/2" gouge then parting tool to make spigot. Remounted with spigot and turned the top using the skew and parting tool.
I cut the blanks from the same piece of Iroko to match up the markings. I turned a "double" lip lid to try have it fit into two steps. Not sure if I achieved this as I can't see inside when the lid is on but the lid fits perfectly if not a little to tight.

Measures 49mm tall and 48mm diameter. Finished in Teak Oil.

IMG_3286.jpg

IMG_3287.jpg

IMG_3288.jpg
 

Attachments

  • IMG_3286.jpg
    IMG_3286.jpg
    55.1 KB · Views: 2,027
  • IMG_3287.jpg
    IMG_3287.jpg
    69.4 KB · Views: 2,027
  • IMG_3288.jpg
    IMG_3288.jpg
    67.2 KB · Views: 2,027
Quite pleased with my entry - this is my second attempt at making a box (the first one had a lid that fell off when up-ended - doh!)

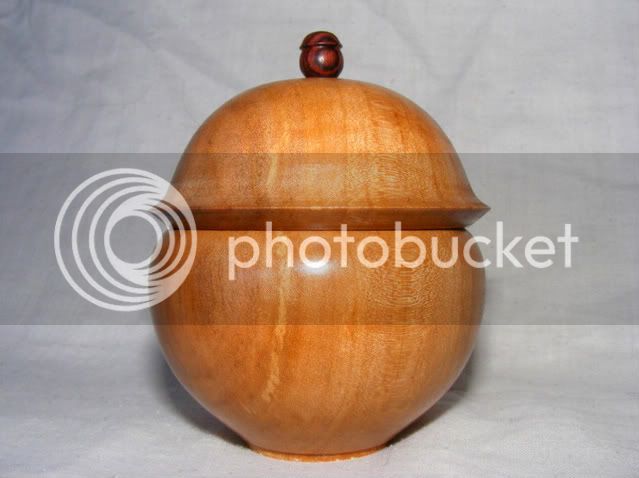
Made from a cheap sycamore blank (with interesting looking crack), chosen by my kids from John Davies bargain bucket with a 'hardwood knob'. I made the lid by making a spigot and then parting off 25mm from the sycamore blank. I mounted this in the chuck and rough finished the top and drilled a 3mm hole through the centre. I then screwed the top (upside down) to a wasted block mounted on a face plate - I then removed the spigot, finished the edge, sanded, sealed and polished with shavings. Next I mounted the base and hollowed out the 'box' with a lip ensuring a nice snug fit for the lid which was then sealed and polished. With the lid fitted I turned the outside contour of the base and lid together, then sanded, sealed and polished. I then reversed the base onto the chuck to remove the glue block, finish the base, sand, sealed and polished. I then turned a small knob with a 3mm spigot, sealed, polished and glued into the lid.

Diameter = 90mm
Height (not including knob) = 50mm
Height (including knob) = 67mm

The bit I like the most is the knob as it came from a scrap piece of hardwood and I think it fits in just right :)
 

Attachments

  • sycamore box knob.jpg
    sycamore box knob.jpg
    63.3 KB · Views: 2,019
  • sycamore box side.jpg
    sycamore box side.jpg
    37.2 KB · Views: 2,019
  • sycamore box top.jpg
    sycamore box top.jpg
    67.5 KB · Views: 2,019
Here's my entry.

I made it from a blank that was rough hollowed last year and left to "rest" and properly dry out indoors.. My rough turned parts were a lid with chucking spigot and a base with chucking spigot.

The lid was trued up and the inside finish turned & lightly sanded ready for threading. The inside diameter of the lid was measured using a plug gauge (a piece of wood turned to fit tightly inside the lid, the diameter of this is then measured - which is more accurate than trying to directly measure an inside diameter). The base was then trued up, and the flange cut to the size of the plug gauge plus 1.4mm (to an accuracy of 0.05mm) ready for threading. The two parts had the threads cut using my home-made threading jig.

Once threaded, the base was remounted on the lathe and grain-matched to the lid by cutting away the shoulder behind the thread on the base flange. The inside of the base was finish turned and sanded. The lid was screwed onto the base and the outside and top of the box finished turned. The v-grooves defining the edges of the decorative bands were added and the outside was sanded. The textured decoration was added to the sides of base and lid and the top of the lid using a ball-ended dental burr in a rotary tool, with the box still held on the lathe and the lathe stationary.

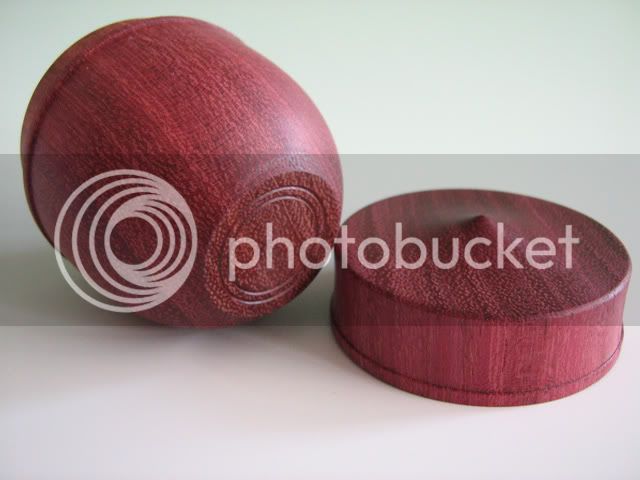
The base was reversed and the bottom of the box finished - slightly dished, with decorative rings. My sig, the type of wood, and the date were pyrographed on the bottom.

Off the lathe, the textured bands were coloured (all stages by hand using a small brush - no aerosols) - first coat was matt black acrylic, second coat an automotive "flip" pigment which I mix into a pure acrylic binder. Each texture band was finished in two coats of very thin acrylic lacquer to protect the coloured layer. What the still photos do not show very well is that the coloured bands flip between purple and green depending on how the light strikes the box. Finally, all the bare wood of the box had two coats of Osmo oil and the whole box was lightly buffed with microcrystalline wax.

The sides of the box are truely parallel and the top of the lid dead flat. The lid stays on when the box is inverted as it is threaded. There is no wobble on the thread. It fits well with no side-to-side play yet is easy to undo and do up. I got the idea for the textured decoration on a threaded box from the knurling that is often applied to metal parts which screw together - the knurling making them easier to grip. I made the project over the course of a couple of days (due to waiting for paints/oil to dry) but it was probably around 4 hours work.

The box is made of local holly and is 68mm high and 55mm in diameter.
 

Attachments

  • boxside.jpg
    boxside.jpg
    81.7 KB · Views: 2,004
  • lidinside.jpg
    lidinside.jpg
    53.5 KB · Views: 2,004
  • boxoverall.jpg
    boxoverall.jpg
    79.5 KB · Views: 2,004
I did not know much about the competition when I entered but have decided that it would be unfair to the others taking part in the competition for a person of my skills to be entering and have decided to remove my box from the competition. I will of course be keeping an eye on the competitions to see how you are all doing.

Good luck to you all

Regards Tony
 
i am going for the 'simplest box' award with my (final) attempt this month :)
made from a short plank of (what was labelled) olive ash, and measures about 35 x 110mm.
easy to cut but an absolute b*gger to finish to any degree of smoothness, the grain standing really proud, even went back to 80grit and then everything i had up to 0000 wool, and finished with a soft wax, so you can still 'feel' the grain but polished none the less.
nev
 

Attachments

  • PIC_0021.JPG
    PIC_0021.JPG
    70 KB · Views: 1,958
  • PIC_0030.JPG
    PIC_0030.JPG
    74.8 KB · Views: 1,958
  • PIC_0028.JPG
    PIC_0028.JPG
    60.4 KB · Views: 1,958
Here is my June entry.
I was asked some time ago to make a box to hold small buttons,with specific instructions required in doing so.
So took the opportunity to make one and use it for this months comp.
The box was to be held in the hand while mooching through,hence the small base/lid.
The shape was so buttons don't get caught in corners,which seems to work,it wanted to be light in weight,and very smooth.
I have met all those requirements and she is very pleased with it.The lid is a nice push/click fit which does hold on :shock:
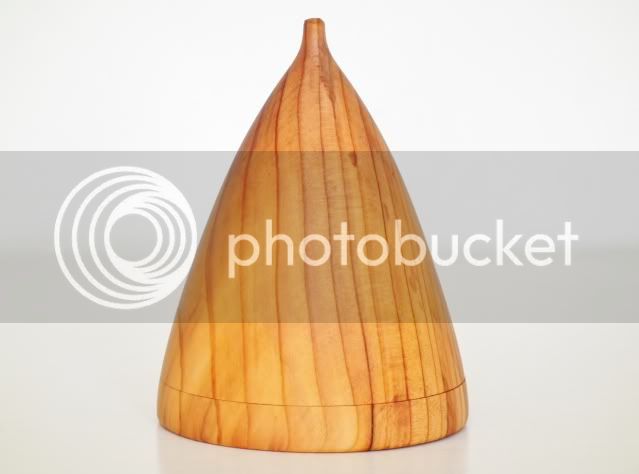
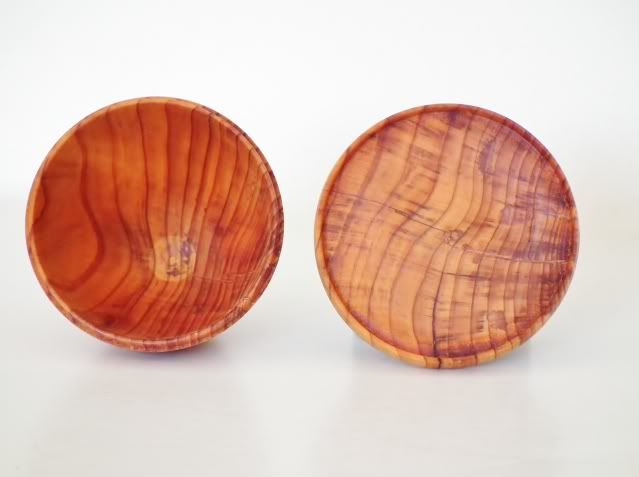
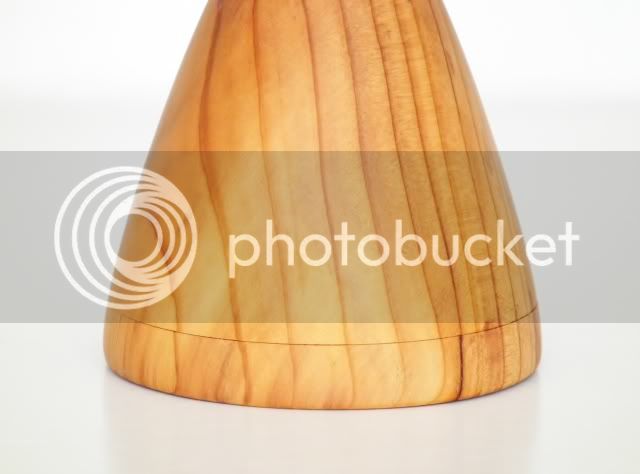
The box is made from Yew.The sizes are 80mm x 60mm with a 2mm wall thickness.Finished with Lemon oil.

box12.jpg


box1.jpg


box13.jpg
 
Hi all

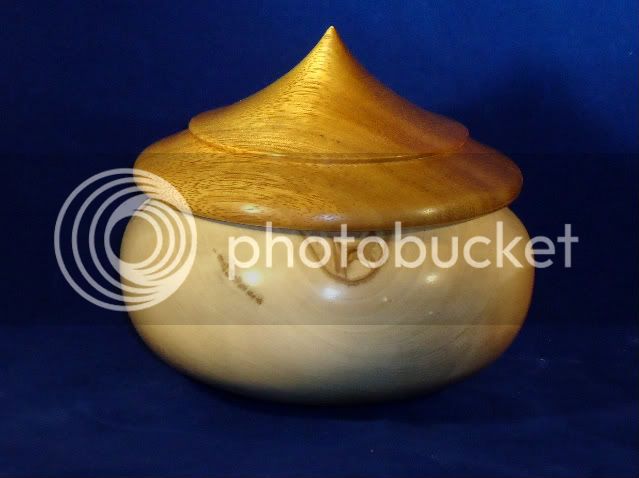
My June Box is experiencing distinct Oriental influence. As I was turning it, I found "Natures" fantastic contribution, a blank that sticks it's tongue out! Together with the profile I had created my mind could not escape the Chinaman sticking his tongue out. So it stuck and was exaggerated!

The base is made of local holly and was accompanied by a Walnut lid. However, between completion and photography it decided to split so a replacement was made. The lid shown I believe is Iroku.

The box is 150 mm wide and 125mm tall.

it is finished with sanding sealer and chestnut 22 wax

DSC01190.jpg


DSC01170.jpg


DSC01187.jpg
 
Here is my entry for June.

The box is in elm with walnut pedestal, inner section and finial (nice and tall especially for Jonzjob).

The box section is 95mm (3.75") wide. The overall height is 330mm (13") and each section is a third of the overall height.

Using an inner section, meant I could still line up the grain even with a reasonably big lip on the lid. The wood was a bit 'punky' which made the turning interesting but I only had to use CA on one small section and the finish is fine.

Most boxes seem a bit deep for storing small objects so I thought that having two sections would make it easier to sort stuff, and the handle on the insert doubles as a ring holder, I assume this would get used for jewelry and trinkets.

The elm was only just big enough for the box and I had to use a screw chuck to mount it so there was a hole in the bottom. I used this to mount the pedestal and turned a cover plate for the inside. The hole in the lid was used to mount the finial. Its neat enough as it is.

Finished with a couple of coats of brushed lacquer, wire wooled with paste wax and polished by hand.
 

Attachments

  • Inner.jpg
    Inner.jpg
    49.5 KB · Views: 1,918
  • Top view.jpg
    Top view.jpg
    56 KB · Views: 1,918
  • Side view jpg.jpg
    Side view jpg.jpg
    31.2 KB · Views: 1,918
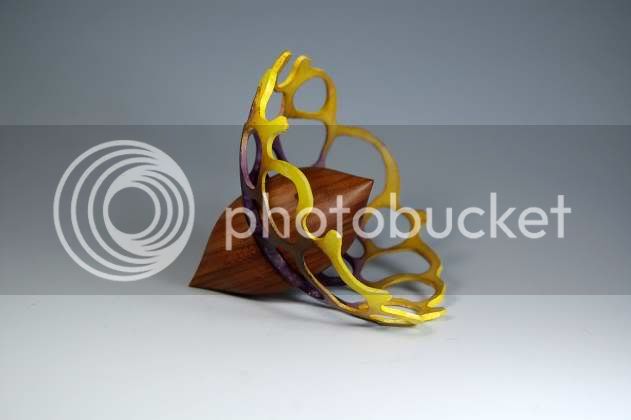
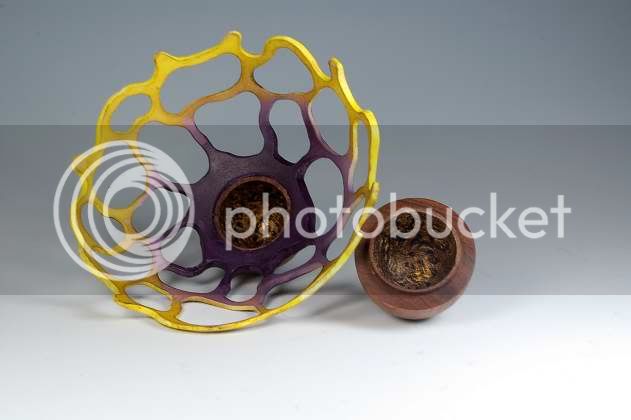
My June box is a bit of an experiment, its based on a flower, the box part being the middle 'seed pod' bit and the collar the petals. The inside of the box is textured and coloured to look like hammered bronze. The box is Elm and collar beech. The colours are acrylics and spirit stains. The collar is about 4" across to give an idea on size.

DSC_0027-1.jpg

DSC_0001-2.jpg


This one is the intended main viewing angle.
DSC_0028.jpg
 
This is my entry it is piece of wood I have in the shop.
It is 75mm x 75mm x 75 mm I hope you like it


100_3285.jpg


100_3284-1.jpg


100_3281-1.jpg
 
Hi all

This is my box for the month.
It's made from a bit of apple that was kicking around my local woodturning place. It was just a bit of 4X4 that was dirty and manky...Who knew what was lurking inside!

I turned between centres to round and put a spigot on one end, I then chucked it on my patriot chuck, shaped and finished the lid, parted it off. I then hollowed the box, done the outside shape, finished it and parted it off.
I made a jam chuck to finish the base of the lid, and my chuck to finish the base of the box.
I finished it in 2 coats of friction polish.

I decided to do a tiny finial on the lid, and was going to do an acorn, but decided a replica of the box in miniature would be better. I'm not sure what wood it is though.
Total height including finial is 90mm, diametre at widest is 65mm
I really enjoy making boxes so this was an enjoyable challenge for me

DSCF9701.jpg

DSCF9706.jpg

DSCF9710.jpg
 
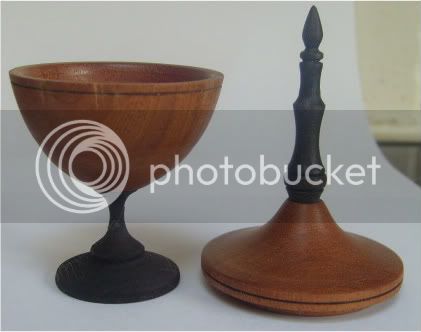
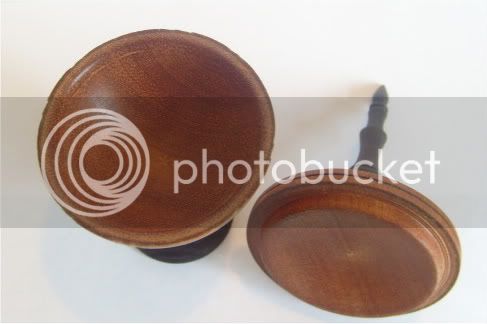
Mahog box with ebonised oak base and finial.

Sanding sealer, then carnuba

Loz

S7003465.jpg


S7003463.jpg


S7003462.jpg
 
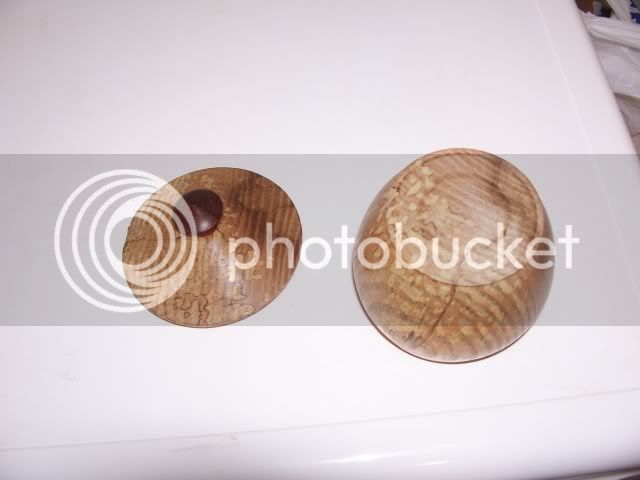
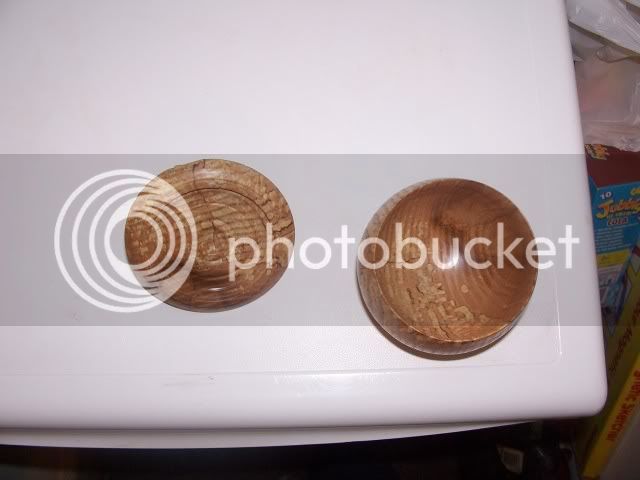
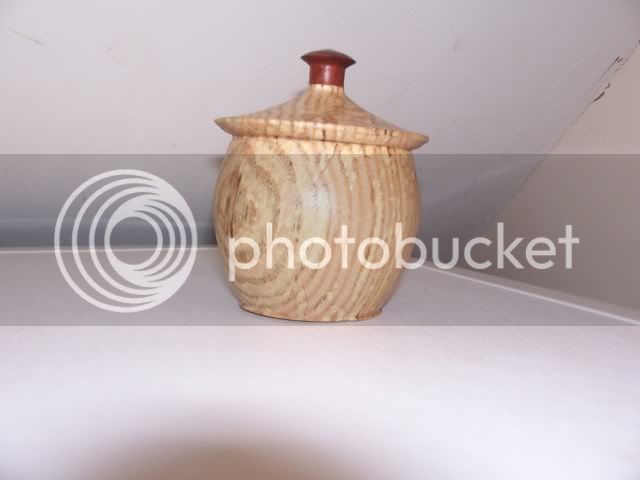
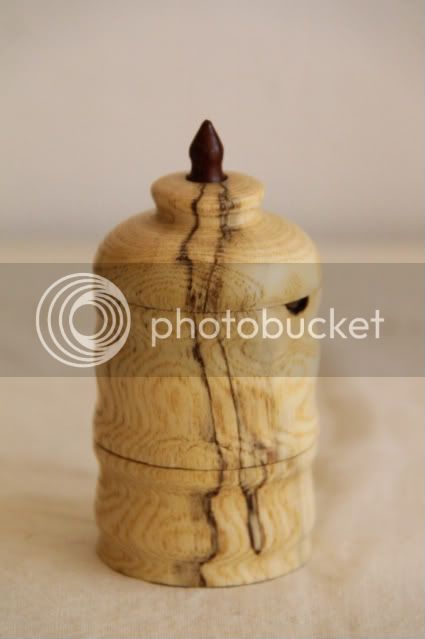
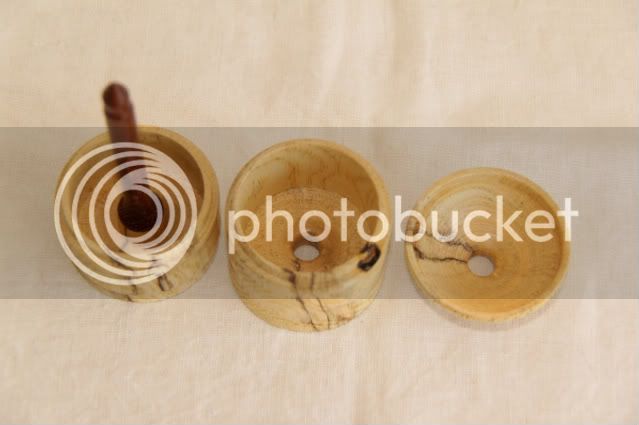
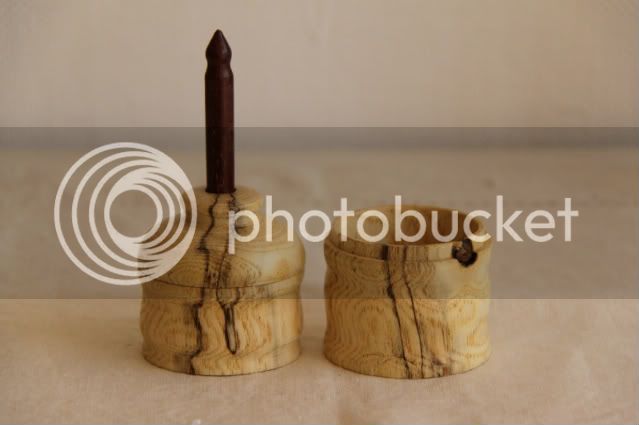
Well, I decided that if you can't beat them then make the finial part of the base of the box. I don't know what the wood is, it was some given to me by a neighbour and is quite soft and lightly spalted. I decided to try something different and the 'finial' is based in the bottom section of the box and just peeks out above the top

IMG_4080.jpg


Lifting the lid gives you the top level with a second beneath that.

IMG_4082.jpg


But, if you want both a box and a small jewelry tray then the top drops onto the 'finial' with the spalting lining up perfectly yet again

IMG_4083.jpg


Turned with my 3/8" spindle gouge and a 1/4" flat nosed scraper. Finished down to 400 grit and 0000 wire wool, celulose sanding sealer and melamine laquer and the outside buffed on my Beal buffing system.

Dimentions - 2 1/8" dia X 4 1/2" to the top of the 'finial'. The finial is African iron wood as far as I can make out. Very hard and VERY heavy!
 
This was a lot of fun , it just did not want to cooperate.I turned a cylinder with tenons on each end, then parted off the lid and discovered a check inside where the hollow and small finial would be. So I drilled out the top of the lid with a 1 1/4" forstner and then turned a finial to filt in this hole. It is exposed but oh well.Held the finial with the chuck and turned the inside of the lid and most of the outside. Then started on the bottom and fit the lid to it. Turned to a nice tight fit and finished turning the outside of the box and the finial. Sprayed with lacquer about 5 times as the lathe was turning slowly and with two work lights near to get a nice finish. Took off the lid, put the top of the bottom part in the Cole jaws and cleaned up the bottom. I textured the inside of the lid as well. Then buffed it with the Oneway system.

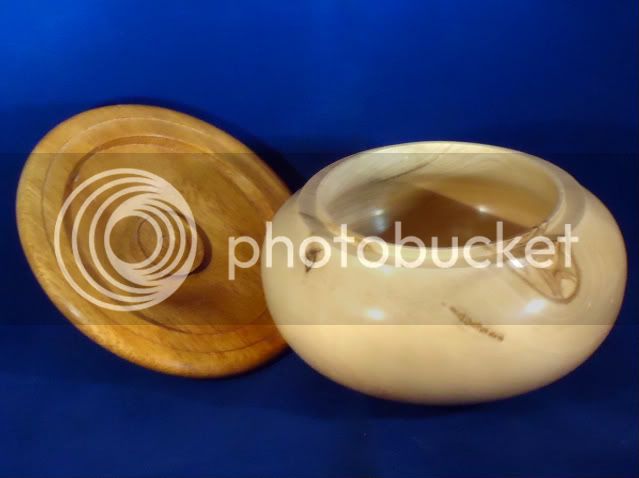
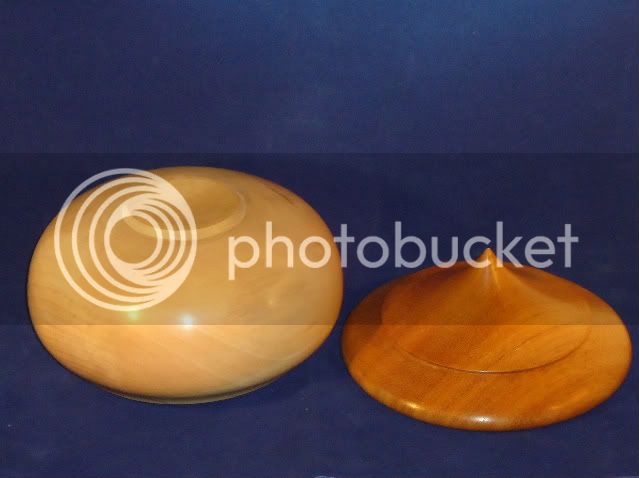
Box made of arbutus(pacific madrone) with black walnut finial. 5 3/4" high by 2 3/4" in diameter.
 

Attachments

  • P1010675.JPG
    P1010675.JPG
    176 KB · Views: 832
  • P1010685.JPG
    P1010685.JPG
    172.8 KB · Views: 832
  • P1010691.JPG
    P1010691.JPG
    29.5 KB · Views: 832
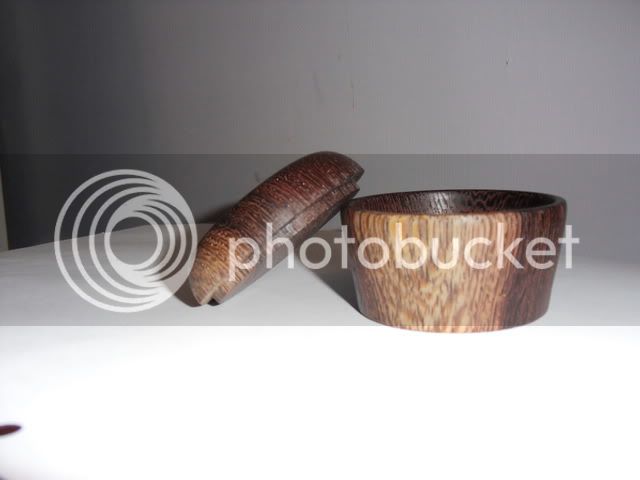
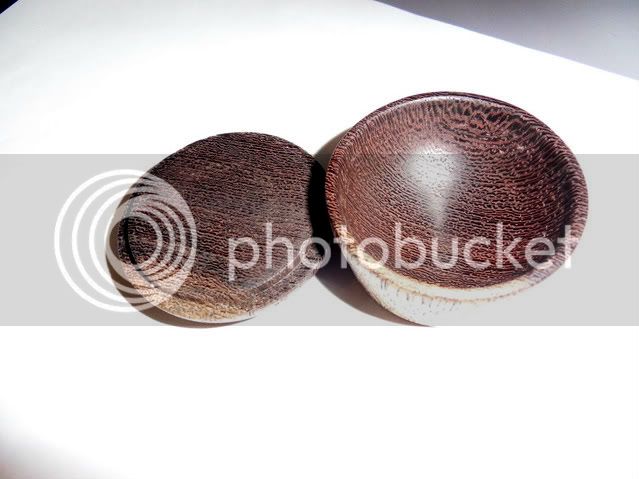
This is my entry for this month. It is made from wenge and it measures approximately 6cm by 4cm and it has been finished with danish oil.
I mounted the blank in the chuck and and shaped the box. I the sanded the top of the lid and parted it off, and sanded the other side flat. I hollowed out the box with a spindle gouge, sanded it then parted it off.
lidpot.jpg

inside.jpg

side.jpg
 
Starting with a lump of spalted birch (rescued!) from my sisters log pile, turned to a cylinder between centres and spigots created on either end. At this stage it became obvious that the wood pattern could be brought out far better if the sides weren't straight - so the original plan to augment nature via texturing was shelved and I had a bit of fun with the skew instead.

Chucked and parted, joint made and top finished inside in chuck, re-fitted and finished top and outside then set aside. Base returned for hollowing (forstner in tail chuck then scrapper), finished, reversed base finished.

3/4 oval skew, 1/2 scrapper, 1/8 bowl gouge, parting tool.

sanding 240 through 600 + nyweb - finish was acrylic sanding sealer and friction polish.

90mm x 65mm

thank you for looking

5876422275_383a54acc7_o.jpg


5876422543_8fc93f3933_o.jpg


5876983592_279fefae70_o.jpg
 
My June Box Challenge entry.

The wood used was a Ash log pretty boring so a ideal candidate for some enhancement

Turned between centers, marked out to leave 2 chucking spigots and some waste area for parting off, each item hollowed and reverse onto jam chucks

3 ¼” dia and 4” high

The inside of the box was left as a wood finish as was the inside of the lid

Sanded from 120 to 400, one coat of sanding sealer then White acrylic primer wet sanded with1600 wet and dry, Two coats of white gloss acrylic gloss sanded between coats.

Then 6 different colours of Joe Sanchez iridescent paints applied in a random manner

Black lines applied with a fine tip felt tip pen using my indexing system built into the lathe

Finally 2 coats of acrylic gloss lacquer, some polish and as the saying goes the Jobs a good un
 

Attachments

  • IMG_1180.jpg
    IMG_1180.jpg
    71.9 KB · Views: 773
  • IMG_1181.JPG
    IMG_1181.JPG
    69.6 KB · Views: 773
  • IMG_1183.JPG
    IMG_1183.JPG
    61.8 KB · Views: 761
I bought a plank off bird-eye maple earlier this year without much idea of what to do with it other than something to show off the grain as best I could. I had a plan for an oyster type box similar to one that Jimmy Clewes has on one of his dvds. My test in yew was ok but I plumped for this design taken from Mark Baker's book.

14.5cm diameter, 3.5cm high

Finished with 1 coat of finishing oil, buffed, MC wax
 

Attachments

  • side.jpg
    side.jpg
    103.6 KB · Views: 759
  • open.jpg
    open.jpg
    142.8 KB · Views: 757
  • detail.jpg
    detail.jpg
    150.4 KB · Views: 757
Status
Not open for further replies.

Latest posts

Back
Top