henton49er
Established Member
PLEASE POST YOUR ENTRIES FOR THE JANUARY CHALLENGE HERE
The Challenge is:-
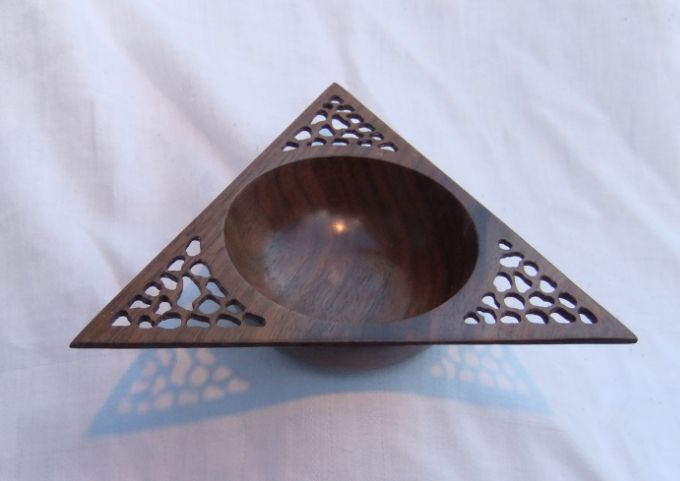
A Pierced Turning
This month’s rules are:-
The Challenge is open to anyone and everyone
Your entry must be new and made specifically for the Challenge
Entries must be turned on a lathe using wood turning tools.
There are no minimum or maximum size restrictions.
Decoration, colouring, texturing is allowed, but remember this is first and foremost a woodturning Challenge.
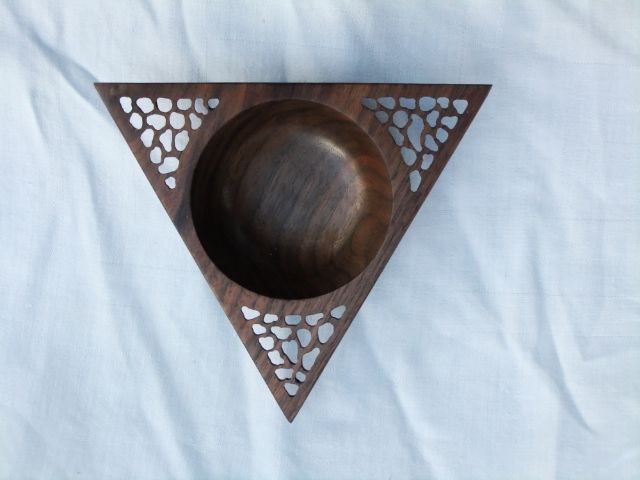
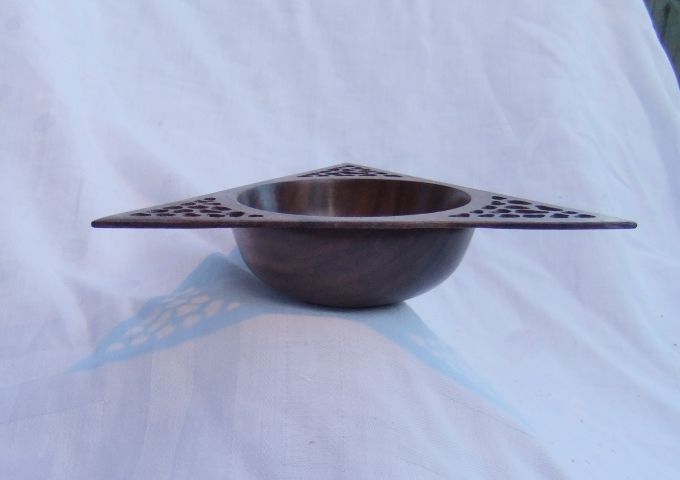
Your entry must be pierced in some way (either before or after turning), either as artistic decoration or as part of the function of the piece.
Please post 4 images of your work along with a brief note about how you made it, particularly the piercing aspect, what tools and finish you used, what wood (if known) and the objects dimensions etc.
1 showing a general view
1 showing a top down/ internal view
1 showing a side view
1 showing a bottom view
Make sure that at least two of your photos show the piercing(s) clearly
Image size - please use image size 640 x 480 0.3 mp, as in previous challenges
Please upload your pictures and description between 10pm on the 27th January and 10pm on the 29th January.
Please also send me a PM giving me your own opinions of 1st, 2nd and 3rd places amongst the entries (other than your own :roll: ) between 10pm on 29th January and 10pm on 31st January (for me to compile the entrants’ scoring :lol: ).
Roundup
The Challenge is:-
A Pierced Turning
This month’s rules are:-
The Challenge is open to anyone and everyone
Your entry must be new and made specifically for the Challenge
Entries must be turned on a lathe using wood turning tools.
There are no minimum or maximum size restrictions.
Decoration, colouring, texturing is allowed, but remember this is first and foremost a woodturning Challenge.
Your entry must be pierced in some way (either before or after turning), either as artistic decoration or as part of the function of the piece.
Please post 4 images of your work along with a brief note about how you made it, particularly the piercing aspect, what tools and finish you used, what wood (if known) and the objects dimensions etc.
1 showing a general view
1 showing a top down/ internal view
1 showing a side view
1 showing a bottom view
Make sure that at least two of your photos show the piercing(s) clearly
Image size - please use image size 640 x 480 0.3 mp, as in previous challenges
Please upload your pictures and description between 10pm on the 27th January and 10pm on the 29th January.
Please also send me a PM giving me your own opinions of 1st, 2nd and 3rd places amongst the entries (other than your own :roll: ) between 10pm on 29th January and 10pm on 31st January (for me to compile the entrants’ scoring :lol: ).
Roundup