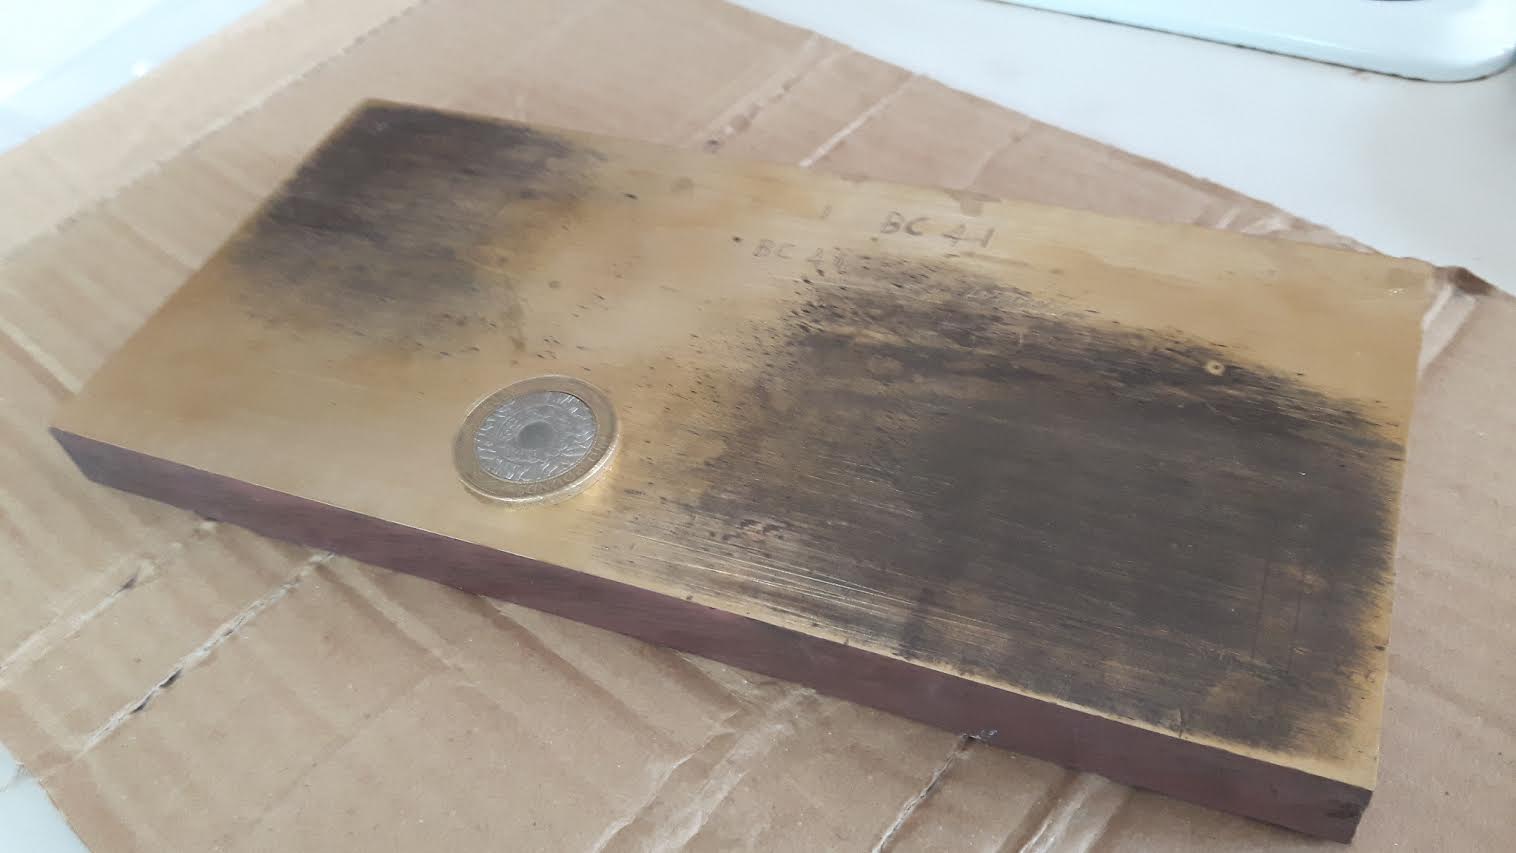
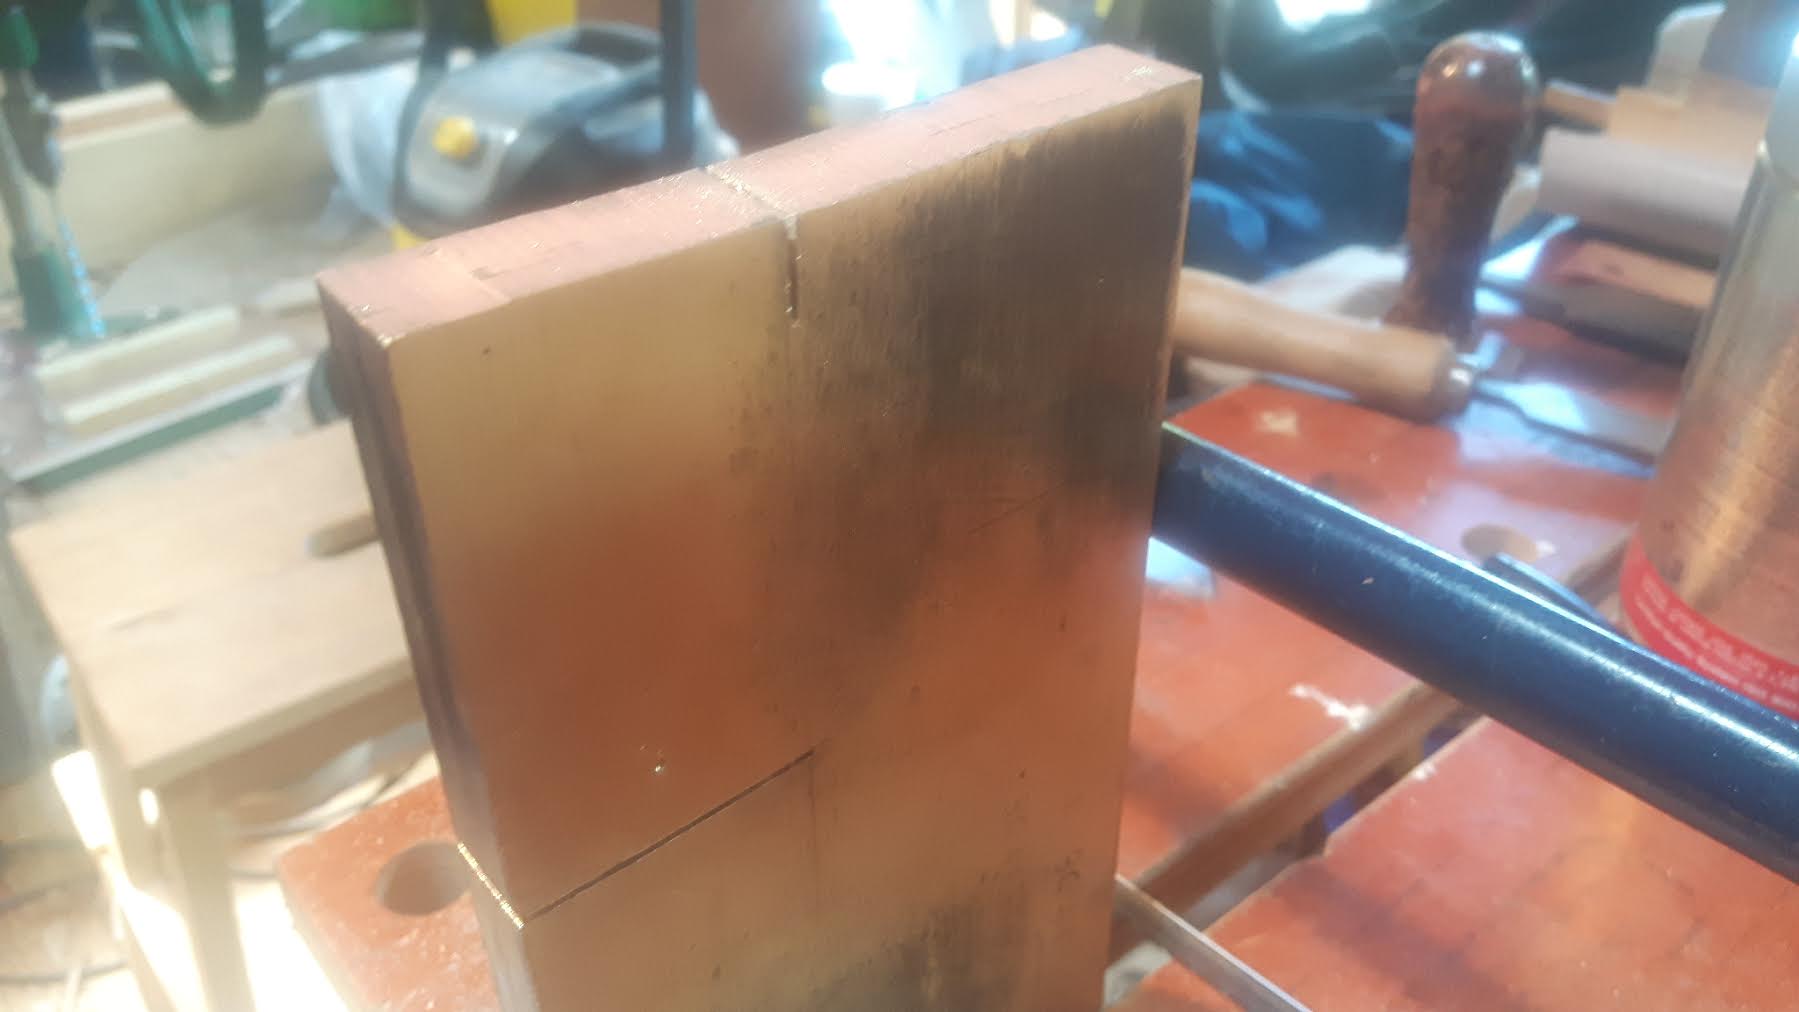
Okay here's another tip for you since you're going ahead with making your own. Your oven probably doesn't hold temperature very well, most don't including high-end models. So put a roasting dish full of dry sand in the oven when you're heating it up, this acts as a heat sink and helps to smooth out the ups and downs of the oven's thermostat (assuming electric here). Ideally this would be coupled with using an oven thermometer because you'd scarcely believe how far off the dial setting can be from what temperature the oven itself is actually heating to, reportedly as much as 40°C.
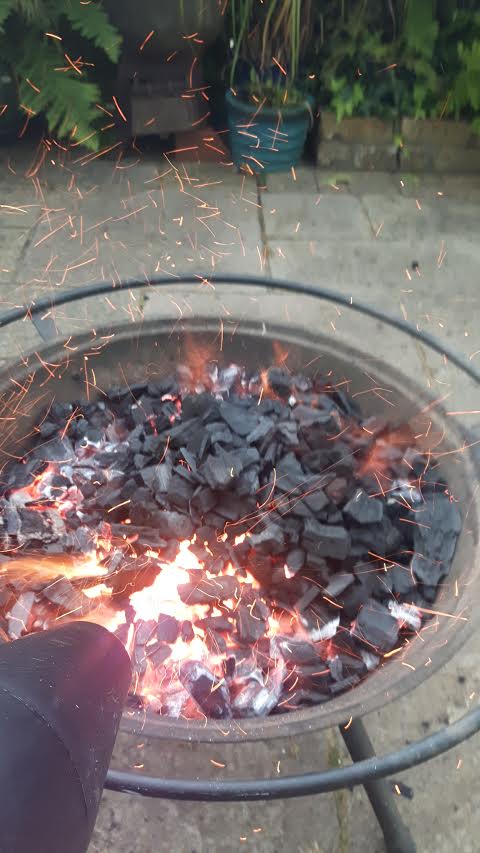
Another option: does the missus have one of those thermometers that clip on the side of a saucepan? A possibly much more accurate way of annealing to get a specific hardness is to use a pan of hot oil, particularly if you have a gas cooker.
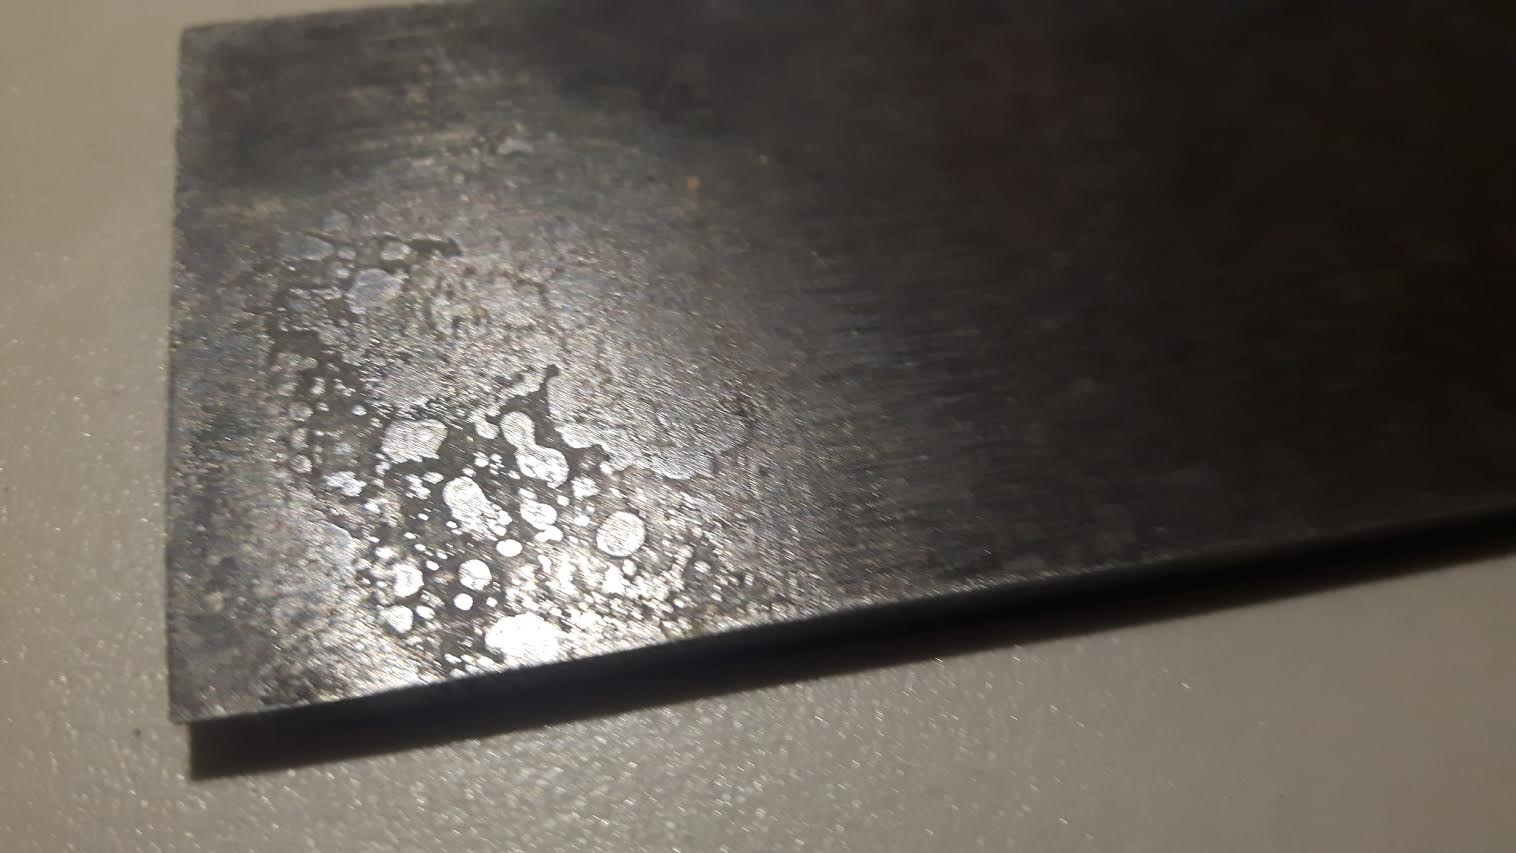
In either case my advice would be to be conservative, as if the iron ends up too hard for your liking you can simply re-anneal. You can do this any number of times without penalty.
Best of luck!
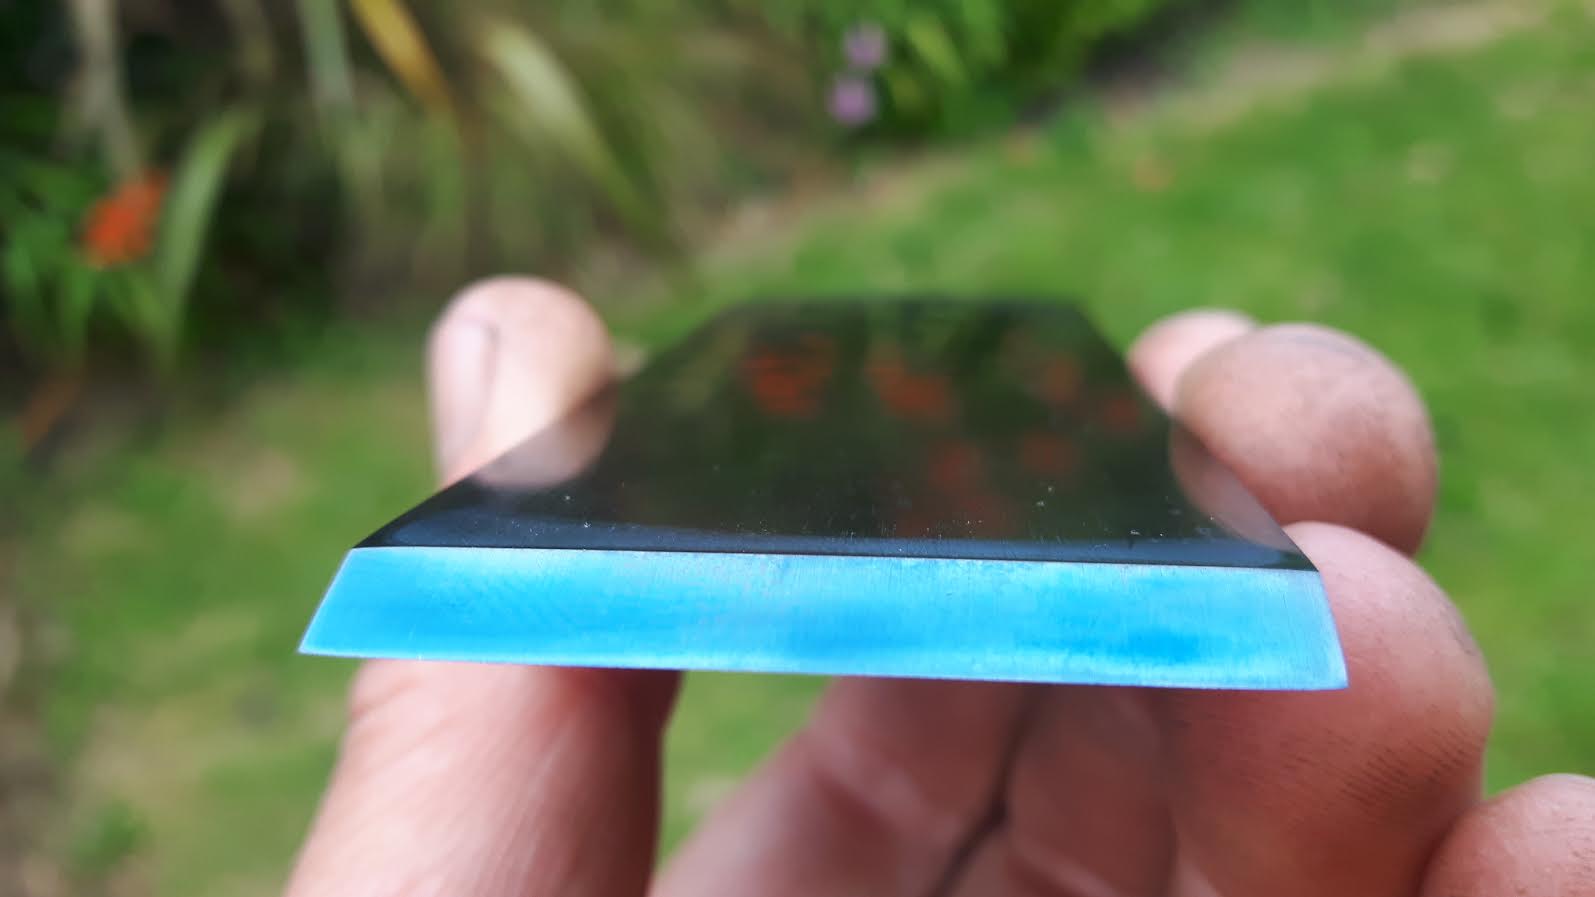
Another option: does the missus have one of those thermometers that clip on the side of a saucepan? A possibly much more accurate way of annealing to get a specific hardness is to use a pan of hot oil, particularly if you have a gas cooker.
In either case my advice would be to be conservative, as if the iron ends up too hard for your liking you can simply re-anneal. You can do this any number of times without penalty.
Best of luck!