garywayne
Established Member
As above.
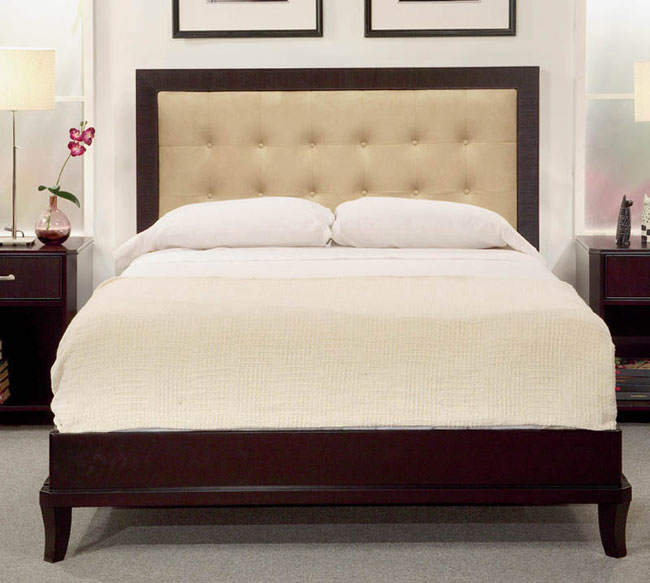
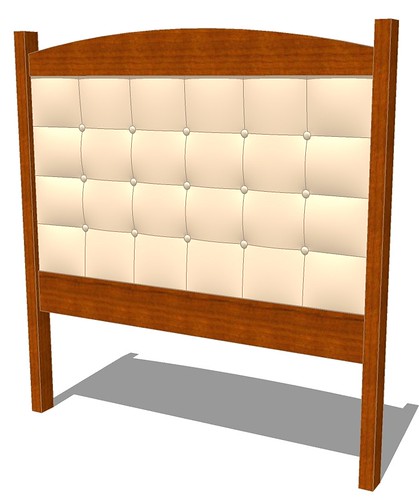
Could someone explain to me how to draw a cushioned/padded headboard in SU.
Thanks.
Could someone explain to me how to draw a cushioned/padded headboard in SU.
Thanks.


")

Enter your email address to join: