homemade bu plane

UKworkshop.co.uk

Help Support UKworkshop.co.uk:

This site may earn a commission from merchant affiliate links, including eBay, Amazon, and others.

sparkymarky

Established Member
Joined
19 May 2010
Messages
217
Reaction score
0
Location
holsworthy devon
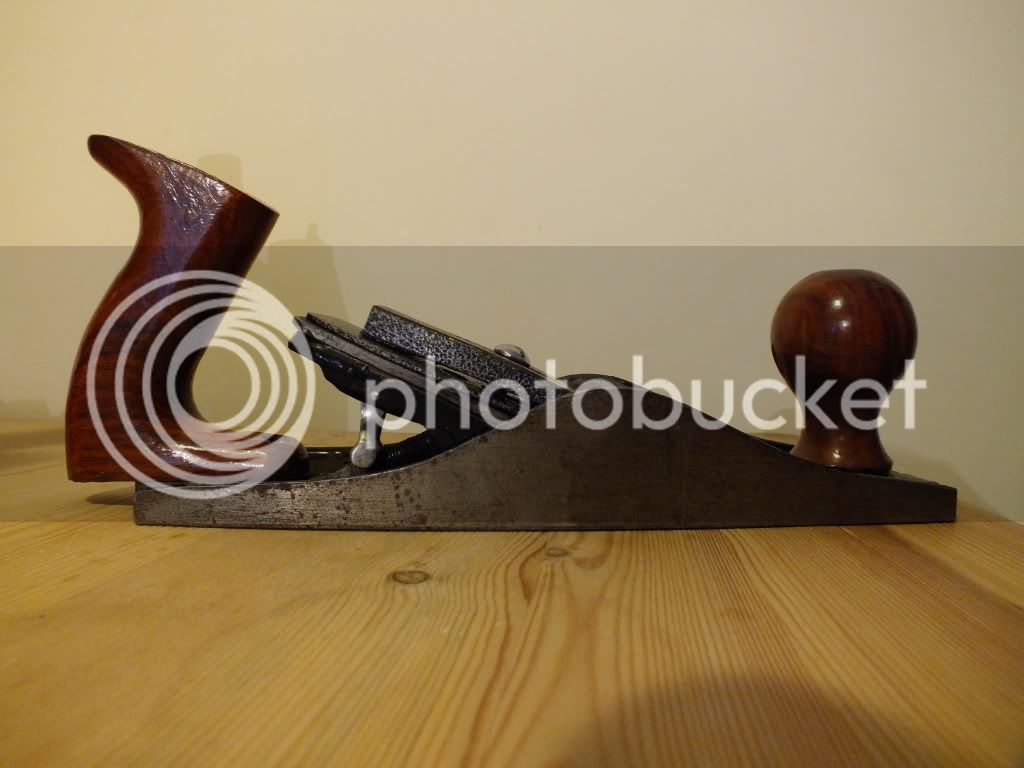
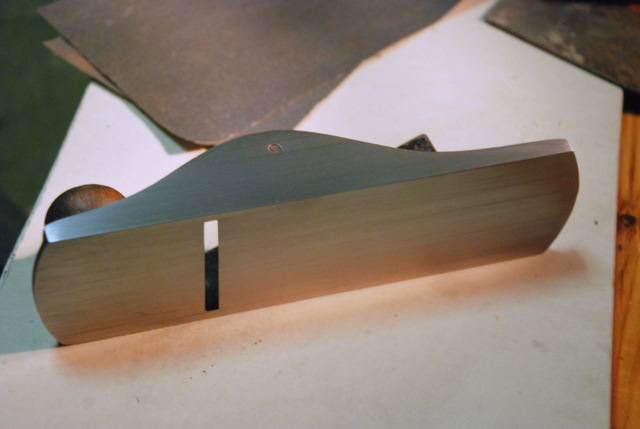
it isn`t pretty and i`m not going to pretend it is, however today i finished a bu plane project with a £10 no4 chinese copy and a sorby blade.
total cost about £12 and 1 hour work.

work as follows-
- grind back lugs on base where frog sits.
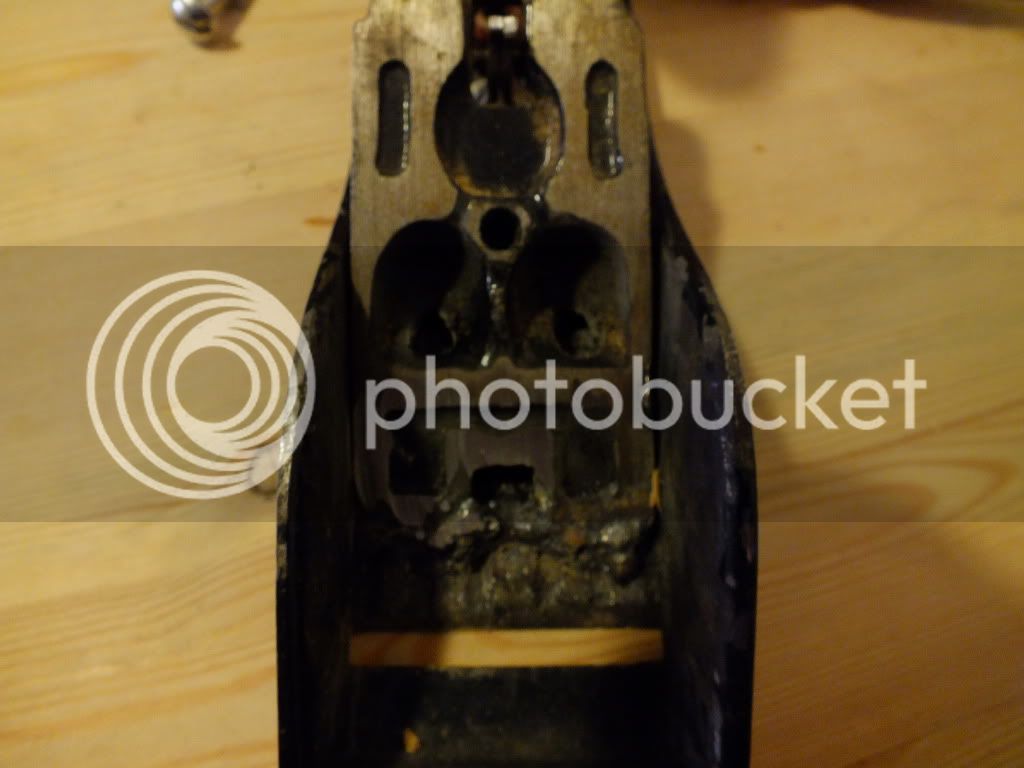
- weld frog at 15 degree angle on base.
- cut back cap iron & blade.
- set handle further back on base (i screwed and glued it into position from underneath).
- grind & sharpen blade at required angle and sharpen.
- rebuild plane.

i`ve planed pine, ash and jarrah without altering blade results beneath. (narrow shavings due to how i ground the blade i might alter this in the future)
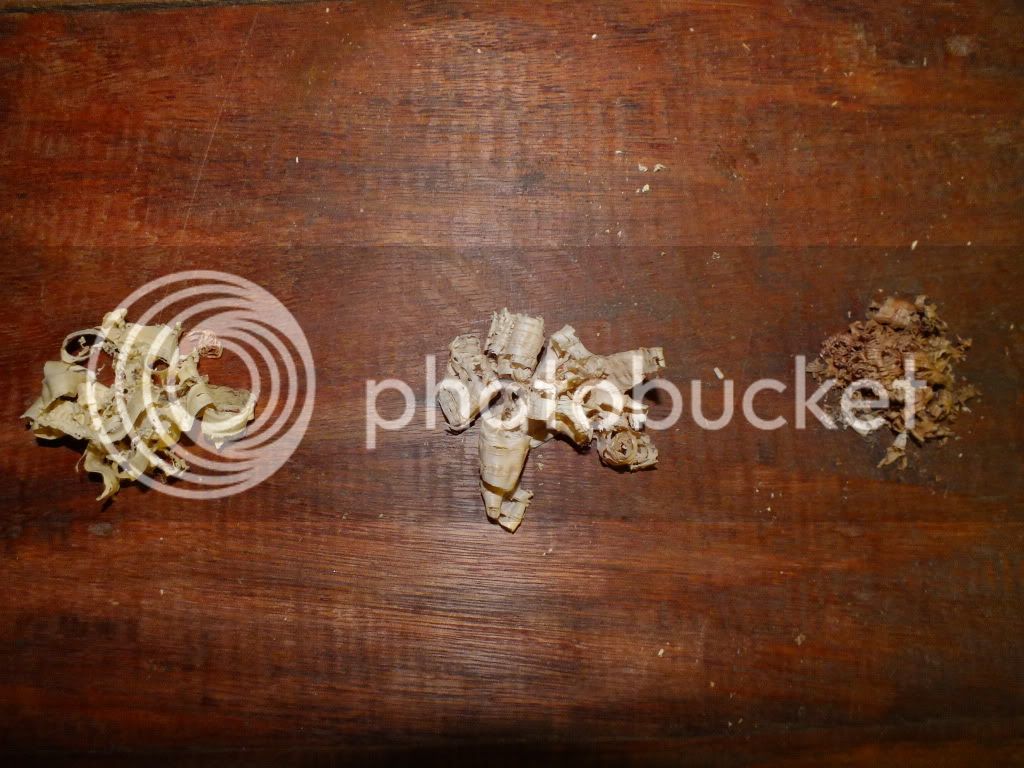
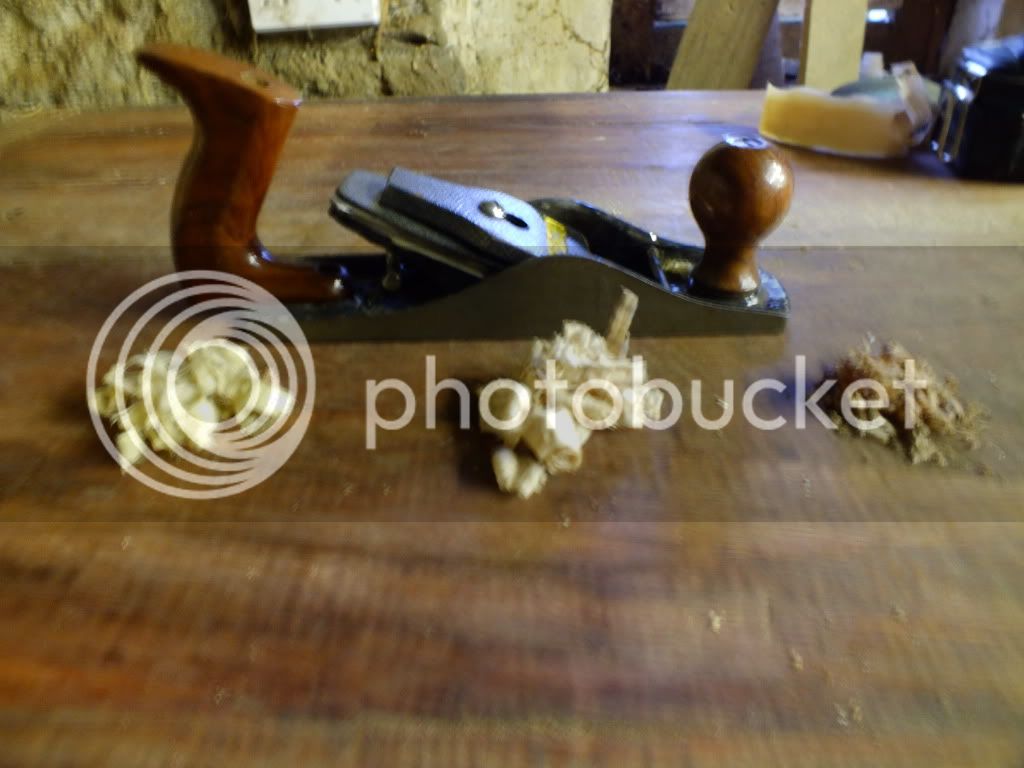
DSCF1939.jpg

DSCF1927.jpg

DSCF1936.jpg


all in all for £12 i now have a lump of iron that has slightly more use than before. thought i would share it with you as some of our more refined tool builders may find this interesting, downsides are obviously no lateral adjuster on blade and no mouth adjustment, all done by eye down ere in devon :mrgreen:
mark.
 
i dare not to, you`ll laugh :oops:
i`ll pop out now and take some deconstructed photos.
just been playing with some knarlly oak that i have been getting tearout with, it smoothed that out no probs.

edit-
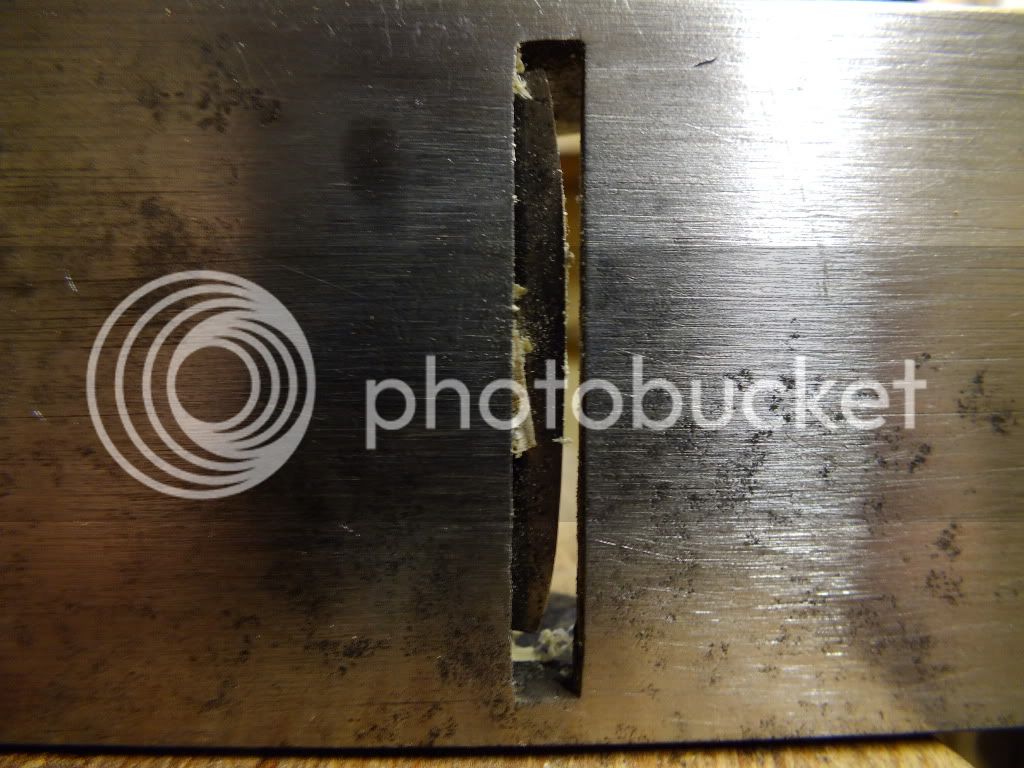
here we go
DSCF1940.jpg

DSCF1941.jpg


told you that you would laugh :D
 
Looks like it could be a handy little workhorse.
I don't think it matters much about the lack of lateral movement or the one mouth size for a blade with that much camber.
 
Having welded a lot of stuff, including cast iron over the years, my only concern would be,
1/ There is a lot of stress put into cast when it is welded unless it is heated to near red heat beforehand, welded, then allowed to cool slowly
2/ There may even after doing the heat treatment be some twist put into the sole, so would have to be fettled a fair bit .
But having said that, its a VERY good idea. I think i will give it a go myself and see what happens, I've a spare stanley around here somewhere.
 
Very clever!
I do like the idea of taking cheap rubbish and making a useful tool out of it.
 
Very good achievement I reckon... I can't weld at all anyway.
I guess the 15 degrees is to create a low-angle smoother? The blade grind looks closer to a scrub at the mo' though.
i think it looks nice enough to justify another half hour getting the varnish off the tote (in particular) and making it nice and matt, oiled finish etc??
well done!
 
it was a good idea....but.......
i noticed the weld was out of square to the mouth, so i thought i would knock off the frog with a hammer and re-weld square this afternoon.
not a good idea as it turns out as after a light tap with the hammer the frog came off with a large piece of the back mouth #-o so the project is now on the back burner i guess. i will try to pick the project back up when i can find a cheap no 5 sole / plane as i found the 4 a bit tight, possibly cutting down a cheap block plane (like this http://www.ebay.co.uk/itm/Silverline-Bl ... 673wt_1396) using the lateral adjuster and blade clamping mech`s to aid blade adjustment. joining the block plane parts to the plane`s ground back sole. i will post pictures when i pick back up on this.
even with my rough as rats assembly the plane performed better than i ever expected producing some narrow but fine shavings so even if this turned out a no go i think it has legs.
 
What a great idea! :) I've an old Paramo I might have a dabble with and suppose if one lacks welding skills a simple replacement frog could be made using hardwood, with threaded inserts planted top and bottom so it can be mounted to the plane body using countersunk machine screws and the blade fixed via the same route to the frog block or retained by a modified lever cap and lateral bar set-up.
 
The 220 is a good size...

DSC_0001.JPG


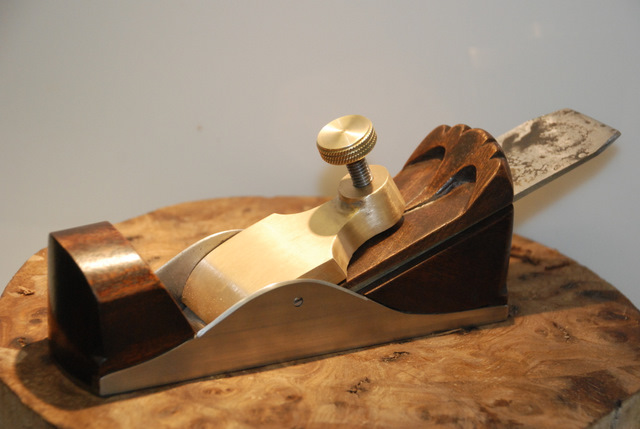
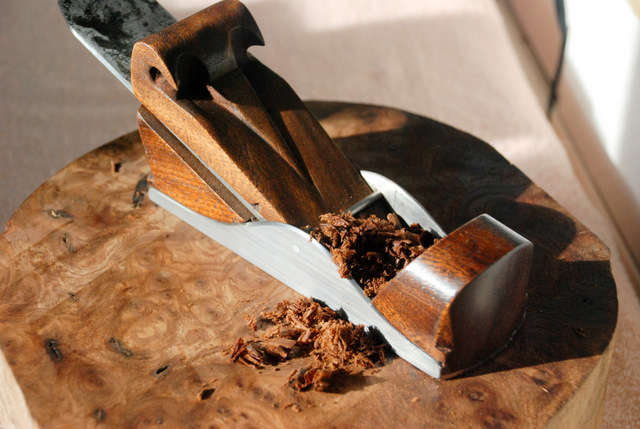
That formed the base for my Derek (Perth) Galoot inspired infill...

I wanted square sides/sole so I sorted that out first...

DSC_0051.JPG


Then you can basically lay the rear infill to the angle you want.

DSC_0067.JPG


...in this case 21 degrees.

Any hardwood will give you enough support to be ideal for what you are doing.....the adjustment may be more complicated if you want to avoid tapping and tweeking methods of adjustment.

I would definitely stick at it and look at the THE ORIGINAL AND FAR MORE BEAUTIFUL GALOOT PLANE BY OUR DEREK OF THIS PARISH....very inspiring!

Don't stop whatever you do...you are onto a great thing there for next to nothing!

Jim
 
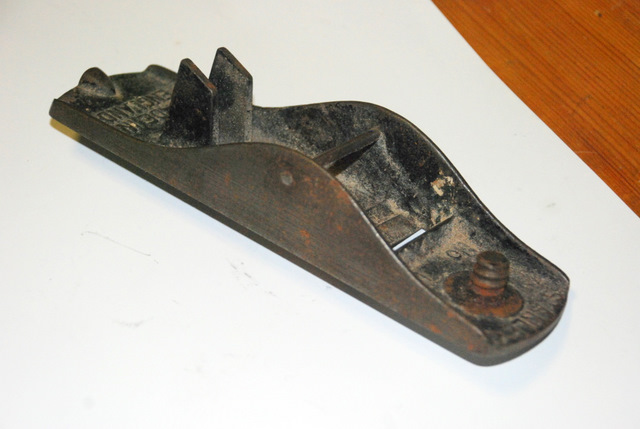
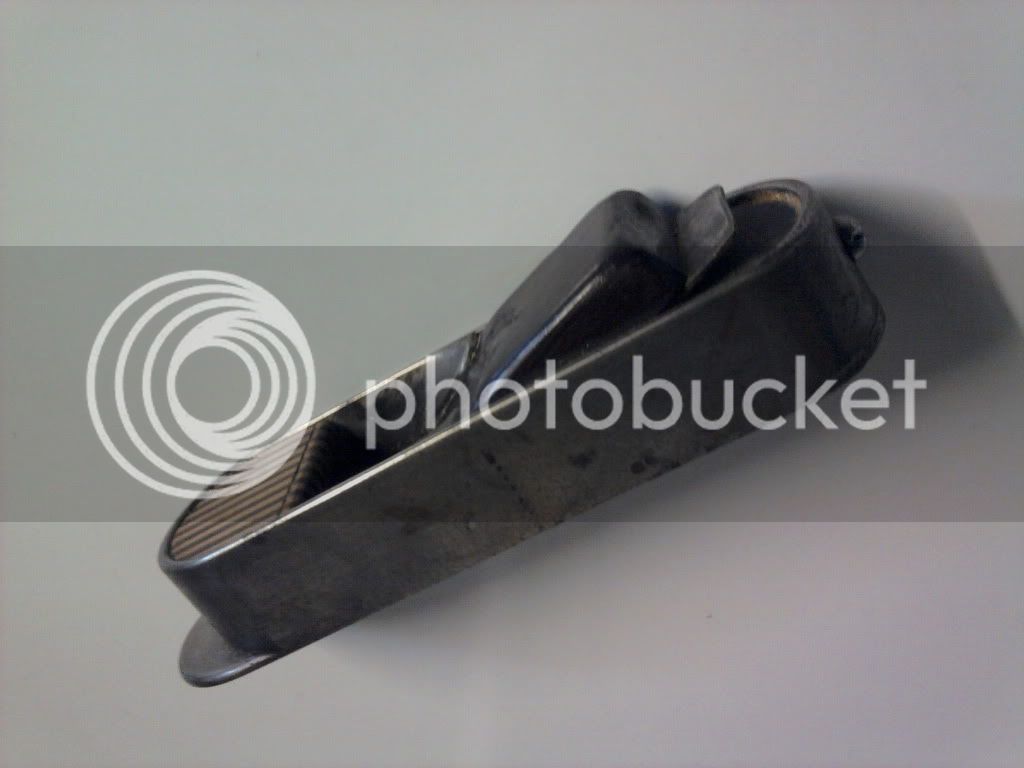
went to a customers house today who happened to be a retired engineer / tool maker, i got talking to him about planes (as you do :) ) he showed me his great grandfathers planes (who was a organ builder) one of which was the one below, it looks like a hand made infill bevel up smoother, he said it left pretty much anything like glass.

i have two questions about this plane the cheeks holding the wedge seem to molded from the plane body, how would you go about such a thing?

second question being on keith holtey`s website he shows making a plane using counter sunk machine screws with a hex head that then get ground off once screwed in, where would one find find these & what are they called?

thanks for the replies btw, that infill looks rather interesting jimi i`m sure i have a knackered old block plane lurking around somewhere.

cheers, mark.

2012-02-15121917.jpg
 
Ooh that's a nice one - I thought for a moment you were going to say he gave it to you!

I'd call that as a mitre plane. That pattern seem to sell for several hundred pounds, especially if by a named maker.
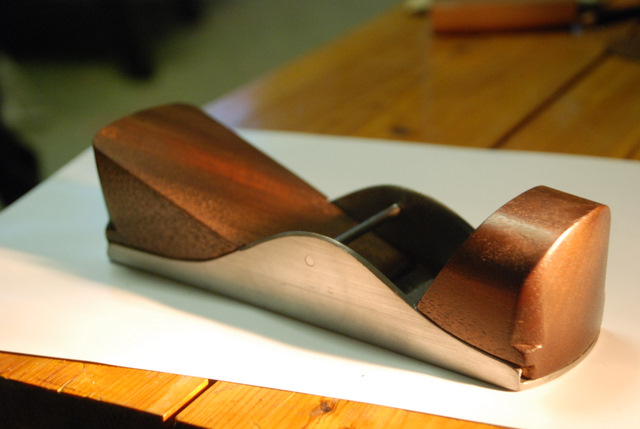
Others will pitch in with more experience, but afaik most planes like that were made by dovetailing the sides to the bottom, working on cold metal. The best known modern master in England is Bill Carter - this page of his website shows in detail how he makes planes like this. But his planes have a bar going from side to side, which the wedge bears against.

So your one looks more likely to have been cast - as most metal plane bodies are.
 
Andy beat me to it with his links to Bill's website.

Bill is one of the toolmakers I most admire these days...his work is second to none and his planes make premium money..if anyone was daft enough to sell one that is!

That one you have shown here is indeed a beautiful mitre plane...it looks cast although I think it may be dovetailed (top being welded and bottom dovetailed in) although the bottom could also have been brazed in with silver solder...another common way of making these.

It is a real gem and would be worth a fortune....although makers such as Robert Towell command the best prices.

I love this style of plane and it is first on my list to make when I get a chance...mine will be gunmetal but like this with a steel sole dovetailed in.

The Galoot plane is easy to make really...the difficult bit being the angle and accuracy of the "frog" infill.

I was lucky enough to get a lever cap (from a fellow UKW master!) but you can just use a wedge...

DSC_0251.JPG


...which is how I tested my one...

DSC_0138.JPG


But as I say....Derek made a far better job of his than I did!

I used a really thick old Isaac Greaves plane iron which you can get from bootfairs if you are lucky or FleaBay and at G and M Tools Online

Get a parallel one for lever cap and taper with a wedge if you want.

Good luck with your modifying...it really makes some nice planes for next to nothing (only time!)

Cheers

Jimi
 
Hi Mark,

If you have a look approximately a quarter way down Bill's page from Andy's link there is a photo of him putting in the bridge. He has filed tenons on either end of it and mortises into the sides. The mortises are made by drilling through then squaring with a file, leaving them slightly tapered toward the outside so that when the tenons, left about 1/16" over long, are peined; they fill the mortise like a two way dovetail.
Don't know how this was done on the plane you pictured, as it looks like an endless band (maybe squooze open to receive the bridge then brought parallel again by the sole) - Bill's mitres have one square end that is dovetailed in after the bridge is in place,the two sides having been formed by one piece being bent around double. Though the sole on the one you picture, I would say, is definitely dovetailed in.

Karl Holtey makes everything (except his irons) in house as far as I know and I'm sure he turns up those bolts himself. But then he does have a big shed full of lathes and milling machines ...
 
Richard T":1tyok2yk said:
Karl Holtey makes everything (except his irons) in house as far as I know and I'm sure he turns up those bolts himself. But then he does have a big shed full of lathes and milling machines ...


I have it on very good authority that Karl makes everything in house including irons (the only thing outsourced is the thermal treatment). :lol:

Karl
 
Back
Top