Benchwayze
Established Member
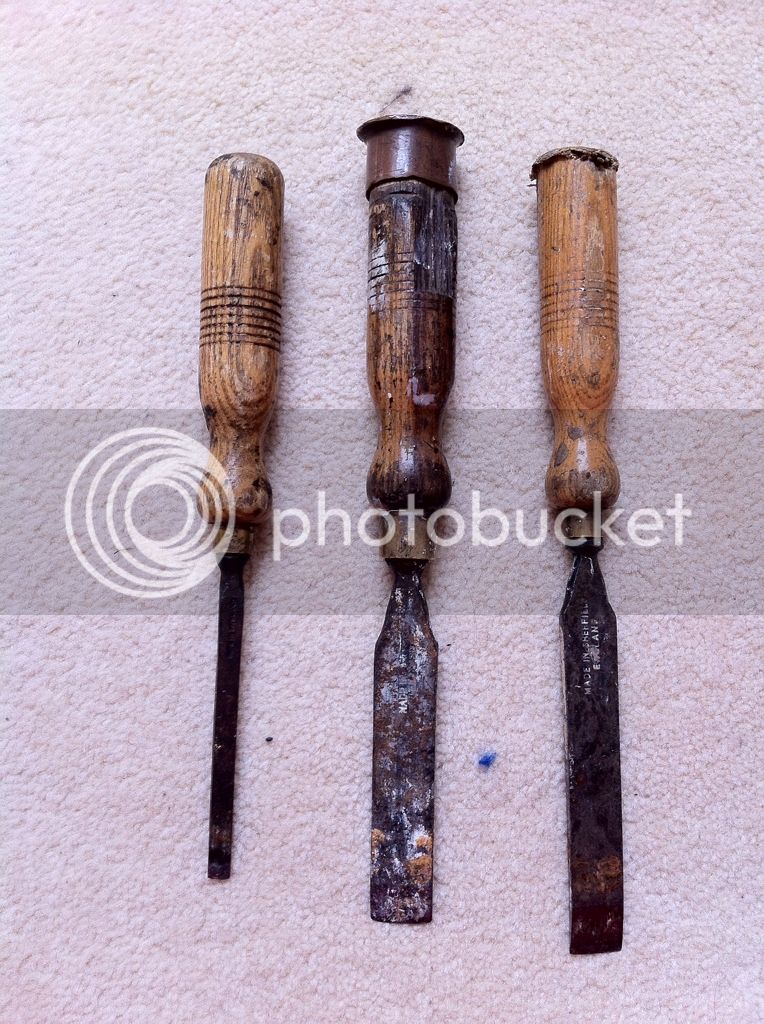
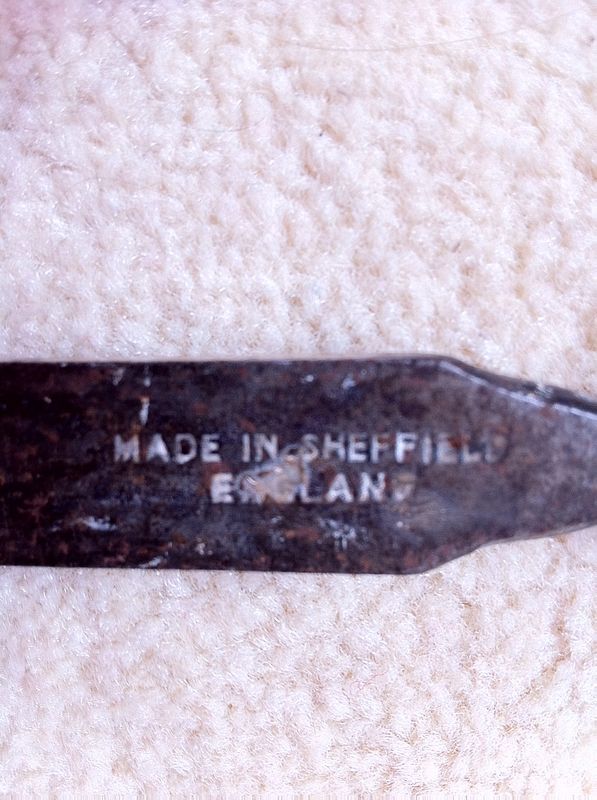
And for garden tools; shovels etc. Or am I getting confused Jim?jimi43":v7b8bbqj said:The Brades one is a firm...famous for its axes.
Jim
")


And for garden tools; shovels etc. Or am I getting confused Jim?jimi43":v7b8bbqj said:The Brades one is a firm...famous for its axes.
Jim
Benchwayze":7vex0uqc said:And for garden tools; shovels etc. Or am I getting confused Jim?jimi43":7vex0uqc said:The Brades one is a firm...famous for its axes.
Jim
Benchwayze":2db4ihza said:I think it must be the same firm Jim; and who is Professor T? :?
jimi43":1ikhav5j said:Benchwayze":1ikhav5j said:And for garden tools; shovels etc. Or am I getting confused Jim?jimi43":1ikhav5j said:The Brades one is a firm...famous for its axes.
Jim
I dunno mate...that's brown stuff work...I don't get involved with that.... :mrgreen: :wink:
I'm sure Professor T will be along shortly with the full history! 8) :wink:
Jim
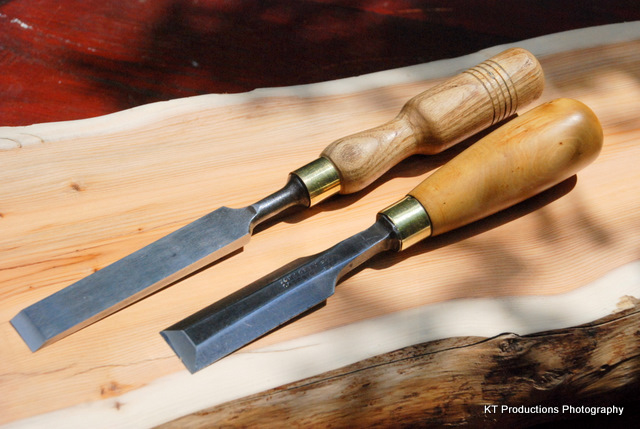
=Adam=":1qxk4z9m said:Those look great now they are restored!
Could you explain the difference between the profiles of the two chisels please? All of the modern ones tend to be like the right handed chisel, is it just a way of having the same strength but less metal?
What grade of paper did you finish them on?
=Adam=":1nu86cp4 said:Thanks for the link, that cleared things up a bit
Your finishing methods seem quite intense, however the finish is superb! I have got some 60,80 and 120 paper to hand along with 180 and 220 foam pads which should be enough for what I want in terms of finish, however I may be tempted with the abranet, never used it so it may be worth a trial!
Enter your email address to join:
