wizer":2ey828mu said:More playing with this tomorrow. It's for the missus birthday, which is, er, tomorrow! :shock: :lol:
Happy Birthday to your wife Wizer
So........which new tool you are going to get as a present :roll: :lol:
niki


wizer":2ey828mu said:More playing with this tomorrow. It's for the missus birthday, which is, er, tomorrow! :shock: :lol:

")
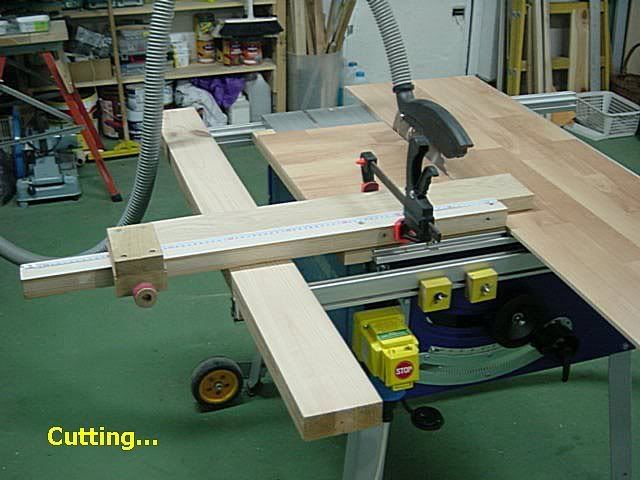
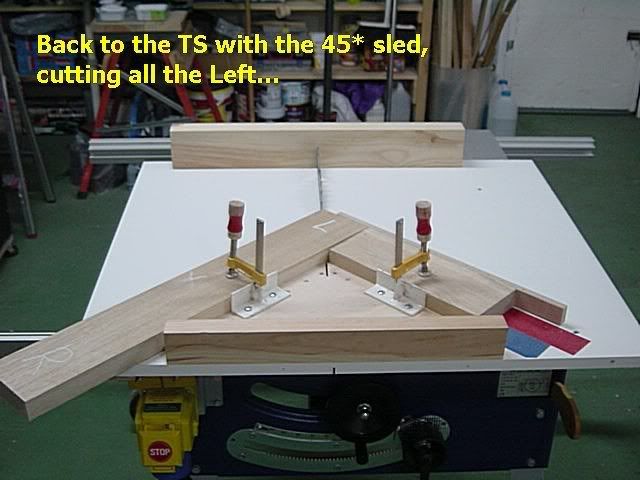
Steve Maskery":36bepis8 said:If a cut is out like this it is often becasue the workpiece moves slight. The forces on it are considerable so it needs to be clamped securely.
S
 :roll:
 Enter your email address to join: