I've made reference to my garage to Workshop/Utility room build on other threads and have promised a WIP, so here it is.
Bought our first house after leaving the RAF (22 years) last October, one of the main selling points for me was the tandem double garage that was destined to be a workshop as soon as I saw it, like all great plans this changed to a utility room, downstairs throne room and a workshop (albeit smaller than I first thought).
Utility room because the kitchen wasn't big enough for washing machine, tumble drier and swmbo's collection of freezers.
Downstairs throne room because "apparently" I don't smell too sweet in the morning"
Workshop because in my time with the RAF all of my projects have been carried out on a B and D workmate with a variety of hand power tools and its always been something I wanted.
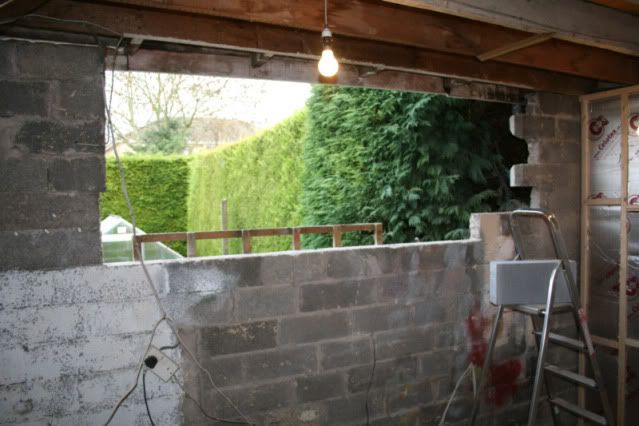
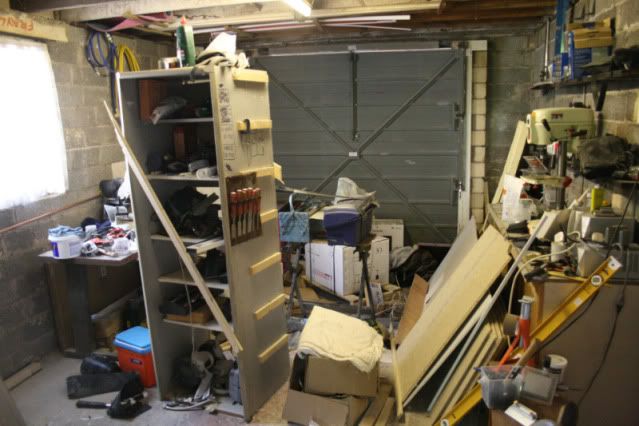
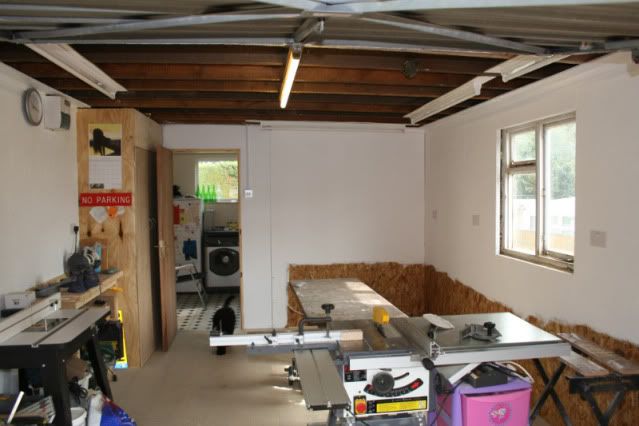
So this is pretty much what I had to play with, the previous occupant had wired it very badly, choc block and bell wire on one end of the scale for the hanging light bulbs and 5 amp flex on the other end for the 2 sockets. :shock:
Note new axi SCMS on table - first new toy
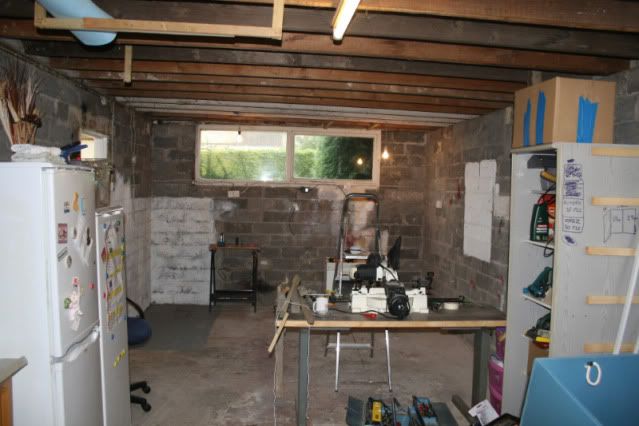
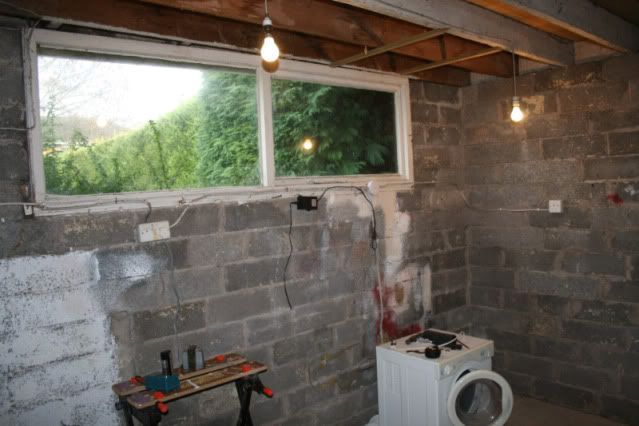
This window would have to go because it would span the parti wall for the throne room.
So submission of a form and 170 sheets to Building Control and I was off to Travis Perkins for a roof rack full of CLS and a few rolls of DPM. Its probably worth mentioning here that the submission and approval of the building notice was really easy, fag packet sketch of what I was doing passed for a plan and regular visits from a building control bloke kept me on the straight and narrow. the "bloke" was really helpful, pointed me in the right direction on several bits and answered all my questions without even a hint of "muppet" in his replies :wink: . However he did spec celotex for all the wall, floor and roof insulation and its not cheap, in fact it accounted for over half the utility room build cost.
This was the first time I'd tackled anything constructional on this scale so it was a learning process in places, ie, i won't put noggins on the brick wall studs again as it's a pipper to route cables when wiring the sockets.
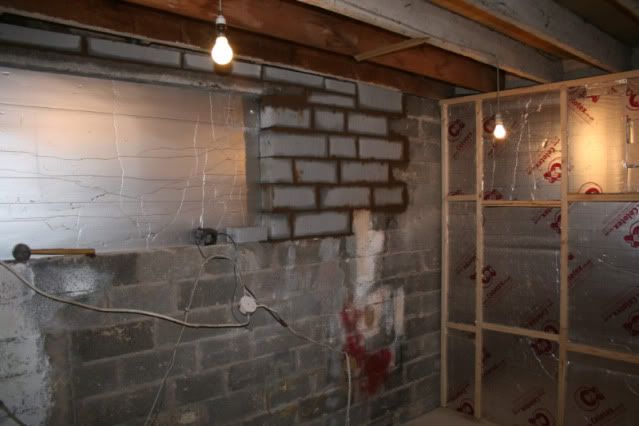
Window removed.
Getting ready for the new UPVC window, my first ever attempt at any kind of brick/block work and I was pretty chuffed with the result.
Life lesson learn't at this stage, do not let your 13 old daughter borrow your camera without first backing up the pictures, one click of the delete key and all my photo's hit the ether, never to return.
So the rest of the utility build WIP was lost. It all went OK, putting the soil pipe in for the toilet was a PITA due to a 9 inch concrete oversite that pretty much ran the entire length of the pipe, blisters, calouses and a rather blunt coal chisel later and it was in. Electrics were done by me and signed off by a local firm. Plumbing again done by my own fair hand. Building control was happy and signed the project off.
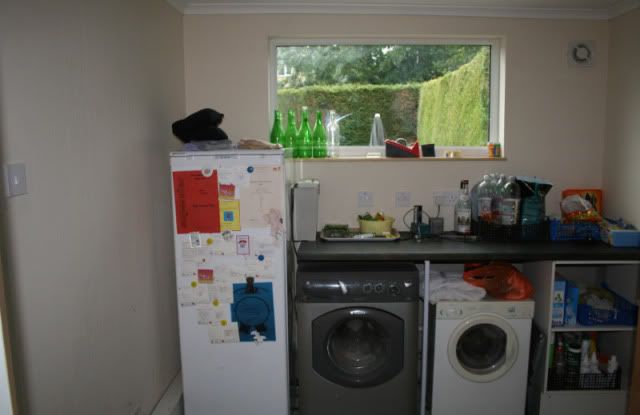
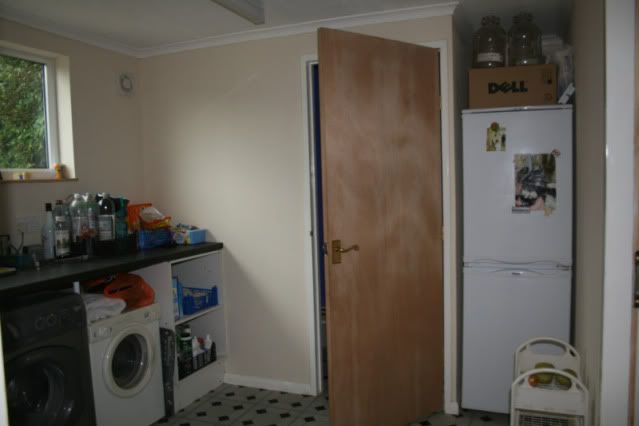
This is the finished utility room complete with what has been dubbed "dads purple poo palace" owing to the fact that the only paint I had that wasn't magnolia was some purple funky paint left over from a feature wall in my youngest daughters room.
Now onto the workshop.
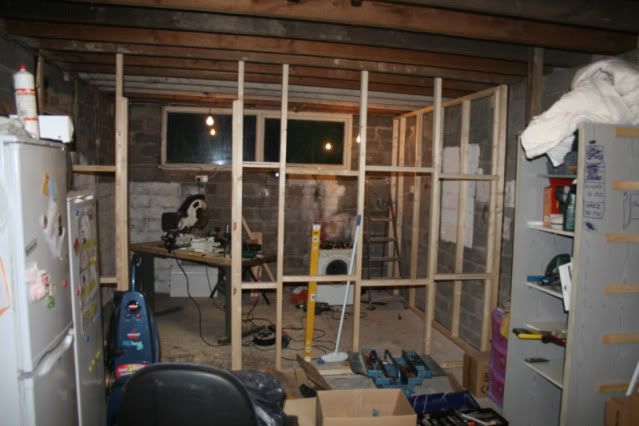
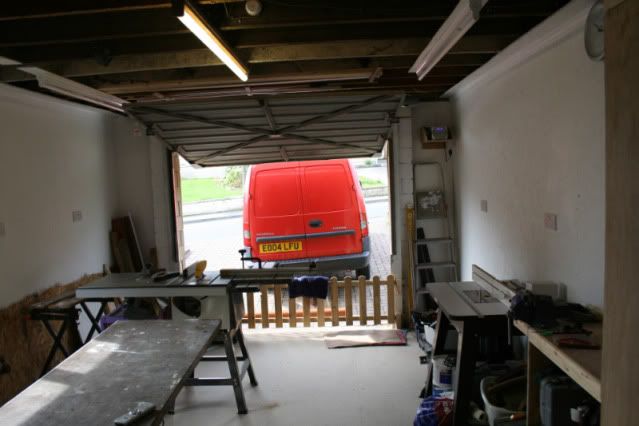
the utility room had effectively cut space to dump stuff by a third and I was now left with this to try and fashion a workshop from. New TS200 TS still in box somewhere amongst the melee
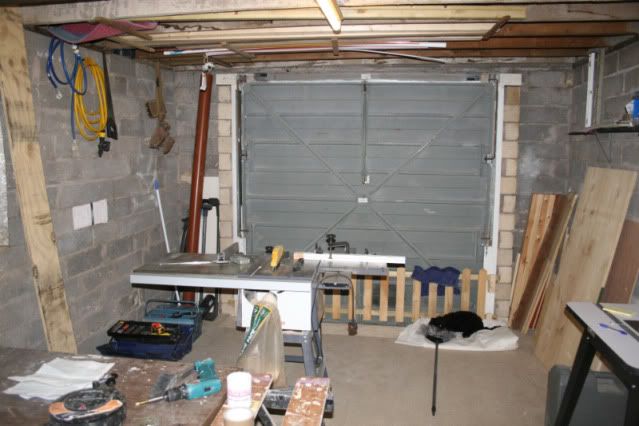
A fair amount of ruthless chucking away and a miltary style mission to secrete non woody stuff round the house and I was left with this.
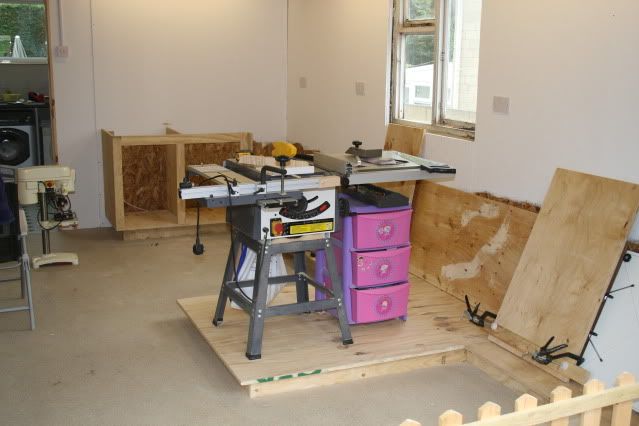
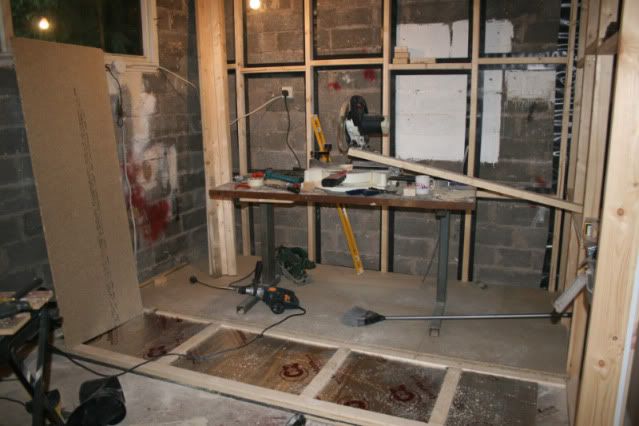
TS now assembled, floor installed (heeded advice gleaned from another thread on here, wooden floors are kinder to dropped chisels than concrete ones)
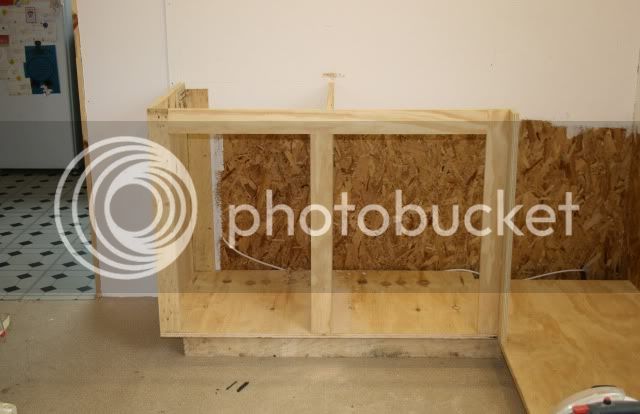
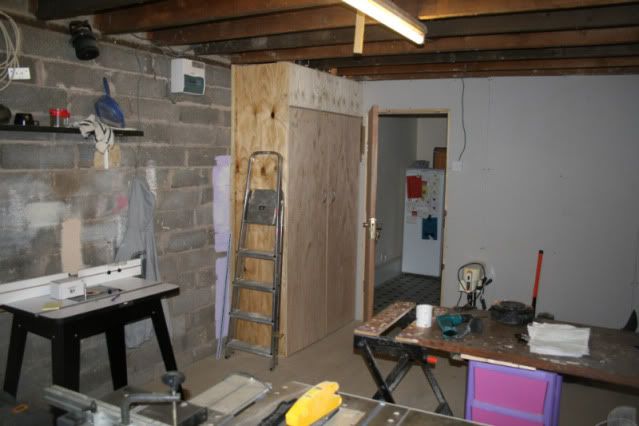
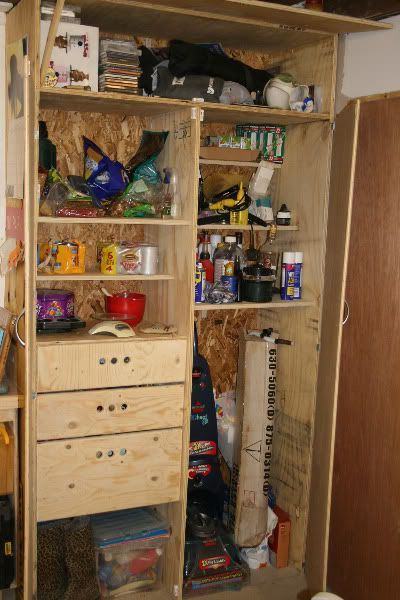
The mission to hide the non woody stuff round the house had failed, it all eventually ended up back in the workshop. My only concession (at time of writing :? ) was to build a big cupboard in which to keep all the rubbish. I decided on putting it behind the door as it would cause least inconvenience to me, although it transpires that swmbo isn't best chuffed with its location because closing a door to open a cupboard door ranks right up there with having your ears ripped apart by rabid weasels !! ho -hum, never mind eh.
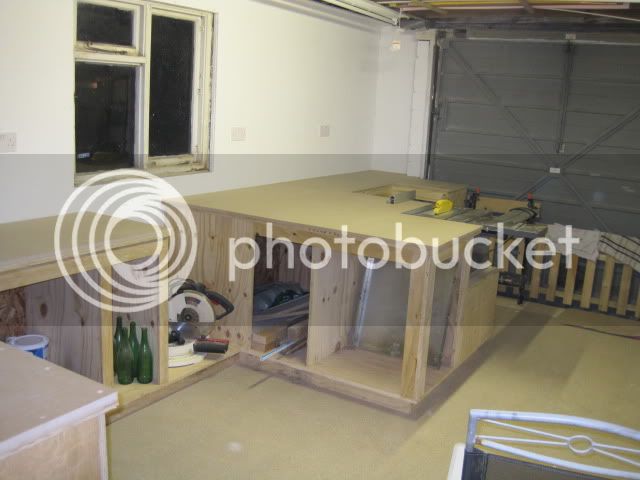
Next I needed somewhere to put my bench grinder and engineers vice (I sometimes get the urge to thrash things wildly with big hammers until they bend or break) It also served as a prototype for the rest of the bench which is to follow. Its made out of 18mm shuttering ply with a 11 mm ply top. Its worked ok but I think the rest of the benches will be shuttering ply topped off with 18mm mdf to make the whole kit and caboodle a bit more "dense" - important when youre in ball pain hammer mode. It will also serve as a height datum for all the other fittings in the workshop.
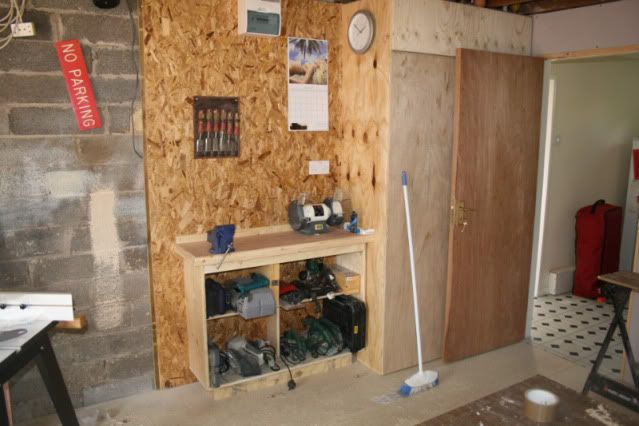
Table saw assembled with dust extraction fitted The dust extraction will be upgraded to something green and sucky from yandles very soon.
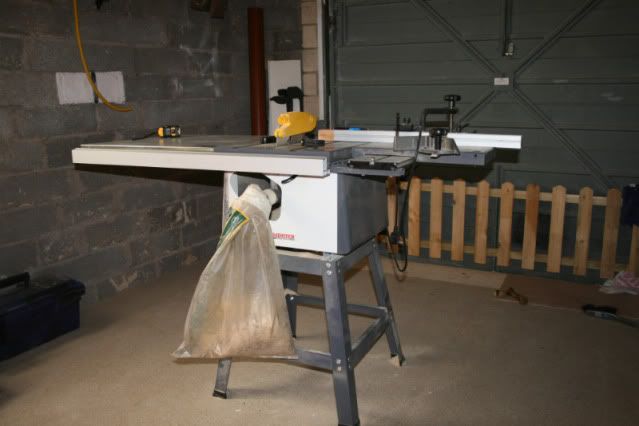
Before I bought the TS200 I was thinking of getting one of the bigger 10" Axi saws, glad i didn't as this one takes up more room than I thought. Its a good little unit, perfect for what I need. A little bit of fettling and it cuts straight and square. I don't think the blade is of the highest quality but having nothing to compare it to it'll do for the time being, ripping chunks out of OSB, shuttering ply and mdf. When it comes to nearer the time for replacement I'll ask on here for reccomendations.
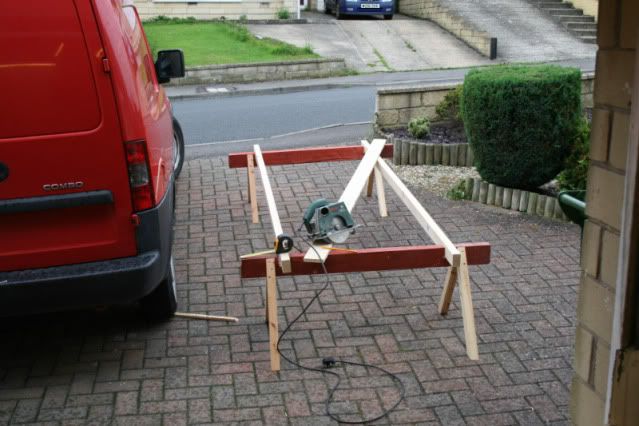
The TS200 is a bit wee for full 8 x 4 sheets so I knocked this up to fill the void. it needs a couple more slots to fit the CLS to cater for different sheet size and cut width but I'll do those as and when I need them.
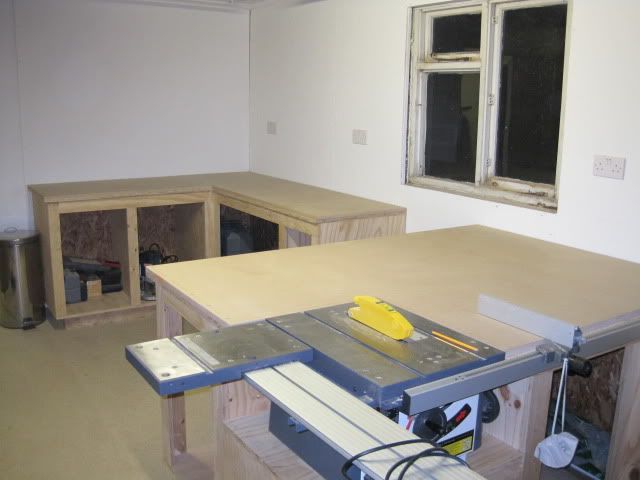
Walls were battened and covered with OSB, this was duly painted with masonry paint (tip from Wizer on another thread I think) Sockets fitted (4 doubles on each wall) and lighting added to - now 5 52w strips with seperate switches for the centre one and the 4 outside (over bech) ones.
Its very bright with all the lights on and the white walls - top tip from here again.
Thats all for the time being - next 5 days at work :evil: so little progress expected.
Please feel free to comment on anything, good or bad (though I prefer good)
Next steps are to build the units and bench, build in the TS to include an outfeed table, fit some dust extraction, get rid of the Axi router table and build one in next to the TS.
Hope you enjoyed what seems like my life story, will post again when next milestone is reached or breached.
Cheers
Vinny
Bought our first house after leaving the RAF (22 years) last October, one of the main selling points for me was the tandem double garage that was destined to be a workshop as soon as I saw it, like all great plans this changed to a utility room, downstairs throne room and a workshop (albeit smaller than I first thought).
Utility room because the kitchen wasn't big enough for washing machine, tumble drier and swmbo's collection of freezers.
Downstairs throne room because "apparently" I don't smell too sweet in the morning"
Workshop because in my time with the RAF all of my projects have been carried out on a B and D workmate with a variety of hand power tools and its always been something I wanted.
So this is pretty much what I had to play with, the previous occupant had wired it very badly, choc block and bell wire on one end of the scale for the hanging light bulbs and 5 amp flex on the other end for the 2 sockets. :shock:
Note new axi SCMS on table - first new toy
This window would have to go because it would span the parti wall for the throne room.
So submission of a form and 170 sheets to Building Control and I was off to Travis Perkins for a roof rack full of CLS and a few rolls of DPM. Its probably worth mentioning here that the submission and approval of the building notice was really easy, fag packet sketch of what I was doing passed for a plan and regular visits from a building control bloke kept me on the straight and narrow. the "bloke" was really helpful, pointed me in the right direction on several bits and answered all my questions without even a hint of "muppet" in his replies :wink: . However he did spec celotex for all the wall, floor and roof insulation and its not cheap, in fact it accounted for over half the utility room build cost.
This was the first time I'd tackled anything constructional on this scale so it was a learning process in places, ie, i won't put noggins on the brick wall studs again as it's a pipper to route cables when wiring the sockets.
Window removed.
Getting ready for the new UPVC window, my first ever attempt at any kind of brick/block work and I was pretty chuffed with the result.
Life lesson learn't at this stage, do not let your 13 old daughter borrow your camera without first backing up the pictures, one click of the delete key and all my photo's hit the ether, never to return.
So the rest of the utility build WIP was lost. It all went OK, putting the soil pipe in for the toilet was a PITA due to a 9 inch concrete oversite that pretty much ran the entire length of the pipe, blisters, calouses and a rather blunt coal chisel later and it was in. Electrics were done by me and signed off by a local firm. Plumbing again done by my own fair hand. Building control was happy and signed the project off.
This is the finished utility room complete with what has been dubbed "dads purple poo palace" owing to the fact that the only paint I had that wasn't magnolia was some purple funky paint left over from a feature wall in my youngest daughters room.
Now onto the workshop.
the utility room had effectively cut space to dump stuff by a third and I was now left with this to try and fashion a workshop from. New TS200 TS still in box somewhere amongst the melee
A fair amount of ruthless chucking away and a miltary style mission to secrete non woody stuff round the house and I was left with this.
TS now assembled, floor installed (heeded advice gleaned from another thread on here, wooden floors are kinder to dropped chisels than concrete ones)
The mission to hide the non woody stuff round the house had failed, it all eventually ended up back in the workshop. My only concession (at time of writing :? ) was to build a big cupboard in which to keep all the rubbish. I decided on putting it behind the door as it would cause least inconvenience to me, although it transpires that swmbo isn't best chuffed with its location because closing a door to open a cupboard door ranks right up there with having your ears ripped apart by rabid weasels !! ho -hum, never mind eh.
Next I needed somewhere to put my bench grinder and engineers vice (I sometimes get the urge to thrash things wildly with big hammers until they bend or break) It also served as a prototype for the rest of the bench which is to follow. Its made out of 18mm shuttering ply with a 11 mm ply top. Its worked ok but I think the rest of the benches will be shuttering ply topped off with 18mm mdf to make the whole kit and caboodle a bit more "dense" - important when youre in ball pain hammer mode. It will also serve as a height datum for all the other fittings in the workshop.
Table saw assembled with dust extraction fitted
The dust extraction will be upgraded to something green and sucky from yandles very soon.
Before I bought the TS200 I was thinking of getting one of the bigger 10" Axi saws, glad i didn't as this one takes up more room than I thought. Its a good little unit, perfect for what I need. A little bit of fettling and it cuts straight and square. I don't think the blade is of the highest quality but having nothing to compare it to it'll do for the time being, ripping chunks out of OSB, shuttering ply and mdf. When it comes to nearer the time for replacement I'll ask on here for reccomendations.
The TS200 is a bit wee for full 8 x 4 sheets so I knocked this up to fill the void. it needs a couple more slots to fit the CLS to cater for different sheet size and cut width but I'll do those as and when I need them.
Walls were battened and covered with OSB, this was duly painted with masonry paint (tip from Wizer on another thread I think) Sockets fitted (4 doubles on each wall) and lighting added to - now 5 52w strips with seperate switches for the centre one and the 4 outside (over bech) ones.
Its very bright with all the lights on and the white walls - top tip from here again.
Thats all for the time being - next 5 days at work :evil: so little progress expected.
Please feel free to comment on anything, good or bad (though I prefer good)
Next steps are to build the units and bench, build in the TS to include an outfeed table, fit some dust extraction, get rid of the Axi router table and build one in next to the TS.
Hope you enjoyed what seems like my life story, will post again when next milestone is reached or breached.
Cheers
Vinny