davy_owen_88
Established Member
Well as promised I'm going to be documenting the build of my custom fretless guitar. I made a start on this project about 6 months ago and only got as far as cutting out the body blank when a job came up. Now that job is complete I'm ready to continue.
Originally the plan was for a 6-string fretted guitar but after playing a fretless I have decided to do away with the frets and add an extra string for good measure. The materials used consist of an alder body, maple neck and a bubinga fretboard.
I start by drawing a centre line down all the timber. Centre lines are very important in guitar building - you use them to align jigs, they give you a point to measure from after you start cutting out the curves and they make sure that everything lines up when you are finished... hopefully :wink:

After the centre line is drawn, draw one line perpendicular to the centre line to indicate the position of the nut and mark another line where the last fret will be located. I am using a 25.5" scale length and there will be 24 frets so the distance between the nut and 24th fret will be 485.775mm. Then you need to decide on the neck width at the nut and at the 24th fret. This varies depending on the bridge you use and personal preference but I chose 1-15/16" at the nut and 2-19/32" at the last fret. Halve the numbers and measure from the centre line. Join up the dots and this gives you the fingerboard shape.
Rough cut this on the bandsaw and and trim using a straight edge and a flush cutting bit in the router.
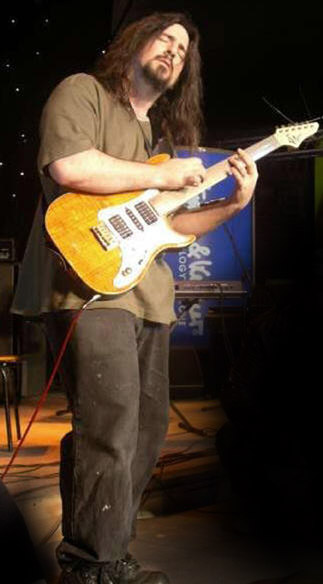
Next I decided on the headstock design. I'm basing my guitar around the John Petrucci Musicman guitar so I found a good picture, resized the headstock and printed it out. It took a few attempts but eventually you get a life size template. Rough it out on the bandsaw and sand to the line with the oscillating spindle sander.

Machine up some maple and route a groove along the centre line for the truss rod. Then place the fingerboard and headstock template onto the neck blank and trace the outline - rough cut it on the bandsaw and using a flush cutting bit tidy up the headstock. Insert the truss rod (with a little bit of silicone in the middle to prevent vibration) and glue on the fingerboard.

The eagle eyed amongst you might notice that the bubinga in the glue up is not the same as that shown in the first picture. The reason is simple... I totally forgot to take any pictures so I had to improvise I also forgot to route the truss rod channel before I cut it to size so I had to knock up a quick jig to get the groove centred and as you can see, it went a little off target towards the end. No worries though, a fancy truss rod cover will hide that
When the glue dries I will trim around the fingerboard, thin down the headstock and then I can get on with carving the neck.
Originally the plan was for a 6-string fretted guitar but after playing a fretless I have decided to do away with the frets and add an extra string for good measure. The materials used consist of an alder body, maple neck and a bubinga fretboard.
I start by drawing a centre line down all the timber. Centre lines are very important in guitar building - you use them to align jigs, they give you a point to measure from after you start cutting out the curves and they make sure that everything lines up when you are finished... hopefully :wink:
After the centre line is drawn, draw one line perpendicular to the centre line to indicate the position of the nut and mark another line where the last fret will be located. I am using a 25.5" scale length and there will be 24 frets so the distance between the nut and 24th fret will be 485.775mm. Then you need to decide on the neck width at the nut and at the 24th fret. This varies depending on the bridge you use and personal preference but I chose 1-15/16" at the nut and 2-19/32" at the last fret. Halve the numbers and measure from the centre line. Join up the dots and this gives you the fingerboard shape.
Rough cut this on the bandsaw and and trim using a straight edge and a flush cutting bit in the router.
Next I decided on the headstock design. I'm basing my guitar around the John Petrucci Musicman guitar so I found a good picture, resized the headstock and printed it out. It took a few attempts but eventually you get a life size template. Rough it out on the bandsaw and sand to the line with the oscillating spindle sander.
Machine up some maple and route a groove along the centre line for the truss rod. Then place the fingerboard and headstock template onto the neck blank and trace the outline - rough cut it on the bandsaw and using a flush cutting bit tidy up the headstock. Insert the truss rod (with a little bit of silicone in the middle to prevent vibration) and glue on the fingerboard.
The eagle eyed amongst you might notice that the bubinga in the glue up is not the same as that shown in the first picture. The reason is simple... I totally forgot to take any pictures so I had to improvise
I also forgot to route the truss rod channel before I cut it to size so I had to knock up a quick jig to get the groove centred and as you can see, it went a little off target towards the end. No worries though, a fancy truss rod cover will hide that When the glue dries I will trim around the fingerboard, thin down the headstock and then I can get on with carving the neck.