Easy Table Saw Cross Cut Sled

UKworkshop.co.uk

Help Support UKworkshop.co.uk:

This site may earn a commission from merchant affiliate links, including eBay, Amazon, and others.
Joined
13 Jul 2015
Messages
2,924
Reaction score
148
Location
Wales
I've just made one of these from browsing a few videos on youtube, and whilst it works, it was frustrating to make. The frustrating part was getting the damn thing square to tight tolerances. I spent quite a few hours researching how to get the fence square to the blade and pretty much every tutorial was the same. Square it the best you can with a mitre square to begin with, screw in place, do a test cut (5 cut method), adjust if necessary (drilling a new hole for a new screw).

I did this a few times until I was happy, but I couldn't help but think that there has to be a better way! ... I really didn't like having to drill new holes, and moving the fence such small amounts was tricky and FRUSTRATING

After having made mine, I came across this

Slaps head!! Bah! So simple.

So instead of using a single piece of wood for the fence and the front support, you have a piece for each. That way the construction of the base, front and back supports are only framework, and need not be accurately square. Once the framework is constructed, you insert the fence infront of the front support, and clamp one side. Tweaking is now easy! simply put a shim between the fence and the front support on the other side and clamp. Moving the shim to the left or to the right is both easy and very precise, allowing for the smallest of changes without drilling new holes.

Hope this helps someone else!
 
Interesting...maybe I am missing something, but why not just have the one fence that is adjustable? That's how I made mine. Screw one side down, square up to the kerf, then adjust as needed. Surely you would have to do the same with the secondary fence anyway?


Sent from my iPad using Tapatalk
 
Bodgers":1bjxxatu said:
Interesting...maybe I am missing something, but why not just have the one fence that is adjustable? That's how I made mine. Screw one side down, square up to the kerf, then adjust as needed. Surely you would have to do the same with the secondary fence anyway?

Separation of concerns, really. Instead of trying to add the front support as a support as well as a square reference, you break it up into two bits, so that it's easier to work with. With only the single front support, things could move as you're adjusting it. Where as with this approach, the sled is structurally sound before adding the fence, and as you now have the front support to butt your fence against, you can easily adjust it as I mentioned above, from the top with a clamp, without having to awkwardly screw/unscrew from the bottom.

Maybe it's just me, and my inexperience of constructing jigs, but I think it makes far more sense :)
 
smiley65":30cswsxl said:
hi transatlantic did you ever make a zero clearance plate for your hs105?

Hi - not yet, no. I've found I get pretty clean cuts without one, and haven't had anything fall through yet.
 
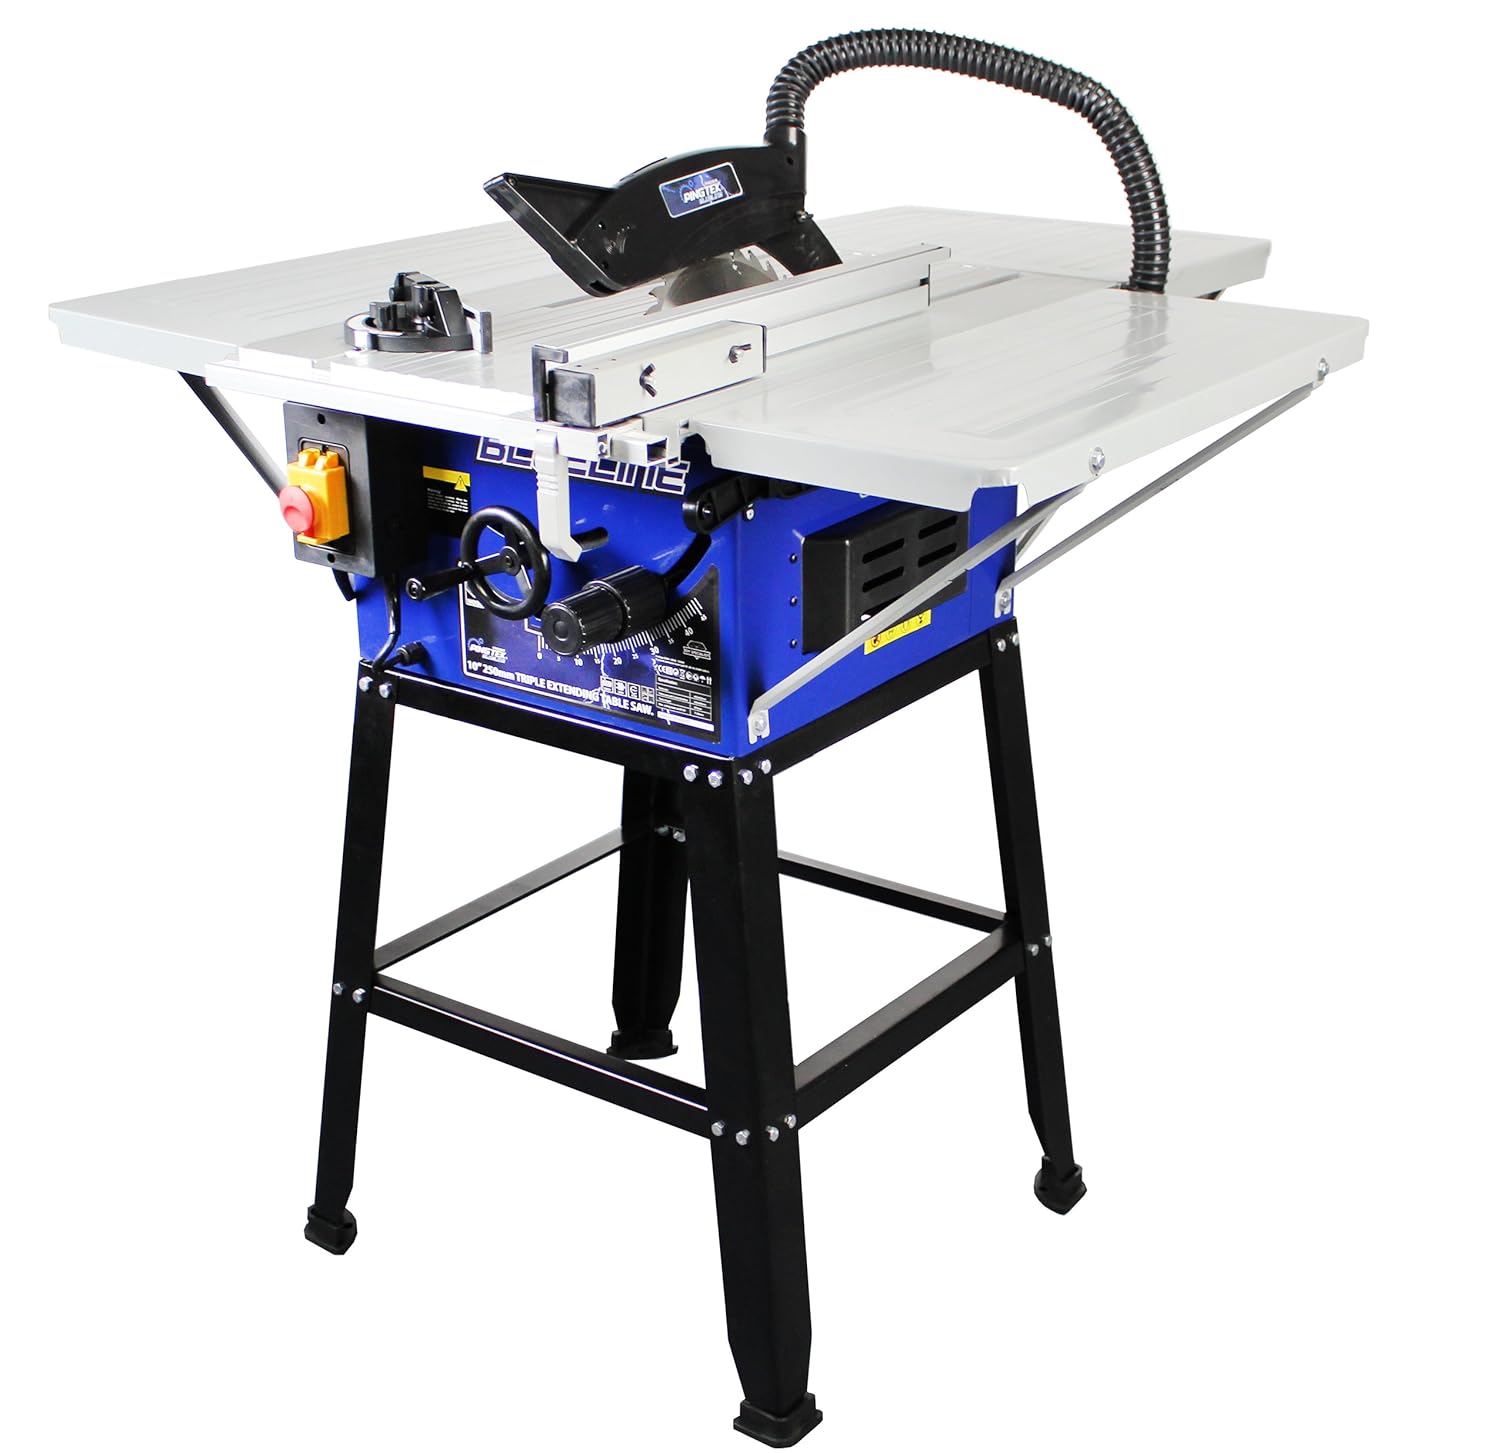
hi transatlantic,thanks for replying i have just bought a pingtek table saw its a rebrand of the hs105 i think its a good saw,i was wondering did you have much play when extending the sliding table out?and the reason i asked about the plate was my plate seems to sit lower than the table top i can only assume the four screw threads that the plate sits on must be for some kind of levelling system but cant find anything about it any help you could offer would be great
 
Referring to the 9 month old OP:

Someone on this forum (IIRC it was Rob) said (about aids & jigs generally) a long while ago, " if you can't make it accurate make it adjustable" .

makes sense to me
 
smiley65":16ma845f said:
hi transatlantic,thanks for replying i have just bought a pingtek table saw its a rebrand of the hs105 i think its a good saw,i was wondering did you have much play when extending the sliding table out?and the reason i asked about the plate was my plate seems to sit lower than the table top i can only assume the four screw threads that the plate sits on must be for some kind of levelling system but cant find anything about it any help you could offer would be great

Mine does sit a tad lower, but in general, I don't really see it as a problem. The only time when it would be a problem is if most of the workpiece is on the lower side of the table, which would then tilt the workpiece, producing an inaccurate cut, but that case doesn't crop up often for me.

I'll try to remember to take a look, but I don't think it would be something easily fixable, as the "fix" would vary depending on how far the table is out. I think an easier fix would be to add your own fold away leg with an adjustable foot to change the height. That is unless you always have the table out? in which case you could just add a permanent shim, but even then, I think it would need reinforcing somehow.

Another idea (if its always out) is to have 45 deg brackets to support it. And then fill the gap, which would give you more work area too.

81CvKEFByiL._SL1500_.jpg
 
iv looked and cant really see a away of adjusting it apart from maybe squeeze c rods for a better fit but i think having a rest under it would be the more easy fix
 
smiley65":q6fn3etz said:
iv looked and cant really see a away of adjusting it apart from maybe squeeze c rods for a better fit but i think having a rest under it would be the more easy fix

Yeah - had a look at mine, it's just a smaller channel in a larger one. There has to be a little slop for it to slide, but the further out it gets, that slop is multiplied. So my suggestion would be either the leg or the angle brackets.
 
"" if you can't make it accurate make it adjustable" ."

Robert Wearing. From his book "The Resourceful Woodworker" I think. Either that or one of his articles in the magazine 'The Woodworker'.
 
Back
Top