sploo
Somewhat extinguished member
Earlier this year I "upcycled" our old pine bed into a shoe rack (a-shoe-rack-from-an-old-pine-bed-t92769.html). I had a tiny bit of wood left, and sometimes need long reach clamps.
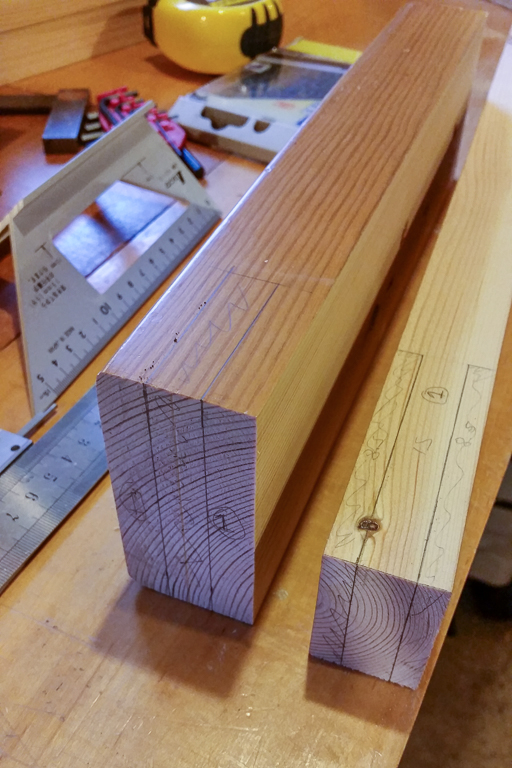
Working from Matthias Wandel's design (http://woodgears.ca/clamps/) I set about resawing the short bed posts (split dowels, holes and all), and ripping what parts of the headboard I had left:
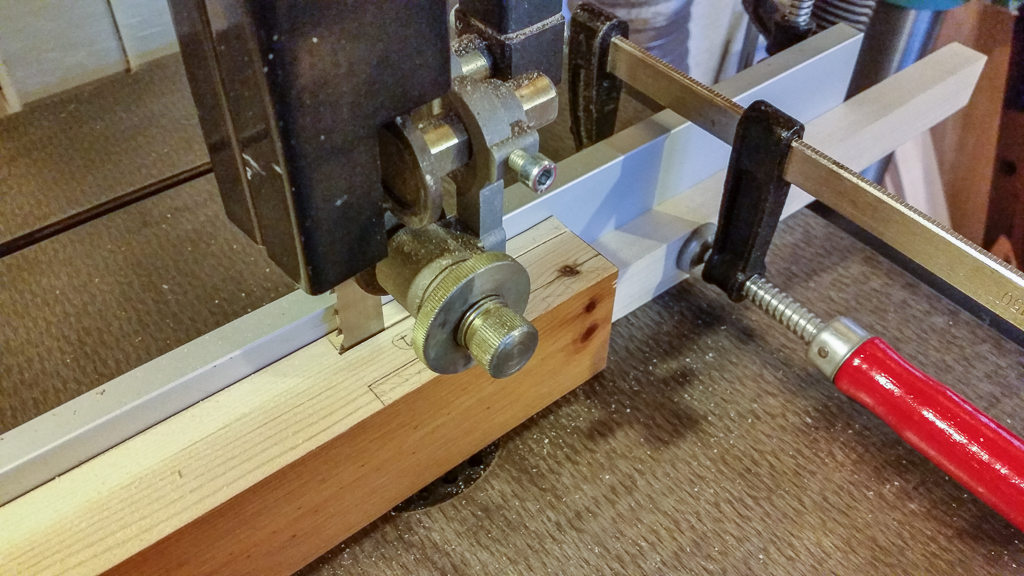
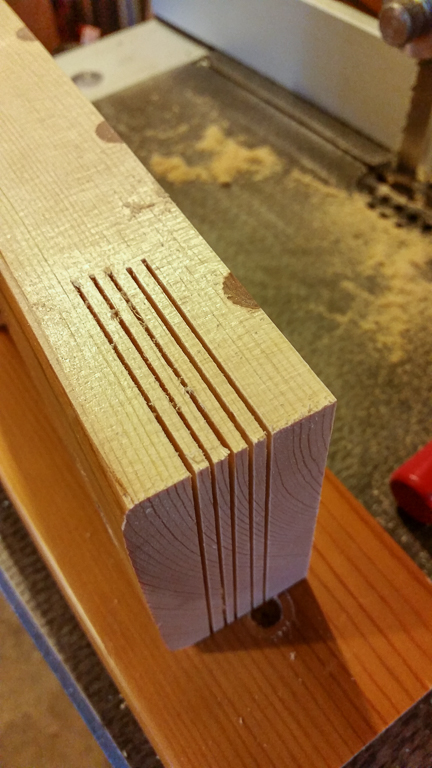
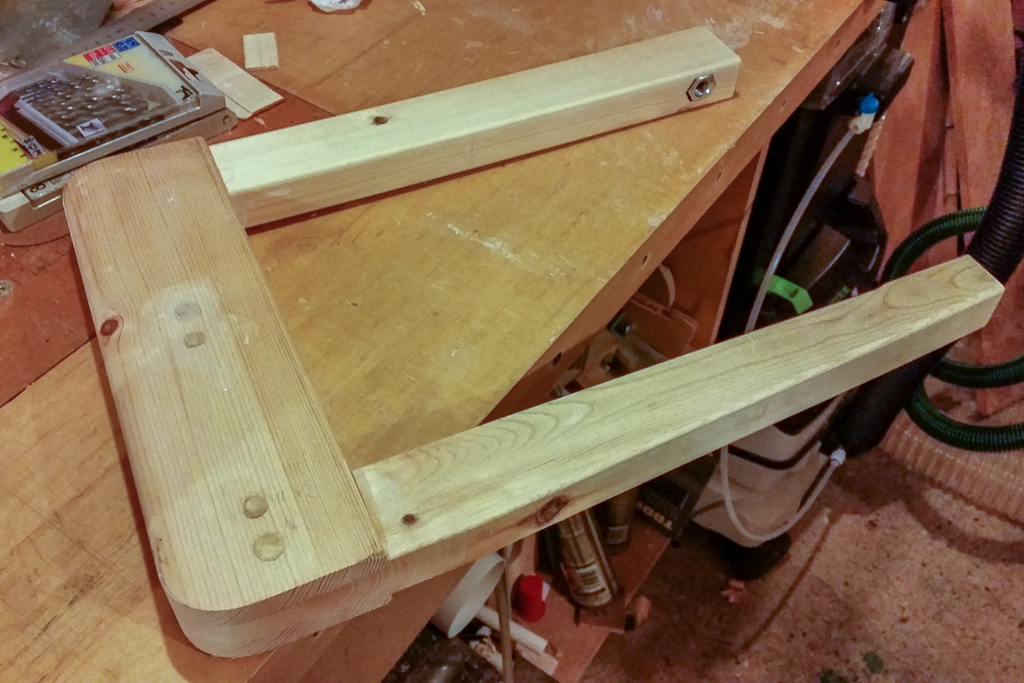
I don't have a box joint jig, and in any event the depths I'd need to cut would be way beyond the reach of my table saw or any router bit I have. As such, I went for a simple bridle joint, mostly cut on the bandsaw and finished with a chisel:
And... I screwed up.

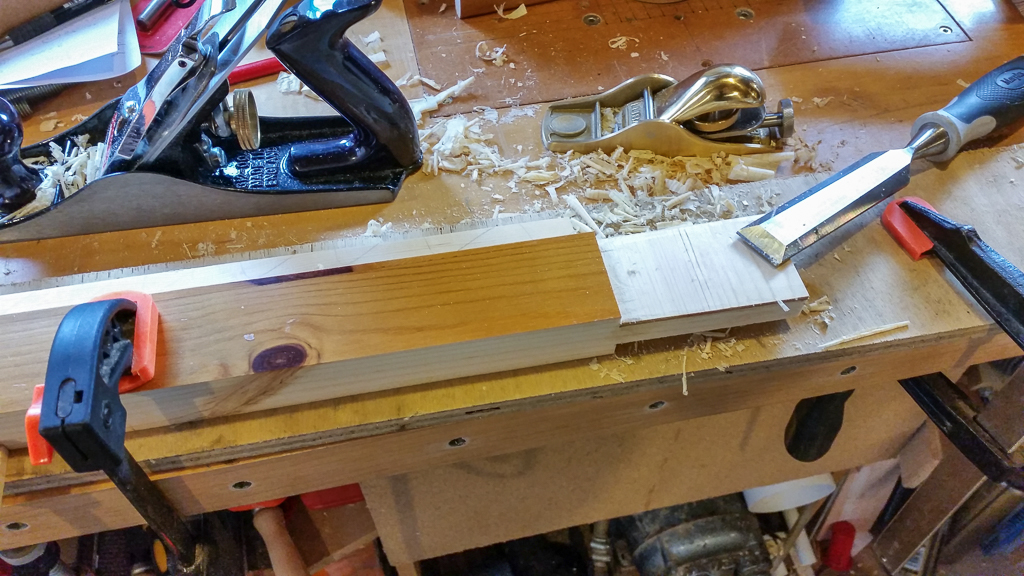
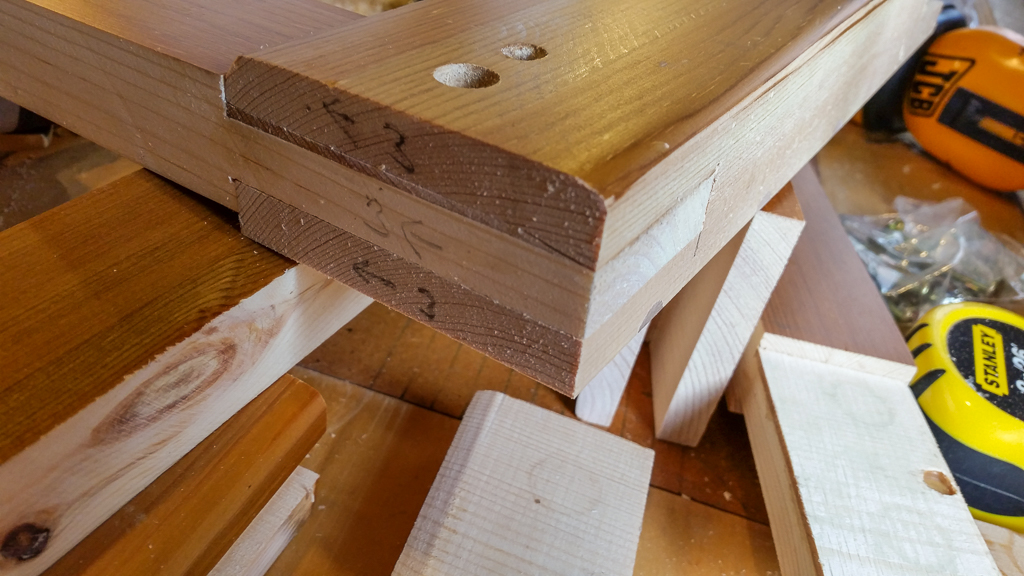
Fortunately I still had the offcuts from the mortices that I'd hogged out with the bandsaw, so I glued thin sheets onto the tenons and cleaned them up with planes and chisels. IRC it was this job that finally convinced me to buy a vice (and a Veritas Router Plane). Fortunately the end results were OK:
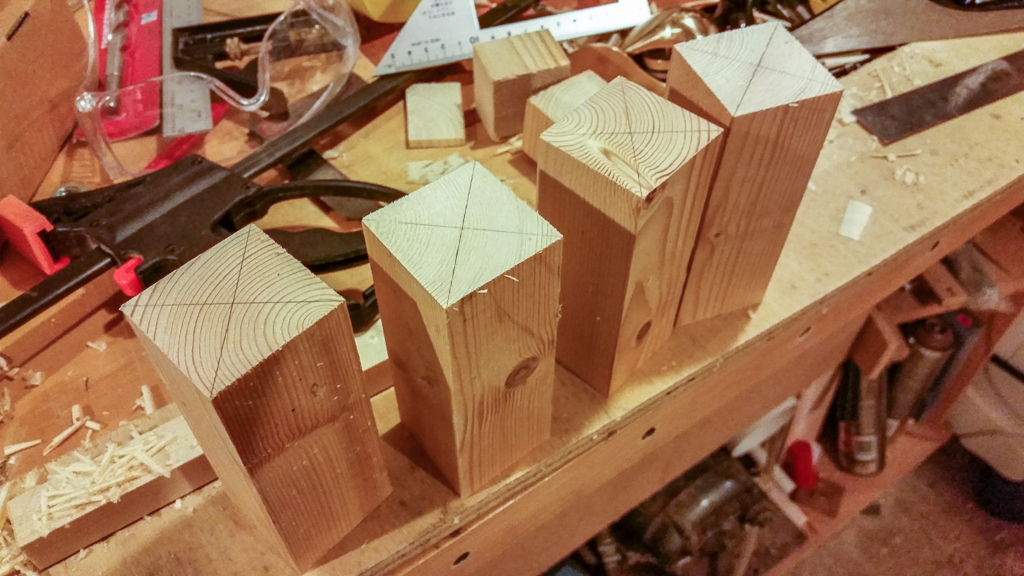
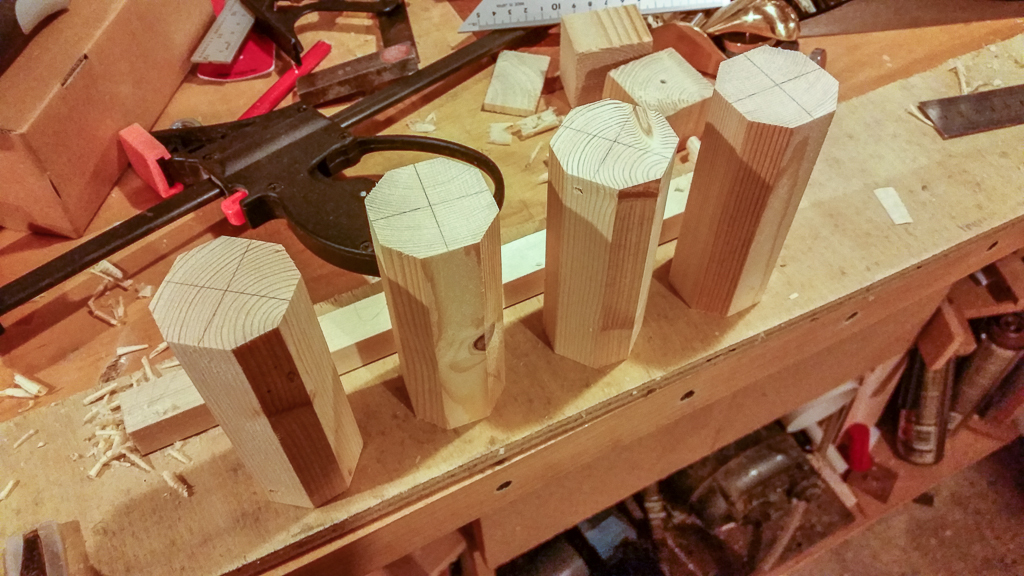
Handles:
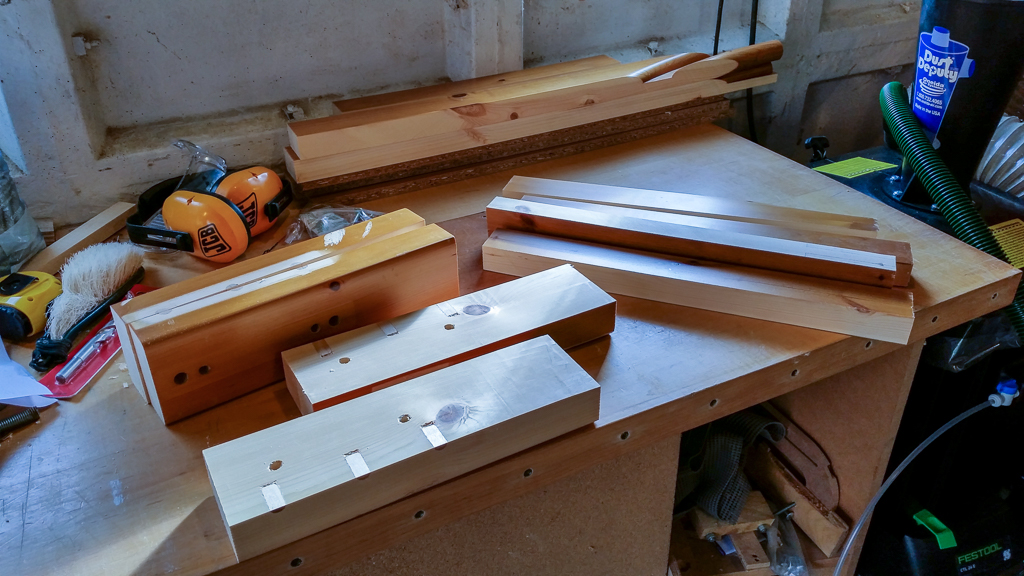
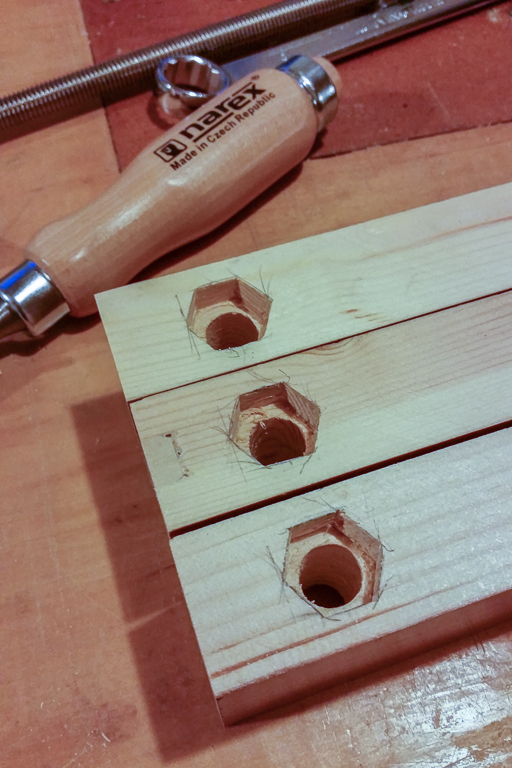
Chiselling the recesses for the nuts:
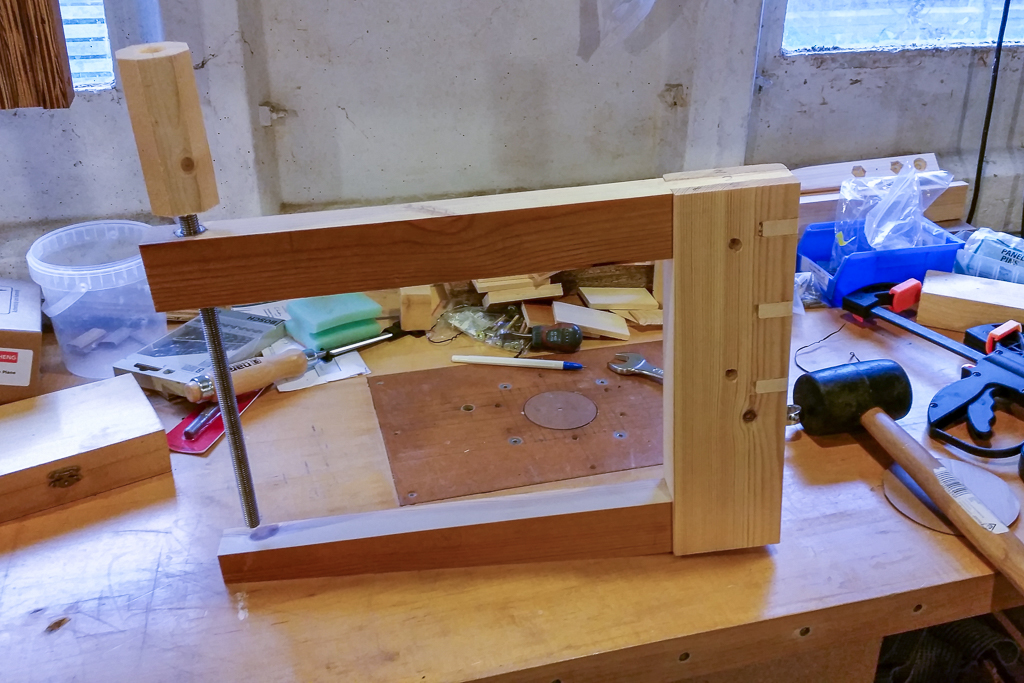
A dry fit:
After the dry fit I decided to plane off all the remaining varnish (aesthetics won over just getting the job done :wink") . I rounded over some parts on the router table and glued them together. I also used dowel to plug some of the holes and then rounded the rear corners using the bandsaw and disc sander:
. I rounded over some parts on the router table and glued them together. I also used dowel to plug some of the holes and then rounded the rear corners using the bandsaw and disc sander:
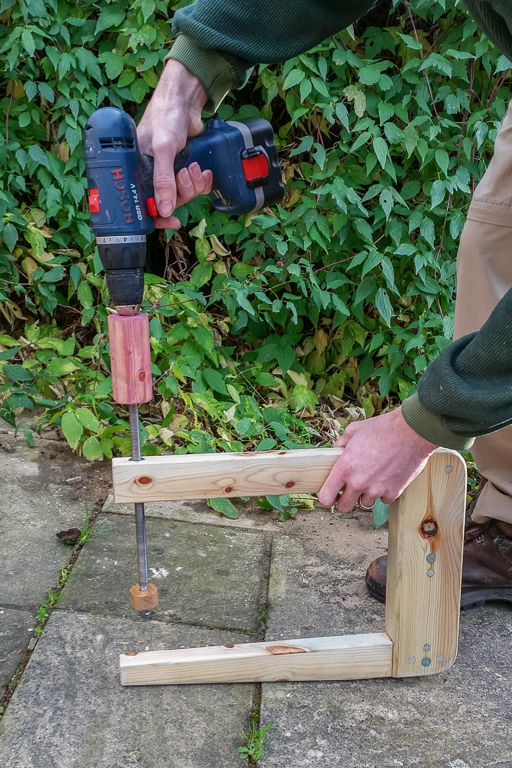
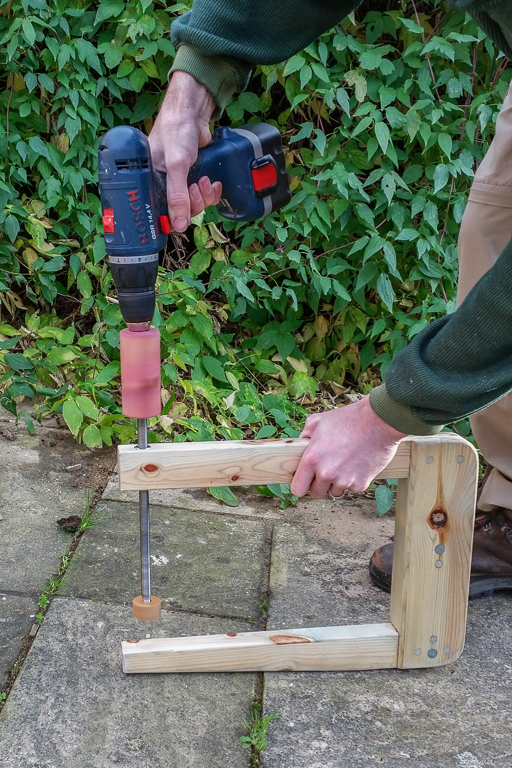
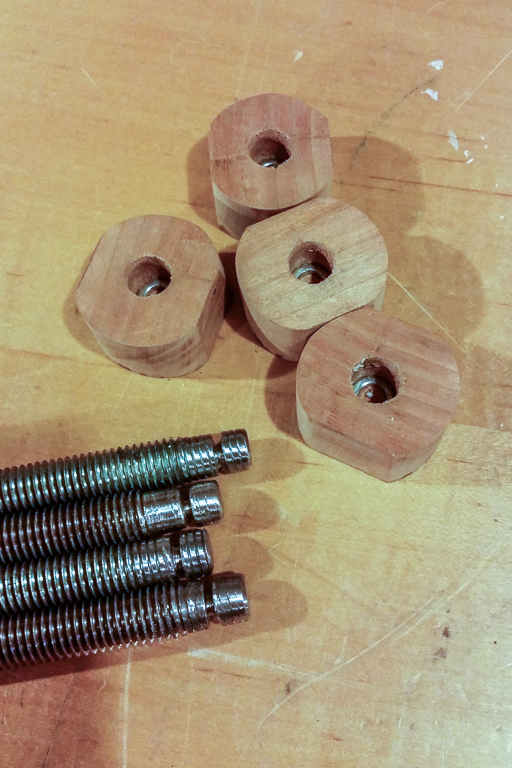
Next, the pads were made from some scrap hardwood, and the threaded rods modified (drill press as a lathe + angle grinder):

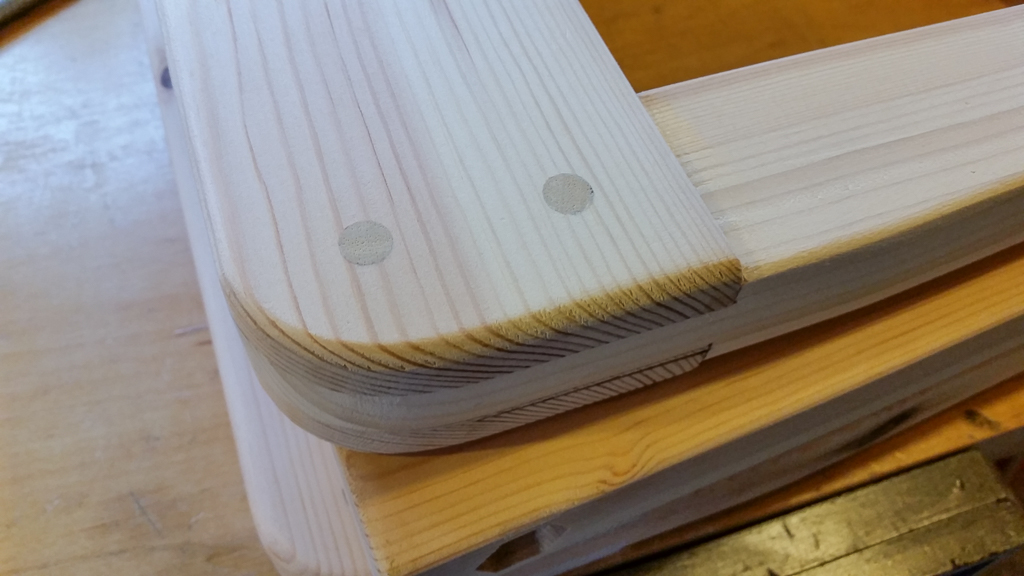
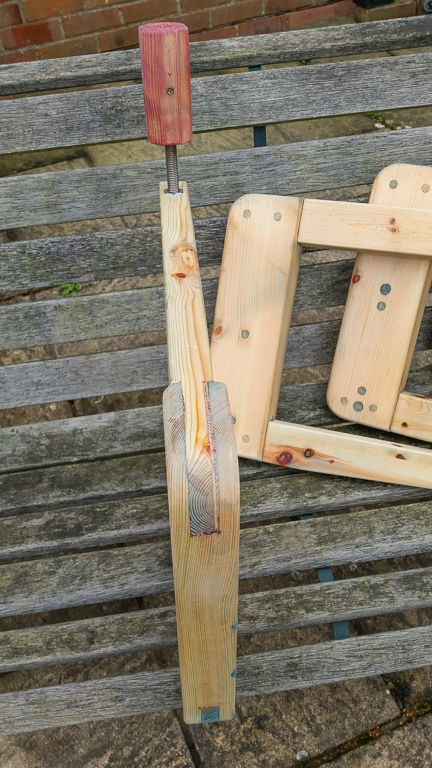
Because I didn't think my joints were that great, I decided to pin them using a couple of dowels. Once trimmed with a chisel, a pass with a #4 plane gives a nice finish, and the spine edges were rounded over:
I wanted to colour the parts but liked the grain so I didn't want to obscure them with paint. Being too cheap to buy real wood dye I experimented with blue and red food colouring. IRC I used a 2:1 mix of water to colouring. 38ml bottles were more than enough. Note how the colour hasn't taken on the resinous knots. I actually quite like the effect, but perhaps if I'd used white spirit (US - mineral spirits?) it may have worked better:
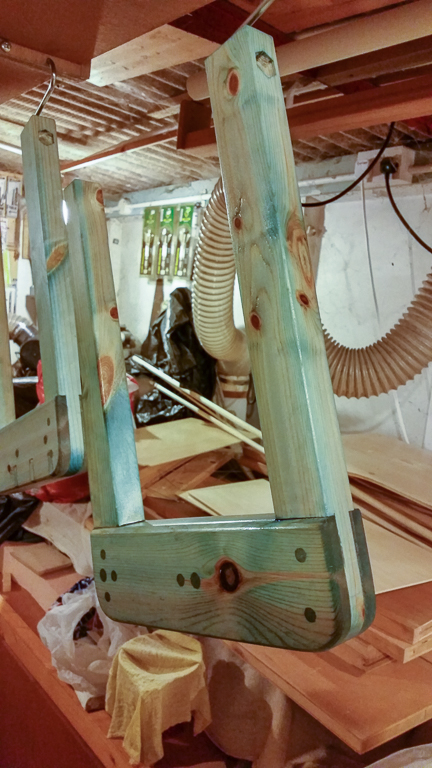
At this point I had a problem. Brushing on the water based floor varnish I like to use would make the colour run, and whatever ingredients there are in the food colouring doesn't really dry completely, so with hindsight it wasn't a great choice. I bought some spray cans of varnish, and eventually had a dry/mild/calm day to do the job (in England in December... who'd have thought).
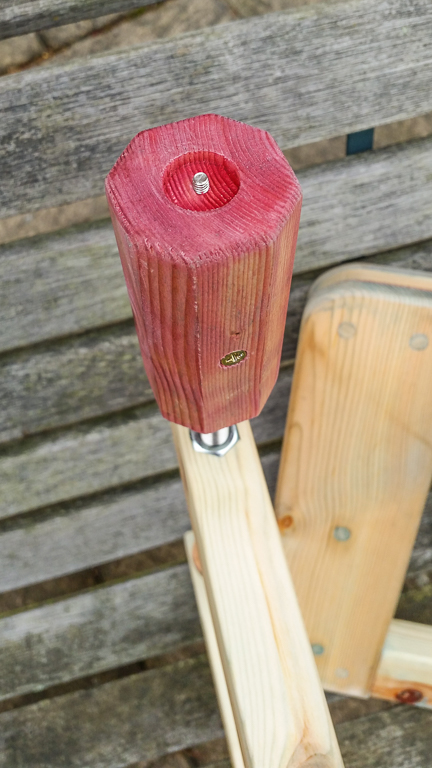
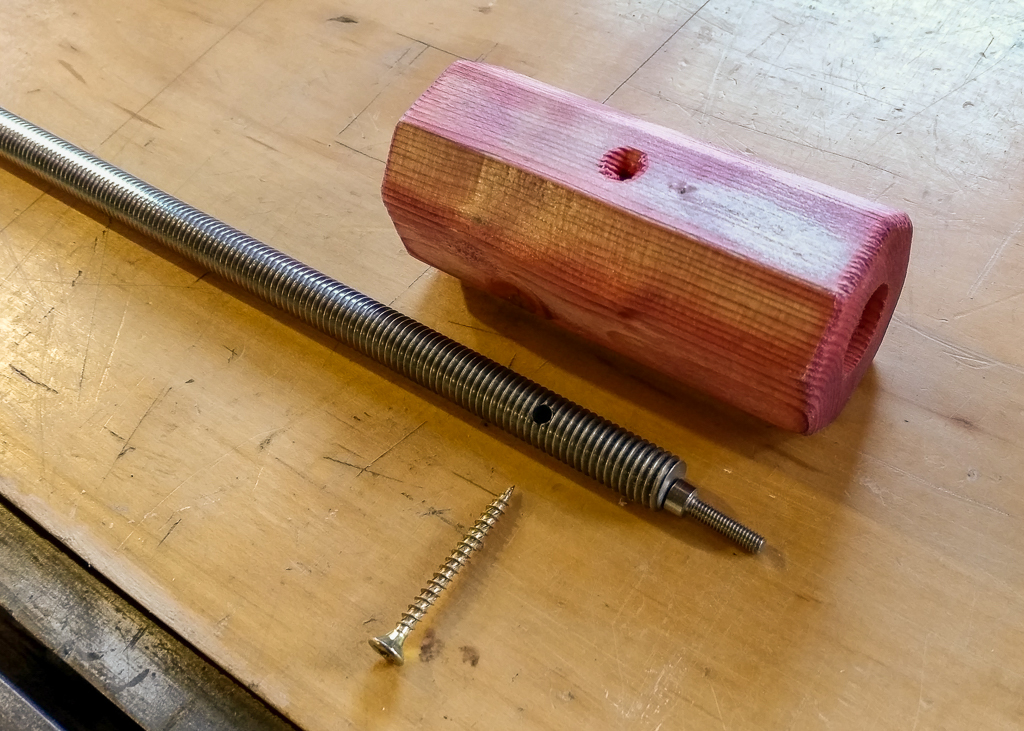
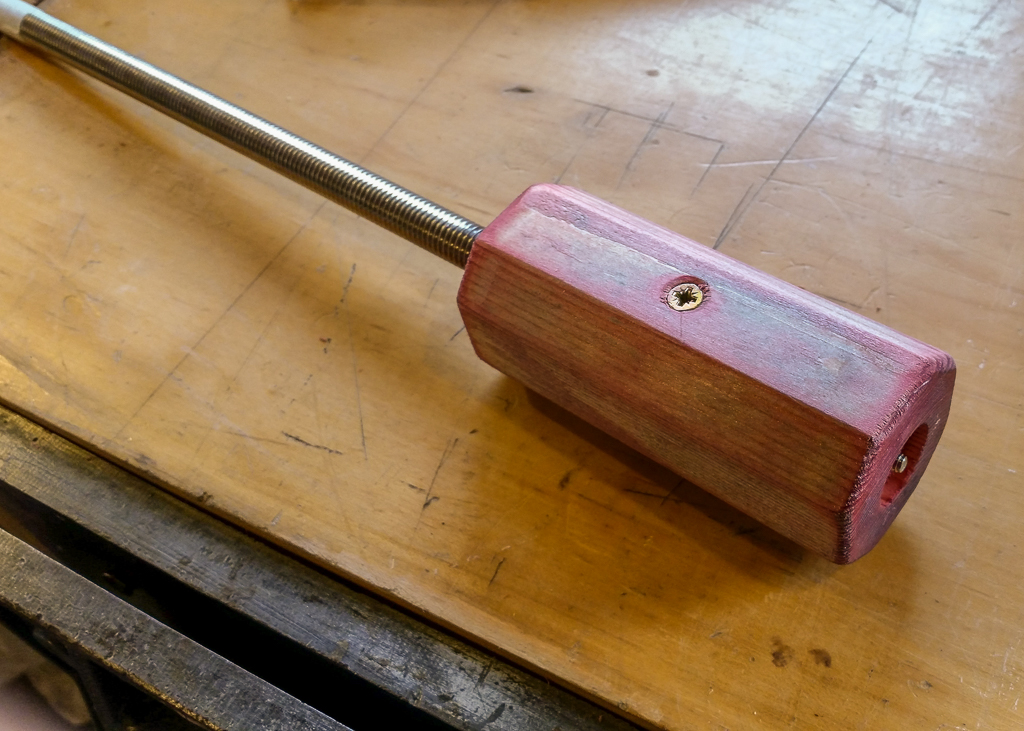
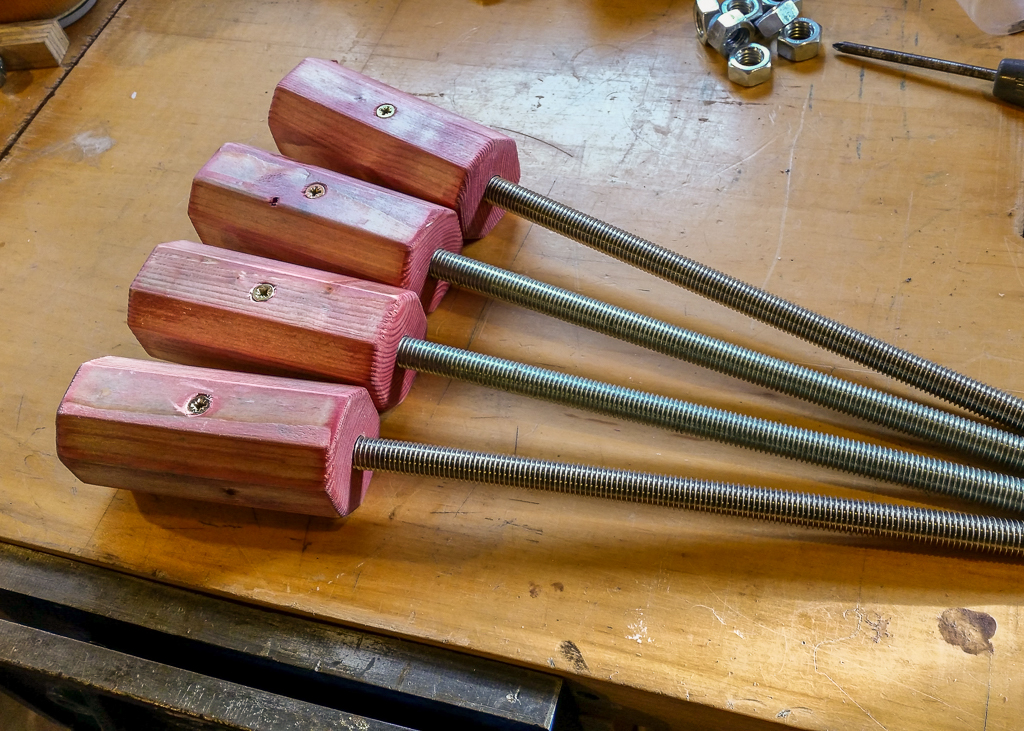
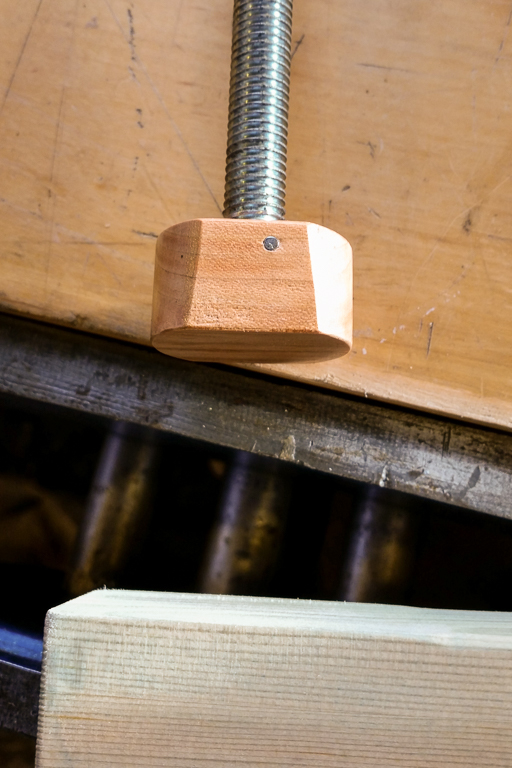
Putting the handles and rods together. I'd drilled a shallow pocket on the top of the handles, and tapped a hole for a 4mm bolt. I put a small amount of superglue at the head end of the bolt threads to ensure they stayed in the thread. More on why later:
Pads pinned on with small nails:
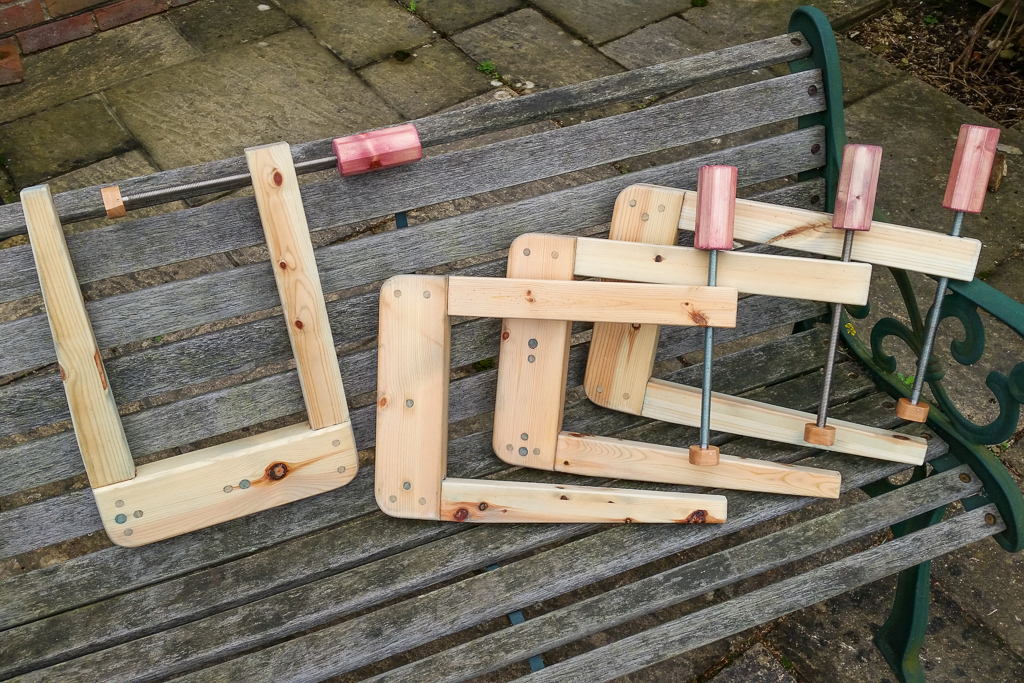
The finished clamps. In this photo the blue doesn't really show up at all. It's definitely subtle, but it's much more obvious than on these shots. You can see that it's taken to the end grain much better:
Working from Matthias Wandel's design (http://woodgears.ca/clamps/) I set about resawing the short bed posts (split dowels, holes and all), and ripping what parts of the headboard I had left:
I don't have a box joint jig, and in any event the depths I'd need to cut would be way beyond the reach of my table saw or any router bit I have. As such, I went for a simple bridle joint, mostly cut on the bandsaw and finished with a chisel:
And... I screwed up.
Fortunately I still had the offcuts from the mortices that I'd hogged out with the bandsaw, so I glued thin sheets onto the tenons and cleaned them up with planes and chisels. IRC it was this job that finally convinced me to buy a vice (and a Veritas Router Plane). Fortunately the end results were OK:
Handles:
Chiselling the recesses for the nuts:
A dry fit:
After the dry fit I decided to plane off all the remaining varnish (aesthetics won over just getting the job done :wink
. I rounded over some parts on the router table and glued them together. I also used dowel to plug some of the holes and then rounded the rear corners using the bandsaw and disc sander:
Next, the pads were made from some scrap hardwood, and the threaded rods modified (drill press as a lathe + angle grinder):
Because I didn't think my joints were that great, I decided to pin them using a couple of dowels. Once trimmed with a chisel, a pass with a #4 plane gives a nice finish, and the spine edges were rounded over:
I wanted to colour the parts but liked the grain so I didn't want to obscure them with paint. Being too cheap to buy real wood dye I experimented with blue and red food colouring. IRC I used a 2:1 mix of water to colouring. 38ml bottles were more than enough. Note how the colour hasn't taken on the resinous knots. I actually quite like the effect, but perhaps if I'd used white spirit (US - mineral spirits?) it may have worked better:
At this point I had a problem. Brushing on the water based floor varnish I like to use would make the colour run, and whatever ingredients there are in the food colouring doesn't really dry completely, so with hindsight it wasn't a great choice. I bought some spray cans of varnish, and eventually had a dry/mild/calm day to do the job (in England in December... who'd have thought).
Putting the handles and rods together. I'd drilled a shallow pocket on the top of the handles, and tapped a hole for a 4mm bolt. I put a small amount of superglue at the head end of the bolt threads to ensure they stayed in the thread. More on why later:
Pads pinned on with small nails:
The finished clamps. In this photo the blue doesn't really show up at all. It's definitely subtle, but it's much more obvious than on these shots. You can see that it's taken to the end grain much better: