Dining tabletop board selection

UKworkshop.co.uk

Help Support UKworkshop.co.uk:

This site may earn a commission from merchant affiliate links, including eBay, Amazon, and others.
Hi Tibi

My thought is that the legs of this table are too narrow for a kitchen table. The proportions looks wrong to my eye. This appear to be more of a sideboard table - long and narrow.

As Jacob has written, I see no problem in using board# of different widths - it just depends on the look one wants. A “farm house” style will benefit from varying widths, while something modern may want the balance that comes from equal widths and selection of figure.

I have never bothered rearranging the growth rings, and just concentrated on presenting the grain in the most attractive way. Then I ensure that the top is well supported and can move with changes of temperature - use wooden or metal buttons to attach the top.

Regards from Perth

Derek
Agree about the lightweight table.
My "farmhouse style" is more a case of "kitchen utility" - where strength is needed for robust operations such as kneading bread or chopping stuff on a board.
It's a loose copy of a Welsh original.
The projecting ends are also utilitarian as the footprint is smaller and takes up less floor space - a top doesn't have to be just an inch or so bigger than the base and the extended ends free up seating arrangements if you use it as a multi function table - kids doing homework at one end, somebody making a pie at the other, or just as a dining table.
 
Last edited:
....

I have read also the article about sharpening. Did the Scottish guy that taught you woodworking really use only one oilstone and his palm and he was able to shave with the blade? Was it fine India or some other stone?
This was just normal practice though I don't suppose anybody bothered to try shaving! Could be a single natural stone or a synthetic double sided which also meant you could grind if necessary. One more fine stone could be added for finer work.
Modern sharpening is a recent and complete re-invention which came along with the boom in post-war DIY. It expanded rapidly because of the new fashion for sharpening jigs - which look like a good idea but in fact make sharpening more difficult. Hence the diversity of the jigs themselves and the huge range of alternative materials/gadgets on offer. It sells a lot of kit - much of it being an attempt to solve the problem of the last useless item bought!
 
Last edited:
I have read also the article about sharpening. Did the Scottish guy that taught you woodworking really use only one oilstone and his palm and he was able to shave with the blade? Was it fine India or some other stone?
The chain smoking grumpy Scot was just one of the miserable (joke) old farts in the workshop I learned from. As to the lesson in sharpening, in common with all the other makers in the workshop, he had nothing more than a combination oilstone and a couple or three oilstone slips to hone his plane irons, bench and carving chisels, the last mostly gouges. That plus the palm of his hand for a bit of stropping, as described, and he could shave hairs off his forearm. For the most part my sharpening methodology remains much as I was taught nearly fifty years ago, and I too shave a few hairs off when demonstrating sharpening to learners.

For 90% of the work I do that's all that's needed for sharpening. Having said that I have tweaked my sharpening technique a bit over the years. I still usually just carry a combination oilstone when working on contracts in other peoples workshops. Nowadays though, basically for the sake of clean hands and to reduce the opportunities for oil to transfer from my hands and tools to the wood I'm working, I prefer using a couple of ceramic stones lubricated with water, one coarse, and one very fine for a super keen edge. I don't know the grit count per inch² for either stone, just coarse and super fine. Also, prompted by Jacob's favourite contributor here, David Weaver, I sometimes do a five - ten second buff on a drill mounted felt wheel plus buffing compound - it really does work to put a very keen edge on a blade.

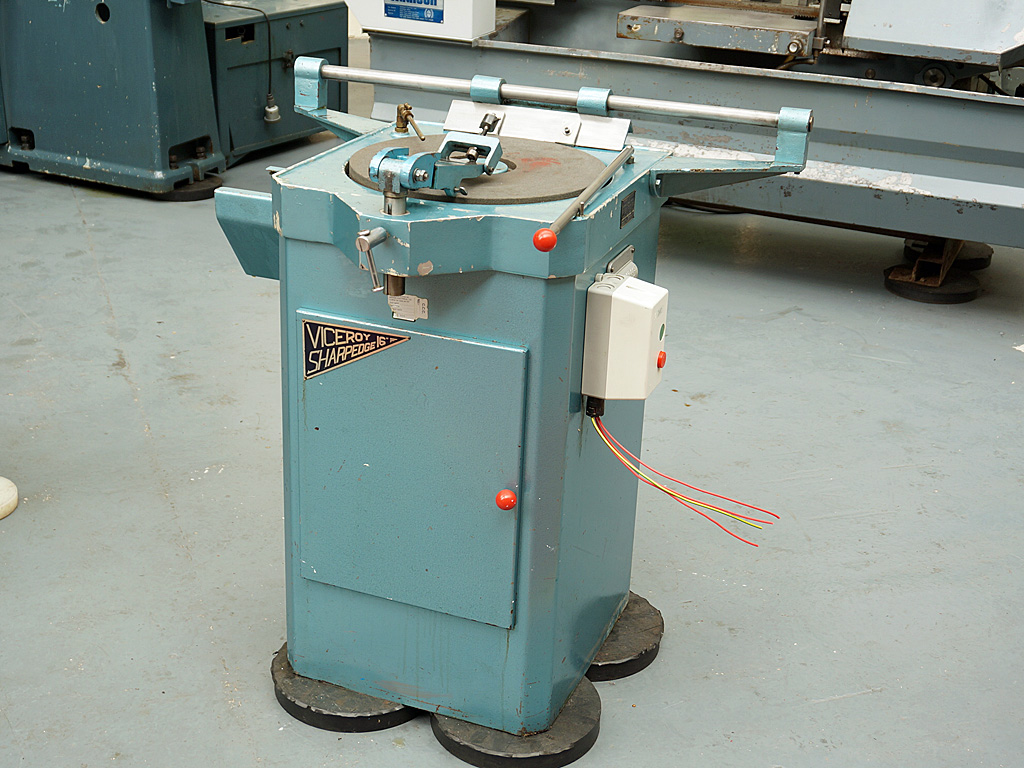
The only other aid in that first workshop I worked in was a Viceroy grinder (much like below) for regrinding when needed. It had succeeded an old ~3 ft diameter sandstone(?) wheel that ran in a bath of water which, when I worked there, was lying neglected, unloved, and falling apart out in the back yard: probably worth a fortune now if it survived in good shape (doubtful).

Jacob is an annoying and opiniated know-it-all about every subject under the sun (said with humour and some affection on my part) but I agree with him that sharpening has been unnecessarily made into an overly complex minefield. It is, essentially, a simple process fairly easily achieved with a bit of practice and good instruction. Generally, sharpening threads are, as far as I'm concerned, ones to be avoided except for vicarious enjoyment as a spectator in order to watch all the usual suspects draw their swords, raise their shields, and go into battle, yet again, which no-one wins. I really can't work out how people such as Jacob and David, for example, can find the energy to go through it all time after time, but I do rather admire their spirit and persistence. Me, I prefer to go and read a book, watch rugby, pick fluff out of my navel, anything other than get involved in a sharpening debate.

And, finally, if anyone decides to inform me that my methods for sharpening plane irons and chisels is lacking in some way, it'll fall on deaf ears at this end, ha, ha. Slainte.

bdc7d325c8332bf76cc9d3636d94443bb7f7f96f.jpg
 
Last edited:
This is what I came up with (without the tabletop and drawers), so hopefully, it will work out

View attachment 150301
Looks good. You also need a "kicker" rail above the drawer to stop it dropping down at the front when you open it. You don't need the corner brackets and the kicker rail could be in their place.
Drawer stops at the back work well but if you are after perfect alignment then stops at the front are better - bits of ply sitting just behind the drawer front, attached to the bottom drawer rail. Or hardwood blocks set in a housing. It means the bottom of the drawer has to be high enough to go over them.
You don't need those two middle rails but if you put one above the partition it will function as the kicker rail for the drawer each side.
Your drawer rails could be wider and also dovetailed to the aprons at each side
Thanks Jacob for review,

I have the kicker rails, they are those middle rails, which are above the drawer. I have used the construction from Bill Hylton's book Illustrated Cabinetmaking, which I bought myself for Christmas, but I have altered it for my design. So the only guesswork was with dimensions.

I will reconsider the front drawer stops, as they seem better.
 
Thanks Jacob for review,

I have the kicker rails, they are those middle rails, which are above the drawer.
Not a good idea. You need a kicker each side of each drawer.
You already have a convenient 'guide' piece each side and you just screw the kicker rails on top, and one on the partition serving both sides. They don't particularly need to be full length as the drawer will only start to drop when it's approaching half way out.
....

I will reconsider the front drawer stops, as they seem better.
They are better but more difficult to fit.
 
Not a good idea. You need a kicker each side of each drawer.
You already have a convenient 'guide' piece each side and you just screw the kicker rails on top, and one on the partition serving both sides. They don't particularly need to be full length as the drawer will only start to drop when it's approaching half way out.

They are better but more difficult to fit.
Thanks,
I will rework the model.
 
Is the top slight?

If Heavy then you want thicker legs.

Light legs - light top

Heavy legs - heavy top.

Nothing worse than a large lady with tiny legs!!🤣🤣
 
It will be 25 mm thick top. Hopefully, it is considered as light.
View attachment 150319
You could make it appear lighter by tapering the edge.

Also I would bring the edge further away from the frame maybe 75-100mm but styles may vary in your country.

I know IKEA do very short over hangs not for me but obviously people like them!
 
You could make it appear lighter by tapering the edge.

Also I would bring the edge further away from the frame maybe 75-100mm but styles may vary in your country.

I know IKEA do very short over hangs not for me but obviously people like them!
Thank you Jameshow,

The edge is actually 75 mm from the apron, but maybe the view orientation makes it appear shorter.
 
Back
Top