Competition 063/08 Stewart - Poker Chip Box (INFO ONLY)

UKworkshop.co.uk

Help Support UKworkshop.co.uk:

This site may earn a commission from merchant affiliate links, including eBay, Amazon, and others.
Status
Not open for further replies.

Newbie_Neil

Established Member
Joined
27 Jul 2003
Messages
6,538
Reaction score
4
Location
Nottingham, England
Illness conspired against Stewart and stopped him finishing the project within the allotted time. This WIP thread is included so that you can view his work to date.

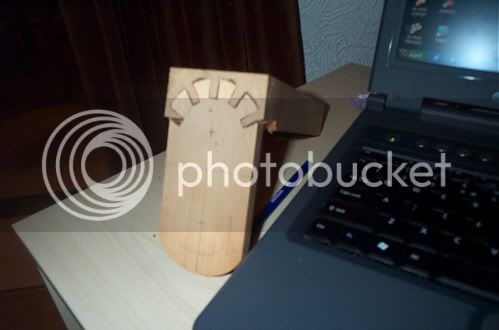
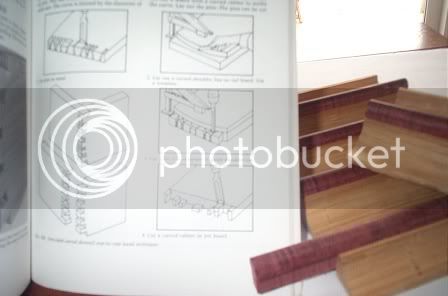
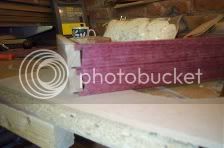
I'm setting myself a challenge seeing as I've only made one thing with handcut dovetails which was a cd rack made of two pieces of wood and one joint made at the woodwork course I started in September.

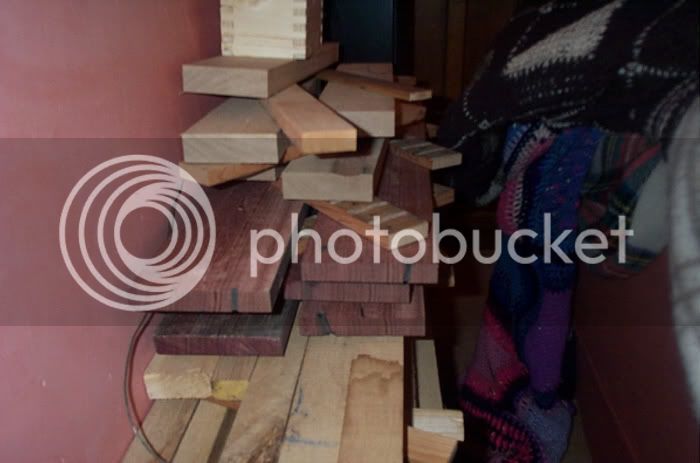
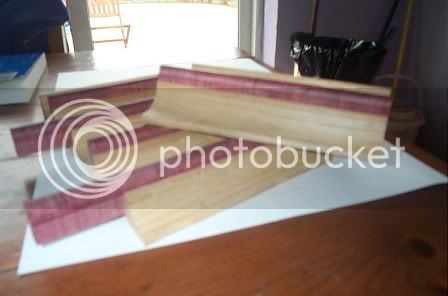
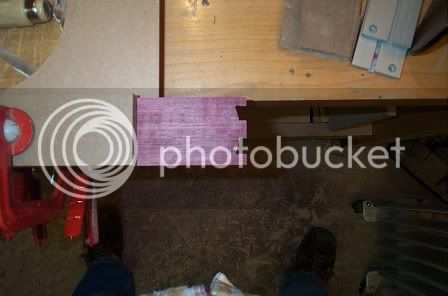
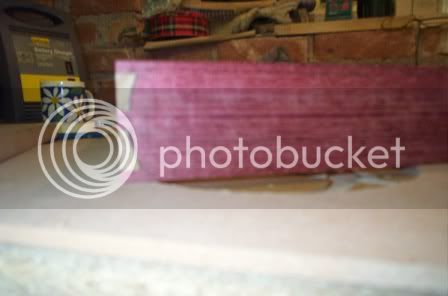
My box will have the front joined to the sides with curved dovetails :shock: and to make it harder I'm thinking of making the sides and front from contrasting wood - at the moment I'm toying with the idea of maple and purpleheart or jarrah, as these are the woods i have at the moment.

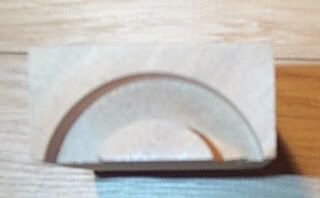
If I go the contrasting wood route then the front will also have an insert to make the front look like a stretched poker chip. As pictures speak louder than words here's a rough idea of what I mean:

chipdesign1.jpg


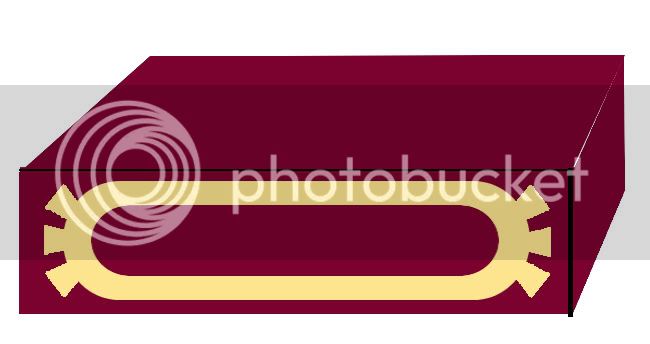
Not quite up to some of the CAD i've seen in other posts (in fact I put it together in an image editing program instead) but I hope that it gives some idea of what I have in mind.

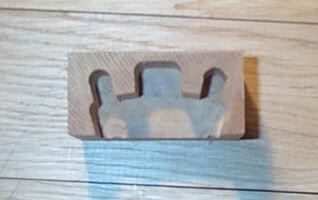
The top will also have an inlaid poker chip design with an overhang to act as the handle to open the box:
chipdesign2.jpg


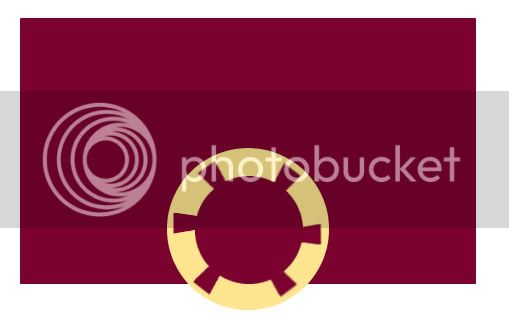
Hopefully I'll be able to make the real thing a little more symmetrical than the picture :oops:

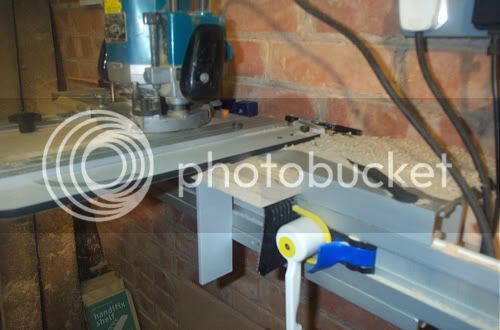
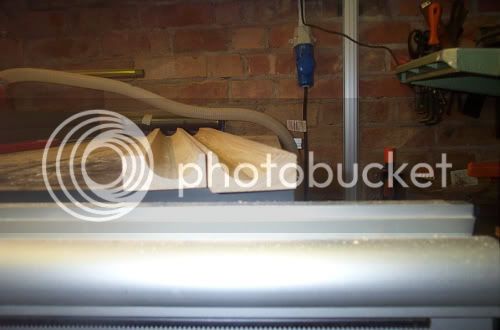
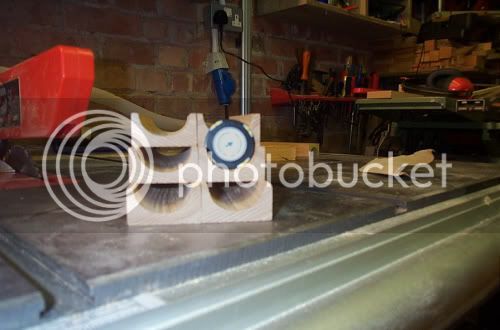
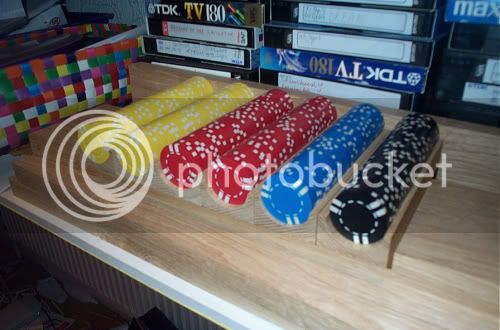
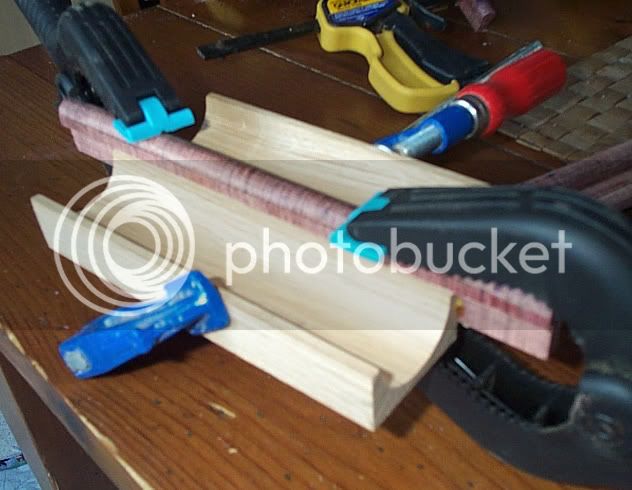
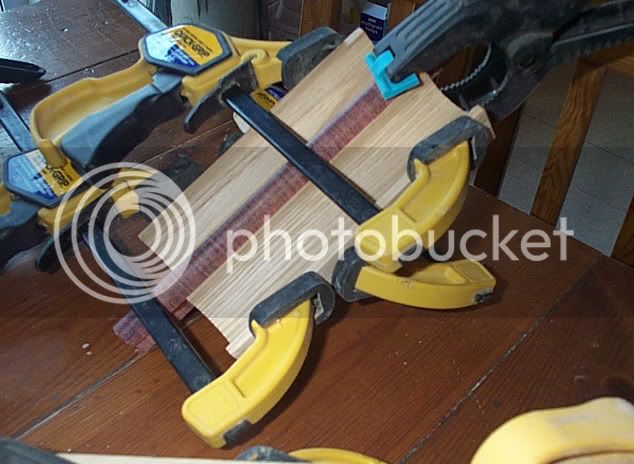
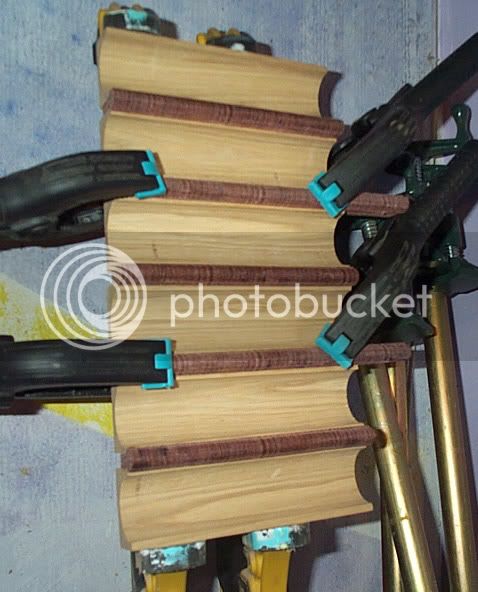
Inside the chips will be housed in six curved channels. Haven't decided if they will be lined or left as bare wood.

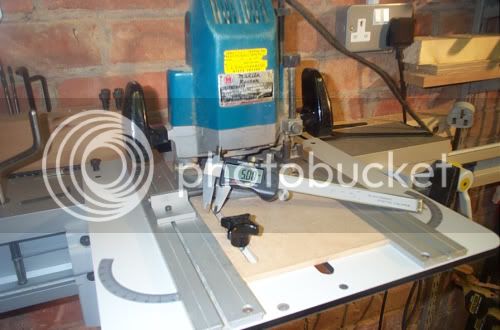
All that needs to be done now is lose myself in the workshop and hope that my family don't forget who I am . . . or do I mean the opposite :wink:
 
An update...

No hinges today as no one who was open had any quadrant hinges. I'll have to go along in the week when they're open.

I had a quick go in some nasty pine (just getting my excuses in :oops: ) of the joint I have in mind to join the sides to the front of the box. It won't take the eagle-eyed to see that I have a long way to go! Still, it's important to set oneself challenges...
box001.jpg
[/img]

I should really spend Sunday doing some marking and stuff for school but you know what's really going to happen :wink:

On a steep learning curve.
 
Some progress today, though slow...
I'm trying to find a way to control the way the router cuts the joint as much as possible. Me efforts yesterday relied a lot on moving the work piece under the 'rat's plate and freehand cutting. It made rather a mess as yesterday's picture shows.

I thought that I could use the spirals on the 'rat to cut a controlled curve in the end of one of the sides. I could then use the spirals to control where the three sockets went and make the whole process repeatable.

Unfortunately, the spirals and the opening in the base plate did not allow a tight enough arc to be cut but it did show that it was possible, although I made one socket twice the size of the other two for some bizarre reason :oops:
post2.jpg


I could then either leave the sockets rounded or challenge my handskills and square them up. My cunning plan is to cut the socket deeper than I need it so that I can cut the end off and use it as a template to trace the outlines of the pins onto the adjacent side.

After a few attempts changing the spiral settings I decided I would have to make a custom base plate and make a circle cutting jig so that I could cut a much tighter arc. No pictures of the set up as LOML quite reasonably began to make noises about time spent in workshop over weekend. I did get a picture of the much tighter arc I could cut though:

post3.jpg


Much better and much neater than yesterday's freehand. I suppose I could have used a large forstner bit but my experiments with making the chip trays showed me how inadequate they were at drilling into end grain.
Plus, it's been quite fun drilling new base plates and the like.

Hope my update hasn't been too rambling!
 
Here's the latest instalment - after trying unsuccessfully to work on my unusual joint for the outside of the box I decided to start with the inside!
Have decided (for now anyway :wink: ) to use mostly oak for the box as it's something i have lots of thin pieces of and perhaps some purpleheart.

Started off putting it across the planer for face side and edge:
box036.jpg


It's hard to see but the finish at the moment off my p/t is not good - put some reclaimed pine through it a few weeks ago, thought I'd got all the metal out..... :oops:

I'm waiting for my other sets of knives to come back from the sharpeners.

Then onto thicknessing:
box037.jpg


By passing it through several times on the same setting I got a reasonable finish. Anyway most of it gets cut away later.

The next step - setting up the rat to cut the round channel for the chip holders. My £9.99 digital caliper buy from Lidl was helpful! (Can't wait for them to appear there again - why didn't I buy more than one!)

box038.jpg


Hand fed the oak under the rat plate - took a few passes and then the router had to be pulled forward a few mm to make the channel wide enough.

box039.jpg


Ready for ripping to width:
box040.jpg


Ripping:
box041.jpg


Cross cutting (love my Osborne!):
box043.jpg


Six pieces ready for the next stage:
box044.jpg


Couldn't resist looking at what the finished effect might be:

box045.jpg


And just to scare you all:

box042.jpg


Will it do for the gallery of forum members?

Well at least I've got my curves in!
 
Only a little progress to report since last time.
The chip holders have 'moved' a little so I thought I ought to get the rest of the wood roughly dimensioned and brought into the house :oops:
The chip holders should be ok with a little planing.

The purpleheart has been in the garage roof space for nearly 2 years now. Here it is in the condition it came:
purpleheart1.jpg

Taking out the nails was the first task.

It's now been cut into 2 foot lengths about an inch thick and is stacked behind the sofa:
purpleheart2.jpg

I'll leave it for a couple of weeks and hope it'll be ready to use then.
 
Slooooww progress - where does all the time go?
Have been able to glue up the tray for the poker chips today. There's a strip of purpleheart between each chip holder with a curved profile :wink:
It's still a bit brown as it's been freshly cut today - hopefully the colour will develop a little more.
I love the endgrain of purpleheart so I've used it as the face you see - cross-grain gluing?? Yup - keep my fingers crossed!
trayglueup003.jpg

trayglueup001.jpg

Chip holders were glued up in pairs, then all glued together:
trayglueup004.jpg

Now just for the box....
 
Well after a long bout of illness with nearly 3 weeks in bed I am up and about, though not still sufficiently fit enough to tackle woodworking yet.

At the moment my piece is in pieces - broken pieces. The curved channels to hold the chips have warped again!! I think because of the thin walls compared to the thick bottoms. And, as I mentioned in an earlier post, I managed to break one of them in half. So, this is what my project looks like at the moment:
oops.jpg
.
Please excuse the blurry photography!

There's plenty to do then if I'm to make the deadline (Neil, I hope you're joking about the 9pm finish time :shock: :shock: )

My earlier attempts to make a curved joint for the corners of the box showed me that the learning curve was way too steep for me to attempt it now - at the moment I only have one other (unfinished) project to my name. This has also run into problems as I have been unable to glue up the table top and keep it flat!! Have to improve my edge jointing pronto:
table.jpg


My current intention (plan sounds too definite) is to use a joint like this:
box002.jpg


at the front coners of the box and so have a curve to make it eligible for the competition.

Will keep you posted!
 
Well, I've tried - finally off my sick bed and back at work and with only a few days left I've spent all evening in the workshop trying to make a curved dovetail joint. Boy, oh boy, have I set myself something HARD! My novice woodworking skills, alas, are not up to the job yet but it has been fun trying.
The pictures show my progress - and the rather crude end result...
box004.jpg

box005.jpg

box006.jpg

box007.jpg


I think I will have to simplify my design but am still unlikely to finish in time.

Thanks for all the encouragement and interest you have shown.
 
Status
Not open for further replies.

Latest posts

Back
Top