I've done a couple recently. I did a marking gauge for the Clamex S-20 system. Peter Millard was doing a give away so the gauge offered an easy method for the give away winners to try the Clamex out.
Clamex S-20 Hole Marker by paulrbarnard
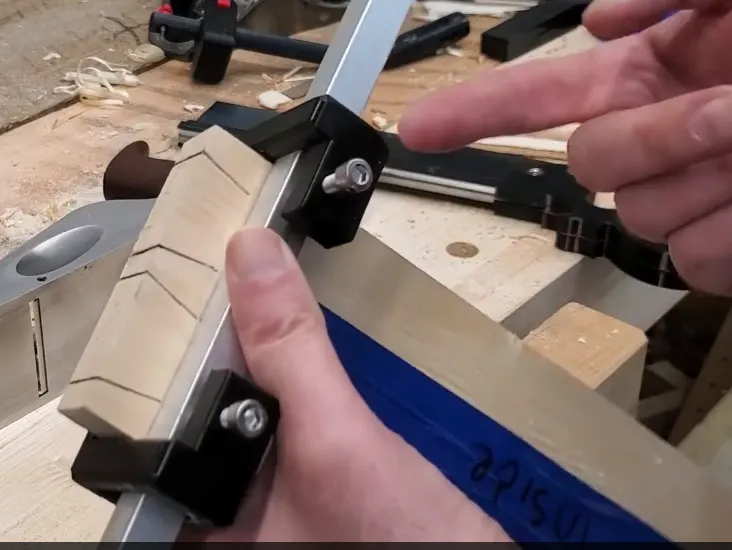
On Wednesday I was knocking up a shaker syle door for my daughter using some 18mm MDF and the Domino 500 doesn't have a stop for 18mm boards. Being OCD I inevitably set it using the scale but figured I'd print out a replacement stop that has a setting for 18mm. I canvased some feedback from the 10 Minute Workshop crew and did two versions. the 'standard' one with 12, 15, 18, 22, 25, 30 and 40mm stops and a 'veneer' version with stops at 15, 17.5, 18, 19, 22, 32 and 40mm. They work nicely.
Domino 500 Replacement Stop by paulrbarnard


")


 . If you haven’t printed yet it’s worth downloading the updated files.