


siggy_7
Full time tool collector, part time woodworker
One of the bearings on my saw recently started making a very unpleasant loud whirring sound. A bit disappointing as the saw is just over 7 years old; it's seen relatively heavy use for a hobby saw I suppose but these things do have a finite life. Anyway, for anyone in a similar predicament this is how I went about changing the bearings.
I chose to work underneath the saw inside the cabinet, mainly because I didn't want to have to disassemble all of the extension tables and front rail to then have to refit and realign everything afterwards. In some respects this made things harder, although as the pulleys and drive belt are essentially fully enclosed when assembled I'm not sure it would have been a great deal of help.
The arbor is supported by a pair of bearings. The one nearest the motor is a bit easier to get at; unfortunately for me it was the one nearest the blade that went. I expect this will be the case for most failures as this is nearest the blade (load) and source of debris. The bearing nearest the blade is a 6301, the one nearest the motor is a 6003. Both were Z bearings (metal shields), personally I think a rubber shielded bearing should provide a longer service so I replaced these with SKF -2RS bearings hoping for a longer life.
For the most part, the initial disassembly isn't too bad:
At this point, you can get to the outer bearing and tap it out with a punch, then tap a new one partly in and use the arbor to pull it home when reinstalling. To get the inner bearing out however, you need to remove a circlip from the casting. I didn't spot this on the exploded parts diagram and consequently broke the casting trying to remove the bearing #-o Record were however helpful in arranging replacement parts for a reasonable price (£30 for the casting), though it took the best part of 2 months to arrive as it was a special order from the factory in the far East.
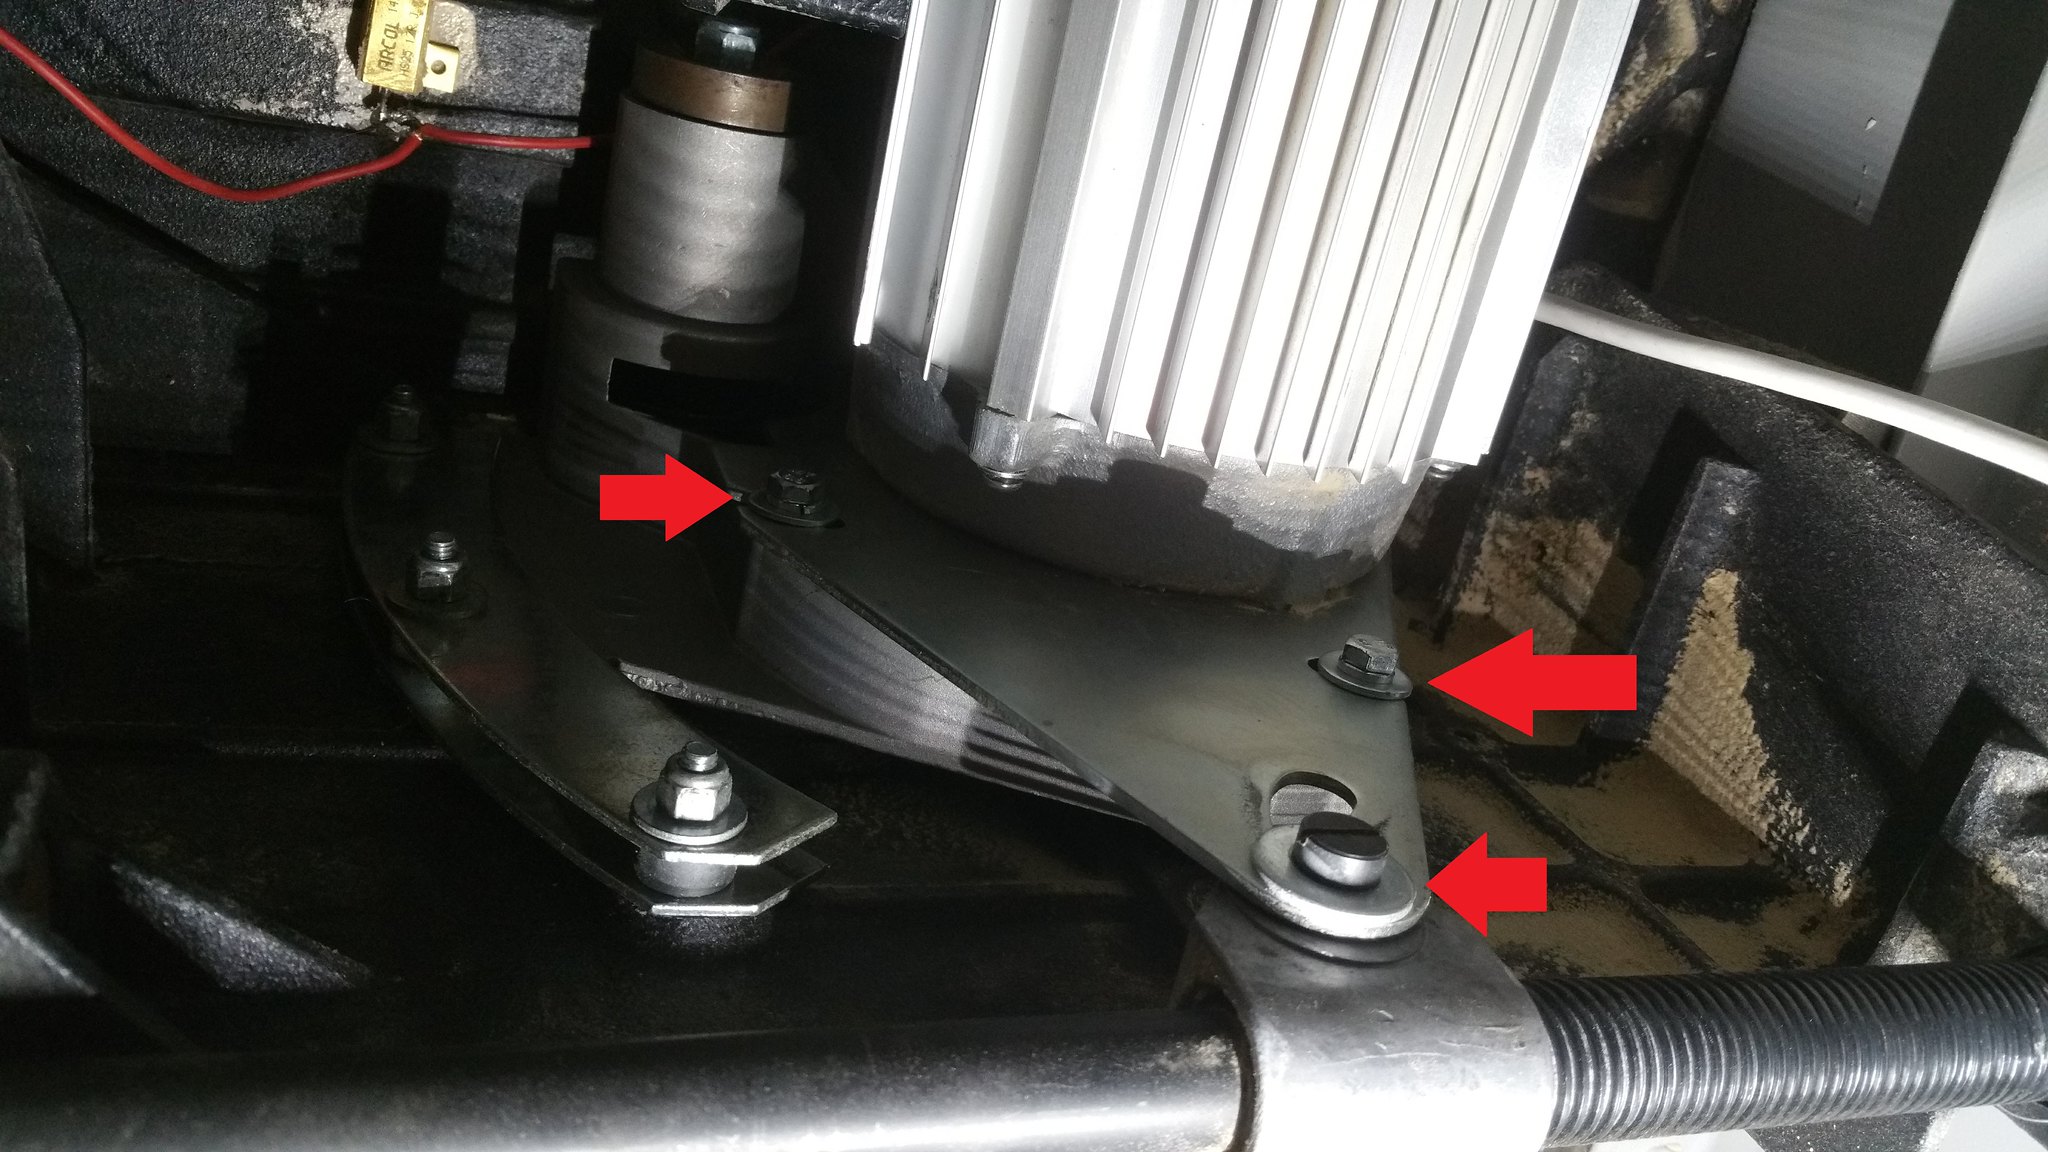
To correctly remove the inner bearing, I can't see how you would do this without removing the motor. The mounting plate is held on by three bolts including one you can't see above the motor, plus one bolt that attaches the mounting plate to the raise/lower mechanism. Getting to the top nut isn't too bad if you use wobble socket extensions or a U/J drive and use the saw tilt mechanism to get some space between the motor and table top. The image below shows the visible bolts and the bolt connecting the raise/lower mechanism.
The motor is a struggle to lift down by yourself, and getting it back into position required a second pair of hands working from the outside. With that out of the way, you can now remove the circlip retaining the bearing then tap the bearing out from the outside. Tapping the new bearing from the inside shouldn't be too hard (I did mine on the workbench as I had the new casting to hand before reinstalling, hopefully you won't be in the same position!) but I would imagine using the saw tilt makes it a lot easier to do from underneath.
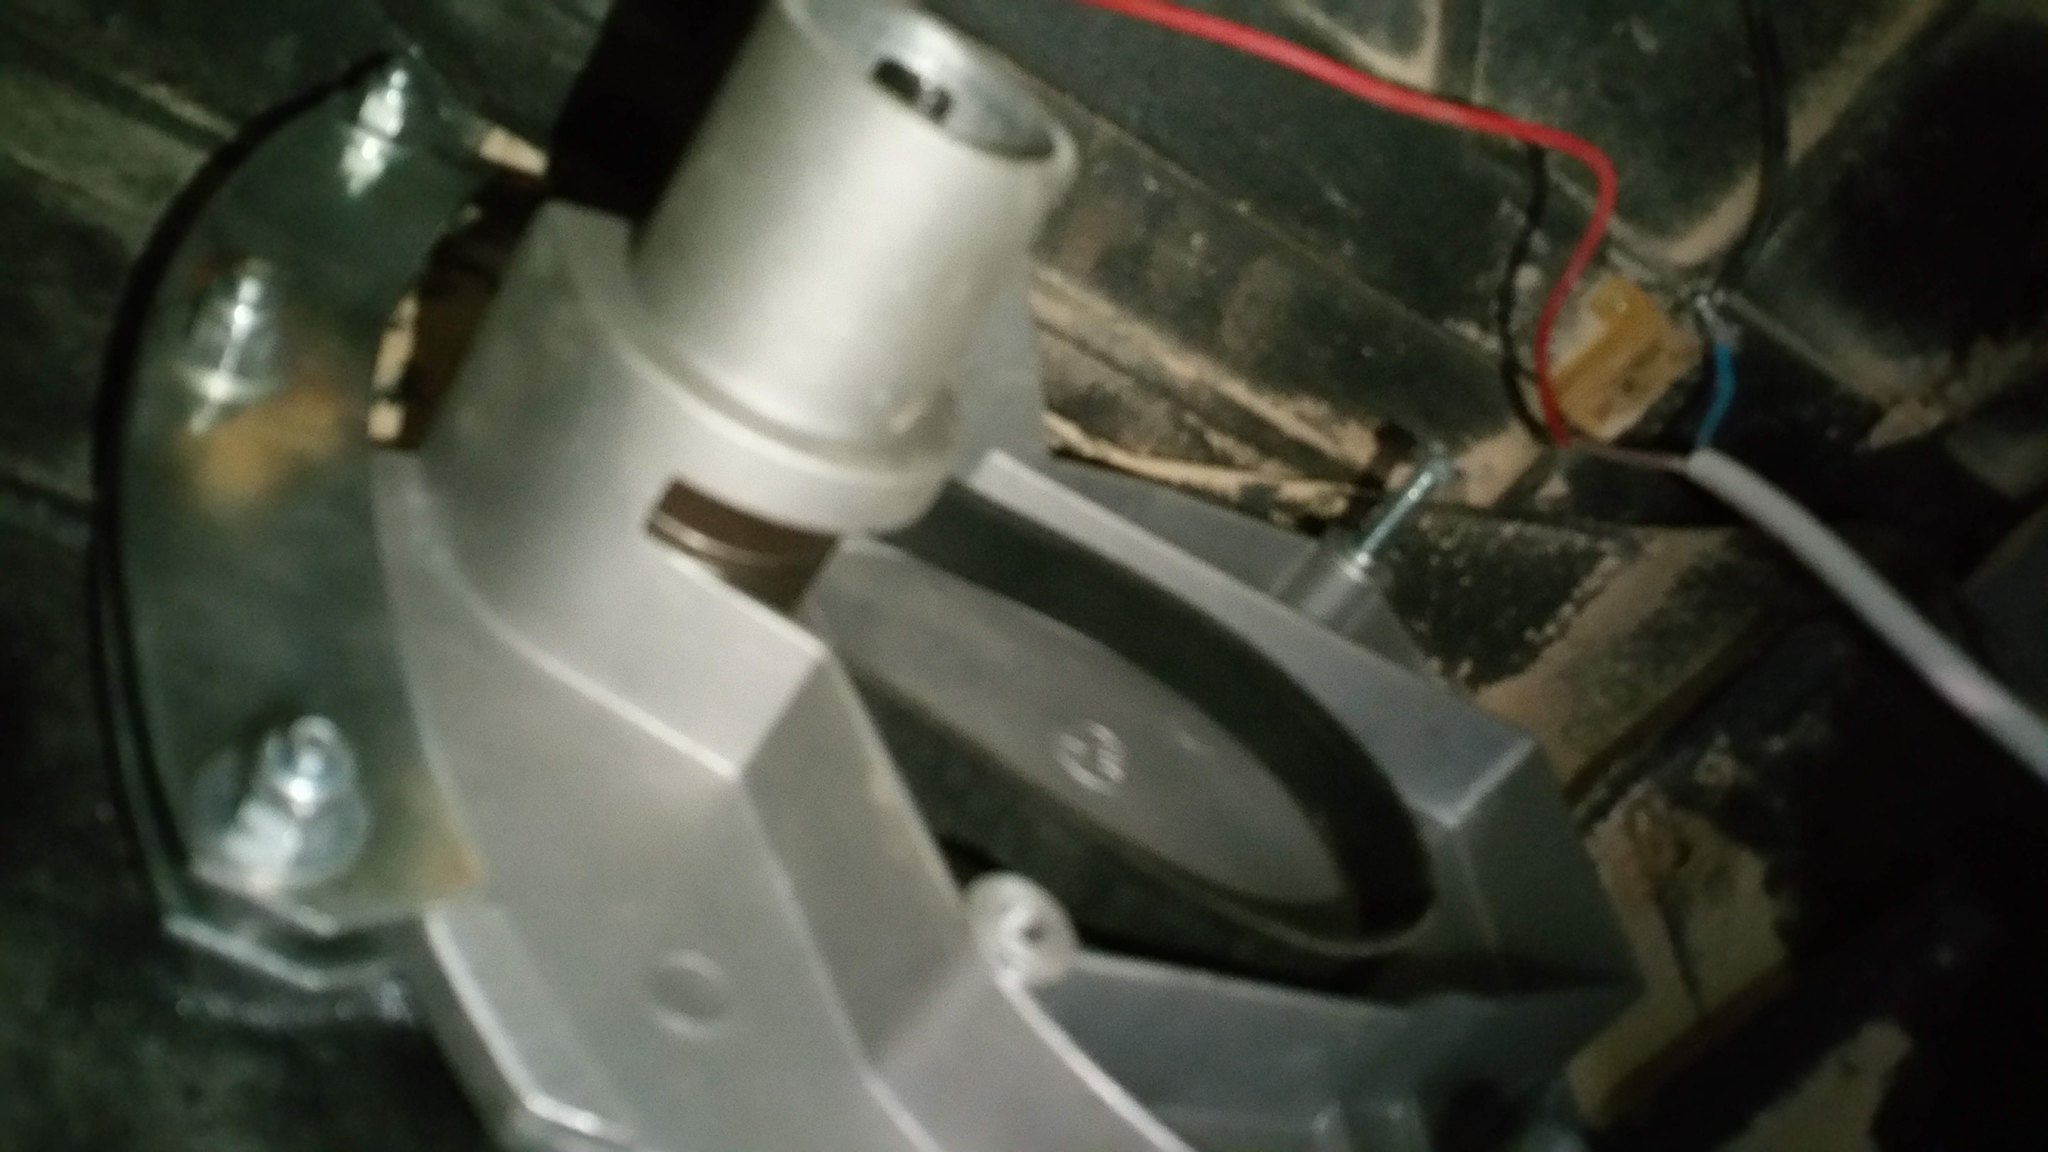
Reassembly of the motor was quite tricky. In the end, we first installed the arbor most of the way with the driven pulley and belt resting on it as can be seen in the below image (apologies for the focus but I'm not going to disassemble again to take a better shot now!). You can see the webbing of the casting and how that basically encloses the belt, which makes assembling all of this a bit of a pig.
We then loosely installed one of the mounting bolts, lifted the motor up into a position just forward of its mounting holes and slid it back to engage slightly with the drive belt and get the weight of the motor taken partly by the bolt it was slid onto, then secured loosely with the remaining mounting screws. At this point, we installed the spacer on the arbor and tapped the outer bearing in, then drove the arbor fully home and tightened the nut up.
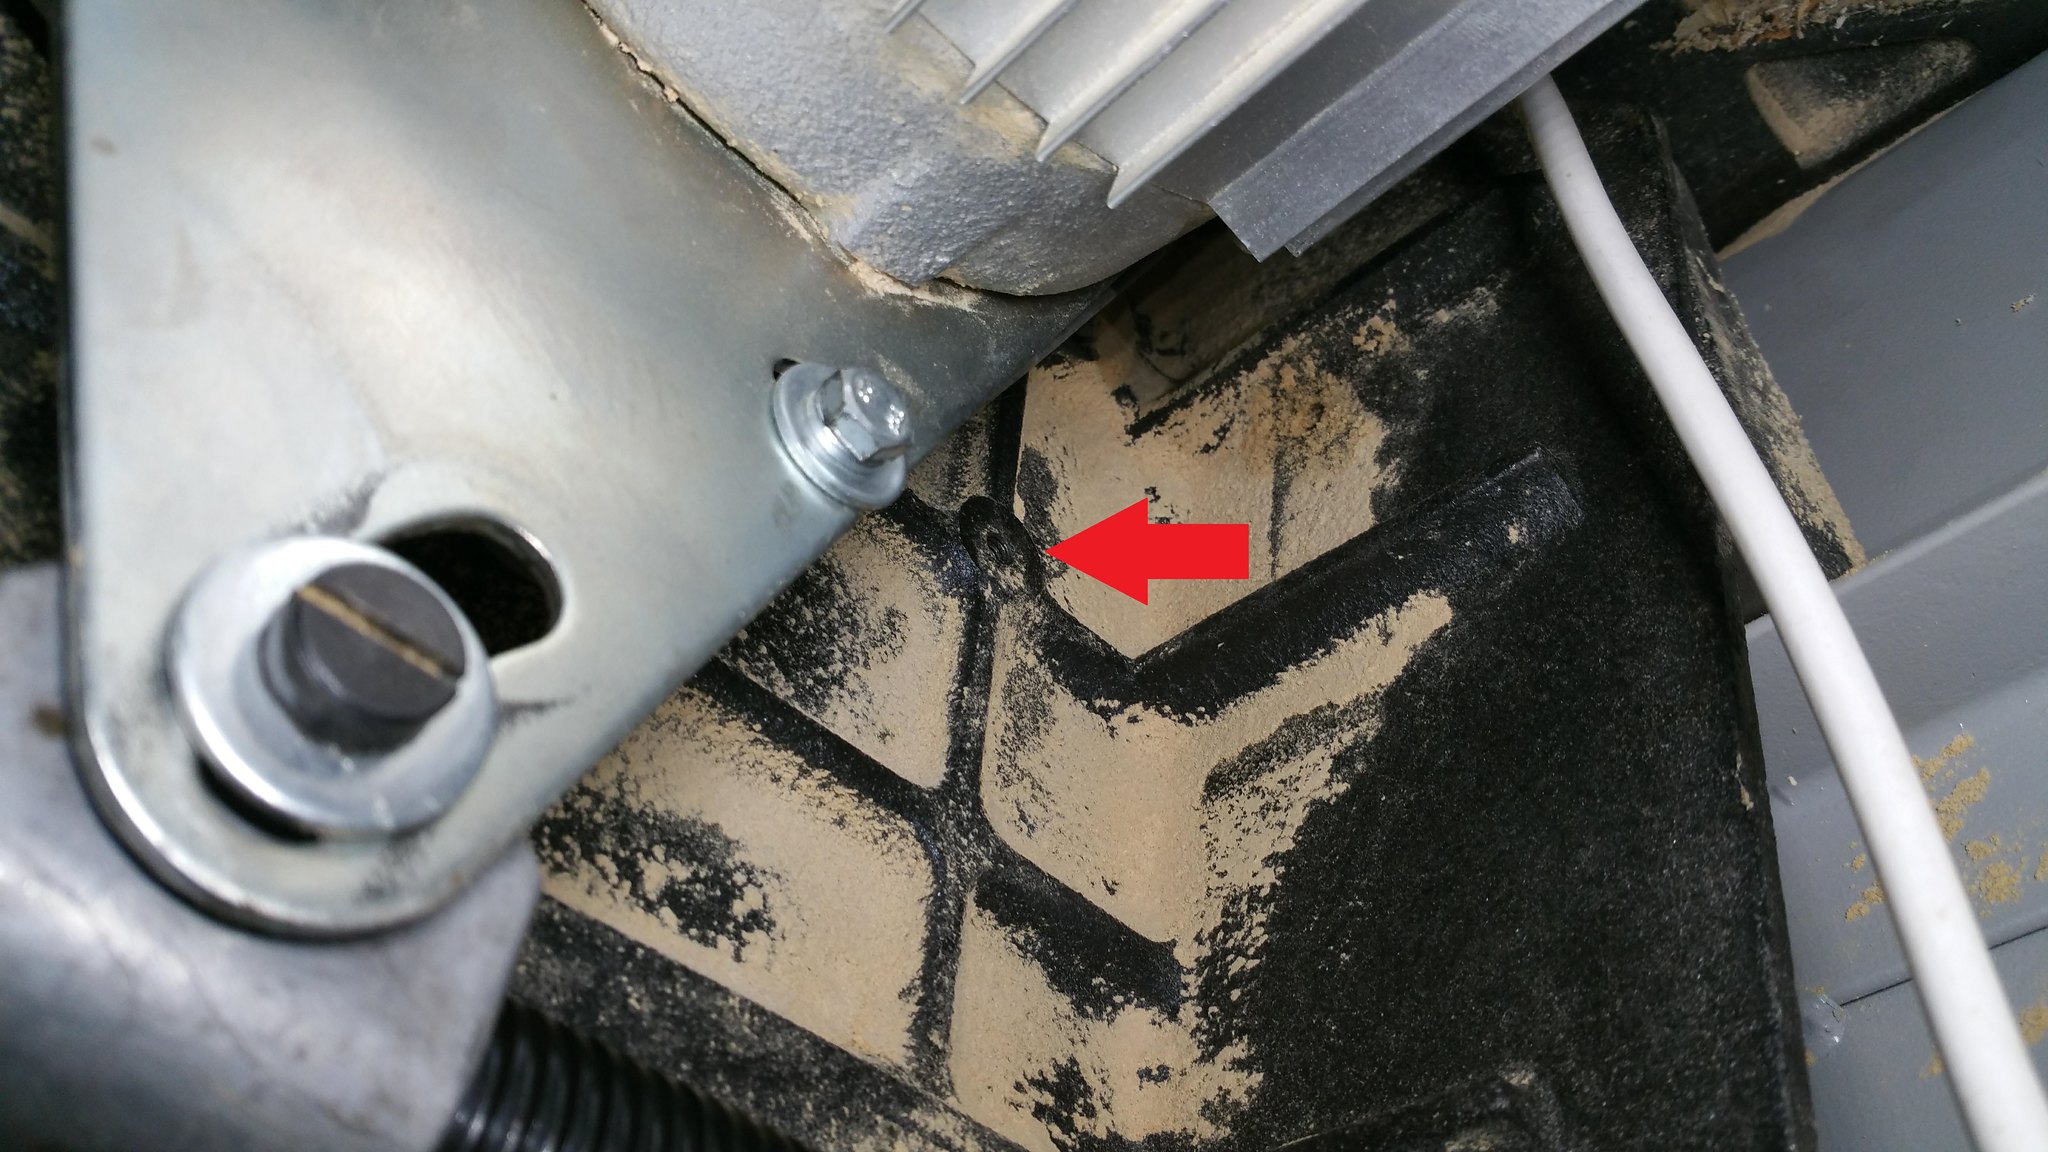
The motor mounting plate has slots in it that allow it to side on its mounting bolts so that the belt can be tightened. I was scratching my head on how to get the belt tight when I spotted this M6 tapped hole in the central casting that the saw assembly is mounted onto.
My brainwave was that the raise/lower mechanism is connected to the motor mounting plate and moves it fore and aft, so with the motor's mounting bolts slack if I could stop the movement of the casting the bearings are installed in then I could use the mechanism to tighten the belt before then tightening up the mounting bolts. This proved to be a straightforward and successful method of getting the belt tight - tight enough that the blade can stall and hold the motor at a standstill anyway, which is tight enough for me!
Now finally have a saw back together running with nice quiet bearings, although the process could certainly have been made a lot easier with a few design alterations from Record.
I chose to work underneath the saw inside the cabinet, mainly because I didn't want to have to disassemble all of the extension tables and front rail to then have to refit and realign everything afterwards. In some respects this made things harder, although as the pulleys and drive belt are essentially fully enclosed when assembled I'm not sure it would have been a great deal of help.
The arbor is supported by a pair of bearings. The one nearest the motor is a bit easier to get at; unfortunately for me it was the one nearest the blade that went. I expect this will be the case for most failures as this is nearest the blade (load) and source of debris. The bearing nearest the blade is a 6301, the one nearest the motor is a 6003. Both were Z bearings (metal shields), personally I think a rubber shielded bearing should provide a longer service so I replaced these with SKF -2RS bearings hoping for a longer life.
For the most part, the initial disassembly isn't too bad:
- Remove panels to gain access
- Remove dust shroud
- Remove blade
- Undo the arbor retaining nut and lightly tap the arbor out, being careful not to lose the driven pulley, spacer or other bits on it
At this point, you can get to the outer bearing and tap it out with a punch, then tap a new one partly in and use the arbor to pull it home when reinstalling. To get the inner bearing out however, you need to remove a circlip from the casting. I didn't spot this on the exploded parts diagram and consequently broke the casting trying to remove the bearing #-o Record were however helpful in arranging replacement parts for a reasonable price (£30 for the casting), though it took the best part of 2 months to arrive as it was a special order from the factory in the far East.
To correctly remove the inner bearing, I can't see how you would do this without removing the motor. The mounting plate is held on by three bolts including one you can't see above the motor, plus one bolt that attaches the mounting plate to the raise/lower mechanism. Getting to the top nut isn't too bad if you use wobble socket extensions or a U/J drive and use the saw tilt mechanism to get some space between the motor and table top. The image below shows the visible bolts and the bolt connecting the raise/lower mechanism.
The motor is a struggle to lift down by yourself, and getting it back into position required a second pair of hands working from the outside. With that out of the way, you can now remove the circlip retaining the bearing then tap the bearing out from the outside. Tapping the new bearing from the inside shouldn't be too hard (I did mine on the workbench as I had the new casting to hand before reinstalling, hopefully you won't be in the same position!) but I would imagine using the saw tilt makes it a lot easier to do from underneath.
Reassembly of the motor was quite tricky. In the end, we first installed the arbor most of the way with the driven pulley and belt resting on it as can be seen in the below image (apologies for the focus but I'm not going to disassemble again to take a better shot now!). You can see the webbing of the casting and how that basically encloses the belt, which makes assembling all of this a bit of a pig.
We then loosely installed one of the mounting bolts, lifted the motor up into a position just forward of its mounting holes and slid it back to engage slightly with the drive belt and get the weight of the motor taken partly by the bolt it was slid onto, then secured loosely with the remaining mounting screws. At this point, we installed the spacer on the arbor and tapped the outer bearing in, then drove the arbor fully home and tightened the nut up.
The motor mounting plate has slots in it that allow it to side on its mounting bolts so that the belt can be tightened. I was scratching my head on how to get the belt tight when I spotted this M6 tapped hole in the central casting that the saw assembly is mounted onto.
My brainwave was that the raise/lower mechanism is connected to the motor mounting plate and moves it fore and aft, so with the motor's mounting bolts slack if I could stop the movement of the casting the bearings are installed in then I could use the mechanism to tighten the belt before then tightening up the mounting bolts. This proved to be a straightforward and successful method of getting the belt tight - tight enough that the blade can stall and hold the motor at a standstill anyway, which is tight enough for me!
Now finally have a saw back together running with nice quiet bearings, although the process could certainly have been made a lot easier with a few design alterations from Record.