jt
Established Member
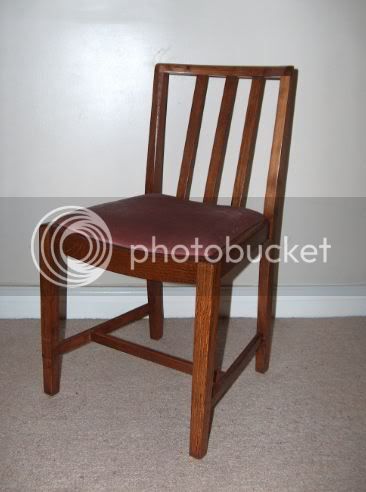
I have a set of oak wartime utility chairs which I would like to repair. They've been in my family for about 40 years, my parents having bought them at an auction when first married.
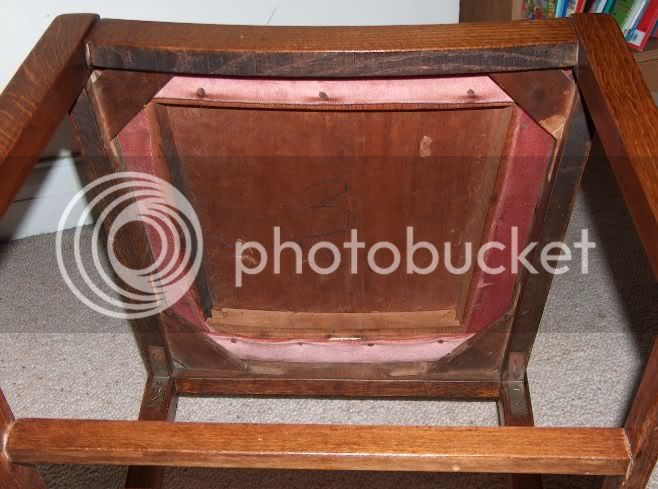
Apparently I'm not the first person to attempt repairs - holding them together there is a mixture of loose (as in wobbly) M&T joints, dowels, iron brackets and nails. I'd like to get away from using brackets and nails if possible.
I think the M&T joints are beyond being pared back and patched up with shavings as I've seen suggested on other threads, so I was thinking of using some sort of glue/epoxy to fill the gaps. Where dowels have been used in previous repairs and worked loose I was thinking of pulling or drilling them out and replacing with thicker ones.
I am a relative beginner in this type of work, so could I ask for suggestions for methods and products to use for filling the loose M&T's (West system epoxy for example?), and general advice about how I might go about making repairs that will look ok and be safe/strong?
Many thanks in advance,
Jim
")