carlb40
Established Member
LOL
Thank you Adam, however mine is nowhere near in the same league as your box")
Thank you Adam, however mine is nowhere near in the same league as your box


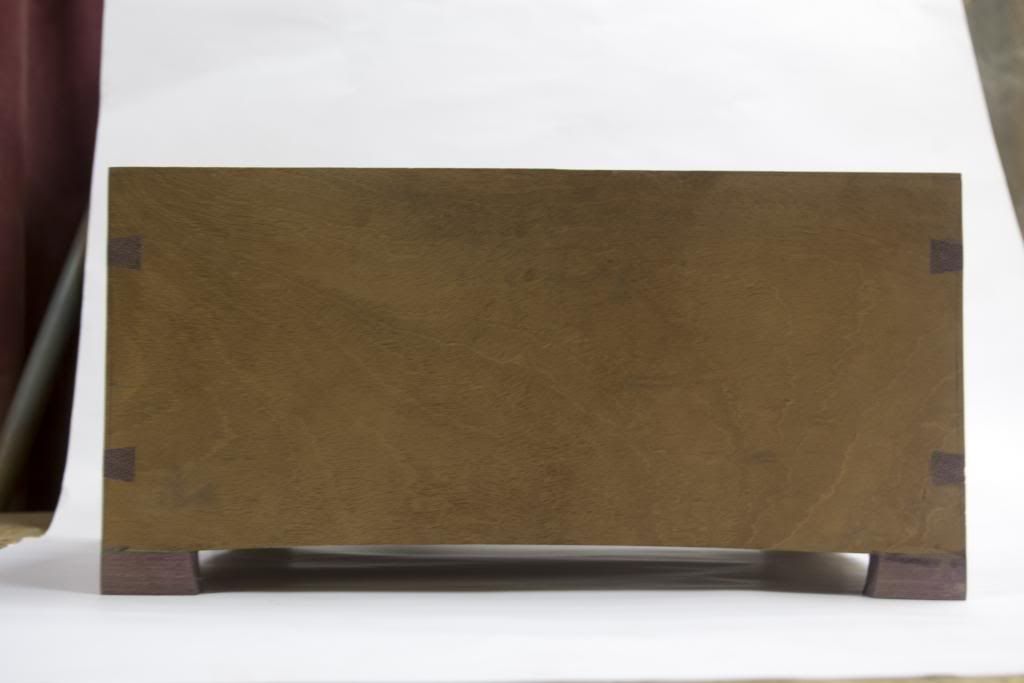
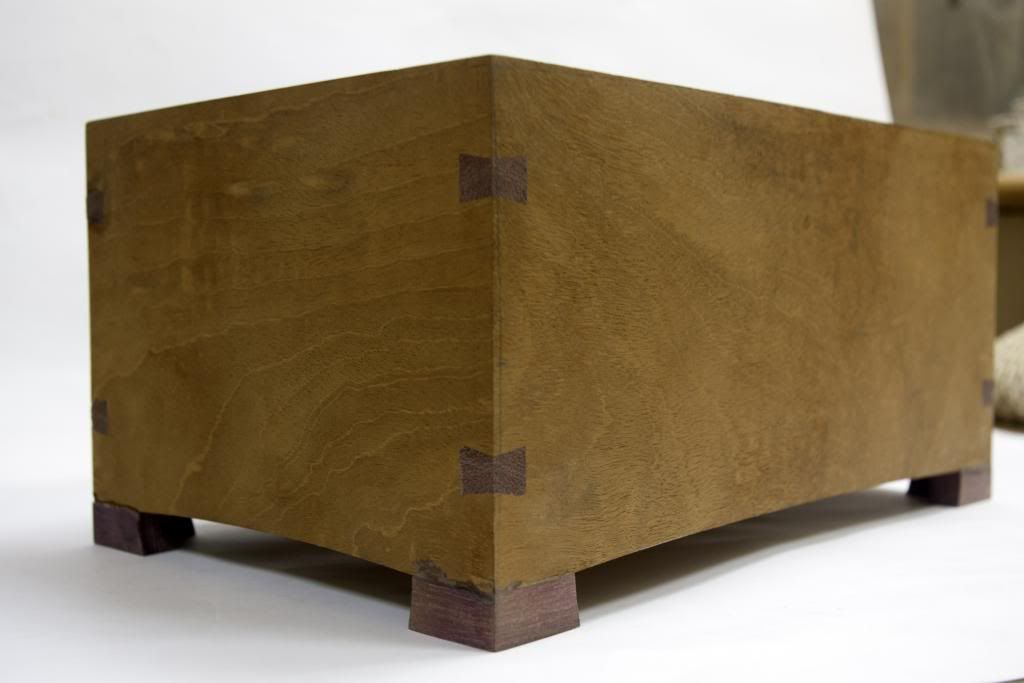
carlb40":z14uz60g said:Yesterday i managed to make and fit the splines. What a palaver i had getting the splines the right size. 3 lots of timber to get the correct size. Even the very very slightest nudge on the fence made 2 of the timbers wayyy too loose a fit :roll:
Anyway after about 30 min and who knows how many test fits. Splines where the right size


Enter your email address to join: