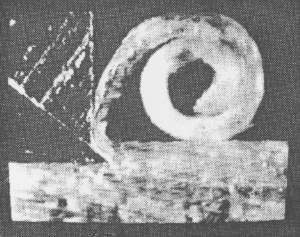
mild apology for being a bit stiff in my response last night. I say mild because I should've been nicer. However, using the cap iron properly is such a simple thing if it's just done right. I think there's so much static and discussion about it that is so much more complicated and less subtle than just setting a cap up right and using it. The wood cap irons just work better at 50 degrees. They work some when they're thin and shallow, but not as well, and the video I showed of brian shows a close set that is basically finishing the work right off of the try. Brian follows that up with a japanese plane and light shavings, so there's no room for damage - he's engaging in risk free planing with the try plane, and the quality of the finish he produces shows an absolute top level planed finish.
A try plane works very well pushing the shaving into the wear and then out as long as it's set up correctly, there's no great reason to do it half way. In that video, if they subjected the shallow cap iron to the difficult wood that's shown with the 90 degree setting and at the same thickness, there would've been tearout, or the cap iron would've had to have been set too close to take a shaving that deep.
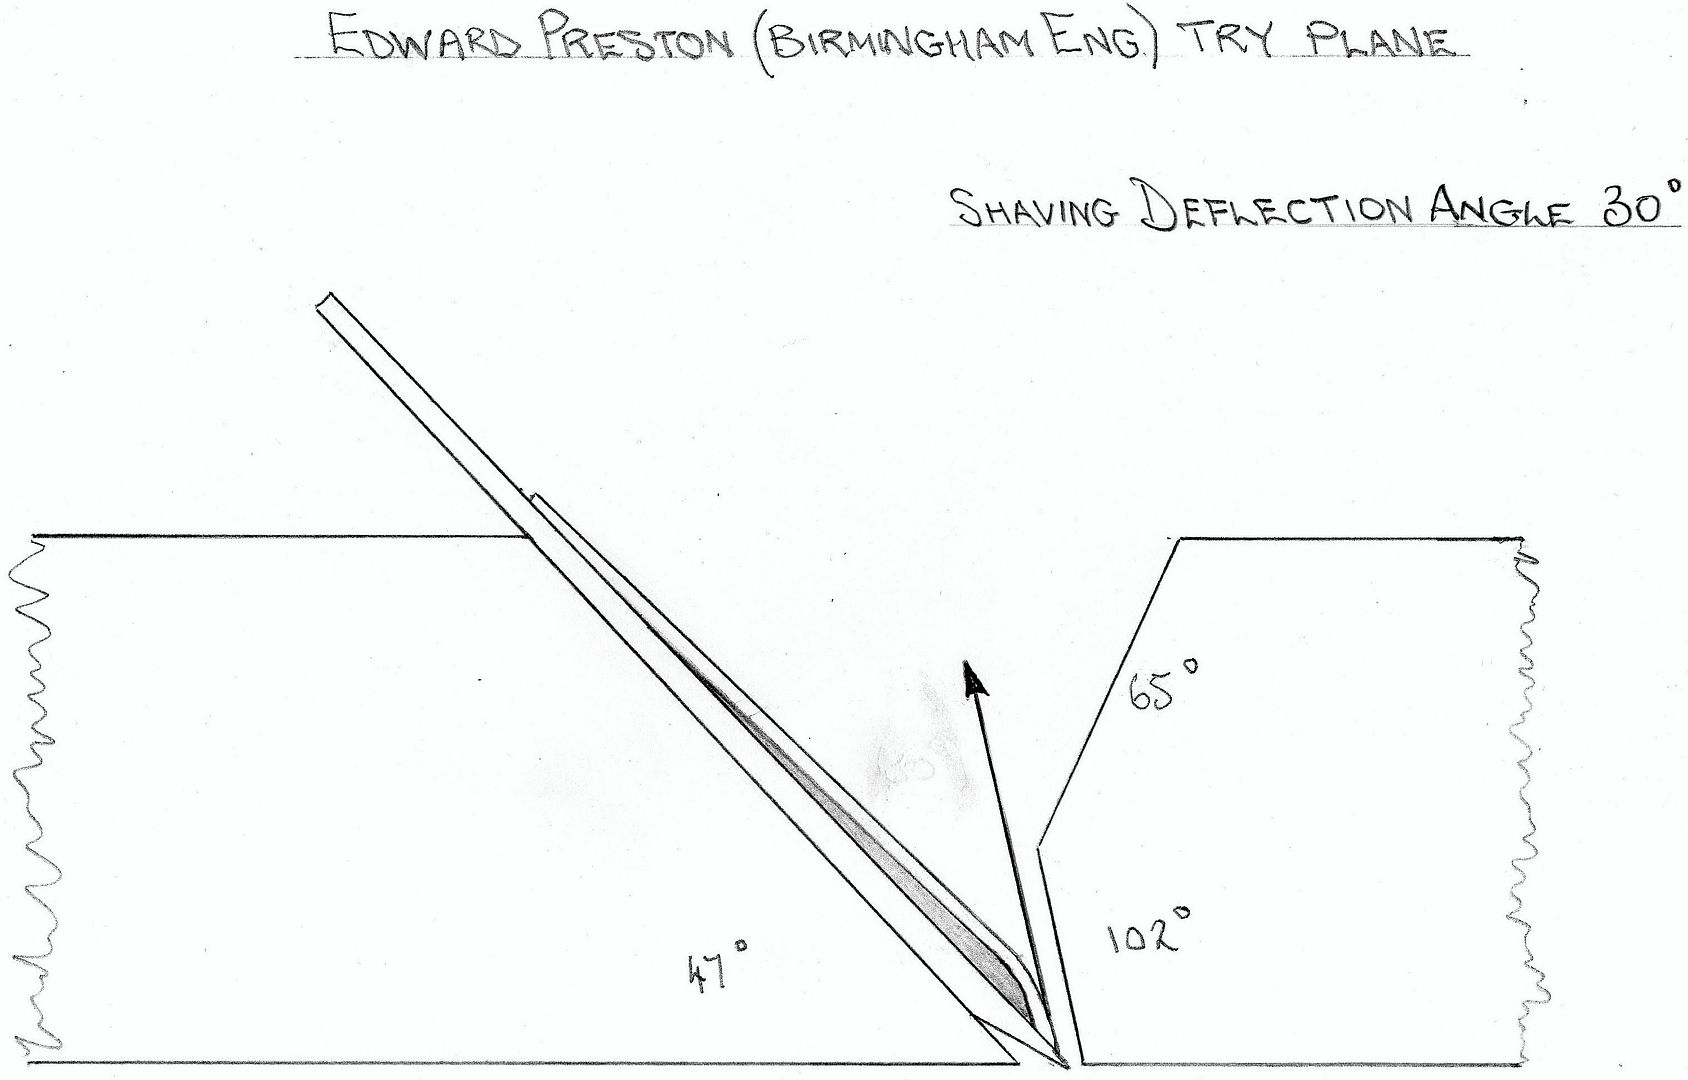
On the flip side of this "is 30 degrees the right setting", when this all first came out, I tested the entire range of cap angles and found stanley's stock angle to be about the best. Once you polish it, it's about 50 degrees. I tried 80, which is what every person concluded watching the kato video is a better set, but it isn't with a hand plane. It makes too narrow of a range where the cap iron works, and a little to close set and surface quality is terrible because the cap iron smashes wood back into the face of the board. If the cap iron isn't set close enough to that narrow range, then you still get tearout.
At 50 degrees, you get a wide working range where there is no tearout or no appreciable tearout. You can be lax and have limited tearout but little planing resistance, or you can set it dead on like Brian does and tolerate the extra resistance in order to plane risk free.


 did I miss something?