Butler's table

UKworkshop.co.uk

Help Support UKworkshop.co.uk:

This site may earn a commission from merchant affiliate links, including eBay, Amazon, and others.
The table project is coming along really well and I do like the idea of one magnet holding the drawer shut and another popping it open. So cunning even Blackadder would have been proud :D .

The tray is excellent, I love sycamore. I have an LN LA jack (don't like it at all) that tears out and is not nice to use. I just wish I could get it work like that.
 
Bob have you tried a 45 degree angle on the blade? - I am sure that would help. Even tho' I understand geometry etc I get very bored by all the stuff about reverse bevels and angles etc on plane and chisel blades - but honestly it gives such a super finish but it needs to be really sharp - and I have, after years and years, got really sharp blades now (Veritas Mk 2 jog + set of 4 10"x4" DMT stones that I got in the US for $200 + metal polish on MDF to finish - both sides are mirrors now which I never had before)
Regards Mark
 
Thanks gents for the positive comments. Paul I absolutely love inlaying it is very satisfying. These letters are 36mm high so much easier to do than little ones which require steam or soldering iron bending of the wood (nigh on impossible with ebony)
Cheers
Mark
 
Final images of the compound dovetails on the tray
8513006224_b235ae8b0a.jpg

8511900103_98cbbfb3b3.jpg

Second coat of finishing oil on this morning before work - think it will take 4 or 5 to get really smooth
Thanks all
M
 
Just all amazing! Lost me a bit on the secret compartment but i kind of get how it works now, the fact the thread has been interesting enough to read about ten times so far helped! Thanks for posting, great read :)

Dean
 
Quite frustratingly I only ever seem to get an hour or so at a time - never enough time to do what I want...
So last night I concentrated on the secret drawer construction:
First here is the compartment where the secret drawer will go - you can see the slot in the background where the sliding bar with magnets will be, plus I have loosely put a 3mm thick piece of sycamore top and bottom. This will shortly be glued in and will smoothe out the join between leg and rail and also create a stop to prevent the drawer front going in too far. The left hand side piece is not there yet as I will get everything to fit before fitting that
8514500131_609ff6ca26.jpg

Then I cut up some pieces for the secret drawer - the front is a 10mm thick piece of burr oak with 3mm ABW surround exactly the same size as the inlays on the corners of the other legs, the sides are 4 mm sycamore, the base is 3mm iroko (I am required for sentimental reasons to use iroko as this is from an old fence post from the College. All these pieces are sitting on (coincidentally) a 5mm thick iroko base from the same source which will be the base of the main drawer
8514502507_592804eb91.jpg

Looking forward to getting something more notable achieved this weekend
Mark
 
Got a good few hours done friday night and saturday before lunch
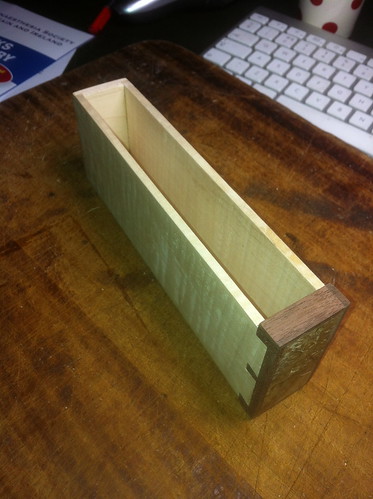
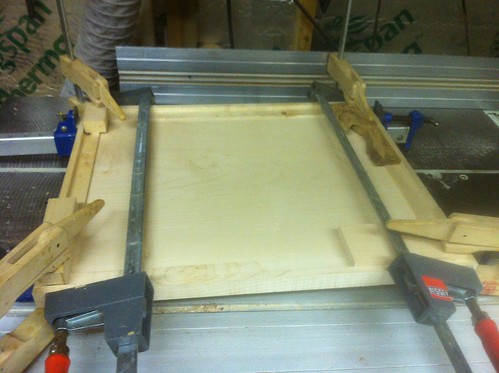
First I assembled and glued up the little secret drawer as follows:
8525512610_ddfffd38cf.jpg

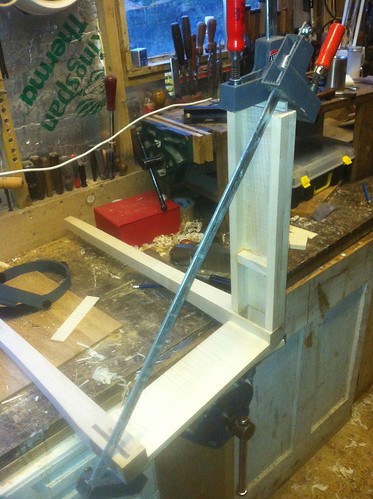
Then I glued up the back onto the side as the secret drawer cannot be finished without the inside being absolutely smooth. The diagonal clamp is only there to keep the agnle exactly to 90 degrees
8524396773_7f4be5c6d1.jpg

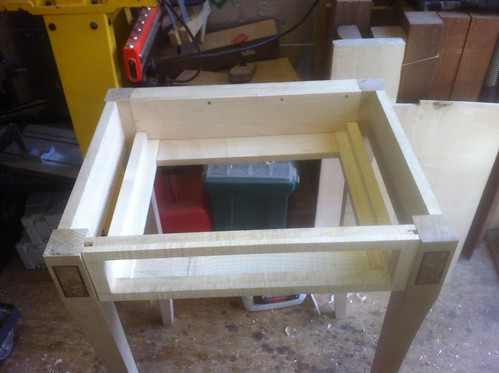
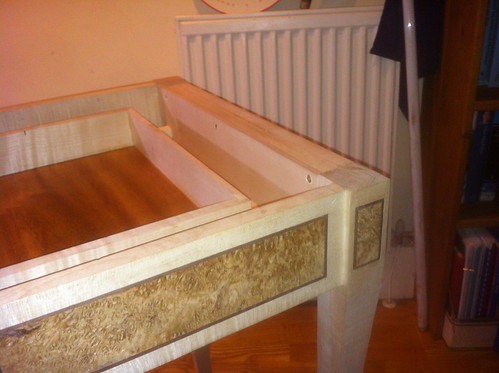
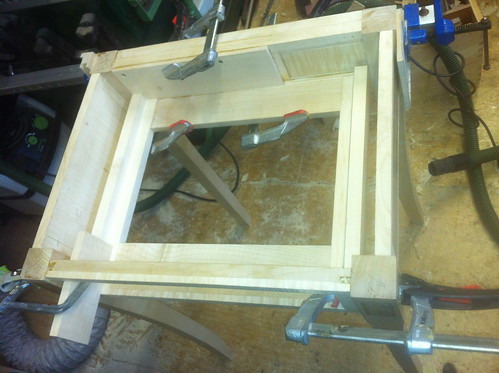
I finished the rest of the cabinet where the main drawer was to go - just a simple pair of rails that the drawer will slide on. The brass screws in the back piece are necessary as I may have to access the secret drawer if I have problems with it
8525508748_3e37138094.jpg

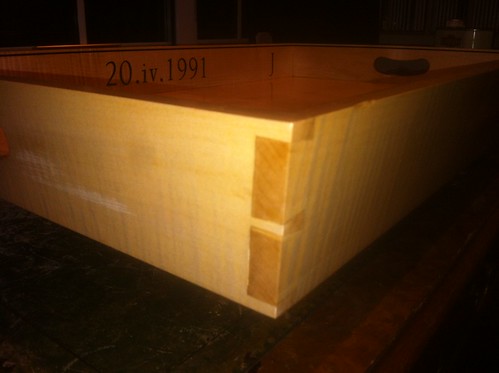
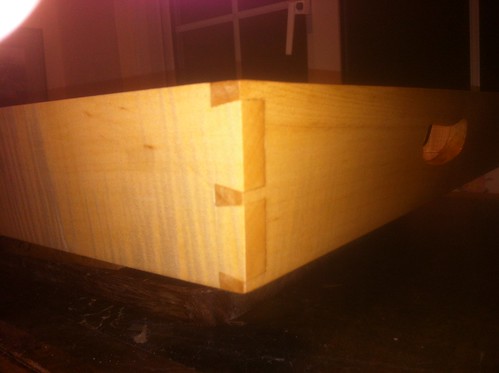
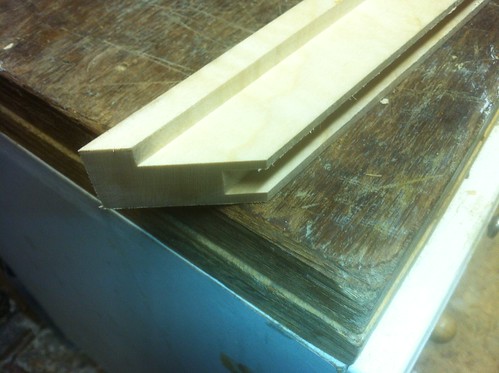
The drawer is very straightforward - dovetails for the front and a simple rebate joint for the back
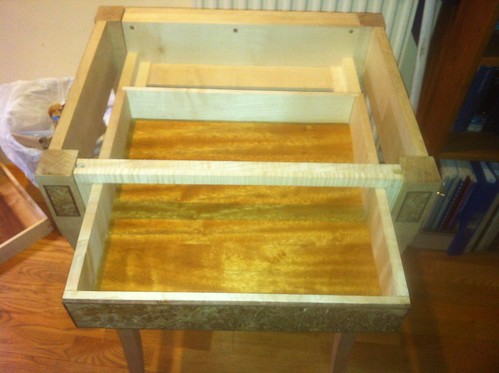
The base of this drawer is also the iroko which I am required to use in the construction.
8524393333_b66e41246c.jpg

8525507388_0252d8836c.jpg

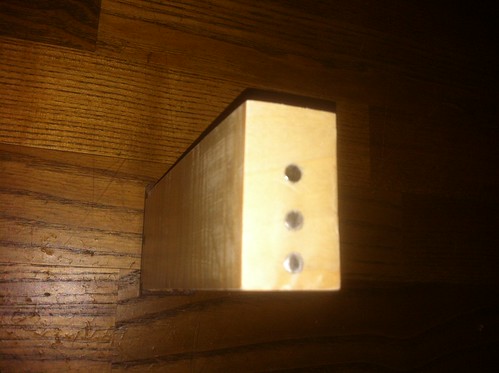
For the secret drawer mechanism, I embedded 3 x 6mm diameter magnets in the drawer like this using a short 6mm lip and spur bit with a depth stop
8524389411_7225dc6b5f.jpg

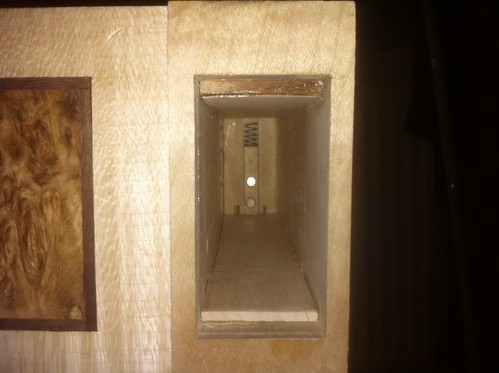
From top to bottom they go N S N. The sliding bar in the cabinet also has 3 magnets in it - also N S N from the top - but at rest the position is such that the top 2 of the sliding bar magnets engage the bottom 2 of the drawer magnets - is N attracts S and S attracts N so the drawer is held in by these 2 magnet pairs. Here is the inside of the secret drawer cabinet showing these 2 magnets visible and the little spring
8525504958_ff17afc798.jpg

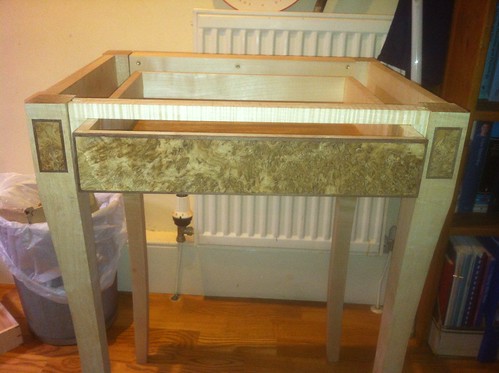
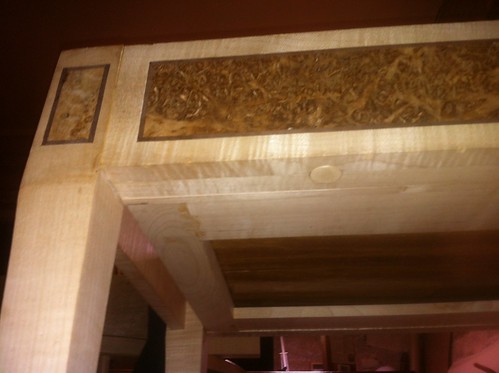
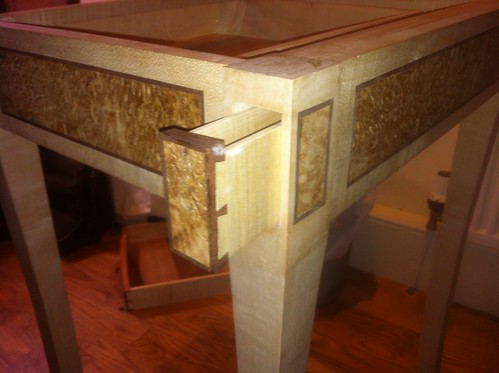
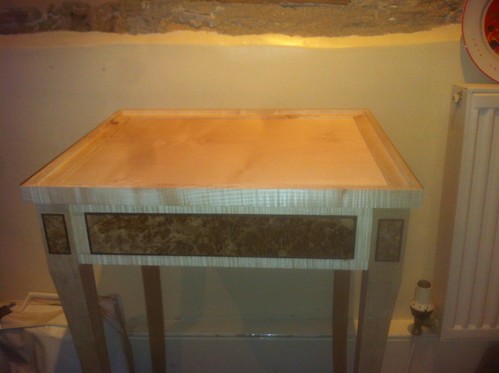
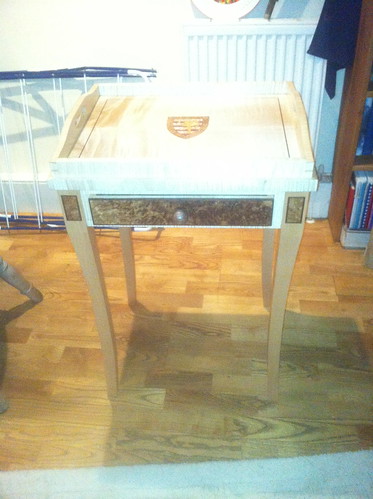
So, in its resting state, the corner of the table looks like this
8524391821_4837ec740b.jpg

Upon pressing this button
8524391109_baf8db3a06.jpg

The drawer pops out quite smartly to about 3 inches
8525505468_729727815b.jpg

I have to be honest I never thought it would work as well as this and am delighted with the result. Maybe I will work out how to upload a short video?
Thanks for looking
Mark
 
Thanks for the comments
Another quiet week due to work but I have made the top of the table - the edges are 35 x 25, with a rebate in the top such that there is a 10mm 'rim' to the top - the tray will sit within this lip. The top is 10 mm - it is a wide sycamore board 400mm wide - but as I have not got a planer that big I cheated and cut it in 2 x 200 mm pieces, thicknessed it to 14mm, brought both pieces inside for a couple of weeks, then re-thicknessed to 10mm to remove any cupping, then joined the 2 pieces with 5mmm dominos. This piece sits in a 10mm groove in the edge pieces. The edges were mitred carefully on a shooting board with an 8mm dowel joint to locate them accurately.
8535181577_7c45713062.jpg

Then glued this up with PU and clamped it
8536287316_3f788cc5f1.jpg

Cheers
Mark
 
Glued up the main table last night - having first removed some of the back rail so I can get to the secret drawer in case I need to make adjustments
8541501662_54fb1bb1e5.jpg

Then cleaned up the top - this is the piece that the tray will sit in and loosely placed it on top of the table to see what it looks like
8540399315_312ffd9515.jpg

I may relieve the lower edge of that top a little to bring the bottom of it closer in size to the top of the table - will try a test piece today
Cheers
Mark
 
Big day today - very time consuming and concentrating hard. Really bad back tonight having a large glass of vino collapso to recuperate!
I could not find a router bit which would give me the profile I wanted on the top of the main table - so decided instead to finish off the crest on the base of the tray
8541920481_d716bf0f50.jpg

So the technique is that, having printed out the crest on plain paper and also on labels, I started with the 'background ' parts - so I cut out the part from the sticky label, stuck that to a piece of 3mm yellow heart, cut that out on a scroll saw, traced round it using a new No 11 scalpel blade, routed out to 2mm depth with a 1.6mm Trend single flute router cutter in the Bosch mini-router, then finished off with the scalpel, then used CA glue to glue it in
So after all the background bits were done it looked like this
8543019888_13464dbe7e.jpg

Then it was just a case of having a cup of tea every now and then, and finishing it off. The tongue is pink ivory, the eye is end grain ebony in a sort of triangle, with a 1mm hole drilled then a piece of solder stretched and inserted for the pupil
8543019226_2228355b47.jpg

Now that is virtually finished (the piece of wood it is on is 10.5mm thick - so I need to take the whole front surface down 0.5 mm with a plane tomorrow), I can make the dovetailed sides and finish the tray
Cheers - time for another large glass
Mark
 
Worked some more on the tray over the weekend. Cut some sycamore 15 mm thick and cut 2 pieces 500 x 40 and 2 pieces 400 x 70. Then shaped the 2 400 x 70 pieces and drilled them out for the handles as follows
8548299236_2c6b8f3513.jpg

Cut dovetails on the 4 pieces and dry-assembled it as follows
8548297328_506e84a472.jpg

This has been a long haul - downhill stretch now
Regards
Mark
 
I decided to add a frame to the crest on the tray as I thought it completed it better - so routed out a 2mm groove carefully and glued in 2.5 mm ABW (done on thicknesser but VERY small increments) then hand scraped down to 2mm carefully. When that was dry I glued up the tray with PU glue having first sealed all the inner surfaces with sander sealer - I find this reduces the difficulty of getting the excess glue off
8557189976_2eb8615487.jpg

Unclamped, but before cleaning up it looked like this
8556079177_eabc86b4a7.jpg

This weekend should finish it
Cheers
Mark
 
Virtually finished now. I have been using Liberon finishing oil - a coat every few days rubbed down well with initilly 320 grit abranet now just with 0000 wire wool and it is really starting to sine
8588398237_7c20559a99.jpg

8588397929_5f587bb384.jpg

The only things left to do are to insert a silver inlaid plaque which I am waiting for
It is interesting the contrast between the ripple sycamore on the frame and the legs - this is a much greater contrast in the pictures compared to real life.
Thanks for looking
Mark
 
Absolutely superb workmanship if in the future I can produce half as good job I would be well chuffed .
 

Latest posts

Back
Top