


Hi,
Just finished these, probably took two months, trying to find an hour or two here and there!
A brief WIP:
Carcasses made out of 18mm far eastern ply (as the timber merchant described it); but, good value at £30 per sheet. Face frames, moulding, lipping etc. made out of Poplar (which had been acclimatising in my loft after another project for about 18months).
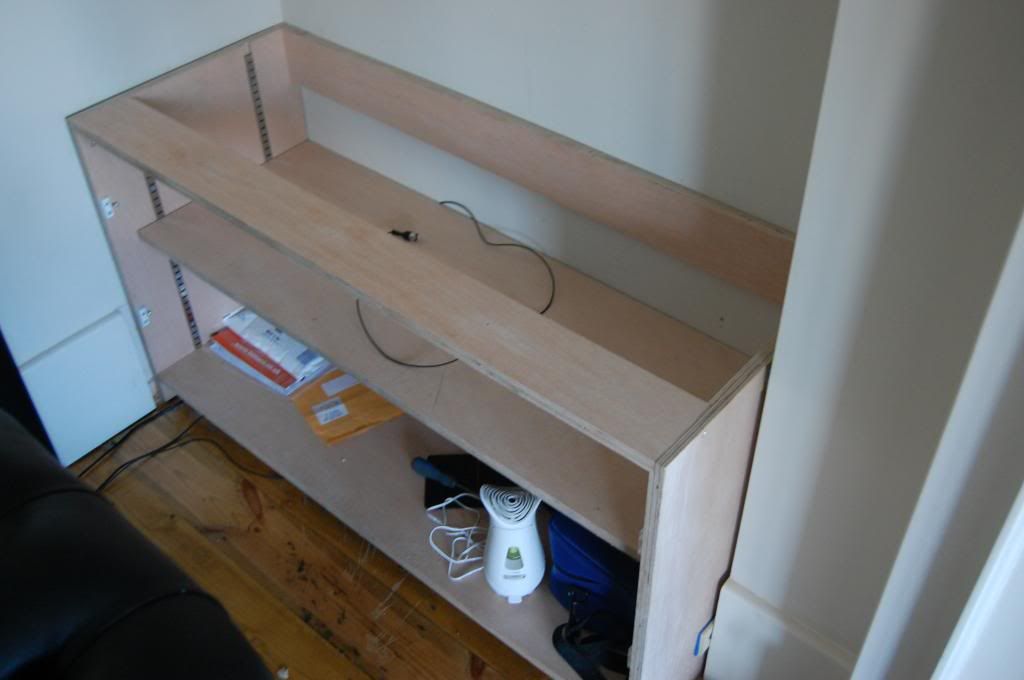
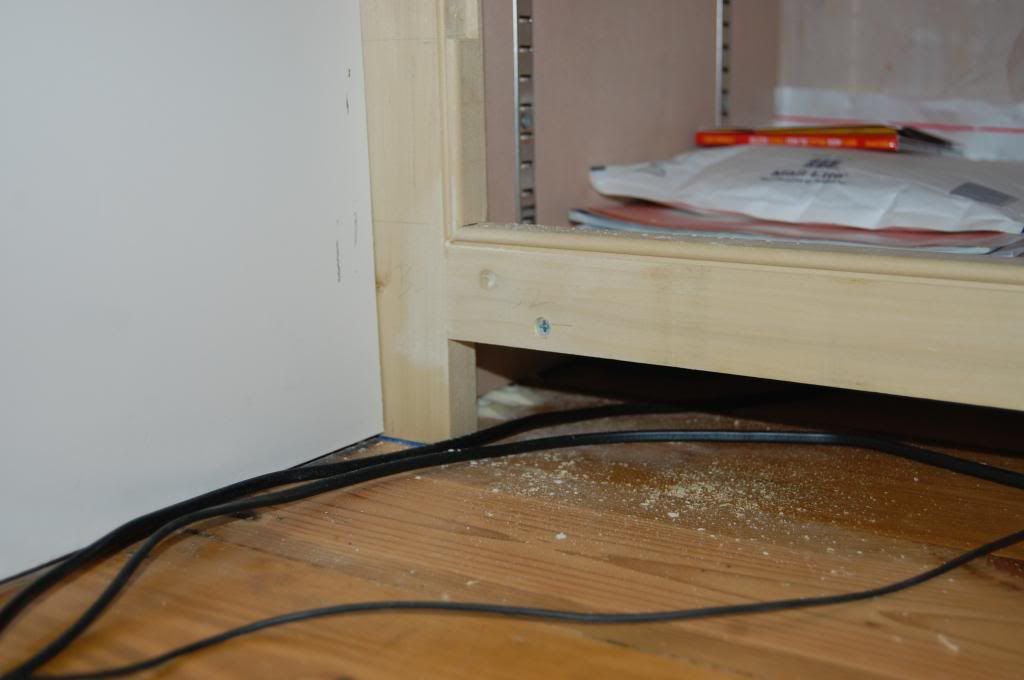
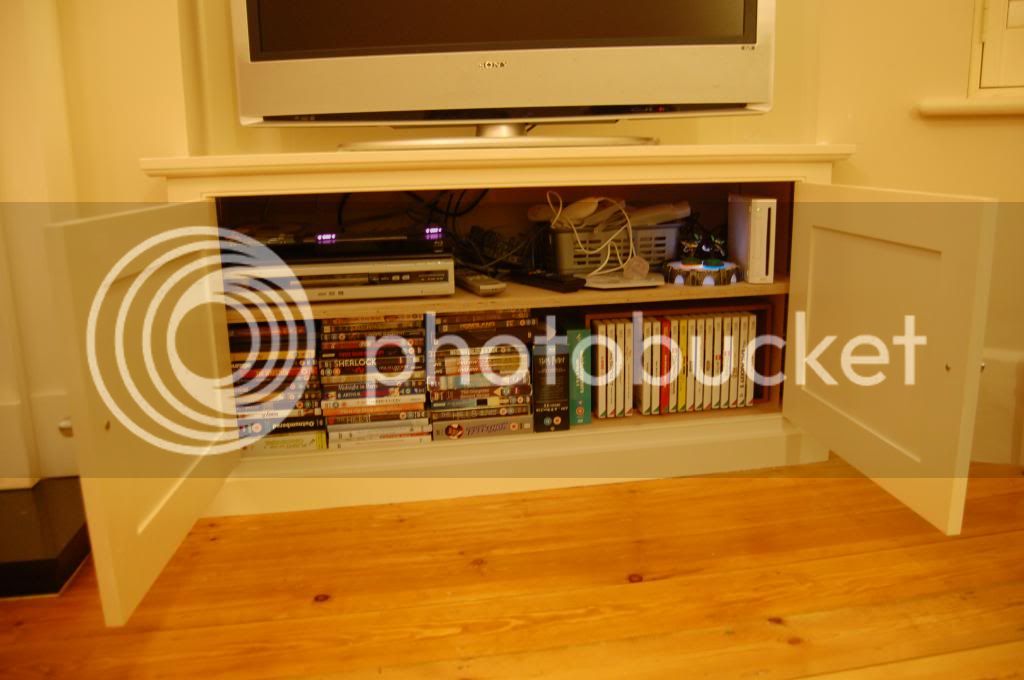
Carcass (No back panel, so that I could access the various sockets):
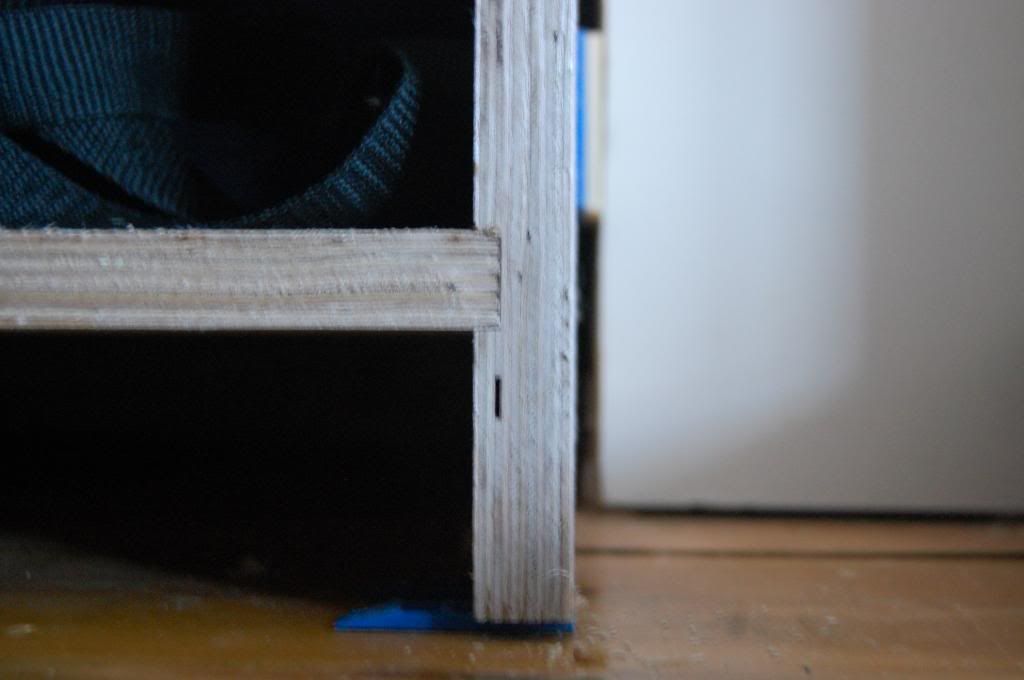
I used 5mm rebate where the top and bottoms meet the sides:
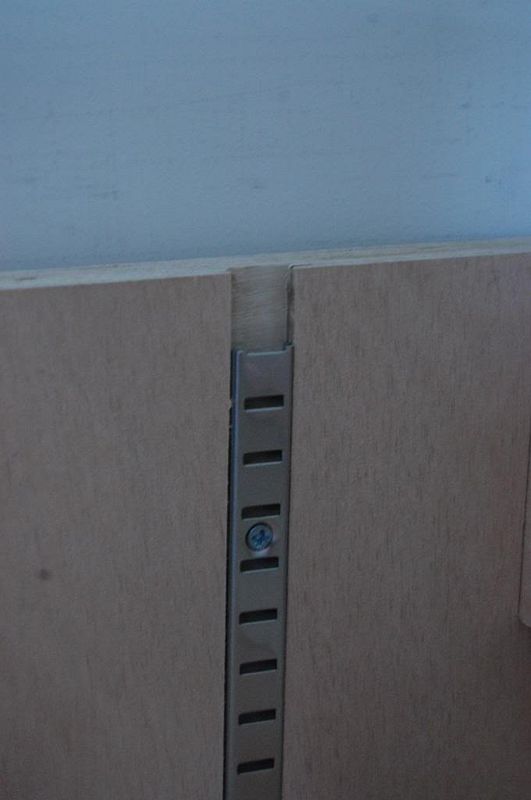
Shelving strips (from Screwfix) also in 5mm deep rebate:
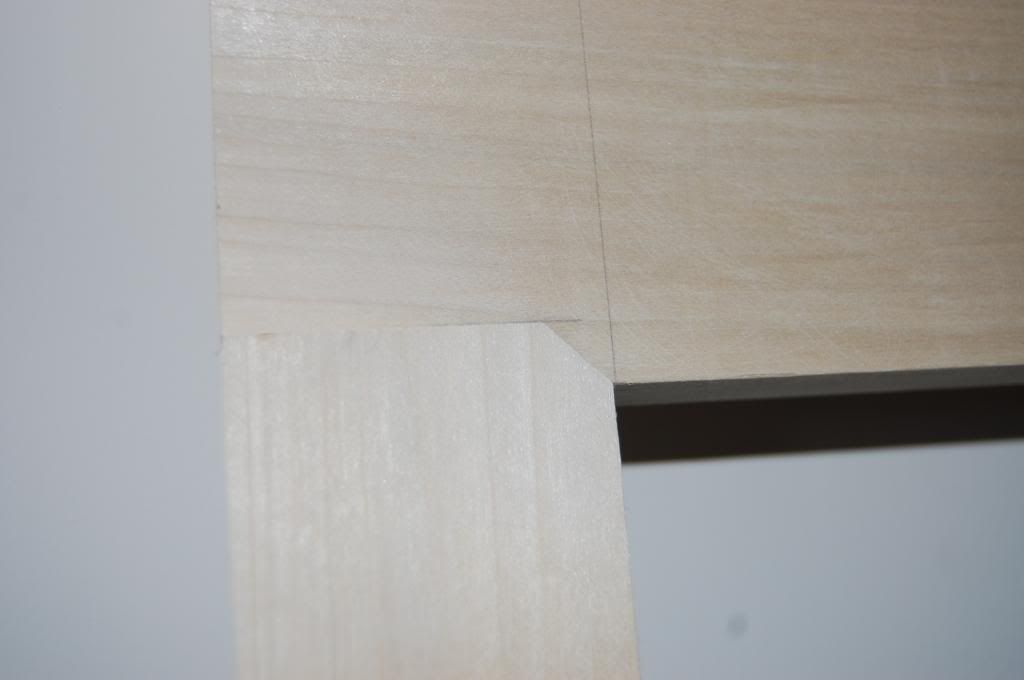
Face frame detail. I put a bead (4mm radius) on the frame using a router table. Mortice (hollow chisel) and tenon joint (30mm tenons) and a mason's mitre.
Rear view of the mason's mitre:
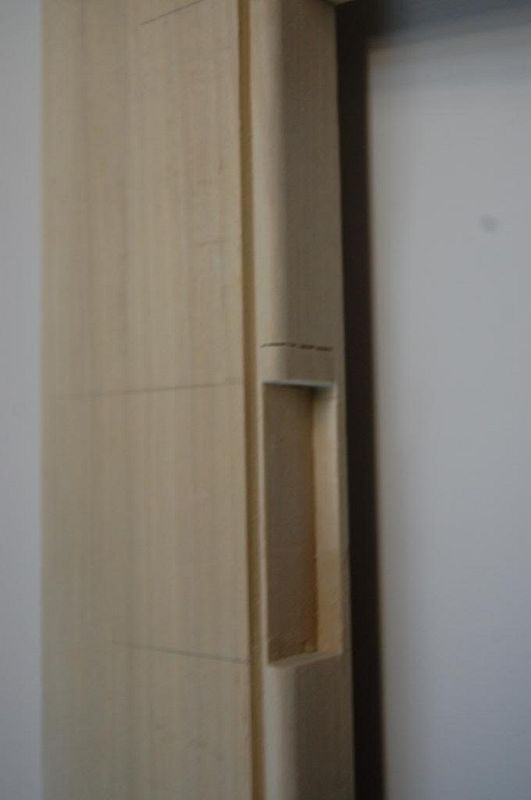
I rebated the hinges into the stiles (you'll see why in a few photos), I decided to use the router table and it snatched the piece twice, a few curses and a wasted hour patching and you get this:
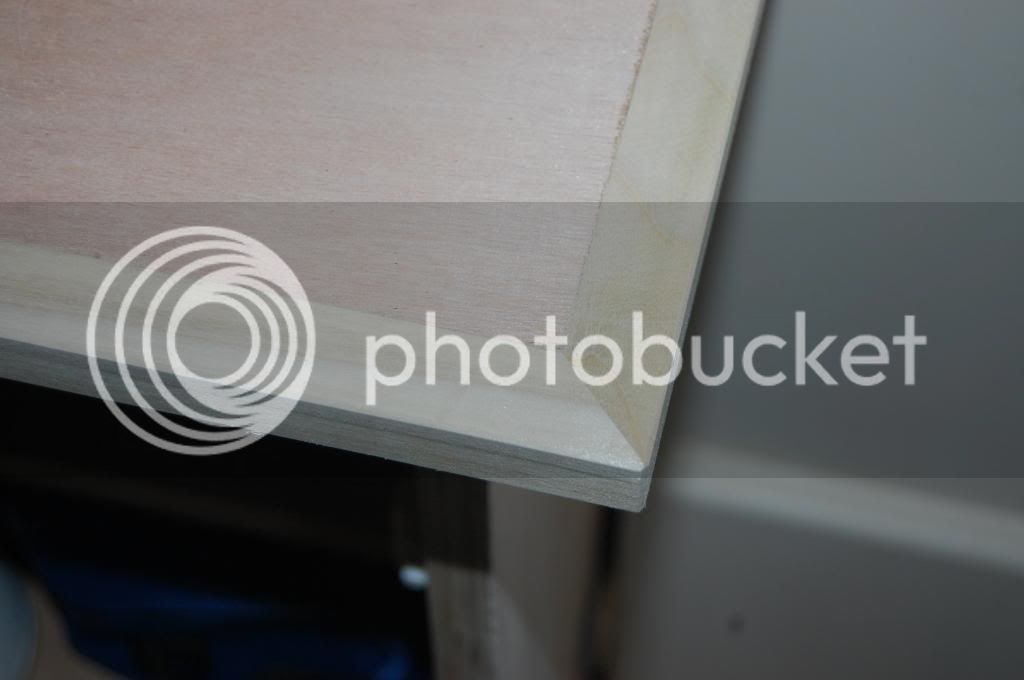
The top surface of the carcass is also ply, lipped with poplar. I did a small bevel, probably 2mm on the top, sides and skirting to match the fire surround beside it:
There is a half round moulding under the top lipping, lots of clamps:

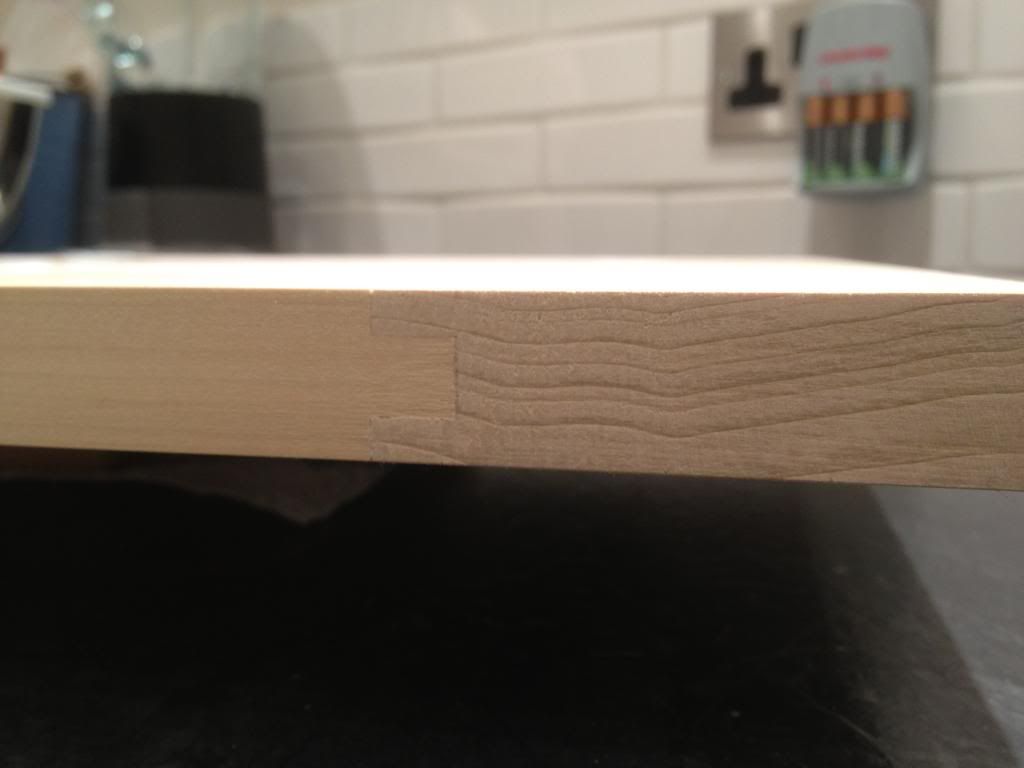
The doors were also made of Poplar with 9mm ply panels. The Poplar was ripped into 1" stock from 8" by 2" boards, it came out of the thicknesser at about 21 or 22mm (7/8"? - I mix my units!). I used 10mm deep rebates in the rails and stiles for the ply to sit in, and as a mortice. Tenons and rebates were made on the table saw and finished with a tenon jig on the router table. I took the blade guard off the table saw (I know this isn't advised) and set up some featherboards and used push sticks etc. The alcoves are different widths, and I managed to cut one set of rails too short, so ended up making loose tenons out of the ply used for the panels. I left 2mm gap all around the panels; but, didn't glue them in (I have since read on this forum that it's ok to glue them in, by people more knowledgeable than me). Here is one of the joints without the loose tenons:
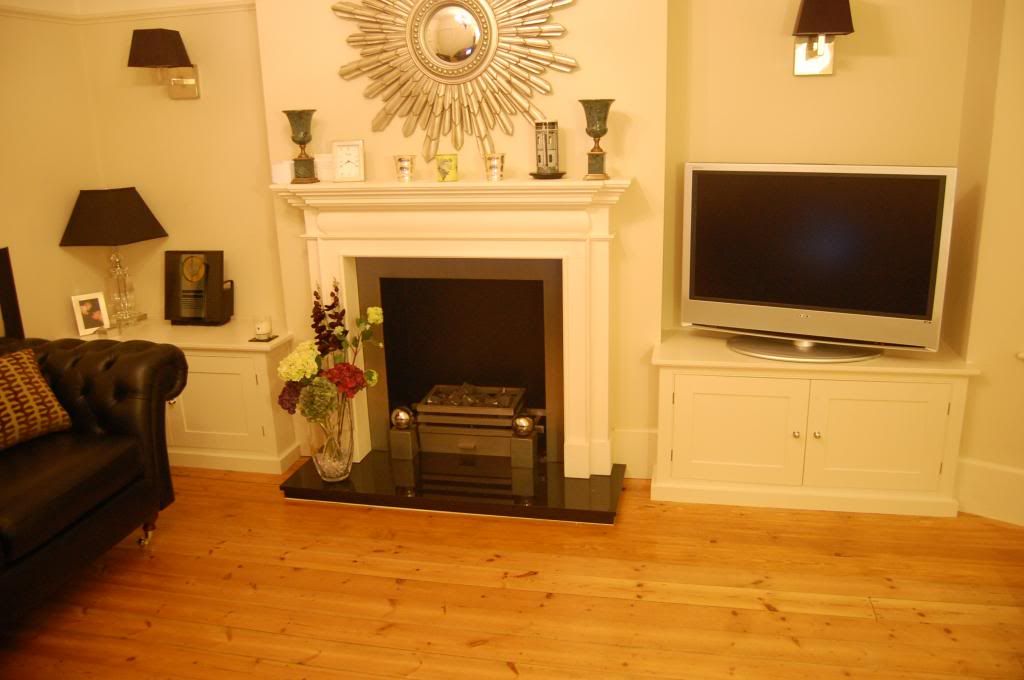
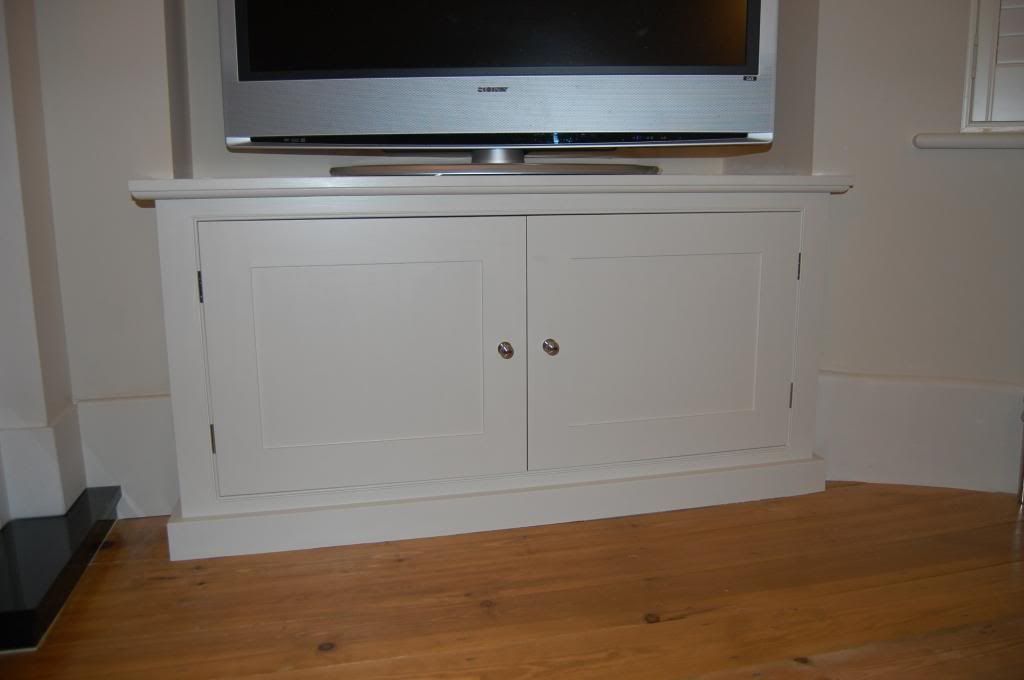
Anyway here are the finished cabinets. Primed, undercoated and a single top coat of Paint and Paper Library Eggshell Paint (Stone II colour). Excuse the poor lighting:
I have a single shelf made out of the same 18mm ply as the carcass. The span is approx. 950mm; but, doesn't have too much weight on it. I may lip the shelves at some point, I was thinking of oak; but, not sure if it would look odd with the meranti colour of the ply, I can't be bothered with painting a Poplar lipping, and I actually quite look the look of a clean plywood edge.
Hinge set into the bead to give a continuous knuckle:

Moulding underneath the top edge:

Thanks to Jojo, eezageeza, MMUK, owen, petermillard, RobinBHM, chippyjoe, marmite and two thumbs on what gap to leave around the doors - I used a penny (1.6mm) and it worked a treat with the three coats of paint. Also thanks to deema for advice on the face frame.
Thanks for looking.
DT
Just finished these, probably took two months, trying to find an hour or two here and there!
A brief WIP:
Carcasses made out of 18mm far eastern ply (as the timber merchant described it); but, good value at £30 per sheet. Face frames, moulding, lipping etc. made out of Poplar (which had been acclimatising in my loft after another project for about 18months).
Carcass (No back panel, so that I could access the various sockets):
I used 5mm rebate where the top and bottoms meet the sides:
Shelving strips (from Screwfix) also in 5mm deep rebate:
Face frame detail. I put a bead (4mm radius) on the frame using a router table. Mortice (hollow chisel) and tenon joint (30mm tenons) and a mason's mitre.
Rear view of the mason's mitre:
I rebated the hinges into the stiles (you'll see why in a few photos), I decided to use the router table and it snatched the piece twice, a few curses and a wasted hour patching and you get this:
The top surface of the carcass is also ply, lipped with poplar. I did a small bevel, probably 2mm on the top, sides and skirting to match the fire surround beside it:
There is a half round moulding under the top lipping, lots of clamps:
The doors were also made of Poplar with 9mm ply panels. The Poplar was ripped into 1" stock from 8" by 2" boards, it came out of the thicknesser at about 21 or 22mm (7/8"? - I mix my units!). I used 10mm deep rebates in the rails and stiles for the ply to sit in, and as a mortice. Tenons and rebates were made on the table saw and finished with a tenon jig on the router table. I took the blade guard off the table saw (I know this isn't advised) and set up some featherboards and used push sticks etc. The alcoves are different widths, and I managed to cut one set of rails too short, so ended up making loose tenons out of the ply used for the panels. I left 2mm gap all around the panels; but, didn't glue them in (I have since read on this forum that it's ok to glue them in, by people more knowledgeable than me). Here is one of the joints without the loose tenons:
Anyway here are the finished cabinets. Primed, undercoated and a single top coat of Paint and Paper Library Eggshell Paint (Stone II colour). Excuse the poor lighting:
I have a single shelf made out of the same 18mm ply as the carcass. The span is approx. 950mm; but, doesn't have too much weight on it. I may lip the shelves at some point, I was thinking of oak; but, not sure if it would look odd with the meranti colour of the ply, I can't be bothered with painting a Poplar lipping, and I actually quite look the look of a clean plywood edge.
Hinge set into the bead to give a continuous knuckle:
Moulding underneath the top edge:
Thanks to Jojo, eezageeza, MMUK, owen, petermillard, RobinBHM, chippyjoe, marmite and two thumbs on what gap to leave around the doors - I used a penny (1.6mm) and it worked a treat with the three coats of paint. Also thanks to deema for advice on the face frame.
Thanks for looking.
DT

