Building windows

UKworkshop.co.uk

Help Support UKworkshop.co.uk:

This site may earn a commission from merchant affiliate links, including eBay, Amazon, and others.
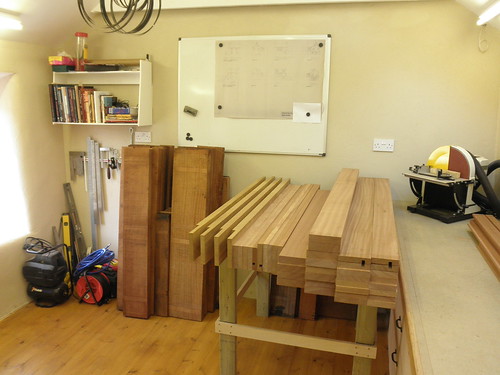
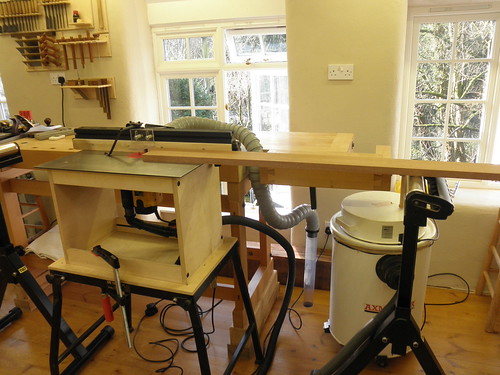
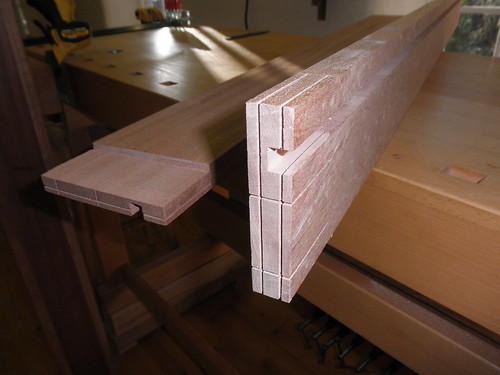
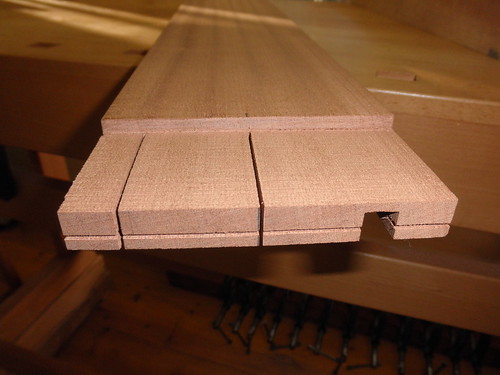
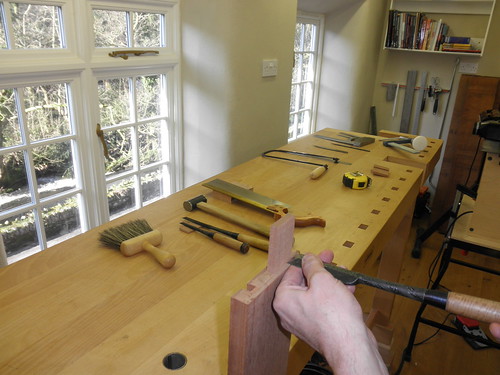
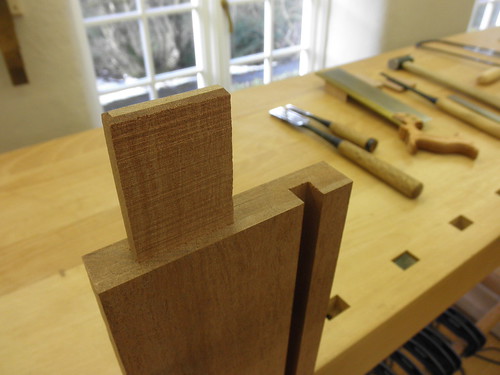
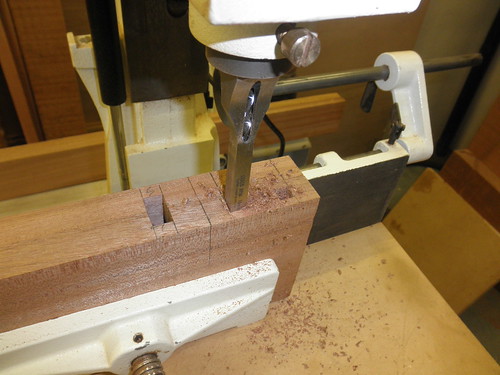
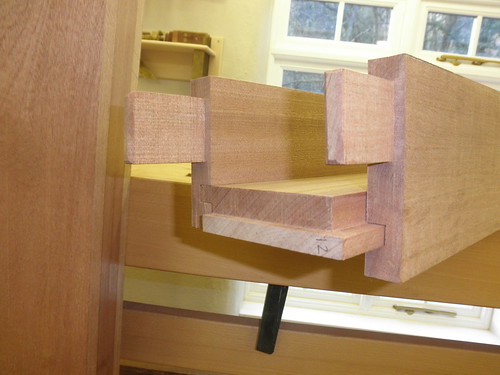
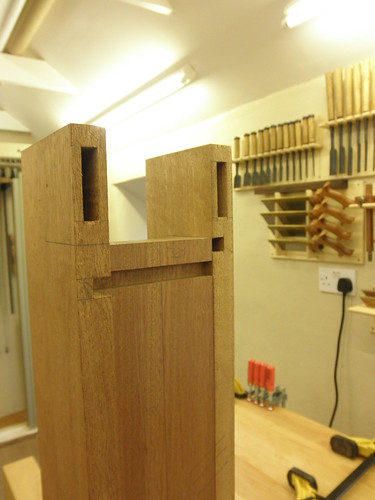
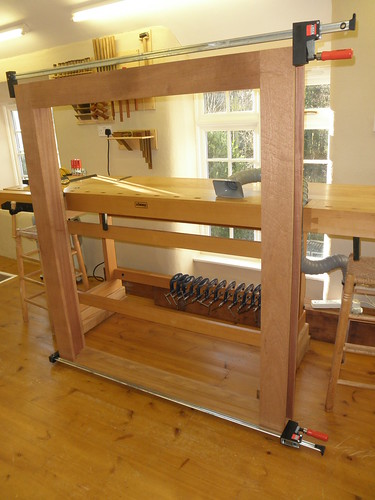
I didn't get to spend as much time in the workshop as I had hoped today but did start to machine the pieces for the first four sash boxes.

4292762391_82d207a1a7.jpg


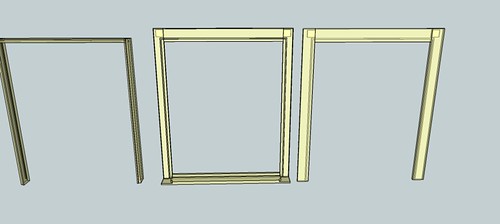
I have started to play with sketch up recently although the detail and final dimensions are not correct yet here are some sketches of the type of window Im building first.

4293496624_9a2886dbb9.jpg


4292250081_1c30f6e32c.jpg


4292992568_af34127ff9.jpg


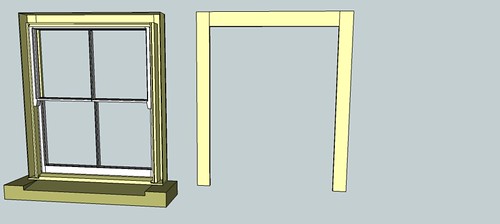
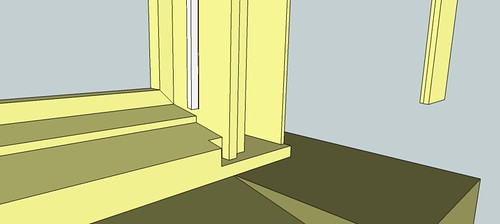
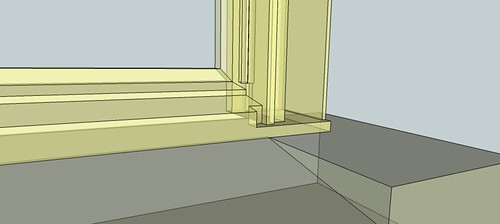
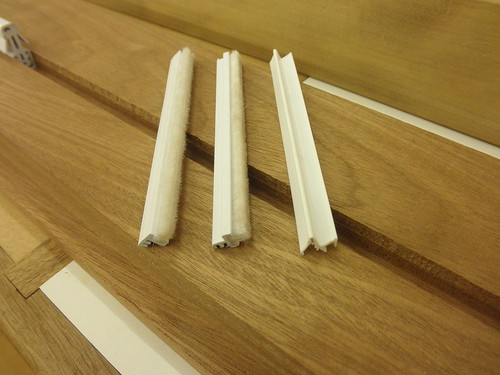
I have done some research on sash windows seals and am planning to use a two part parting bead

4292756799_5c86176e55.jpg


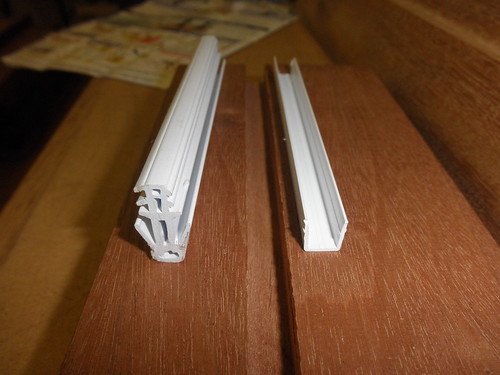
The u section fits into a routed grove in the pulley stile

4292757761_a259b50824.jpg


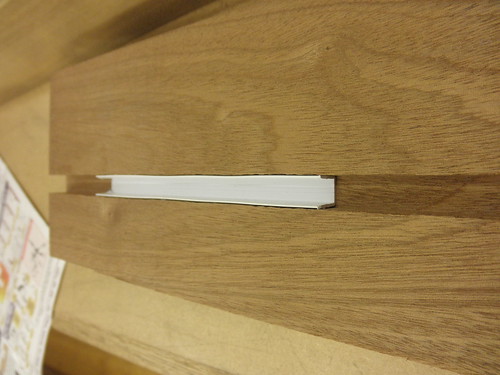
and the parting bead snaps into that

4293500648_75a604df4e.jpg


This seems like a good idea to me. Does anyone have any feedback?

I also plan to use some weather pile seals which will be fitted into a routed grove in the staff bead and meeting rails

4293501544_562459c1cc.jpg


John
 
Hi John,

I don't know if you've come across this thread. https://www.ukworkshop.co.uk/forums...postorder=asc&highlight=sash+windows&start=15

I've got different criteria on the design I'm working on so a lot of the details are different. eg. 24mm glazing, near invisible seals and all redwood construction, but there might be some useful info there.

I'm looking forward to seeing the glazing method you choose. And more pictures of your workshop just so I can keep my dreams alive . :D
 
Hello agbagb

That thread was actually my own from when I asked for advice originally, where does the time go? :shock:

Trying to choose the right/best glazing method has been the biggest dilemma. I have looked at standard DG units, vacuum units and slim DG units.
The standard are to wide and require to big a rebate for what I am trying to achieve.
The vaccum glazing units which are new to the market here are very slim but the asthetics are not right, the 'pillars' which hold the two panes apart by just .25mm are vissible as small dots.
I have lastly looked at two types of slim DG units and have opted for a unit from Histoglass which I think is the only product available here that fully comply's with BS EN 1279 (parts 1-6), it reqiures a 10mm rebate.

John
 
John, It certainly has been a while, but rome wasn't built in a day either :wink:

I ended up with the standard 24mm units for cost, simplicity of supply and in the field history. It has taken some lateral thinking to fit then into nearly trad size sections, they got approval of my personal conservation officer (the wife).

Off up the garage now to make some dust.

All the best with them
Andy
 
I use the two part plastic parting bead and it is very good, as the U bit stays in the groove, if you need to remove the parting bead you don't end up damaging your wooden groove, which is the main reason I use the two-part stuff. A tip with this stuff though, is to put the U bit in the groove ASAP, before paint or staining, or if you will not be assembling for a while after you've grooved your stiles. As the groove tends to curl the stiles slightly and makes it incredibly hard to tap in later. The actual bead it self can be tapped in whenever, as it will fit into the plastic.

The brush seal you have, is one piece, You can buy it also in two parts. plastic bit to fit in the groove, and then brush that just slides in, makes it easier to paint or stain.
 
I finished machining the components for the first four sash boxes today, they are stacked on the table


4297468283_aa1067c50f.jpg


The next stage is to use the router and router table to shape them and to make the rebate for the parting bead.
I will also cut the pocket to provide for access to the weights once the windows have been installed

4297470363_31099c24f4.jpg


4297479543_751dcc6830.jpg


Can anyone recommend a supplier of sash weights and pulleys?

John
 
I usually use mighton for the sash hardware and weights usually the cast steel as its cheaper although sometimes with double glazed sash windows lead is the only option due to the weight of the sash and the space available in the box.

http://www.mightonproducts.com/

The windows are looking good. You are doing the cill section slightly different to how i do them I usually groove the cill first to take the pully stiles and then machine the slopes. The groove on the inside of the box I make tapered so that the pully stile can be wedged in for a tight fit.

cheers

Jon
 
JonnyD":3l2w535r said:
The windows are looking good. You are doing the cill section slightly different to how i do them I usually groove the cill first to take the pully stiles and then machine the slopes.

The 5 degree bevel I usually put on the cill gets done first, then I trench the stiles into the cill. I usually aim for a tight fit, if its too tight I just run the back of the stile quickly backwards off the bandsaw to fit it in. If its too loose I just wedge it in. Glue and screw.

With regards to cutting the pockets.... I had this debate on here a while ago. I just cut out the stile at 45 degree angles, and fit the pocket in between the mitres. It cannot move anywhere, except shrink. The debate was that it should be cut in square and haunched. It can still shrink. But what happens years later when you need to get the pocket out with years of paint, it could very well be stuck. My method you can tap the one end and it should pop out the other end. Once again, it still horses for courses though!
 
Thanks again for the infomation and tips. I will have to use lead for the weights due to the weight of the glazing units.
 
Slow progress this week as I have been away working for a few days.
I continued to build the first four sash boxes so most of the machines and the router table have been used.

For the tenons I make the cheek cuts on the band saw

4316408368_6588df05da.jpg


Then hand saw close to the scribed shoulder line and use a paring chisel to clean up the shoulder

4315674775_d5c7850705.jpg


4316405410_1788efd842.jpg


4315671919_79fd310806.jpg


The mortises are cut on the mortise machine

4316410320_3391e1ca6f.jpg


This is one of the boxes being dry assembled

4316411320_0ac13c7652.jpg


4316412346_fcae611250.jpg


And this is it complete with the cill

4316407414_f2c7f17819.jpg


Tomorrow I will be cutting the holes for the pockets and routing the rebates for the parting beads.

John
 
Hi,
I can understand why you have used tenons in the fascia boards, but I think it isn't really needed. The fascia's only need to be 16mm thick, and can be nailed straight onto the stiles. Although I do appreciate it will be a very strong job once done.

Don't forget to rebate your fascia boards so that your stile covers can sit in nice and flush. Also, might be an idea to cut a slot in the head either side for your wag tails. Before you assemble the box.
 
Hello Joiner Sim, I will be routing the outer and inner linings (facia's) to fit 6mm ply as the stile covers and had thought about running a rebate down the centre of the back of the pulley stile for the parting slip (wag tail).

I am interested that you use 16mm thick facia's, what thickness would you recommend for the pulley stiles? I have used 22mm for the facia's and 30mm for the stiles.

John
 
A lot of the sizes are dictated by the size of the reveal the window fits into. I usually make the pulley stiles between 22-25mm thick the outer lining 15mm thick and the inner one 20mm thick to fit the staff bead.

windows are looking good.

cheers

jon
 
Thanks Jon, I have maybe over cooked it a bit with the dimensions but thought that worth while because they (the first batch at least) are sizeable windows.

John
 
Thanks Superunknown, the workshop was deralict when my wife and I moved here three years ago so it does give me a lot of satisfaction spending time in there. My wife is still not totally convinced of why we had to refurb the workshop before the house :lol: so Im hoping the windows go some way to convinsing her.

John
 

Latest posts

Back
Top