Another forum is holding a $100 instrument building competition, so I thought I'd give it a go! I figured you lot would be interested to follow this, so I'm posting here about it as well.
My build is being done entirely with hand tools, on my balcony.
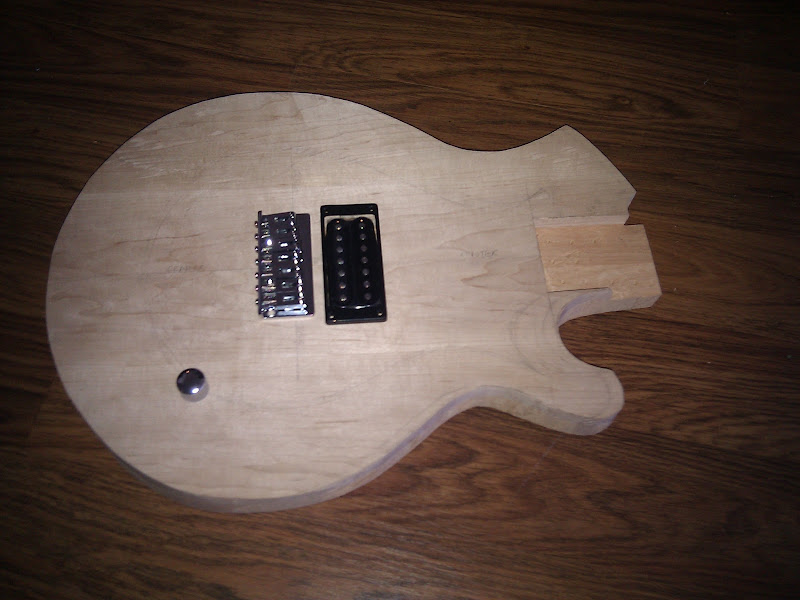
Its going to be a 25" scale 7 string electric.
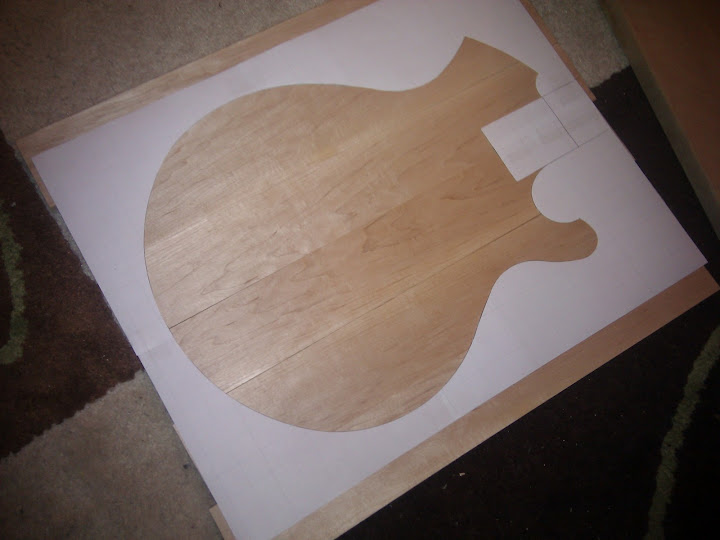
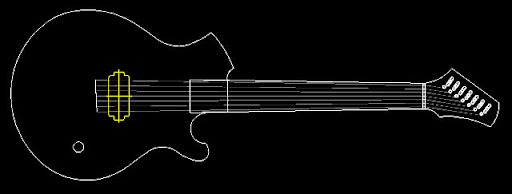
The plan - this is what happened when I stuck a picture of a Breedlove CM acoustic and a Rickenbacker bass into a bag and shook it for a while:
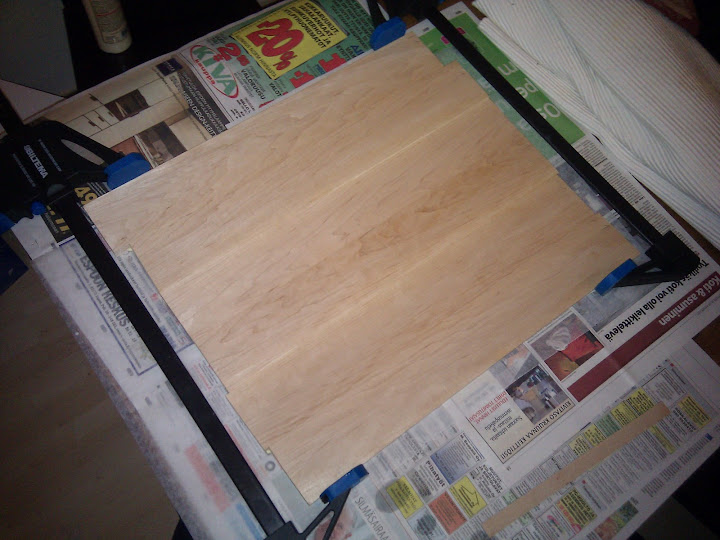
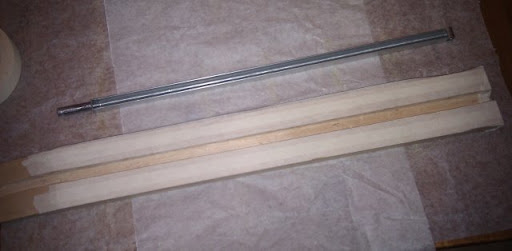
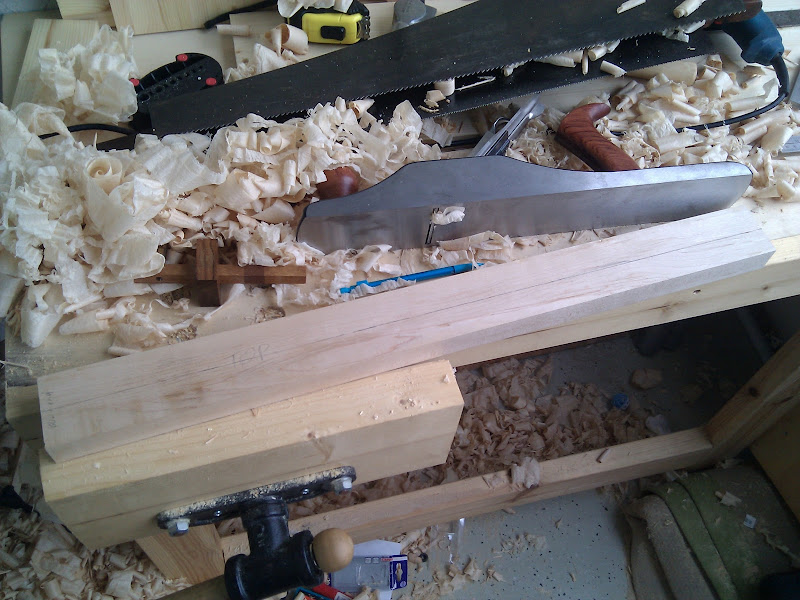
I milled & prepped the neck blank from maple:
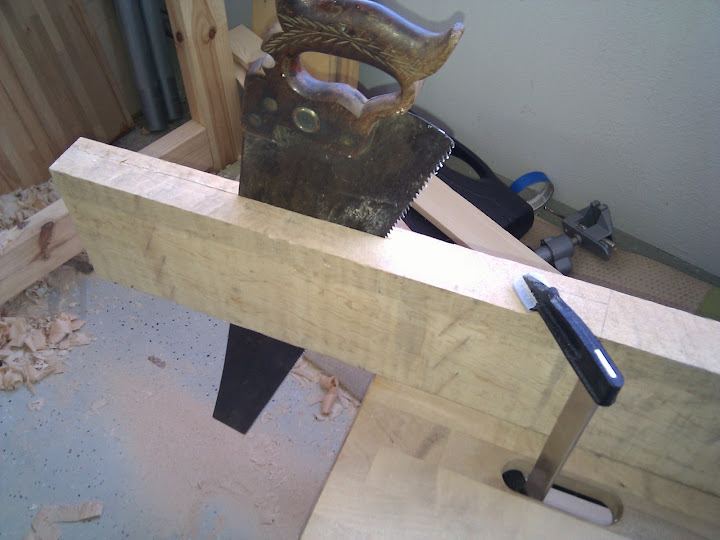
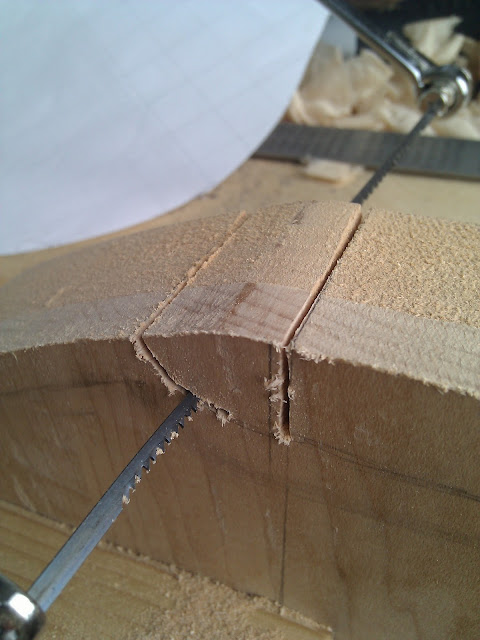
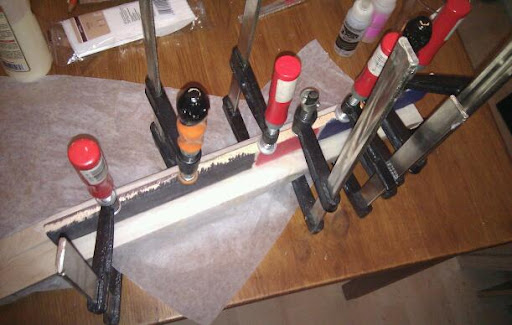
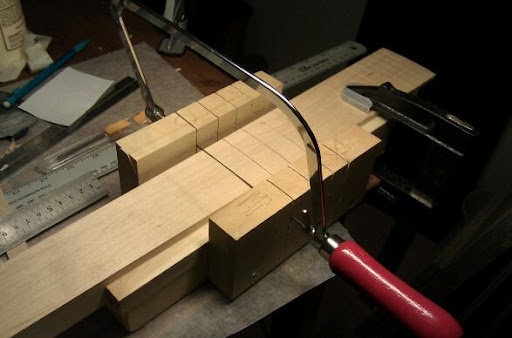
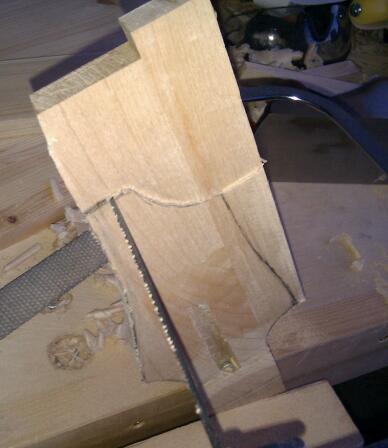
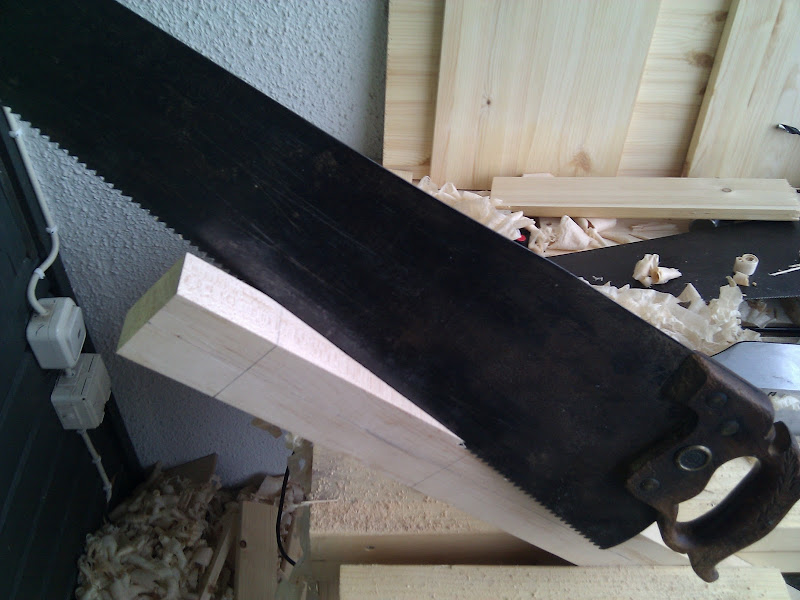
Then I marked out and cut the headstock scarf joint - here I am establishing an accurate kerf. After getting in a good 5mm or so I shifted to a more normal ripping position and cut through:
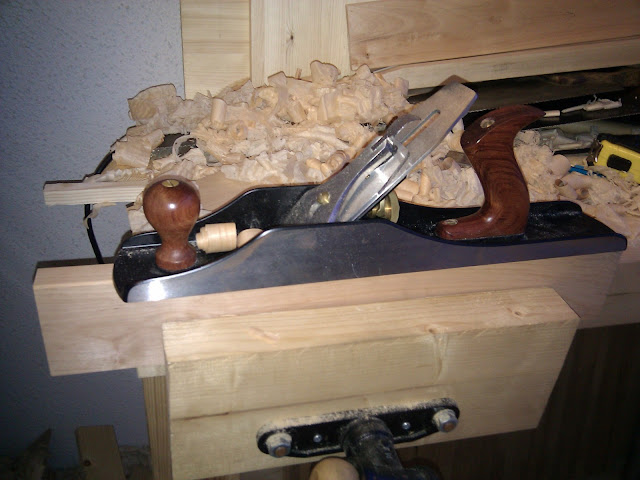
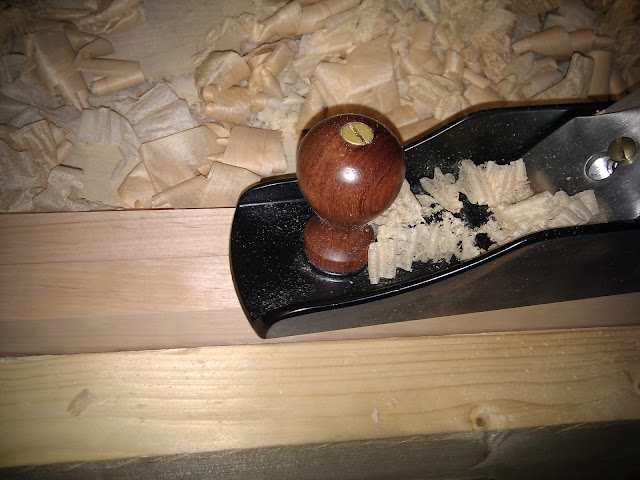
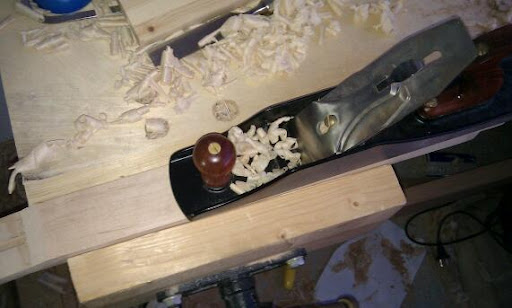
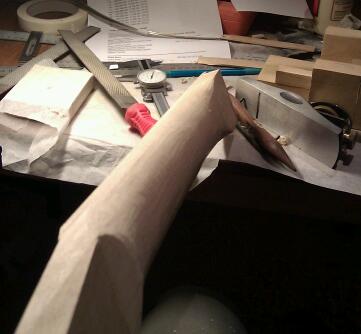
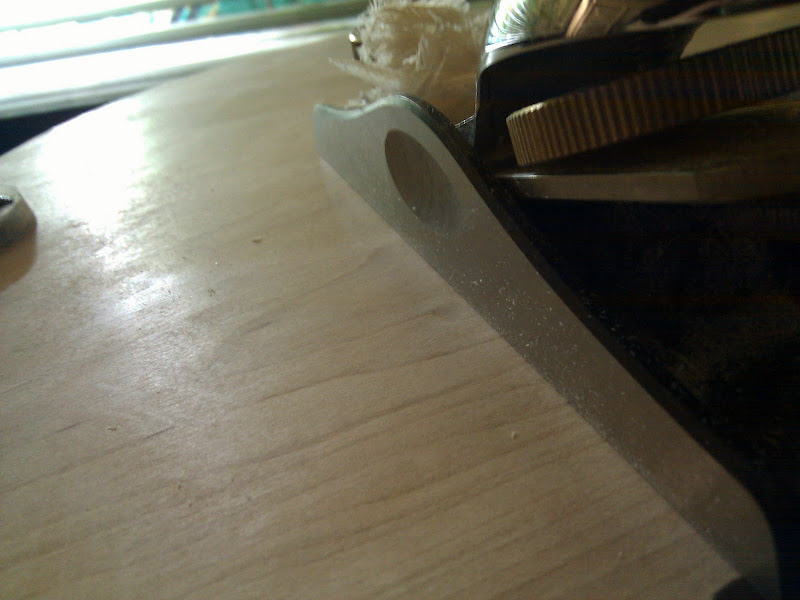
A few swipes of the No.6 (Quangsheng - an excellent plane!) cleaned up the face of the headstock:

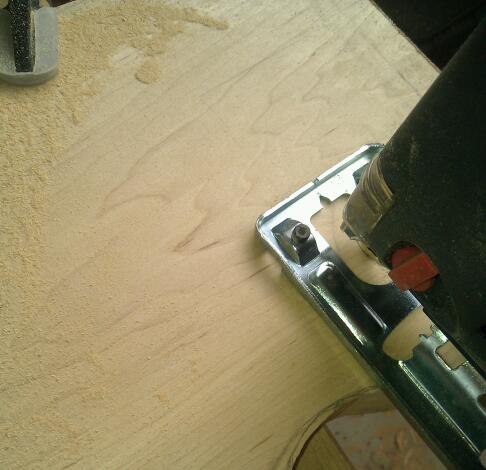
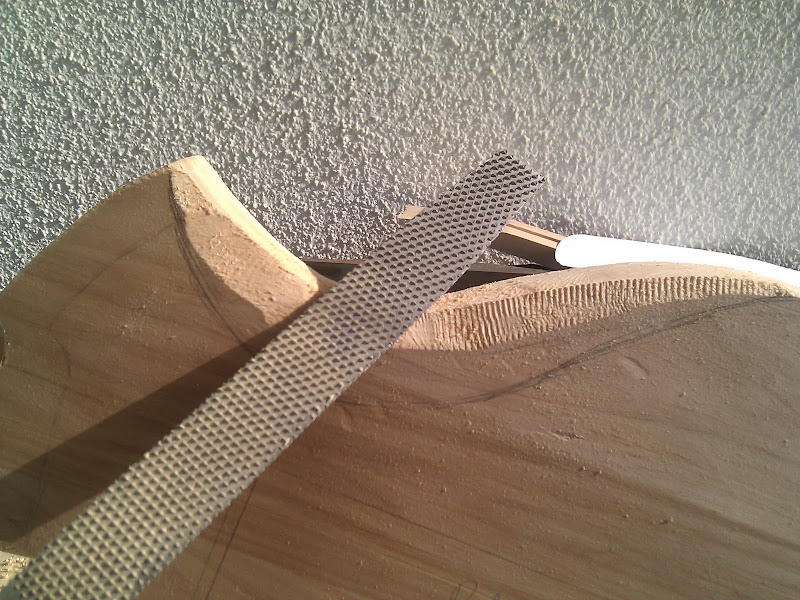
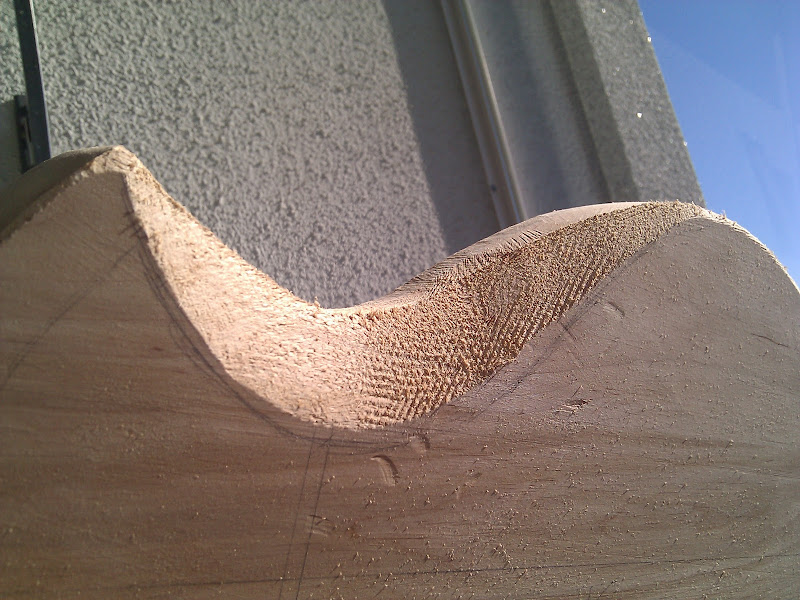
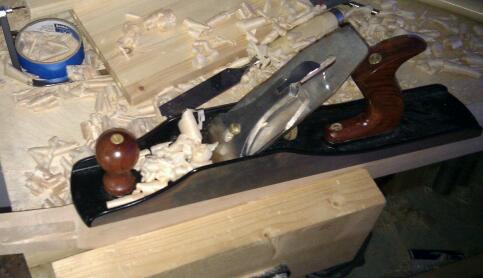
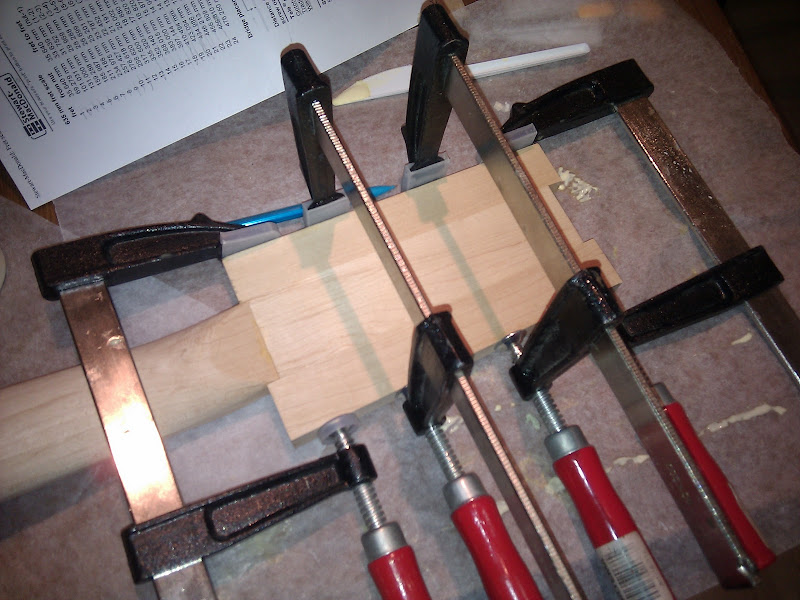
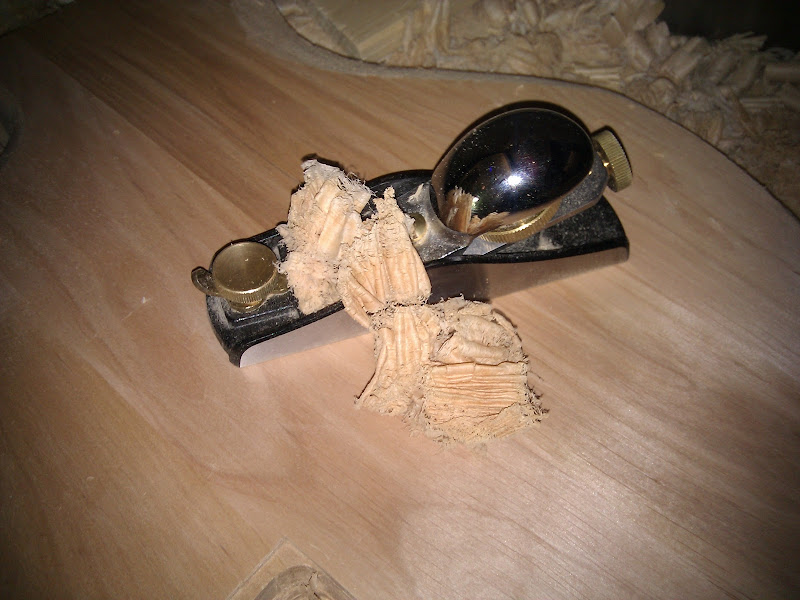
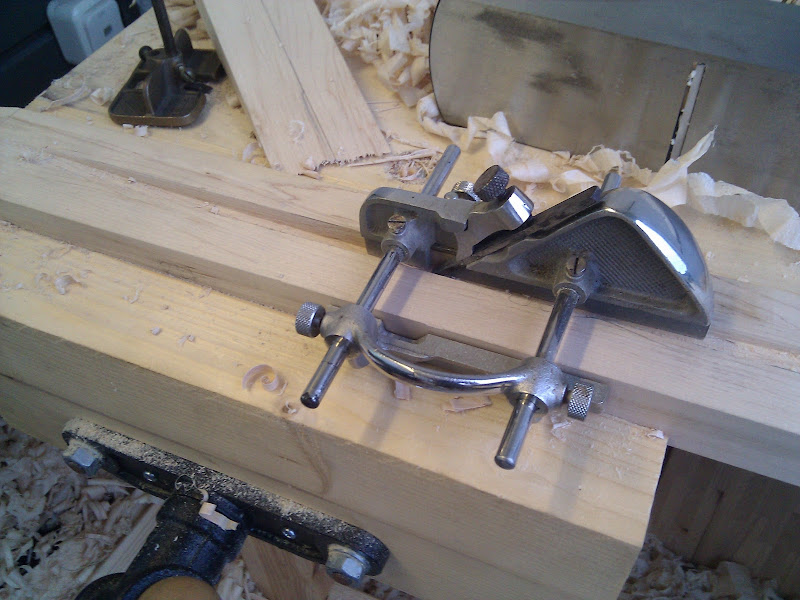
Plowing the truss rod slot took no time with my Record No.43:
My build is being done entirely with hand tools, on my balcony.
Its going to be a 25" scale 7 string electric.
The plan - this is what happened when I stuck a picture of a Breedlove CM acoustic and a Rickenbacker bass into a bag and shook it for a while:
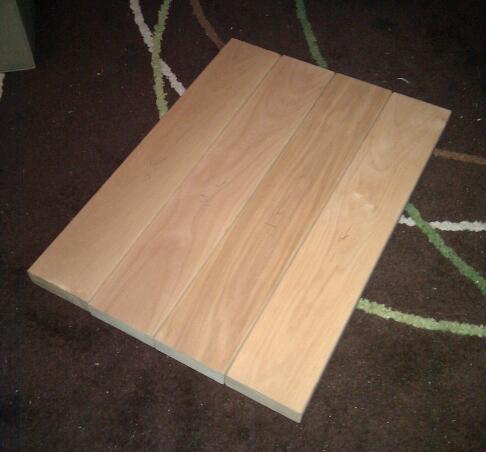
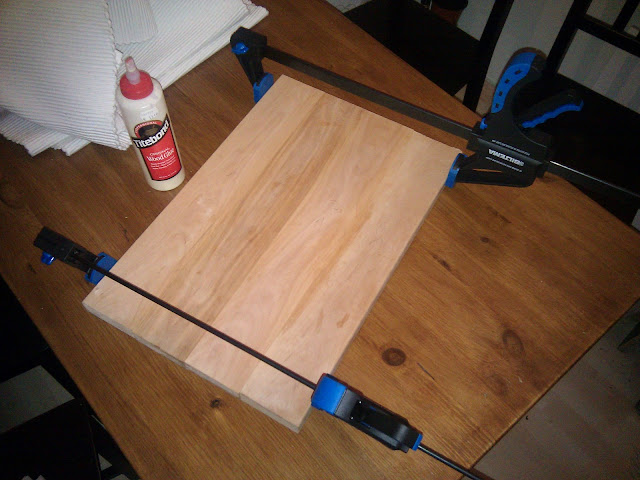
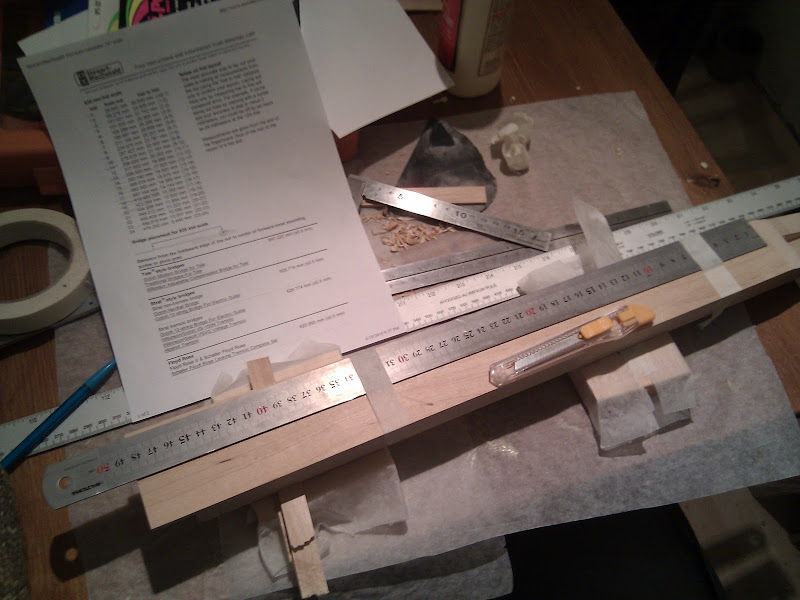
I milled & prepped the neck blank from maple:
Then I marked out and cut the headstock scarf joint - here I am establishing an accurate kerf. After getting in a good 5mm or so I shifted to a more normal ripping position and cut through:
A few swipes of the No.6 (Quangsheng - an excellent plane!) cleaned up the face of the headstock:
Plowing the truss rod slot took no time with my Record No.43:
")