Good Surname or what ?
Established Member
... what an varied bunch of students we were. In this picture you may recognise a certain David Charlesworth and at the troughs Michel Auriou and James Mursell (it is them honest, I've another picture showing their fronts - but without the dynamic Mr Boggs).
We were all dying to know how the meticulously precise DC would cope with measuring to the nearest 1/8th inch. :roll: Needless to say, superb craftsman that he is, he rose to the challenge but still maintained certain ideosyncrasies as you'd expect (see the picture of his front leg markings later in this thread).
James Mursell commented to me that he now better understands some of the stress he sees from his students at glue-up :wink:
Michel Auriou pretended he'd never worked with wood before. I'm not convinced.
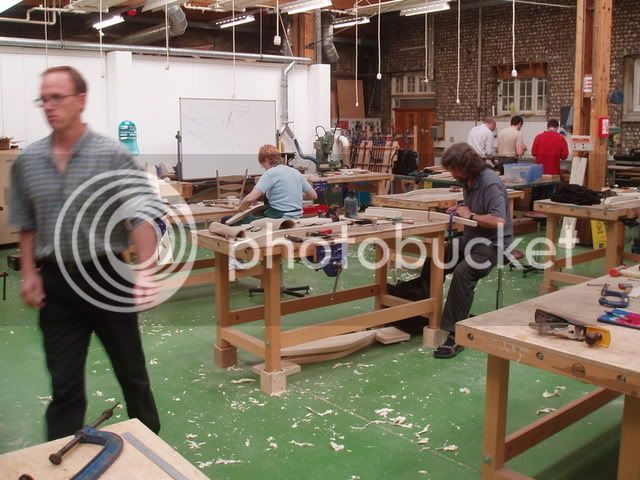
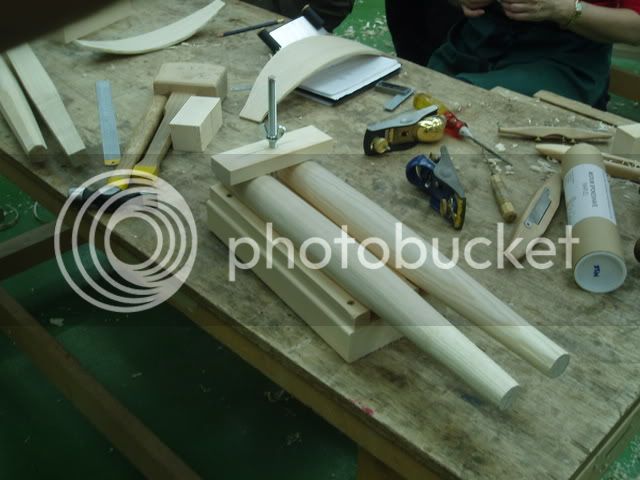
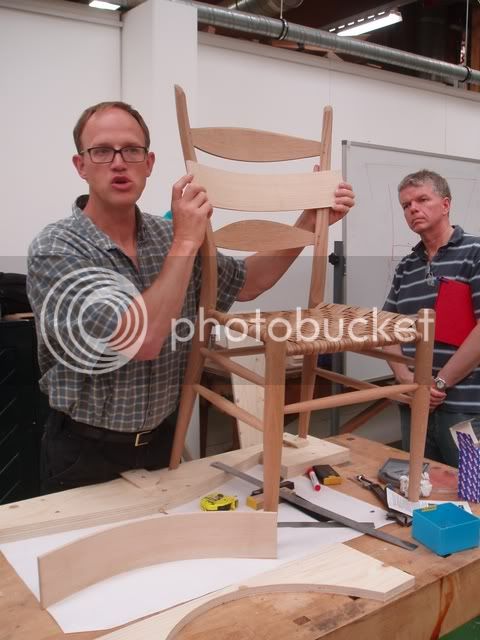
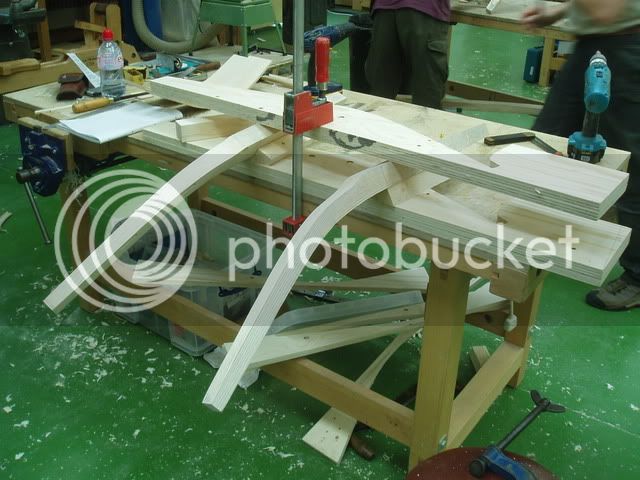
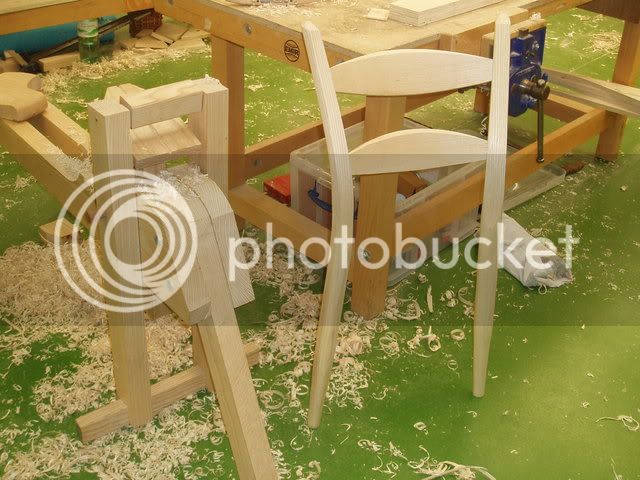
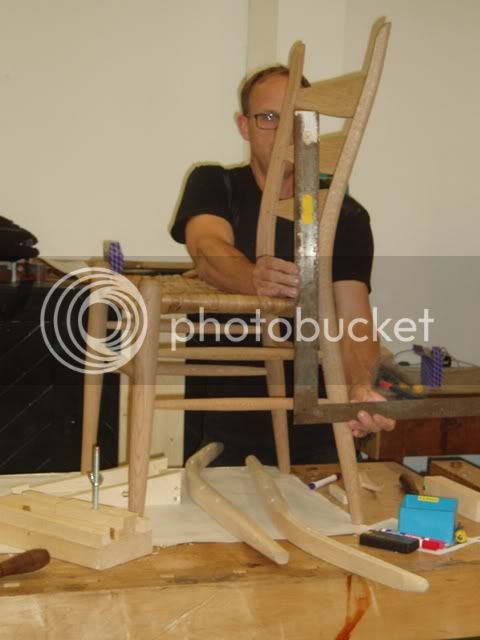
Anyway enough of the people. Hopefully these pictures will remind me how we made these Appalachian Ladder-back chairs. Timber courtesy of James Mursell.
Back legs
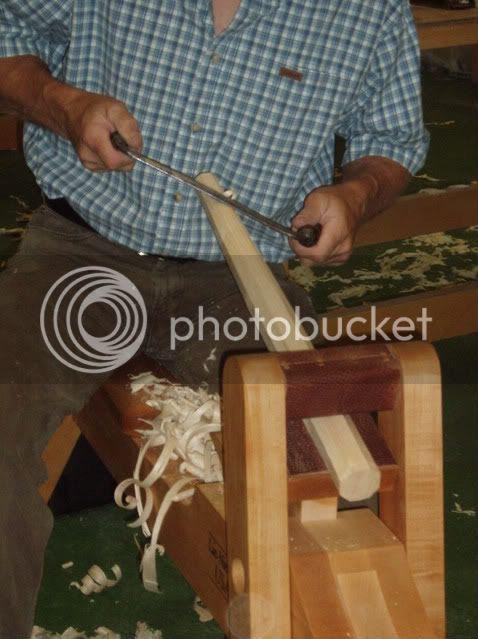
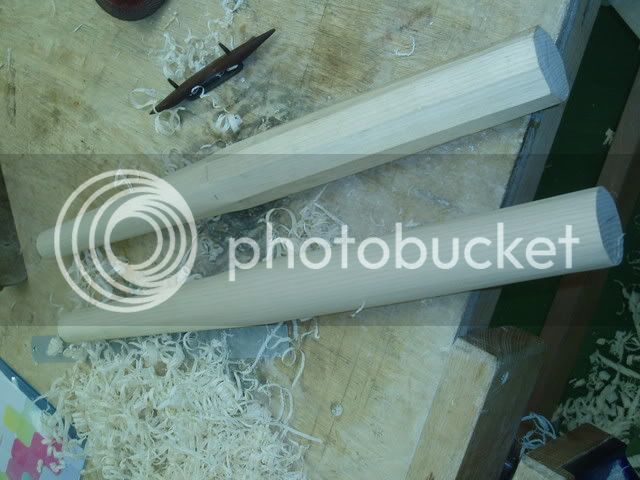
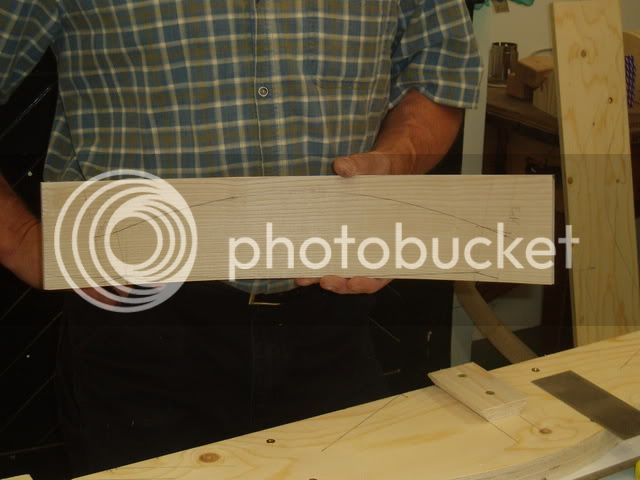
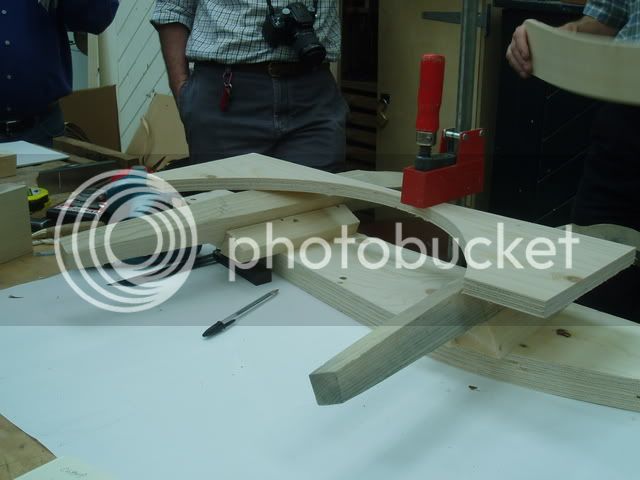
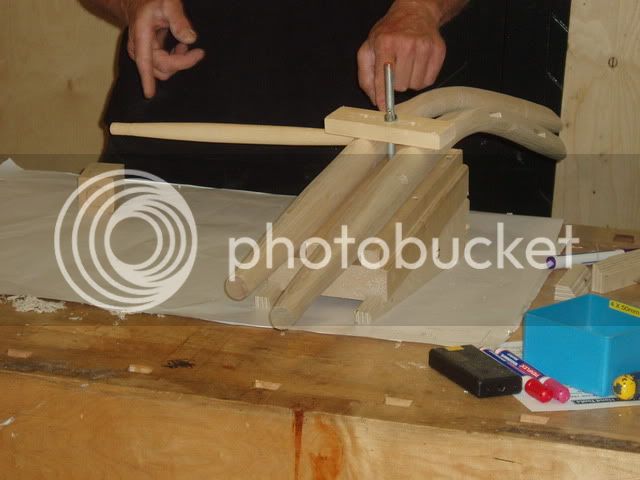
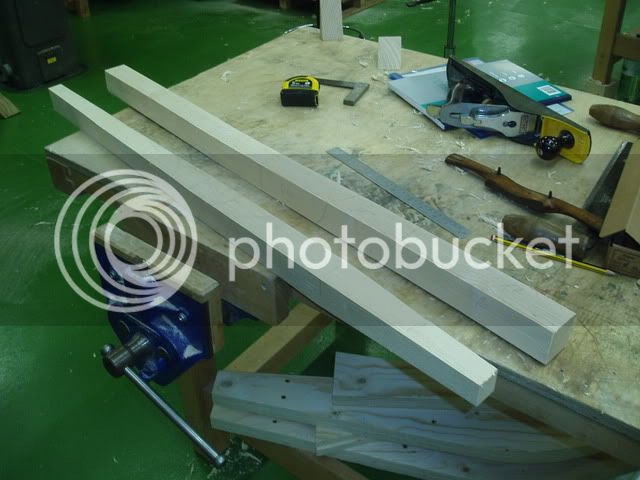
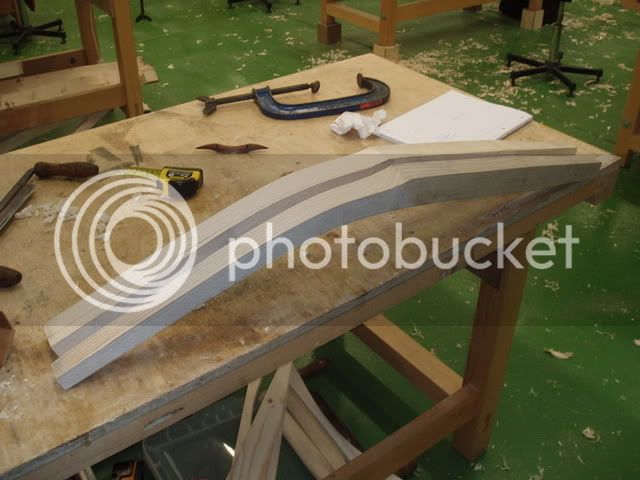
Starting with blanks of air dried ash, roughly dimensioned to 2 inches, we tapered the top in thickness to 1 inch and tapered the foot to 1 1/4 all round. For some the foot tapering proved a problem - a few deformed under the bending load. (Brian told us early on that we would modify his usual processes to fit the time constraints and the West Dean environment - it wasn't until the failure that we realised that normally he shapes the foot after the bend)
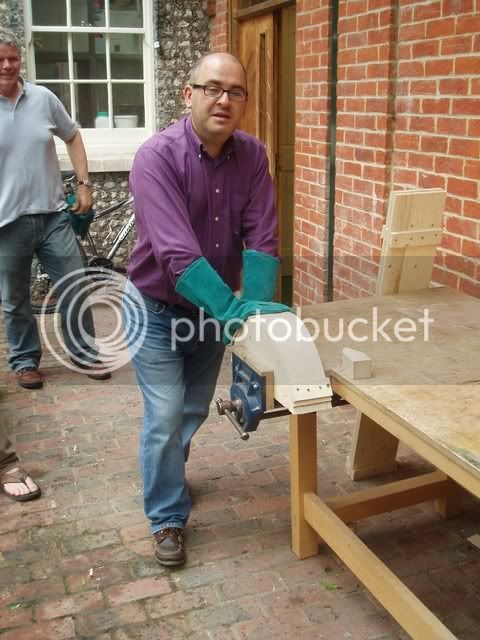
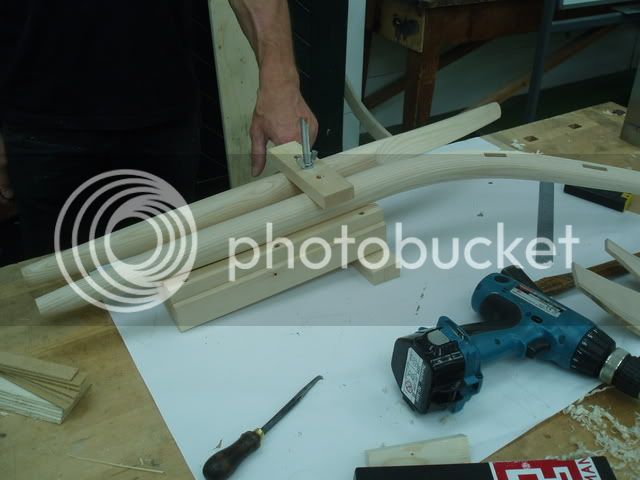
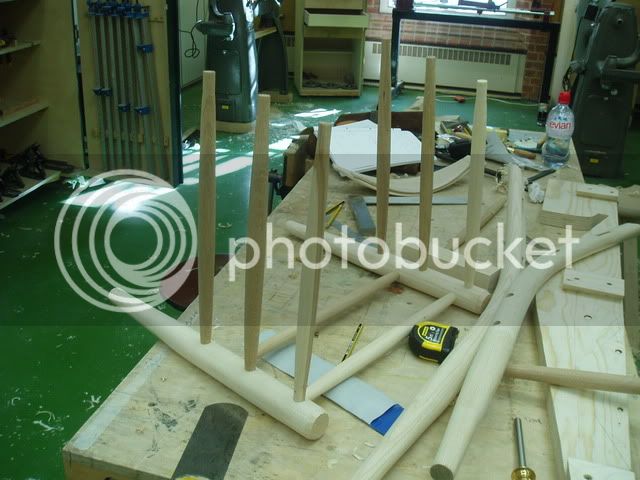
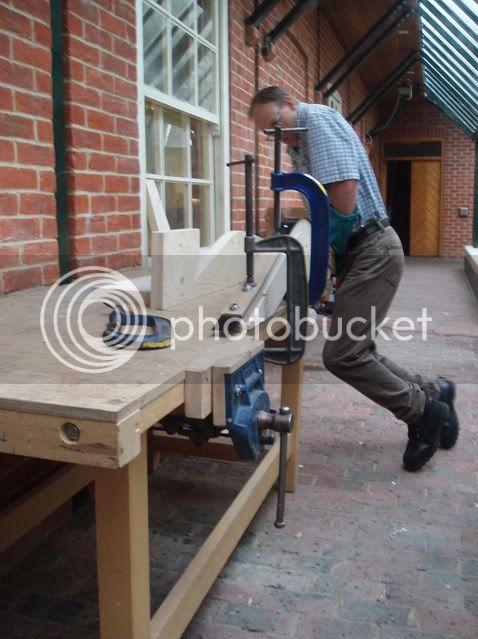
Bending former for the back leg (over-bend to allow for springback)
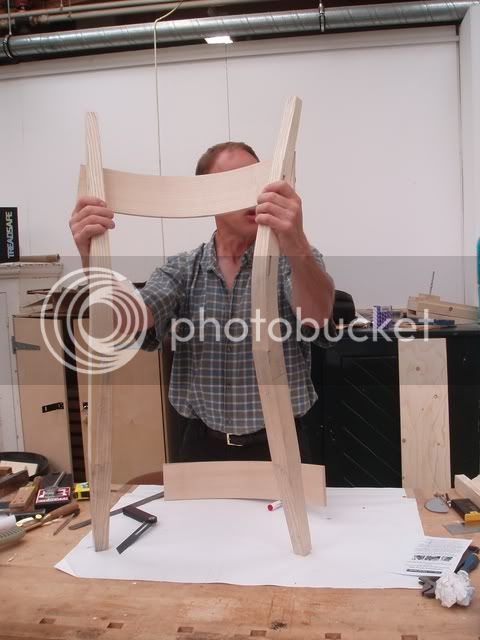
After > 1 1/2 hours steaming the ash bent beautifully but still required the weight of more than one man to bend it.
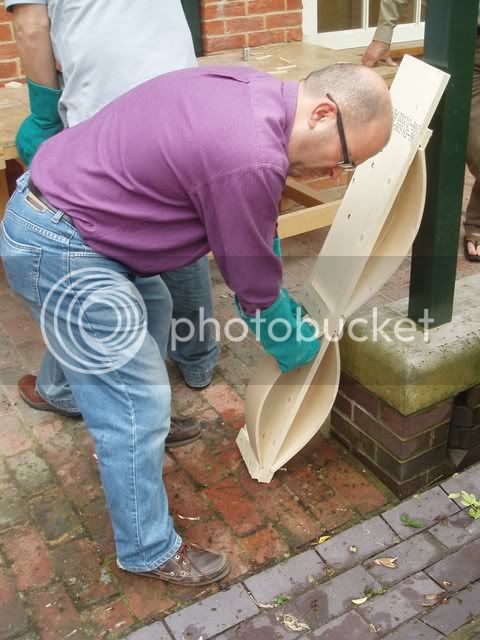
Once the legs were bent, they lived in these formers (thanks to technicians who made up 22 of them for us) to cool and whenever we we were not working on them.

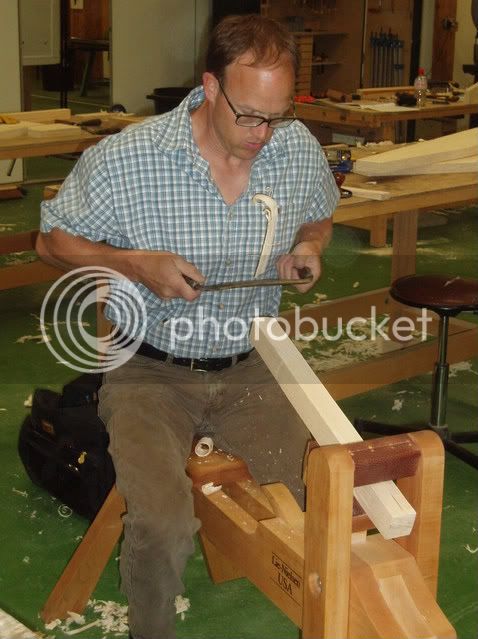
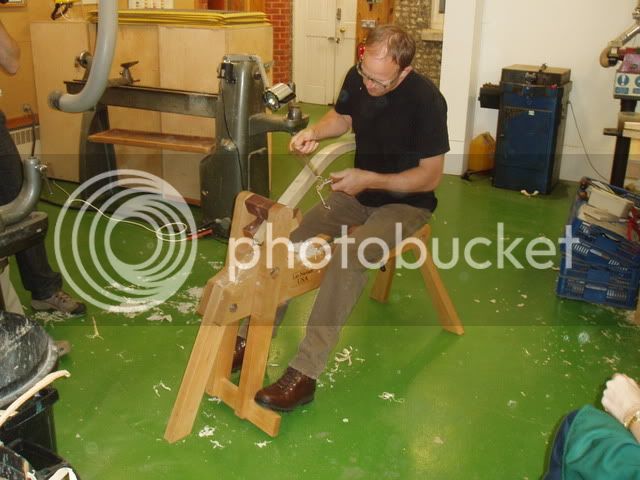
Brian demonstrating cleaning up and shaping the legs on a shavehorse.
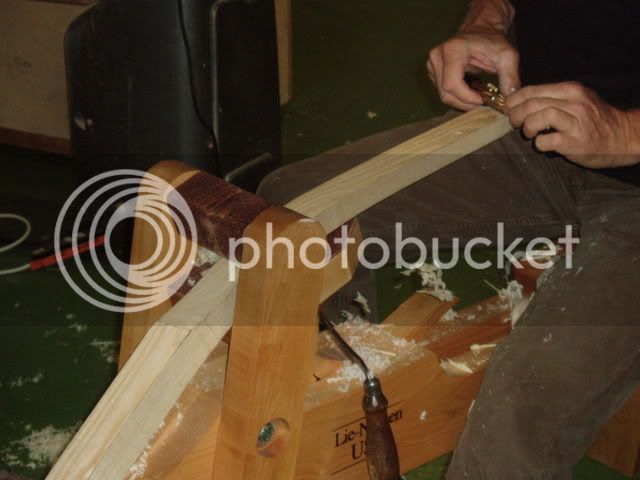
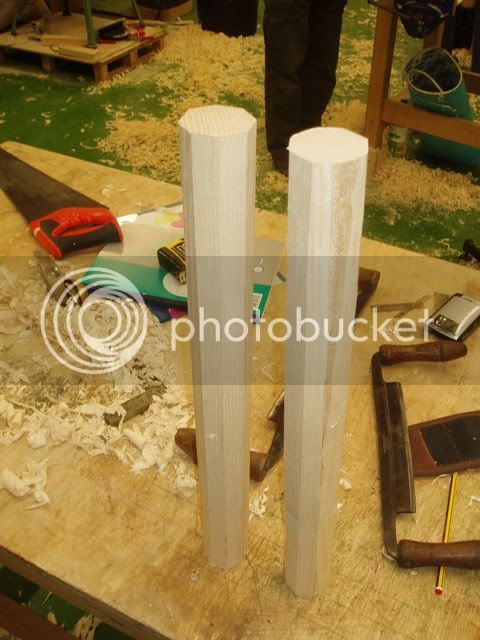
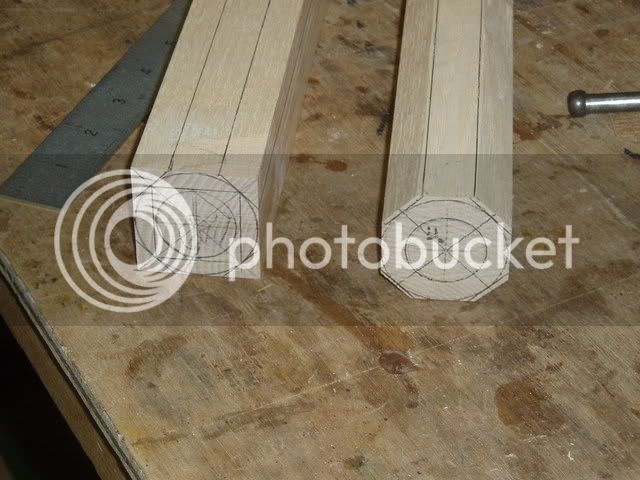
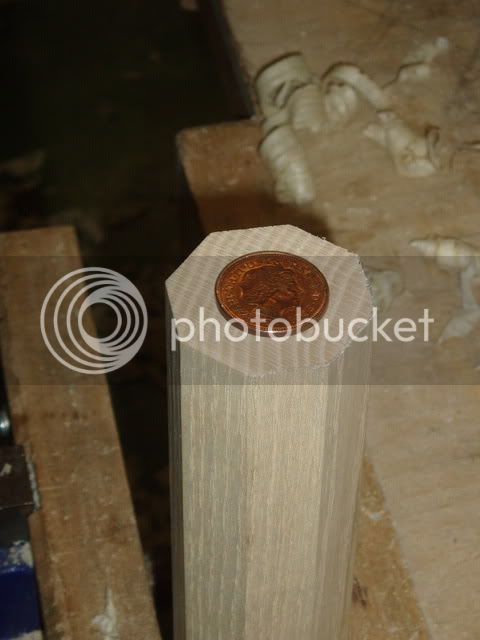
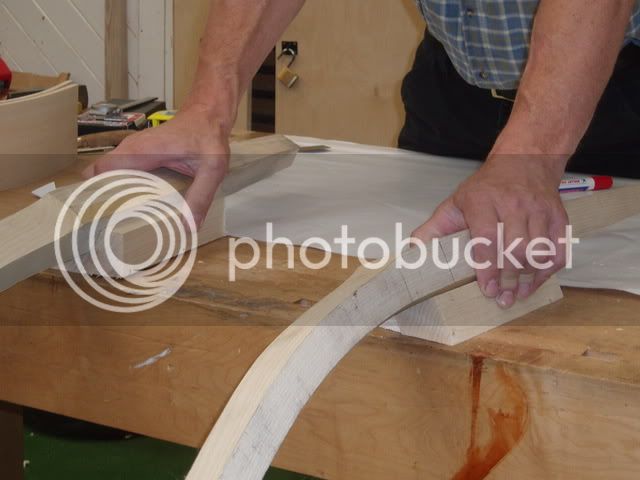
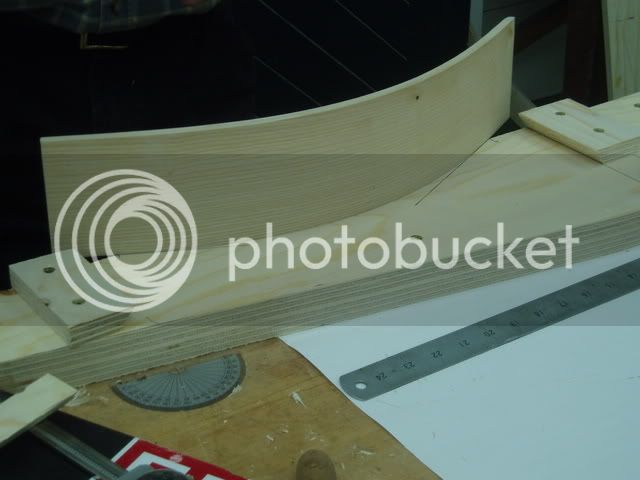
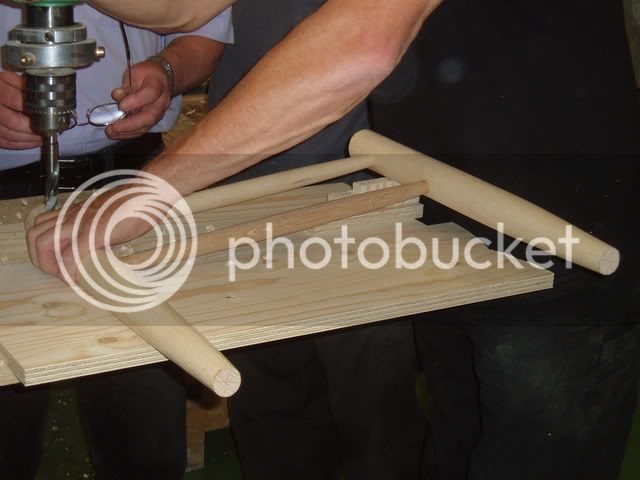
In this picture you can see how the inside edge of the back leg is marked out to taper from the seat to the top - ending as an inch square.
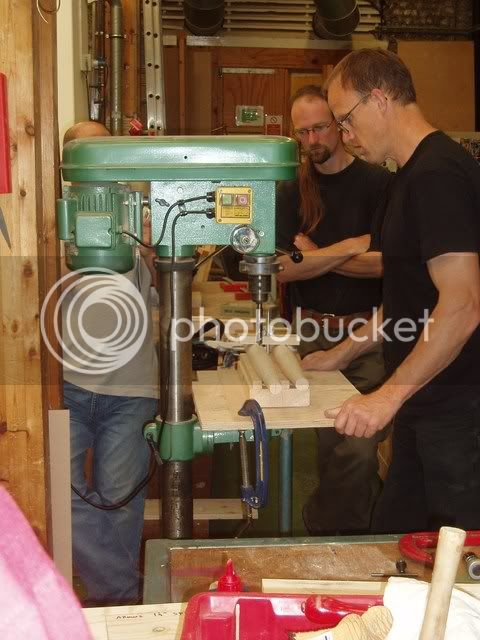
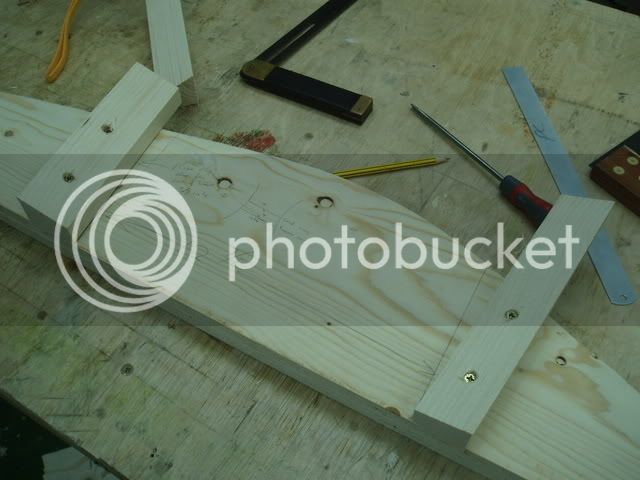
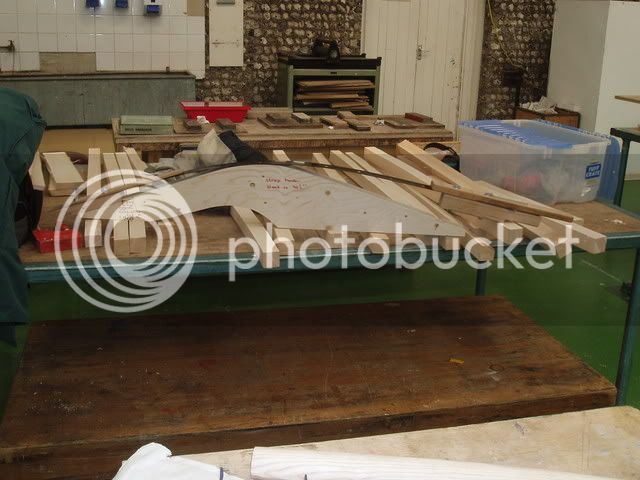
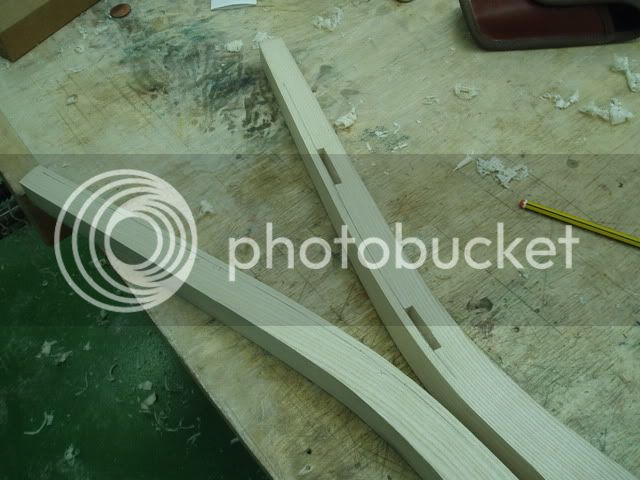
Before any further shaping was undertaken we chopped the mortices for the back slats. These were laid out to meet chair design criteria that Brian spent some time explaining - let's hope I can decipher my notes in te coming months :roll:
... next the slats, front legs and drrlling for the rails! Stay tuned!
We were all dying to know how the meticulously precise DC would cope with measuring to the nearest 1/8th inch. :roll: Needless to say, superb craftsman that he is, he rose to the challenge but still maintained certain ideosyncrasies as you'd expect (see the picture of his front leg markings later in this thread).
James Mursell commented to me that he now better understands some of the stress he sees from his students at glue-up :wink:
Michel Auriou pretended he'd never worked with wood before. I'm not convinced.
Anyway enough of the people. Hopefully these pictures will remind me how we made these Appalachian Ladder-back chairs. Timber courtesy of James Mursell.
Back legs
Starting with blanks of air dried ash, roughly dimensioned to 2 inches, we tapered the top in thickness to 1 inch and tapered the foot to 1 1/4 all round. For some the foot tapering proved a problem - a few deformed under the bending load. (Brian told us early on that we would modify his usual processes to fit the time constraints and the West Dean environment - it wasn't until the failure that we realised that normally he shapes the foot after the bend)
Bending former for the back leg (over-bend to allow for springback)
After > 1 1/2 hours steaming the ash bent beautifully but still required the weight of more than one man to bend it.
Once the legs were bent, they lived in these formers (thanks to technicians who made up 22 of them for us) to cool and whenever we we were not working on them.
Brian demonstrating cleaning up and shaping the legs on a shavehorse.
In this picture you can see how the inside edge of the back leg is marked out to taper from the seat to the top - ending as an inch square.
Before any further shaping was undertaken we chopped the mortices for the back slats. These were laid out to meet chair design criteria that Brian spent some time explaining - let's hope I can decipher my notes in te coming months :roll:
... next the slats, front legs and drrlling for the rails! Stay tuned!