


DaWoodster
Established Member


I knew I should have bought a tablesaw...
This took far longer than expected, should get it finished tomorrow.
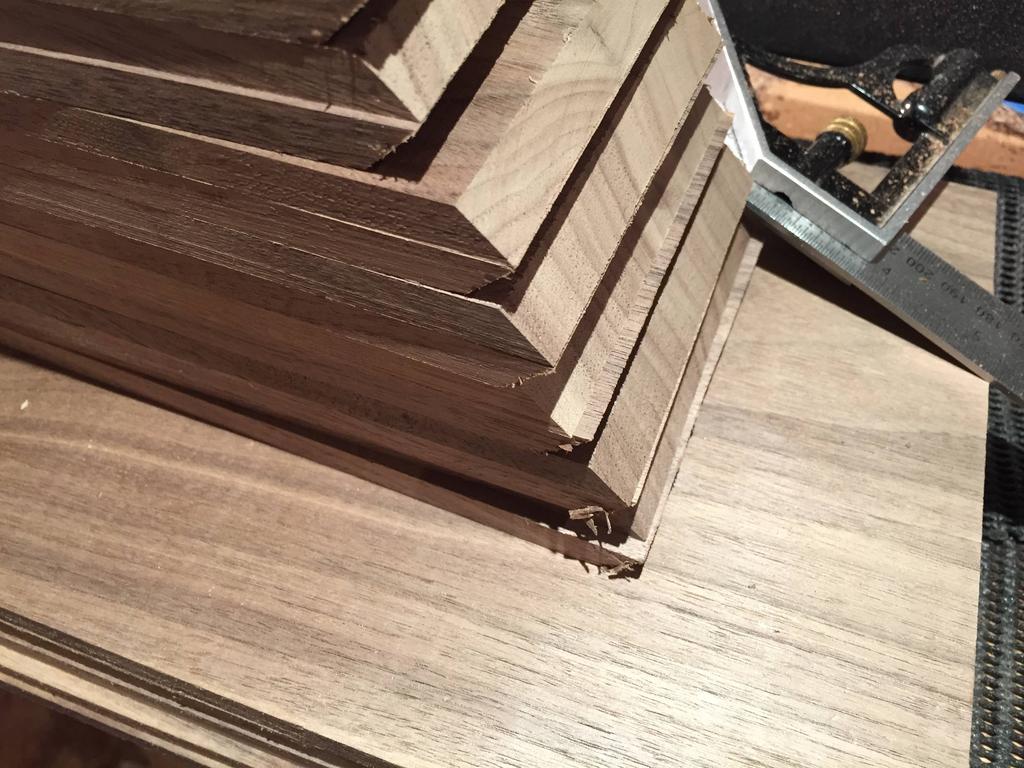
MattRoberts":2gewt1ma said:You hand cut the splines?!
")


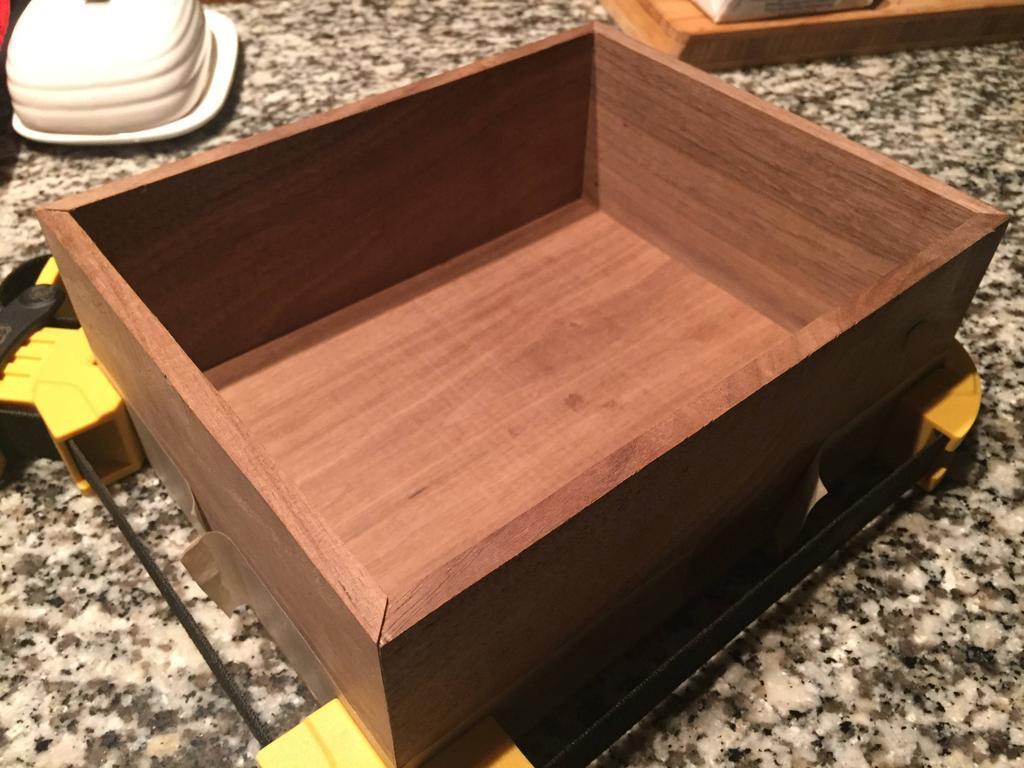
thetyreman":1bj4puxb said:looks great so far, is that walnut? keep the pics coming
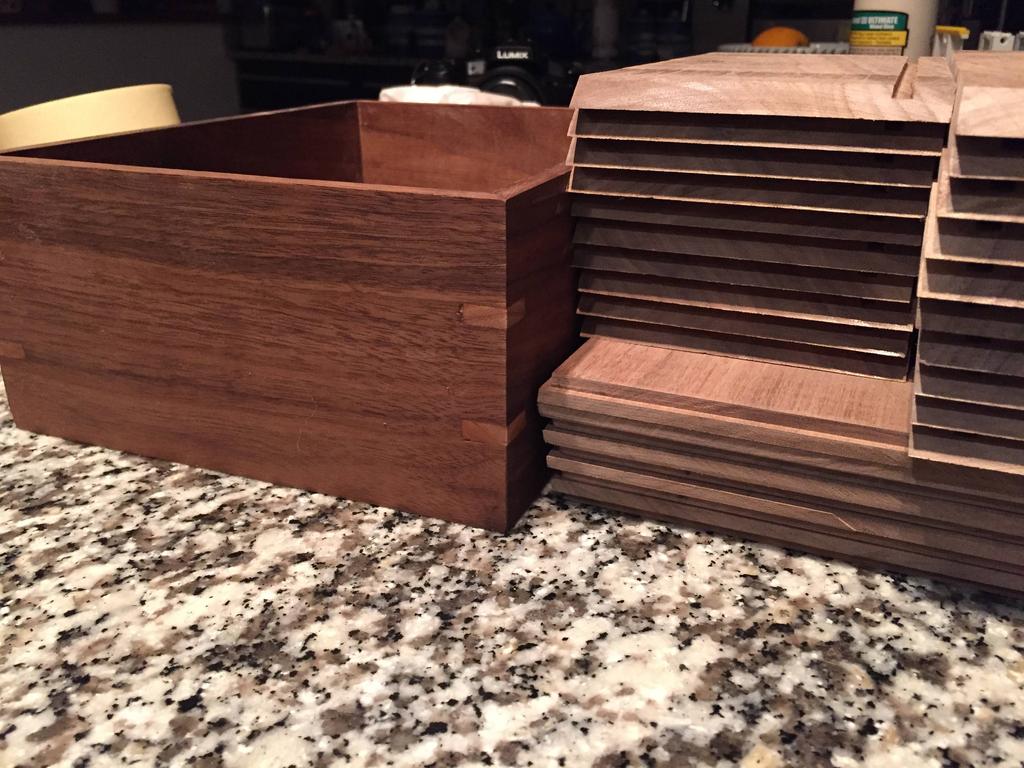
DaWoodster":2z2rr9p2 said:for the glue up I used a lot of masking tape, but didn't feel it had enough clamping force
phil.p":1ojonidg said:how do you manage to get the right amount of PU?
custard":29ka9gkv said:phil.p":29ka9gkv said:how do you manage to get the right amount of PU?
Like I said, "I'm not a big fan of pu glues"!
Even PVA clean up is a pipper down in the corners of a box. The main reason I'll make small boxes is if I'm making a fitted drawer in a desk or a dressing table, nothing looks nicer than a properly made English drawer that's fully fitted with little trays and boxes for stationery or jewellery. In that case I'll plan ahead and pre finish components with a coat or two of heavily cut shellac or shellac sanding sealer, that makes glue clean up much simpler.
custard":3rxuvox1 said:DaWoodster":3rxuvox1 said:for the glue up I used a lot of masking tape, but didn't feel it had enough clamping force
Personally I always assemble small boxes just using well stretched masking tape. Using one band cramp right in the middle risks distorting the box.
Can masking tape apply sufficient pressure? Well, I know some extremely talented furniture makers who always joint their 8mm drawer bottoms using just masking tape, personally I cramp my 8mm drawer bottoms, but they don't seem to have any problems winning multiple Guild Marks with their method so they're doing something right!


Enter your email address to join:


