martinka
Established Member
That's excellent. Now make up some plans and sell them.


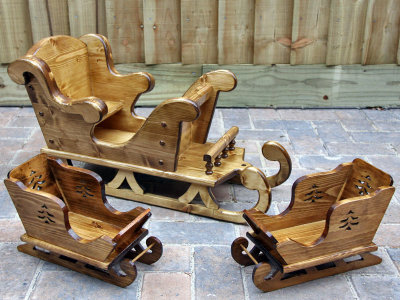
") Just wondering what size this is? my younger cousins will love a couple of these to play with.
Just wondering what size this is? my younger cousins will love a couple of these to play with.rspsteve":d6723dn4 said:Looks great..one thing i would do is round the headlights to a curve to follow the front body work ..like the original car if that makes any sense.
Steve
gilljc":2gez792r said:I agree with Martin really like the 5 spoke wheels, did you buy them or make them? haven't seen ones like that
Vic Perrin":2gez792r said:Excellent piece of work. How long does it take to make a model like that with so much detail
Enter your email address to join:


