August 2011 Challenge ( item of jewelry)
Our New Judge for August will be Richard Findley
( Rules /Requirements / Judges Criteria )
This months project is to produce an item of Jewelry
This item can be any of the following: -
Finger ring
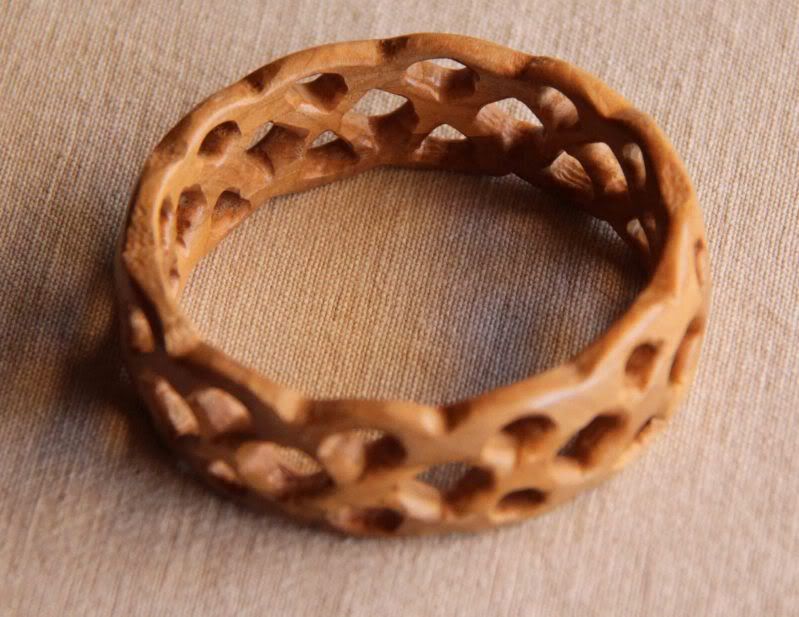
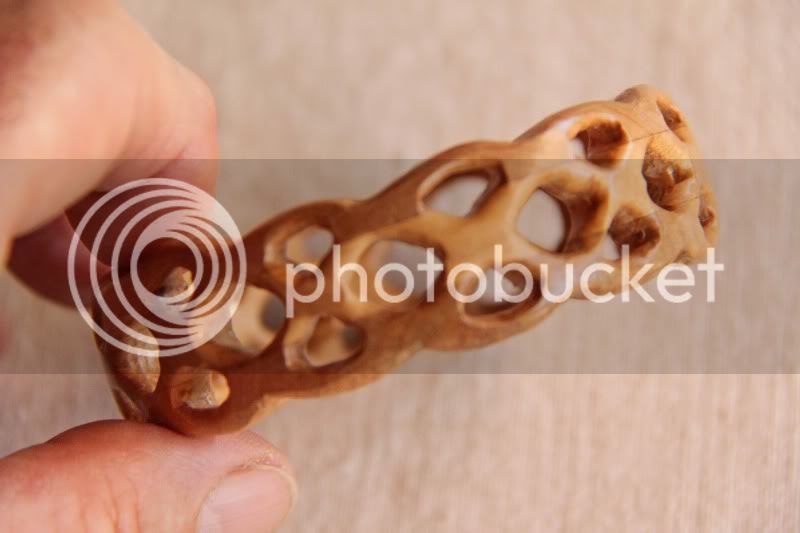
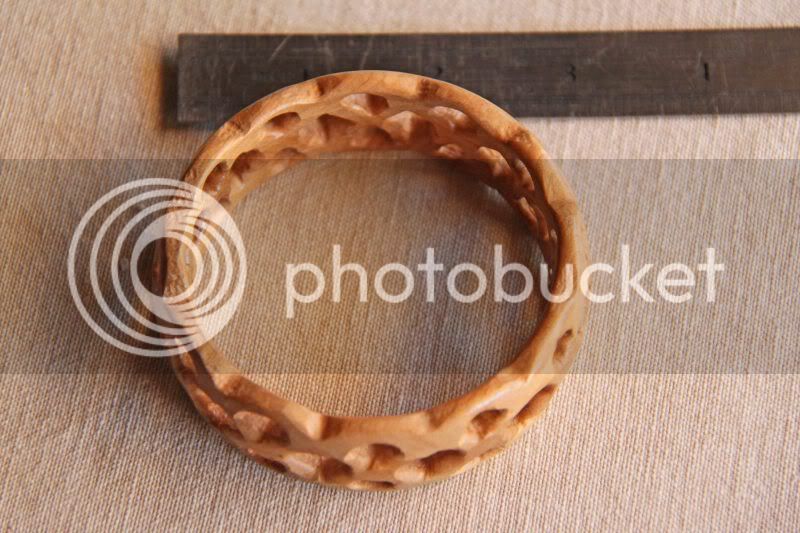
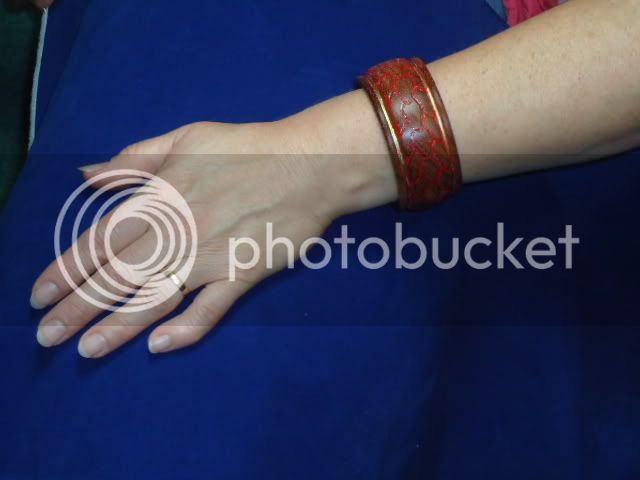
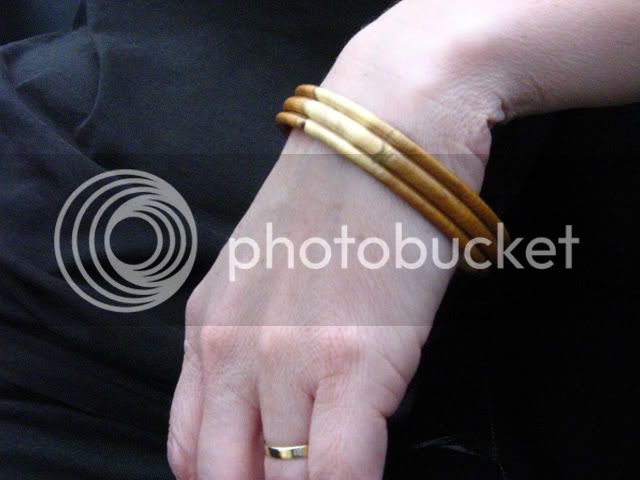
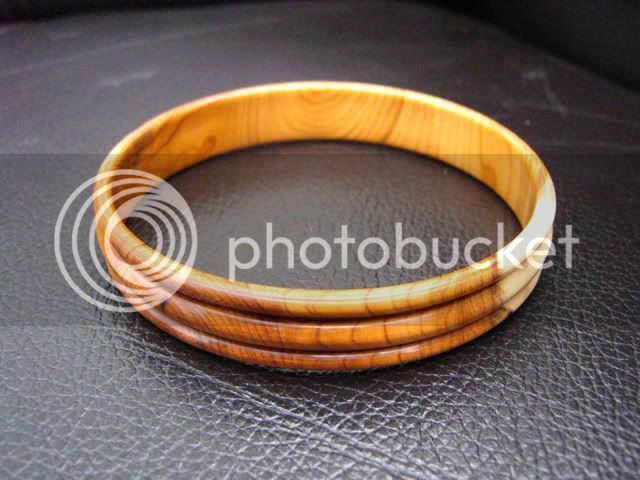
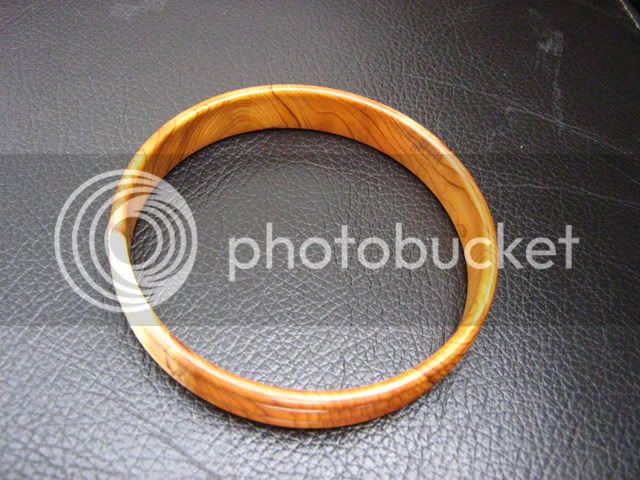
Bracelet
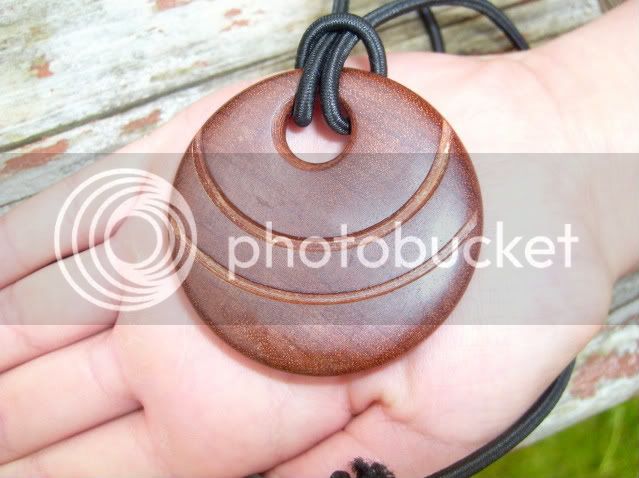
Necklace
A pair of earrings
Brooch
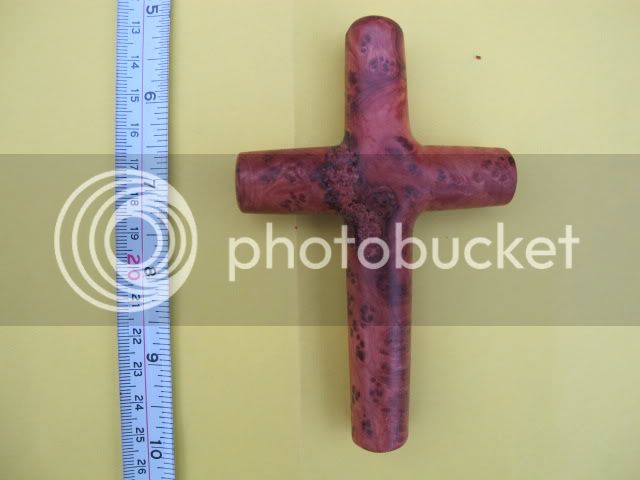
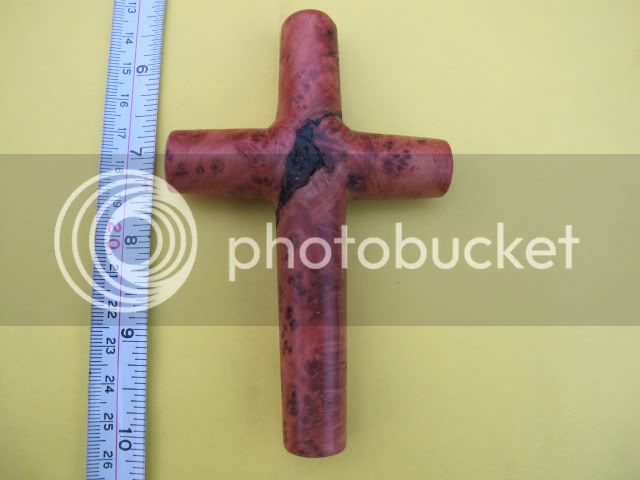
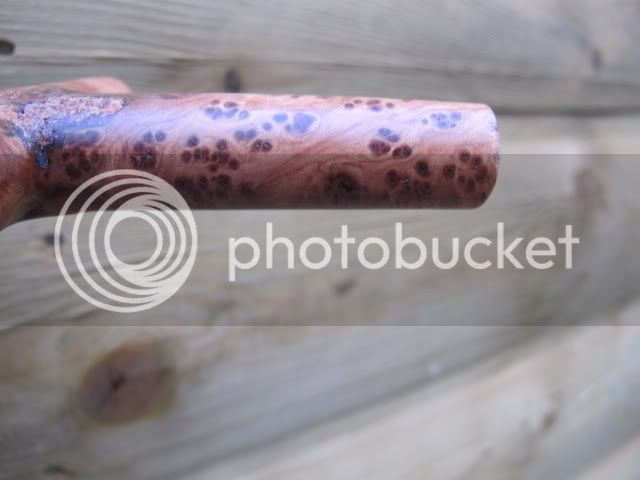
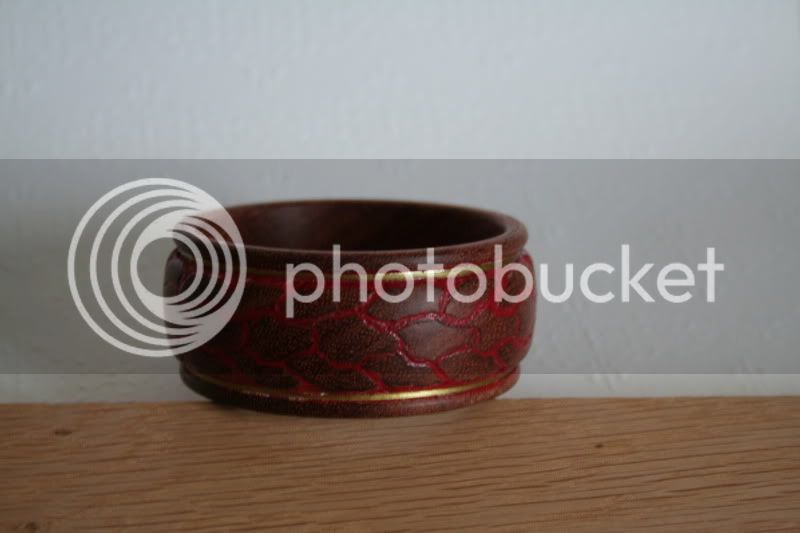
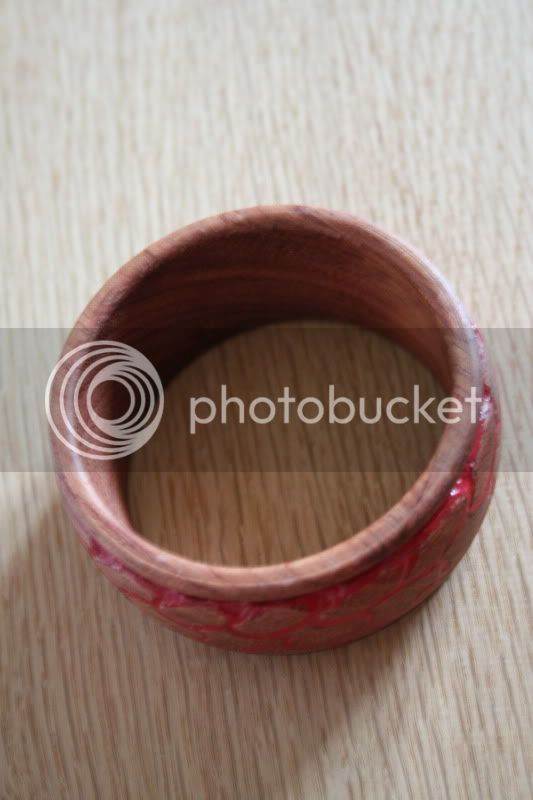
The item / Items must be lathe turned and made of wood
Any wood type
Any size
Up to 3 different wood types will be allowed, but not multiple segmented work.
Colouring carving piercing and Pyrography will be allowed
Judges Criteria
Richard has said he will be looking for: -
Well-designed and turned items
Made to a suitable scale,
Well finished with a suitable hard wearing finish,
The items must be usable, practical and fit for purpose
NO Critique or comments on any work until September Please, After the Judging and results.
Please state the wood type used if known and a little about the techniques applied when producing the jewelry item (this helps the judge)
The Judges decision is final.
Please post 3 images / photos of your work
1 the item next to a tape measure / to give a sense of scale or of the item being worn (Richard would like this photo if you can find a willing model)
1 looking down on the item from above
1 close up of the item
Image size please use image size 640 x 480 0.3 mp, same as previous months
Please notify me your entries are ready by 10 pm on the 27th August after this time the thread will be locked
Entry’s to be uploaded from 10pm on 27th August up until 10pm on the 29th August after this time the thread will be locked for Judging
Results will be given on or before 31st August
Our New Judge for August will be Richard Findley
( Rules /Requirements / Judges Criteria )
This months project is to produce an item of Jewelry
This item can be any of the following: -
Finger ring
Bracelet
Necklace
A pair of earrings
Brooch
The item / Items must be lathe turned and made of wood
Any wood type
Any size
Up to 3 different wood types will be allowed, but not multiple segmented work.
Colouring carving piercing and Pyrography will be allowed
Judges Criteria
Richard has said he will be looking for: -
Well-designed and turned items
Made to a suitable scale,
Well finished with a suitable hard wearing finish,
The items must be usable, practical and fit for purpose
NO Critique or comments on any work until September Please, After the Judging and results.
Please state the wood type used if known and a little about the techniques applied when producing the jewelry item (this helps the judge)
The Judges decision is final.
Please post 3 images / photos of your work
1 the item next to a tape measure / to give a sense of scale or of the item being worn (Richard would like this photo if you can find a willing model)
1 looking down on the item from above
1 close up of the item
Image size please use image size 640 x 480 0.3 mp, same as previous months
Please notify me your entries are ready by 10 pm on the 27th August after this time the thread will be locked
Entry’s to be uploaded from 10pm on 27th August up until 10pm on the 29th August after this time the thread will be locked for Judging
Results will be given on or before 31st August


.JPG")
.JPG")
.JPG")