carlb40
Established Member
Sounds like a plan. As you have the blade already you may aswell make use of it ")


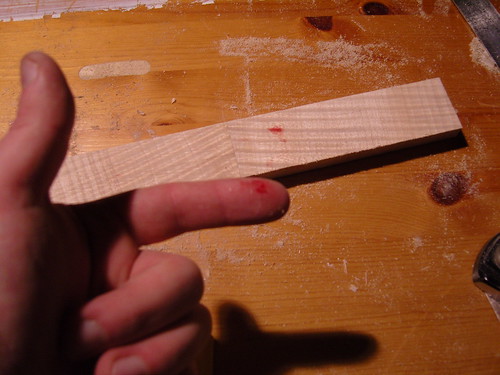
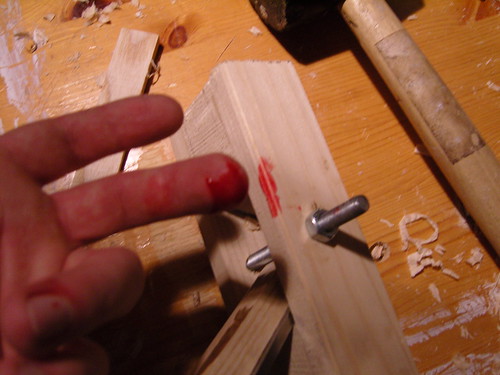
Anima":1bdo2my3 said:Don't be put off. If I was a diver I would be one that aims for technical scores as opposed to execution. I added the blood for sympathy.
There are already mistakes but I've learnt a lesson from each of them. When I'm done I intend to post a cut list and the pointers so you(or anyone) can do it better than I have managed.
Anima":11mkacmu said:Don't be put off. .
DMF":31q9zb8v said:Anima":31q9zb8v said:Don't be put off. .
Quite the oposite! In my head i was going to get a few bits of scrap and just try a couple of joints out, the more i read posts like yours though it's clear that's a silly idea!
Anyway looking forward to the next bit........
stoatyboy":1keymnov said:looking good and loving the wip
for the body - have you thought about mitres with dovetailed splines?
i've not read the rules but it might count and that way you could keep your original mitre plan
i've never done them myself though!!
cheers
Shows you in thisMelinda_dd":1r9qks64 said:stoatyboy":1r9qks64 said:looking good and loving the wip
for the body - have you thought about mitres with dovetailed splines?
i've not read the rules but it might count and that way you could keep your original mitre plan
i've never done them myself though!!
cheers
Be interested to know how you'd do them
Enter your email address to join: