Analysing and Restoring the Kent Haul

UKworkshop.co.uk

Help Support UKworkshop.co.uk:

This site may earn a commission from merchant affiliate links, including eBay, Amazon, and others.

jimi43

Established Member
Joined
12 Mar 2009
Messages
6,921
Reaction score
15
Location
Kent - the Garden of England
Hi Guys....

Over on the General Woodworking forum I posted the haul I found at the weekend....and as AndyT says...this might prove to be a collection so I thought I would start another thread in the right forum so we can research the provenance of the tools.

Leaving the Kenyon pig sticker aside for the moment...I wanted to post something about the woodie adjustable compass plane which I found out tonight.....
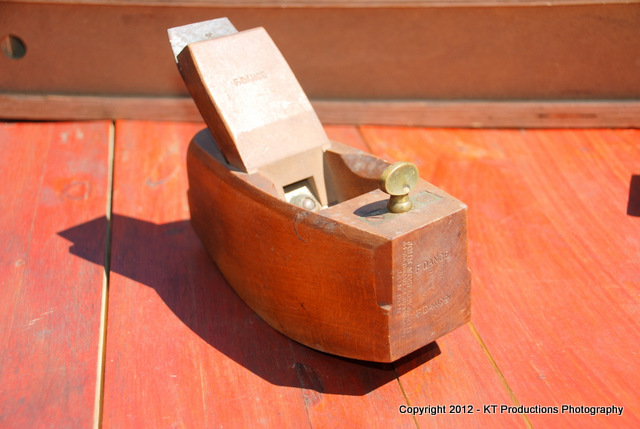
DSC_1415.JPG


Looking closely not at the Moseley stamp...but at the retailer..."Sold By S.Britt Maidstone"....
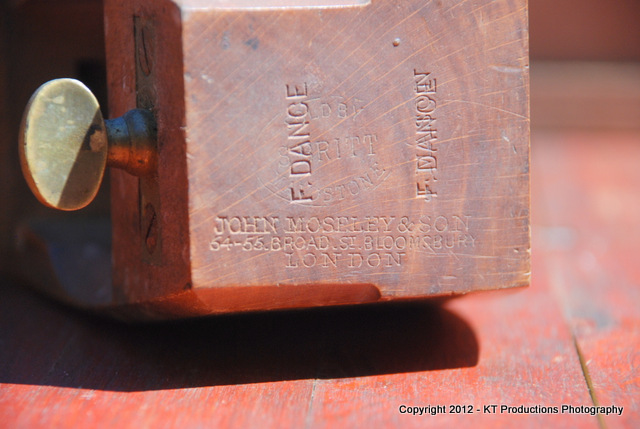
DSC_1416.JPG


In the 1871 census for Kent I found this....


1871 Maidstone still - 21 U[pper] Stone St

RG10/943 Folio 31 Page 26

Stephen Britt 44 HEAD Ironmonger born Rye
Mary A 28 Wife Maidstone
George Bengie or perhaps Bougie 4 -Wifes son- born Maidstone

At the age of 44 and as "HEAD" ironmonger...he must be the S.Britt on the stamp. Firstly because it is an unusual name and obviously...and ironmonger.

In fact this....from the Sussex Archives for Rye gives even more confirmation:

STEPHEN BRITT 1827 - 1905 b: January 1827 in Rye, East Sussex,
baptised at St Mary's church Baptism: 12 January 1827 Baptised at St Mary's,
Rye, East Sussex. Father was a seaman d: Aft. 1905 in Maidstone, Kent. He
was a millwright (1851) ironmonger and later mayor of Maidstone.

To that would date this around that time....

Assuming the other tools are from the same area...and source...it is possible that the owner would have bought the other tools at or around the same time.

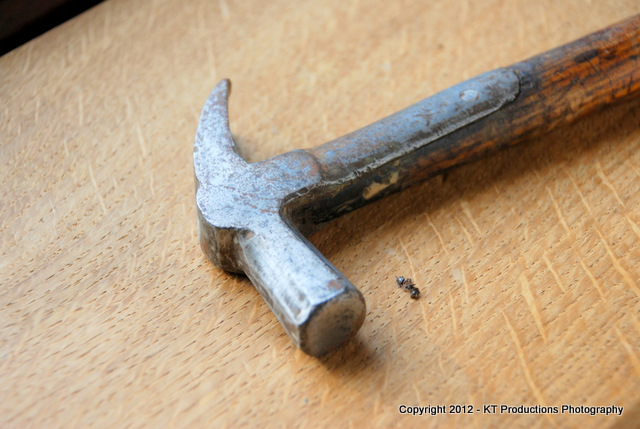
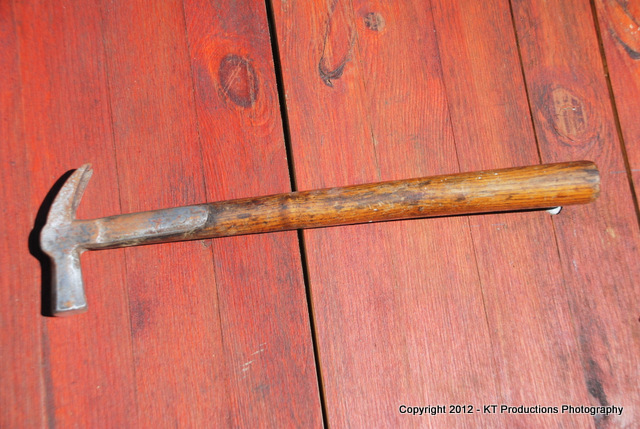
As for the hammer....
DSC_1405.JPG


....I think it is hand forged...I can see the forge weld between the head and the straps...but I will do some close-ups tomorrow.

Jim
 
Nice one! It fits properly with the dates for Moseley in Broad Street which are 1862-94.

Another place to go for this sort of thing is the Historical Directories Project (http://www.historicaldirectories.org) which lets you search a selection of old Trade Directories. Looking at the selection for Kent, I can find Mr Britt listed under "Cutlers" and "Toolmakers and Dealers" in the 1891 Kelly's Directory:

0000CS5Q.PNG


- I'll let you have fun searching the rest - maybe you can find F Dance in the census as well!
 
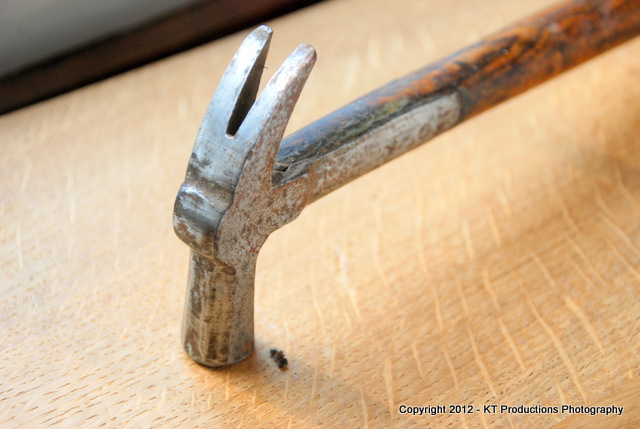
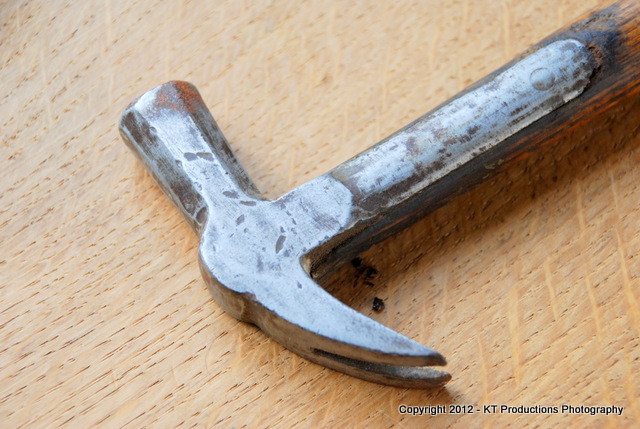
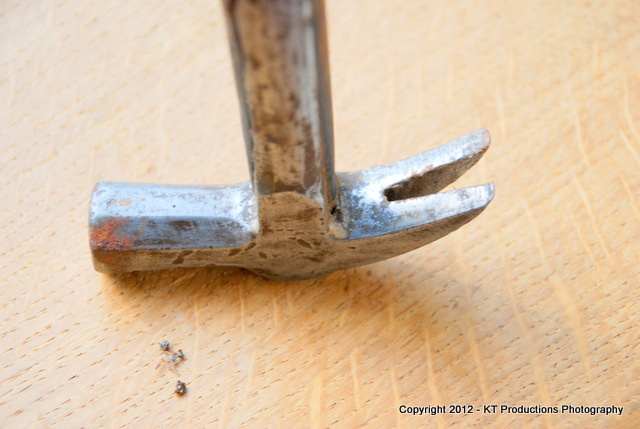
Ok Andy....here you go with loads more pictures of the hammer head...

DSC_1470.JPG


It seems to work whether it's forged or not...well...on ants anyway! Big bugga with pincers!

DSC_1471.JPG


This is the other side...

DSC_1472.JPG


Inside edges...

DSC_1473.JPG


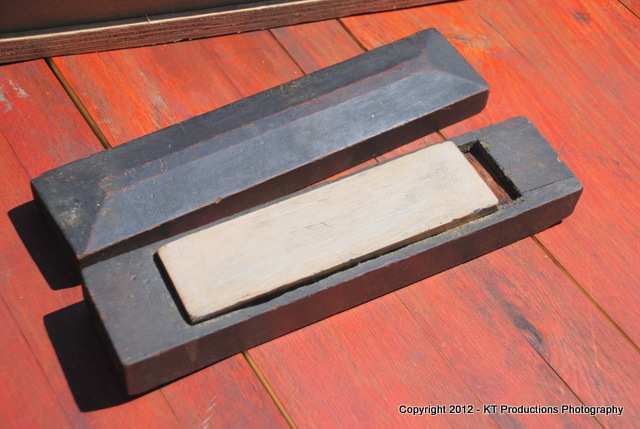
I have been tarting up the Belgian Coticule....

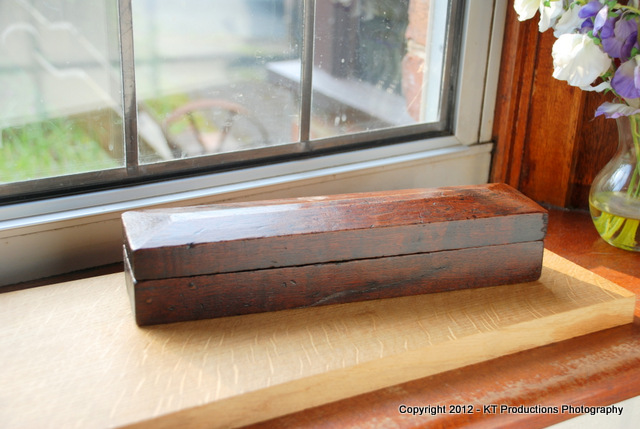
Underneath all of the oily gunk and grease....a rather nice mahogany case...

DSC_1466.JPG


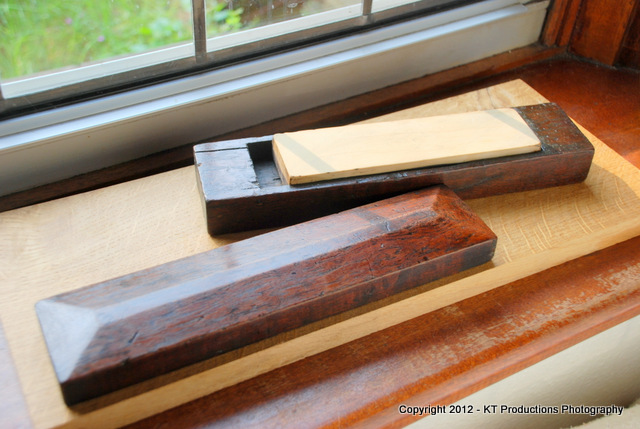
There is still a crack to sort out....

DSC_1467.JPG


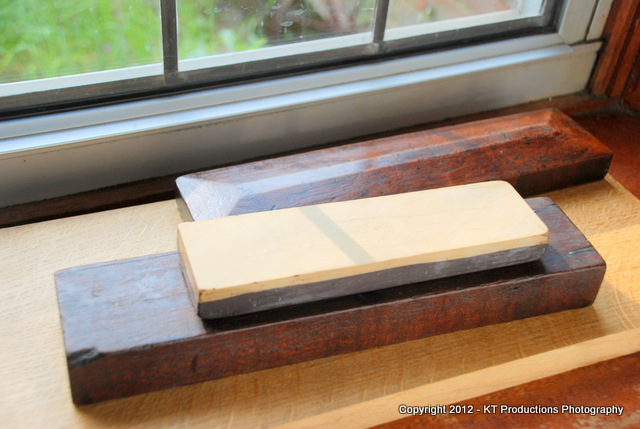
...but the hone came up beautifully....

DSC_1468.JPG


This is a really nice old one....

DSC_1469.JPG


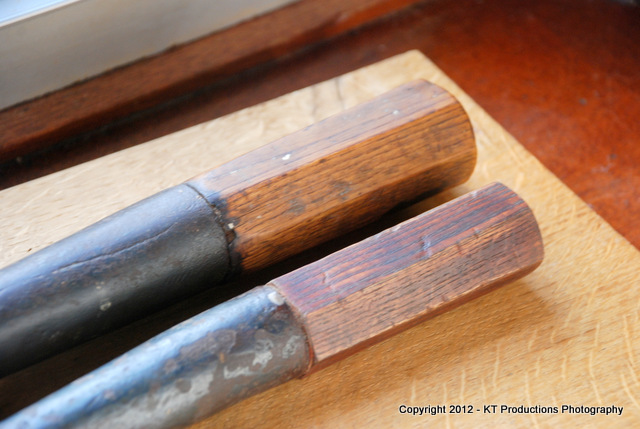
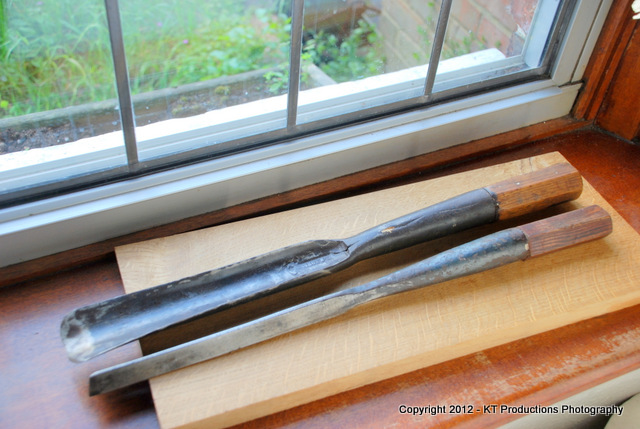
I didn't have thick enough stock for a new handle for the socket bruzz...

DSC_1478.JPG


...so it is a bit thin on taper...but I wanted to test mix some stain to try to match the other one...I think it needs more yellow...

DSC_1476.JPG


Douglas has kindly offered me some more ash to get a nice piece for this and also for the smaller of the two firmers to match the monster!

More later...

Jim
 
Well that's my evening sorted Andy! Thanks Prof! 8)

Did you notice that in 1891 it is S.Britt & Son. The stamp just says S.Britt so presumably it is before that date.

I will have a play...cheers.

Jim
 
A little bit more on the hammer. It's a perfect match for the pictures in Salaman's Dictionary of a Kent Hammer which fits with the county theme rather nicely. It even has the funny bump on the head. I could copy out the entry or just do a little extract with the advice that if you haven't already got it, this is the one book that any tool collector or appreciator just has to have. Perhaps I'll do a proper review some time, but this will show you the quality of coverage, and give you a rather wide range of dates for your hammer, which does not seem to have any giveaway maker's mark on it!

hammer-1.jpg
 
Major embarrassment Andy...I have Salaman's tome upstairs in my woodworking library but I was so busy fiddling with the tools and taking pictures that I hadn't actually got that far yet!

I totally agree about the book...I got it for a birthday present last year...really lovely book.

Mine is the abridged version...there is only one in the world. :wink:

Jim
 
jimi43":11ssrqzu said:
I have been tarting up the Belgian Coticule....

Underneath all of the oily gunk and grease....a rather nice mahogany case...

There is still a crack to sort out....

...but the hone came up beautifully....

How do you keep finding these natural stones? :shock:

That's a lovely job you've done on the box, have you got any tips please?
 
DTR":gyq0c0vz said:
.........How do you keep finding these natural stones? :shock:

That's a lovely job you've done on the box, have you got any tips please?

Hi Dave

Thanks mate.

First of all you have to know what you are looking for. Almost all of the stones you find at bootfairs are going to be synthetic combination stones...the ones made of carborundum with fine grit one side and coarse grit the other. You get to recognise these as they are oilstones and tend to absorb the oil pretty well. They also have a gritty feel to them.

They will also be very regular and sharp on the edges.

A natural hone will be irregularly shaped...though not necessarily but will appear to have the gunk "on" the surface rather than in it....and will generally be smoother.

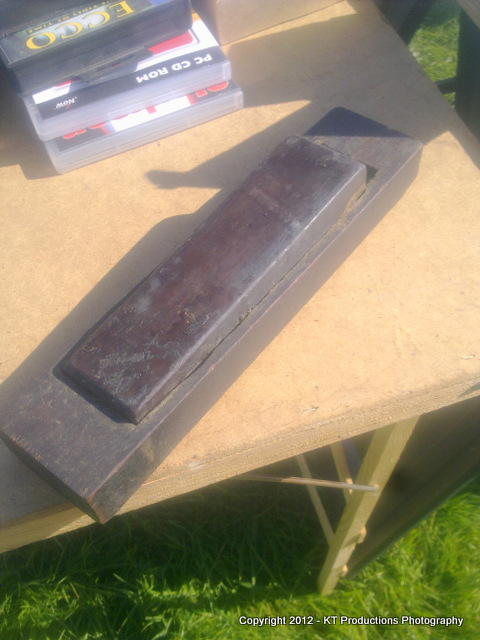
Excuse the poor quality but this shot taken on my phone camera shows this one as I got it:

Image0232c.jpg


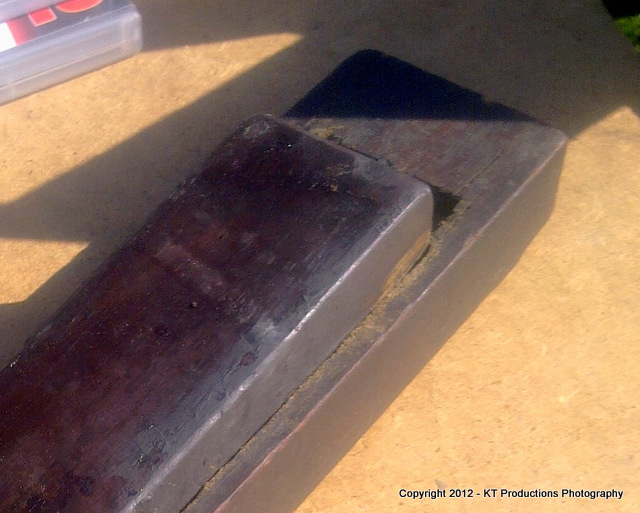
I carry a scraper and a rag around with me and you can just see where I have scraped the edge to reveal the stone underneath in this closeup:

Image0232c-001.jpg


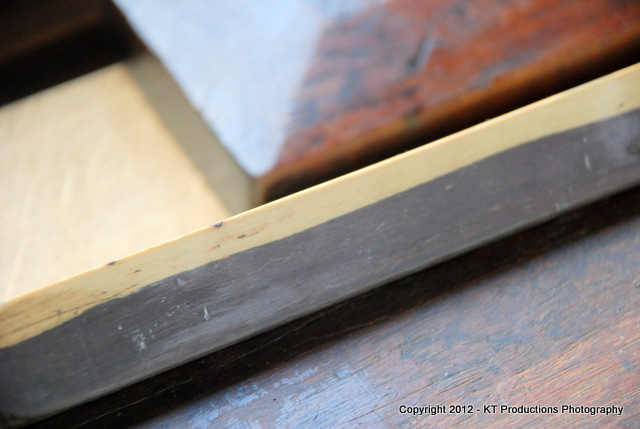
The yellow layer can just be seen...and the layers are not perfect...they will undulate naturally.

Note also the smoothness...the gunk has been scraped on the top but on the edge you can see it is still there...but smooth and actually "on" rather than "in" the surface.

The boxes of fine hones are generally good quality. The craftsman would have paid a fortune for the Belgian hone even then...and it would have taken pride of place on his bench so would have a fine box made to put it in.

In this shot before the box was cleaned:

DSC_1422.JPG


...you can clearly see where I have scraped away the built up gunk to reveal the mahogany. The coticule surface has also been thoroughly cleaned but not flattened.

I then use Naphtha (lighter fuel eg Zippo) to clean out the oil and it leaches out. I then leave it soak in a soapy water bath overnight. Coticules are fairly easy to get the oil out of this way.

I then use a cabinet scraper to remove the hard layer of dirty oil build up from the box and then move over to lighter fuel on loads of kitchen roll to remove the rest.

This leaves a dull but fairly unaffected patina of the old box. I then restore the shine with button polish with dye added but only a bit...which brings back a gloss...which is too shiny. This shine is then cut with fine wire wool...and finally the wire wool is used with Liberon wax to coat the surface.

Let this dry hard and then buff.

And that's it...restored:

DSC_1466.JPG


Other than that...it's just down to luck!! 8)

Oh...and getting there at 5:30am! :wink:

Jim
 
I moved on to the irons of the two compass planes this afternoon.

Every single time I get to sharpen a Ward & Payne edge tool I do so with utter pleasure...safe in the knowledge that I will get perhaps the best steel Sheffield had to offer.

The larger of the two compass planes was sporting such an iron and I was not to be disappointed.....

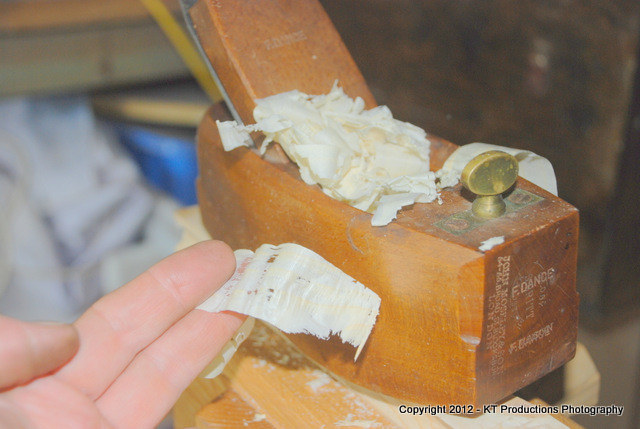
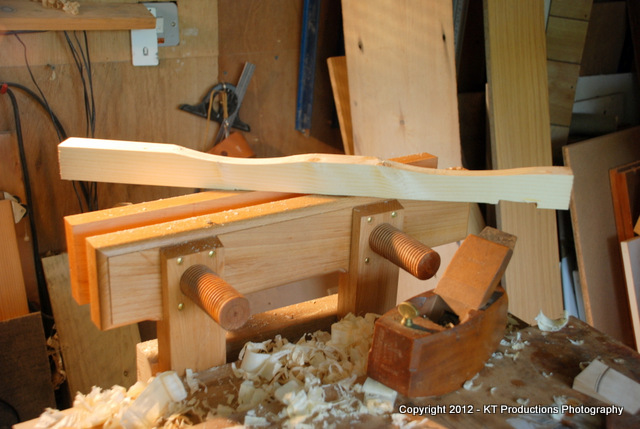
DSC_1495.JPG


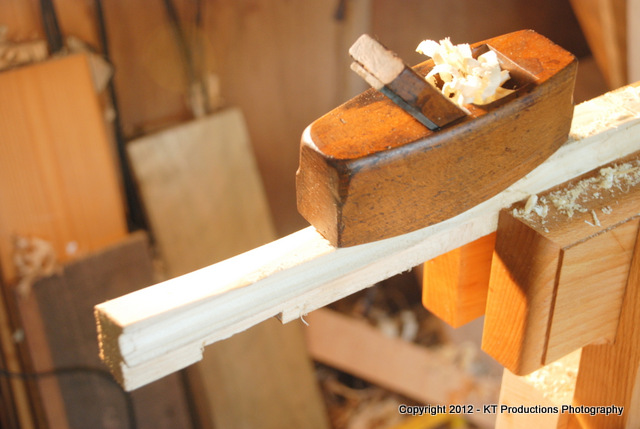
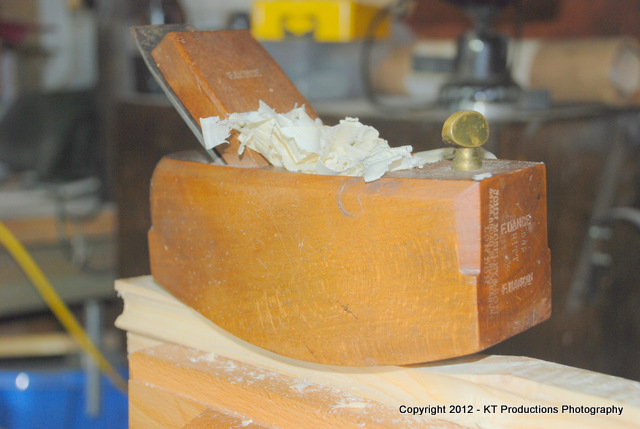
I have never had need to own nor use a compass plane...woodie or steel...and so I had not realised how clever they are and how easy they are to use once they are set. I didn't bother setting the iron too fine...I will later...but even with relatively thick shavings the plane made that whooooshing sound and cut beautifully.

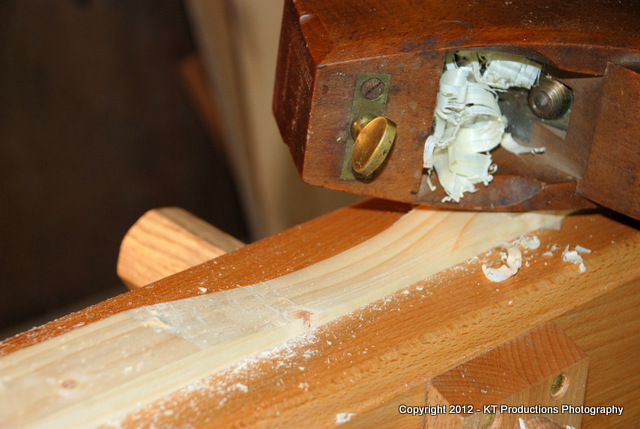
DSC_1497.JPG


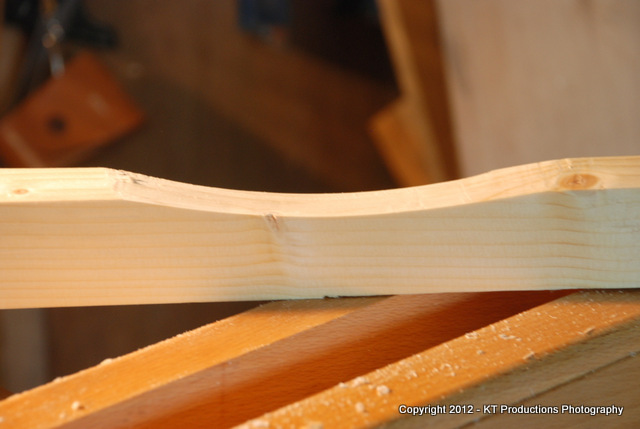
On my old scrap of pine...the uphill section tore out but this was instantly remedied by a couple of opposite passes resulting in a smooth and regular curve.

DSC_1502.JPG


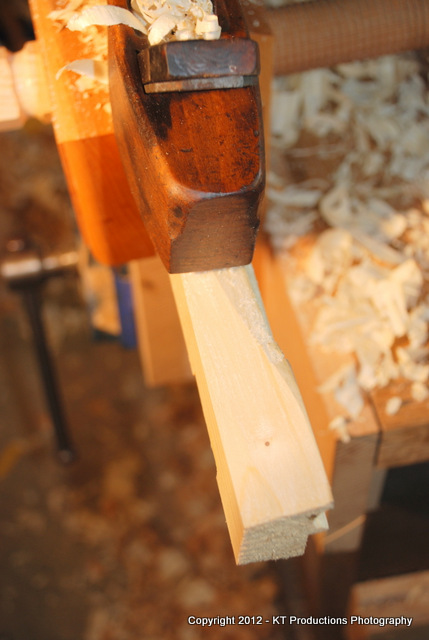
I was able to get consistent results...even starting from flat...and the front radius adjuster worked a dream...

DSC_1499.JPG


Nice bit of kit...and definitely a keeper. Of course I would normally cut the radius close on a bandsaw and then finish with this plane but even without doing this...the results are good.

I then went on to the little no name compass scrub.....

DSC_1506.JPG


Even with no name on the iron I was able to sharpen it to a keen edge.

The result was a very controllable tool...able to shape any concave radius...

DSC_1504.JPG


I suspect this would be ideal for working chairs.

I think I will hit the Preston spokeshave now...see how that performs!

Later...

Jim
 
Jim,

Could you explain a bit more about that compass plane. Is the curve adjustable? I read an old Dutch article from 1856 about planes and it mentioned the fancy britisch compas planes that had a metal part at the front that could be tilted to adjust the radius.
 
Corneel":3rpv1he7 said:
Jim,

Could you explain a bit more about that compass plane. Is the curve adjustable? I read an old Dutch article from 1856 about planes and it mentioned the fancy britisch compas planes that had a metal part at the front that could be tilted to adjust the radius.

Sure my friend.

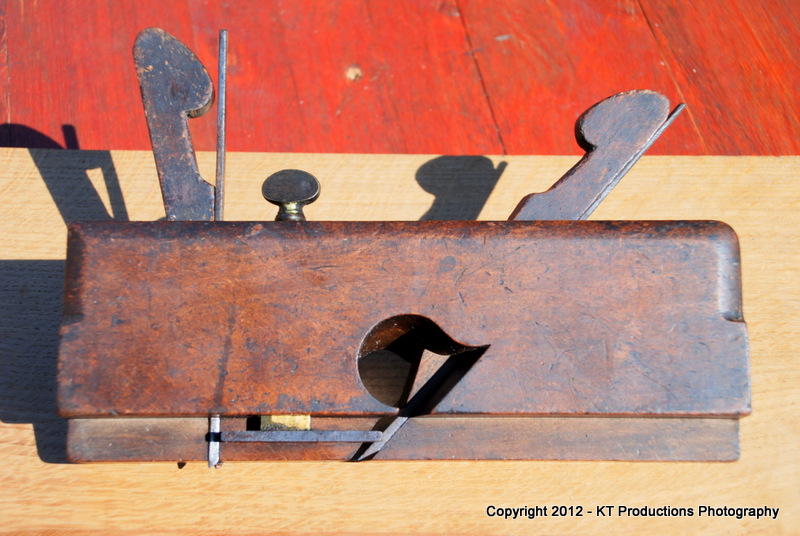
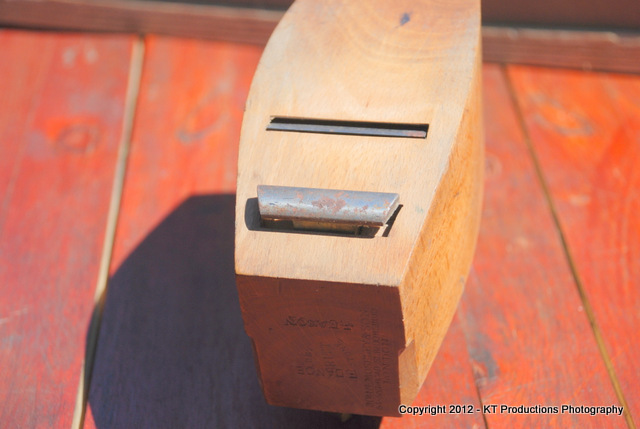
The brass knob at the top front....

DSC_1415.JPG


....works exactly like the depth stops on plough and rebate planes like this one....

DSC_0919.JPG


...whereby it raises and lowers a brass block embedded in the body to which is attached a fence....but this one is across the width and rounded off:

DSC_1418.JPG


This stops the plane being tilted forward more and more as it is lowered...and eventually it will be in line with the mouth and the plane will cut straight.

Any position more retracted than this, causes the plane to cut a tighter and tighter radius until the maximum radius is reached...the radius of the sole itself.

In use...the craftsman...let's say a wheelwright....would set the radius to that of the job in hand...say the inside of a wheel...and it would smooth this off. I have started with a flat piece of stock and actually cut a radius. I would normally have bandsawed the cut first and then smoothed it off....but I was showing the capabilities of the plane.

DSC_1494.JPG


See how it has cut from flat...the exact radius of the sole with the fence fully retracted.

Does this help?

Jim
 
Yes that's helpfull. Thanks, I understand now what it's all about.

Just wondering, when you use that adjustment to increase the radius, you are lifting the front of the mouth from the surface. Wouldn't that be detrimental for the quality of planing? I know when my woodies develop a bulge behind the mouth, thus also lifting the mouth up, it's very hard to take a fine shaving. In well behaved pine it's not much of a problem of course.
(just theorising a bit).
 
Back
Top