


In an attempt to get something done in the 'shop i wanted to make a small cabinet which could hold my layout tools.
As i got a starting set of Miller dowels for Christmas i wanted to incorporate that and i also had some walnut pocket hole plugs which i wanted to try.
So i set out to make a carcass, unfortunately, and being the newbie here i forgot to take any pic's before this one of the gluing up of the carcass:
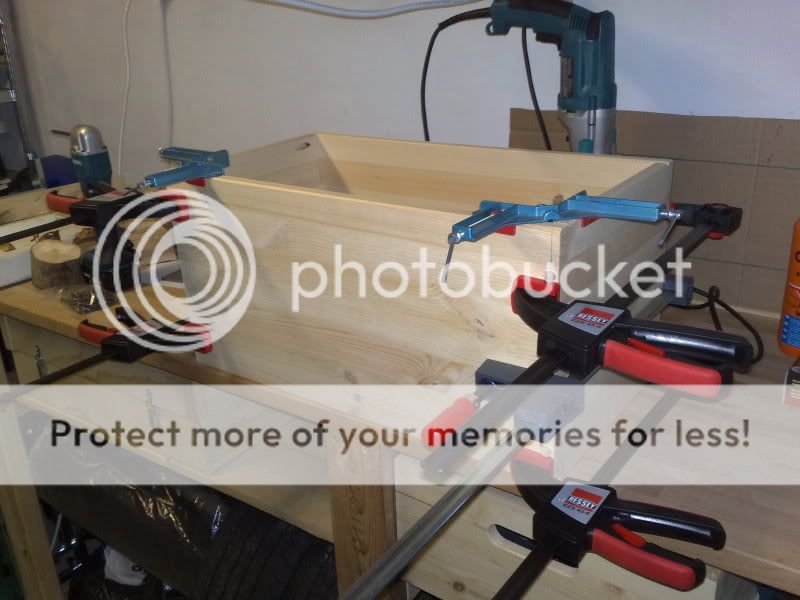
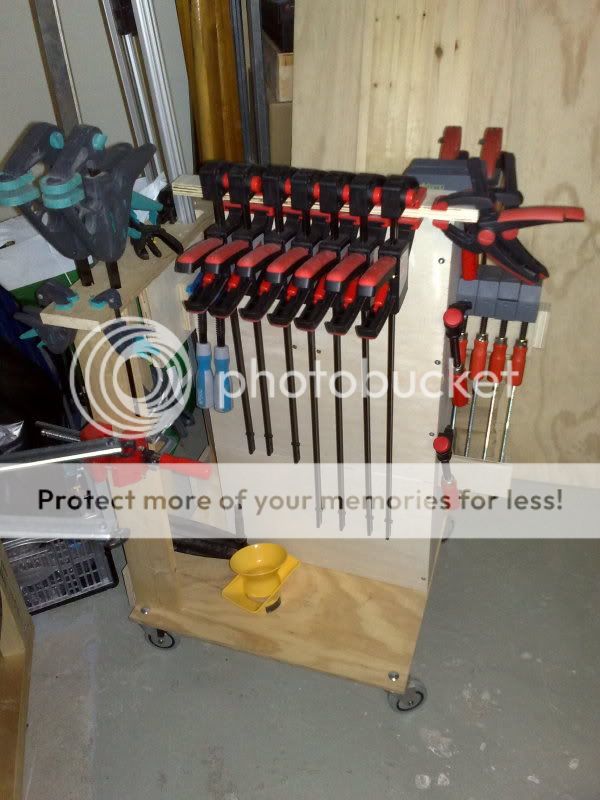
I fully agree one can never have enough (Bessey) clamps.
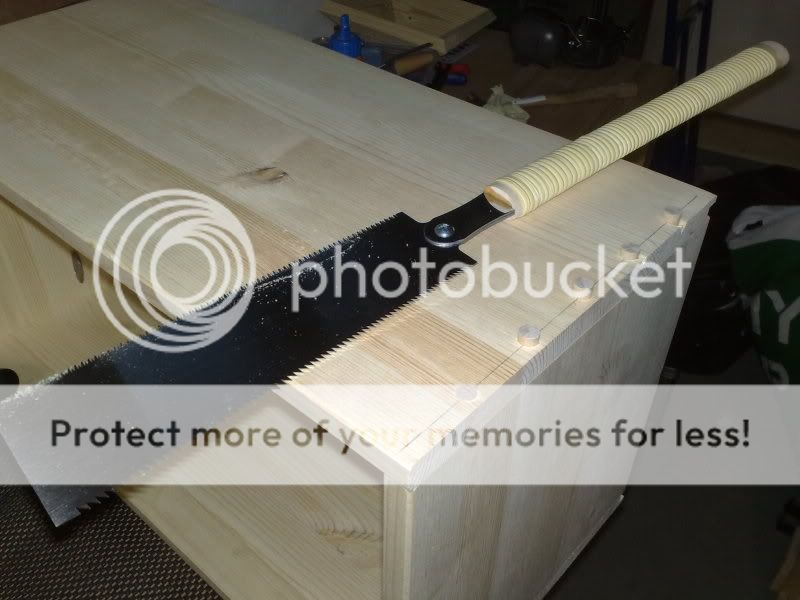
Here's the Miller Dowels, i have learnt that it's of importance to let the drillbit up several times to get rid of the debris. If not it just makes a way out itself. Visible in the pic. That didn't happen on the other side, and since this is a tool cabinet i just note what i learnt and carry on.
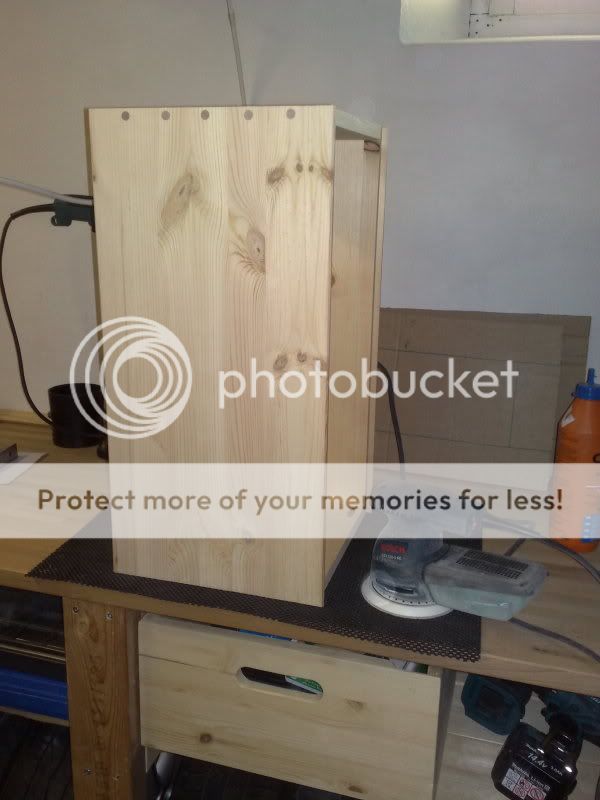
Inside for the bottom i used pocket hole screws and walnut plugs against the pine carcass looks OK'ish:

Which in turn sees me here:
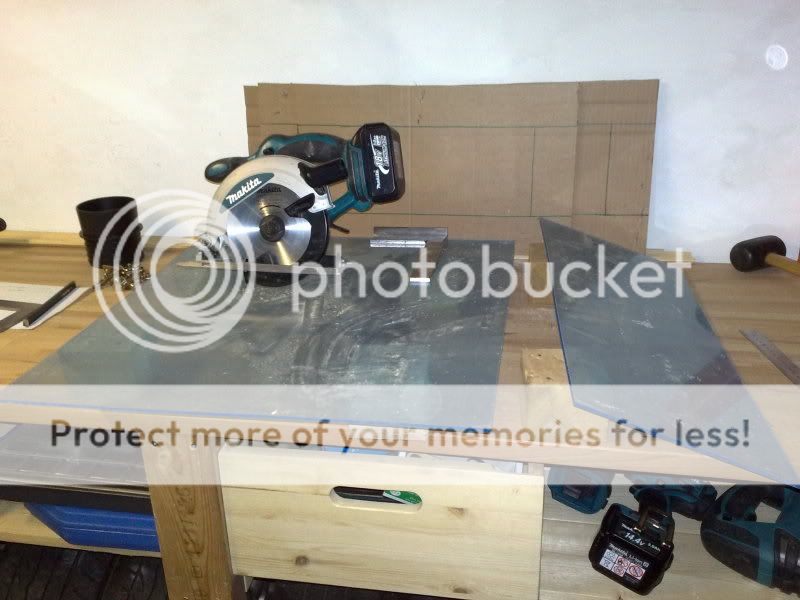
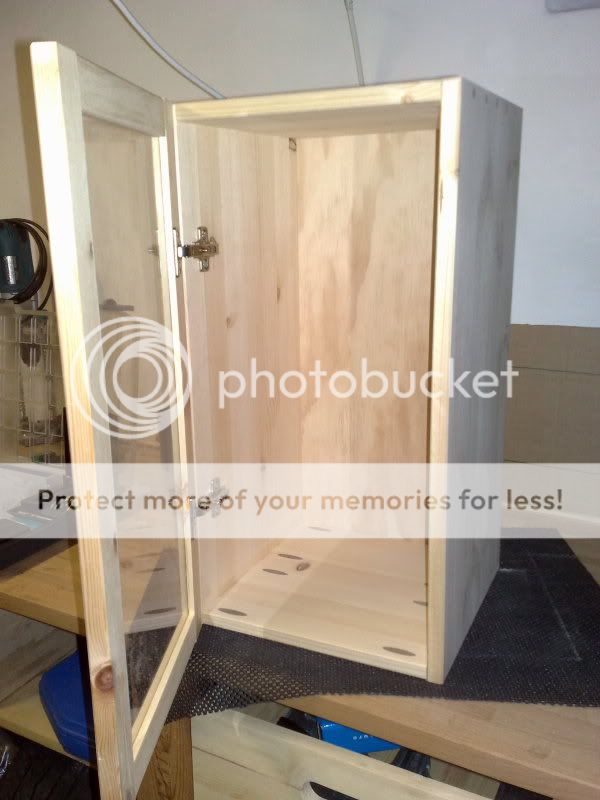
Then a door is needed. I have decided to use Lexan equivalent inside a basic frame:
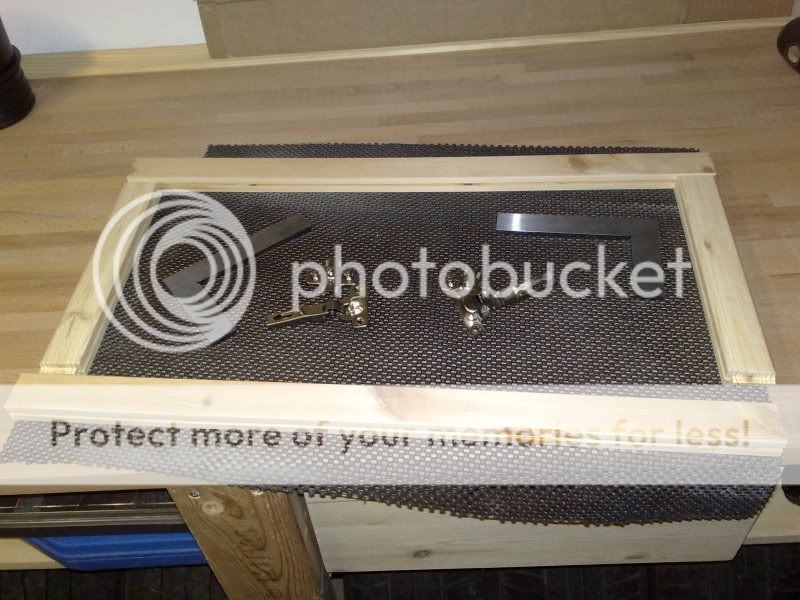
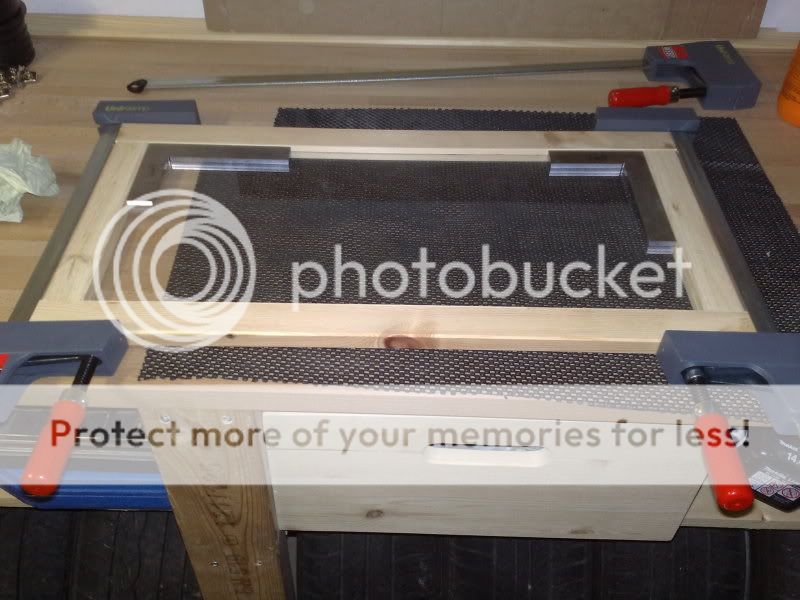
Then clamps again. I built this from scrap after looking at various solutions and full of inspiration from reading on here:
And door in clamps:
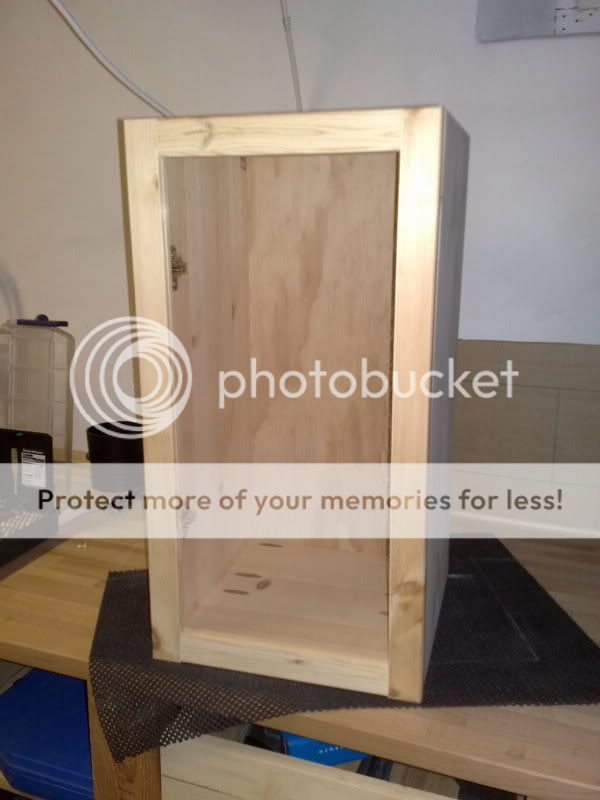
Small euro- hinges and it's a cabinet of sorts:
Learnt a lot and any critique and/or helpful hints and tips are welcome.
Thanks for looking!
As i got a starting set of Miller dowels for Christmas i wanted to incorporate that and i also had some walnut pocket hole plugs which i wanted to try.
So i set out to make a carcass, unfortunately, and being the newbie here i forgot to take any pic's before this one of the gluing up of the carcass:
I fully agree one can never have enough (Bessey) clamps.
Here's the Miller Dowels, i have learnt that it's of importance to let the drillbit up several times to get rid of the debris. If not it just makes a way out itself.
Visible in the pic. That didn't happen on the other side, and since this is a tool cabinet i just note what i learnt and carry on.
Inside for the bottom i used pocket hole screws and walnut plugs against the pine carcass looks OK'ish:
Which in turn sees me here:
Then a door is needed. I have decided to use Lexan equivalent inside a basic frame:
Then clamps again. I built this from scrap after looking at various solutions and full of inspiration from reading on here:
And door in clamps:
Small euro- hinges and it's a cabinet of sorts:
Learnt a lot and any critique and/or helpful hints and tips are welcome.
Thanks for looking!
