A Question about Ian's infill article

UKworkshop.co.uk

Help Support UKworkshop.co.uk:

This site may earn a commission from merchant affiliate links, including eBay, Amazon, and others.
Hi,

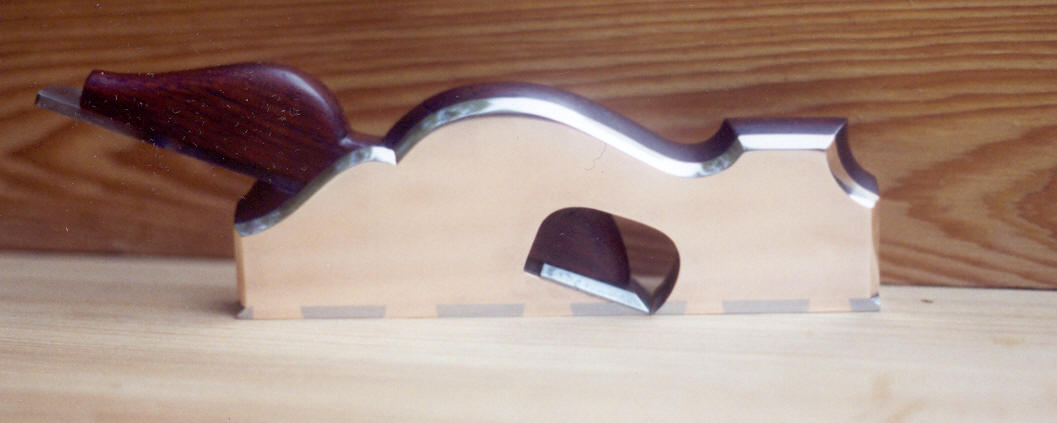
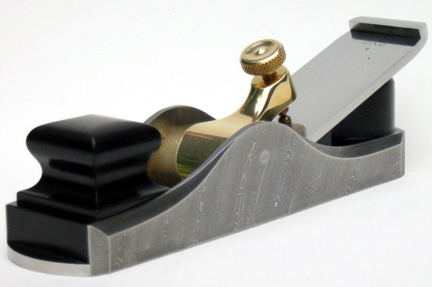
Thanks for the welcomes and complements. I have some more planes in the pipe line a small shoulder plane in stainless steel with possibly a brass racing stripe down the middle, but its tough stuff to cut! I have also picked up a nice piece of 3mm brass plate, so a dovetailed shoulder with a steel base might appear. Did you see the coping saw blade bow saw I made?
http://wdynamic.com/galoots/4images/det ... ge_id=1758

pete
 
Here's an interesting webpage created by a hobby infill maker.
http://www.sydnassloot.com/Brian.htm
here's a sample of his work:
PlaneShoulderFancy03.jpg

and his Damascus Steel Miter plane
Dam8.jpg
 
Yes, Brian Buckner does amazing work. He recently made a plane for Wayne Anderson and Wayne made one for him in exchange. That certainly says something about the quality of his work.
Frank
 
Frank,
I have now got a web page.....please dont laugh...i've never attempted anything like this before. most of it is still to be updated but the infill page has been completed
The project is under the heading infill plane

http://www.iandalziel.co.uk


Ian
 
Those are the best pictures I've seen yet on infill making. Thanks for the
the information.That's one gorgeous plane. :shock: :shock: =D> =D>
 
Laugh??? It looks great, very inspiring! The section on building the infill is incredibly helpful. I did read it quickly just now but the text seems very clear and the pictures are excellent. That tool cabinet looks very similar to the one I have in mind too...
I'm still waiting for my kits to get here. From what I've read here and there I might have to be patient.
Good going Ian, and thanks for all you've done to share this with us.
I'll definitely post my planes as I churn them out.
Frank
 
Ian,

The infill stuff will be a great help to aspiring builders - the pictures are very clear. Just one thing - the page does not display correctly in Firefox, the pictures overlap the text in places.
 
Thanks Guys,

Chris...i have modified slighty...i built the site on frontpage with a screen resolution of 1280 x 1024 and i also slightly adjusted it to display on a screen resolution of 1024 x 768 can you have a look again

cheers

Ian
 
Ian,

That is a nice website and the item I liked the most on your site was the pool table.

Just out of curiosity what did you use a base for the table - slate??

McLuma
 
McLuma,
Yes the base is slate......its my sons favourite project....i dont think i've ever put the top on it yet for the dining table even mrs Dalziel has learned to play...great fun.
It was built from sizes from a pub type table and i got a piece of second hand slate and i used guttering for the central ball return


Ian
 
I saw that you used cuttering, which i think was a good solution

I myself made a very small pooltable (long time ago), nothing fancy, just functional, for my boys, but it had to be low, otherwize they weren't able to play on it.

Ian

Did you use two slates or just one

McLuma
 
Mcluma,
Its a one piece slate.....i stiffened up the cross members with angle iron just in case of sag but the slate is pretty stiff and it works fine.

Ian
 
Ian,

I am afraid it's worse!

I suggest you use tables for the the pictures and text, this will help keep it more organised. Set the table width as a percentage rather than a fixed number of pixels, that way it will expand/contract for different screen sizes. It is actually the text that will expand or contract pictures stay fixed and so two big pictures side by side can still cause problems.

Have a look at Woodshop Demos (as here for example http://www.woodshopdemos.com/clock-5.htm) for a simple layout that is pretty foolproof for this kind of article.
 
Great website Ian! The jointer plane build article is excellent. I have two of these kits waiting to be built (smoother and thumb plane). I had read the directions for the smoother and thought it was odd that the throat plate was installed after peining the shell. I couldn't see why you would do it in that order. It seemed much easier to install the throat plate before the shell peining. What size anvil do you have? I am trying to decide between buying some thick steel plate or finding on anvil.

Wendell
 
Hi Wendell,
I thought so too about the throat plate....i dont know why they dont tell you to put it in first perhaps Ben Knebel will come along soon and tell us why.

Try the website again....with help from Chris i have hopefully managed to get it to display better.

I just used a small anvil....i definately think you should look around for one, its also very handy for other things as well

regards

Ian
 
Ian Dalziel":u2oipqle said:
Hi Wendell,
I thought so too about the throat plate....i dont know why they dont tell you to put it in first perhaps Ben Knebel will come along soon and tell us why.

Try the website again....with help from Chris i have hopefully managed to get it to display better.

I just used a small anvil....i definately think you should look around for one, its also very handy for other things as well

regards

Ian

Well--actually --when we run our courses we suggest it go in first and then a relief for it be cut in the buck block. What we haven't done yet is change our instructions to reflect that.
Thanks for the reminder.
Best Regards
Ben
www.shepherdtool.com
 
Ben, thanks for the confirmation that there aren't any hidden problems with putting the throat plate in before peining.

Ian,

The text on your website is displaying more consistantly now. I was having trouble when I switched between full screen and something less. Now it is working fine. The only thing I have to suggest is adding a more descriptive title bar. When I open your page, I see "New Page 1" on the title bar of my browser window.

You and I have similar plans. Assuming I enjoy building these infill kits (a forgone conclusion in my mind), I want to build some infills from scratch. I want to try a mitre plane like a Norris A11 first. It seems like a good first project since the sides and infills are very simplistic. Do you have a first project in mind already?

I started looking for an anvil. Talk about another slippery slope. The blacksmithing guys are as obsessed as we are. There are all kinds of warnings about not getting a cast iron anvil. I just want a big hunk of metal to beat things on. Anybody know if this really an issue if you don't plan to do heavy forging. Any ideas about what size is most useful?


Wendell
 
Wendell":1fw6f0p7 said:
Ben, thanks for the confirmation that there aren't any hidden problems with putting the throat plate in before peining.

Ian,

The text on your website is displaying more consistantly now. I was having trouble when I switched between full screen and something less. Now it is working fine. The only thing I have to suggest is adding a more descriptive title bar. When I open your page, I see "New Page 1" on the title bar of my browser window.

You and I have similar plans. Assuming I enjoy building these infill kits (a forgone conclusion in my mind), I want to build some infills from scratch. I want to try a mitre plane like a Norris A11 first. It seems like a good first project since the sides and infills are very simplistic. Do you have a first project in mind already?

I started looking for an anvil. Talk about another slippery slope. The blacksmithing guys are as obsessed as we are. There are all kinds of warnings about not getting a cast iron anvil. I just want a big hunk of metal to beat things on. Anybody know if this really an issue if you don't plan to do heavy forging. Any ideas about what size is most useful?


Wendell

Hi Wendell;
You don't need an anvil--get one if you want to be really traditional but it's not necessary.
We have a 200 pounder in our shop and we do use it, but we also have a couple of steel plates that we use just as often.
All you really need is a plate--steel--about 12 " long X 8" wide at least 3/8" thick. It needs to be flat but not surface ground flat.

Often, machine shops have off cuts of steel that they'll let you have for a few bucks. Junk yards often have weights from deinstalled elevators--weigh about 75 to 125 pounds-- that work well and can be had cheap.
I've seen people create an anvil from a piece of train rail with 1 side ground flat--works great.
The point is there are lots of alternatives without having to go to an anvil unless you like the tradition.
BTW--my 25% off sale has only 2 days to run--ends the 20th at midnight EDT.
Best Regards
Ben
 
Back
Top