Workbench build (WIP)

UKworkshop.co.uk

Help Support UKworkshop.co.uk:

This site may earn a commission from merchant affiliate links, including eBay, Amazon, and others.

PaulO

Established Member
Joined
31 Jan 2007
Messages
318
Reaction score
0
Location
West Country
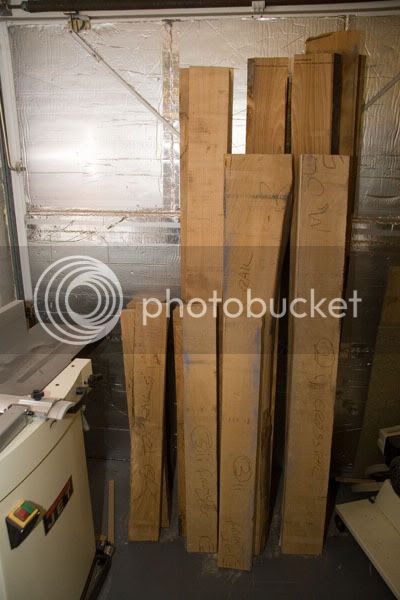
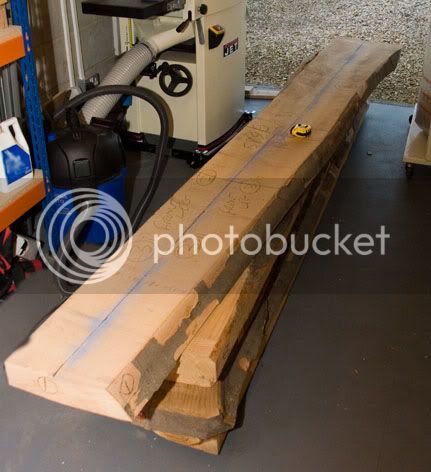
Just took delivery today of 1/4 tonne of three inch beech
Workbench1.jpg


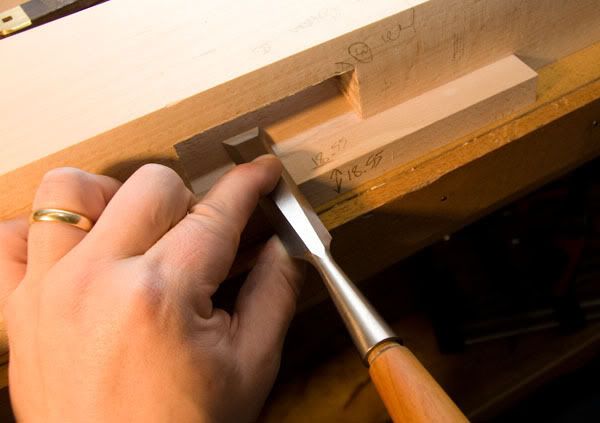
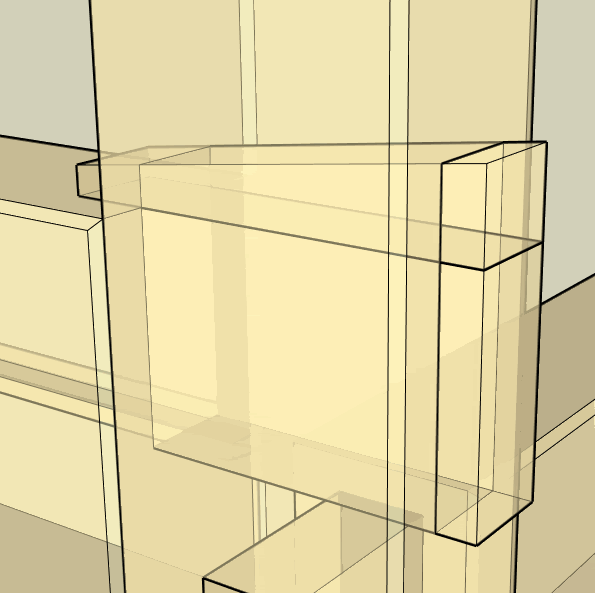
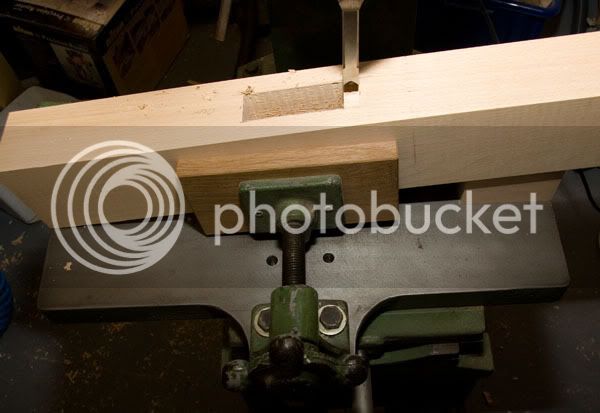
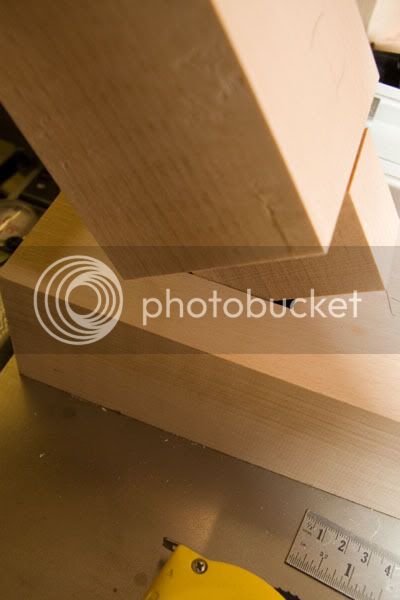
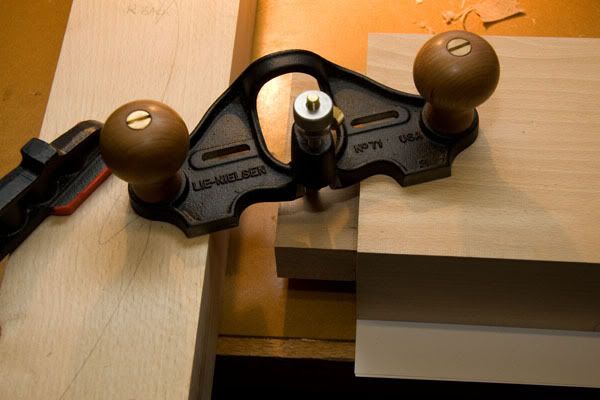
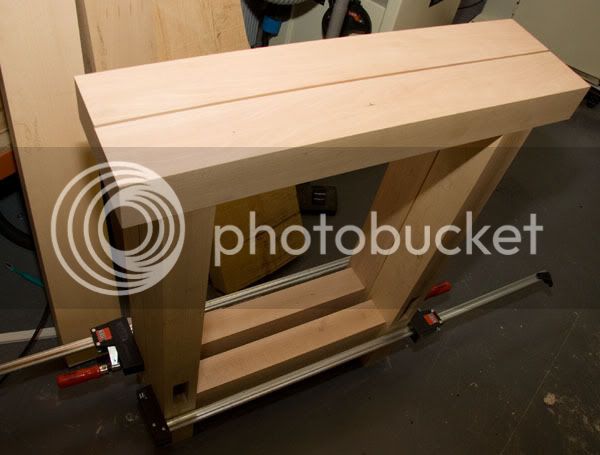
It is going to be turned into a whole pile of shavings and hopefully a Charlesworth style bench.
workbench2.gif


workbench3.gif


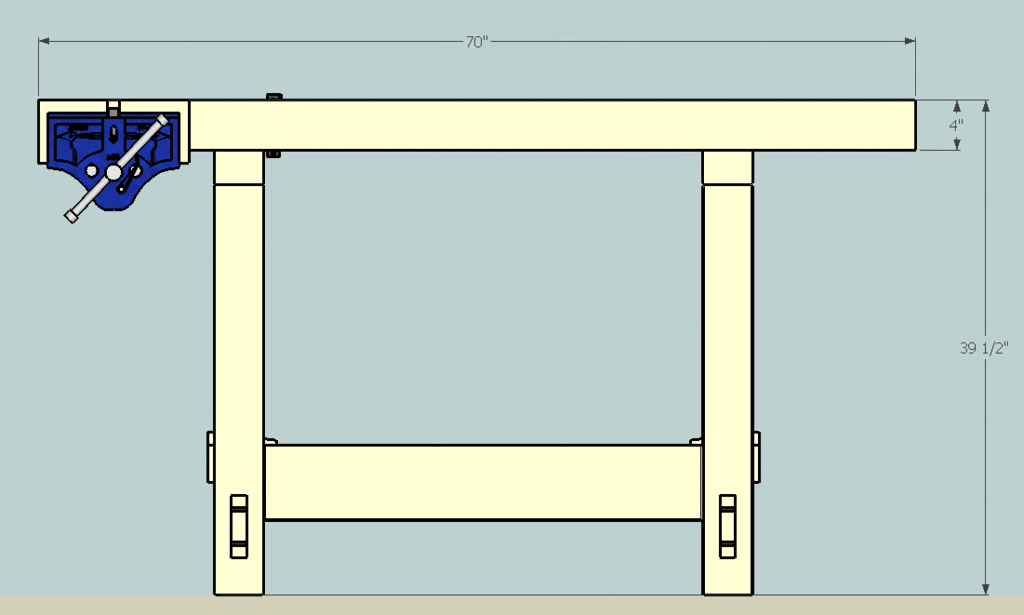
I have selected a few boards from the crown, that will be ripped into 4 inch strips and joined to make a quarter sawn top.

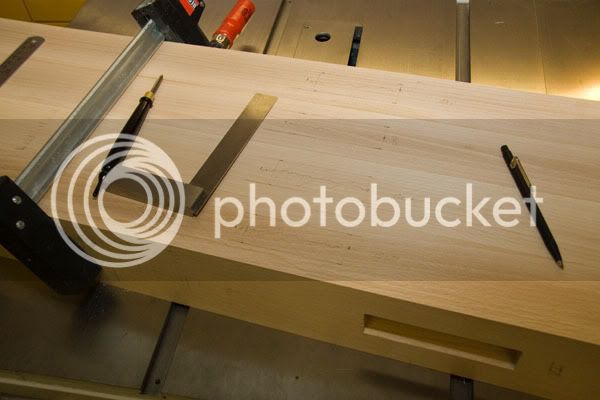
Tommorows job is cutting it into rough sizes and planing/thicknessing to about 4mm from final dimensions. Then it will be left in the house for a few weeks / months.

Should be fun as my handheld circular saw that I use for breaking down rough stock only has a 2.5 inch depth of cut, and the boards are currently 3.25 inches.
 
PaulO":2eygl22h said:
Should be fun as my handheld circular saw that I use for breaking down rough stock only has a 2.5 inch depth of cut, and the boards are currently 3.25 inches.

You do have health insurance, right?

Given that you've got the cash for all that lovely wood and a nice planer might it be an idea to get it ripped up by someone or perhaps invest in a table saw more suitable? If I tried to do that lot with my portable saw I would expect it to burn out (cheap Black and Decker mind)

Aidan
 
I concur, it won't be fun. Maybe there is a kind member local who might lend you a bigger saw? Or perhaps buy yourself a bigger one? Or even rent?
 
Thanks for your concern. I have considered renting a 330mm circular saw, I may still do it. I have made a few cuts in it with my Makita circular saw and it works fine. I always make sure the work is supported on sticks so that the joint opens as it cuts.

I have a table saw with a 3 HP motor that would happily cut through it, but I don't consider the table saw to be a safe way to cut rough sawn timber. The consequences of a bind in a table saw are much more serious. If I had a large enough bandsaw I would use that for ripping, but would still need the circular saw or a RAS for cross cutting.

I always break it down with a hand held circular saw, then get a face edge and side on the planer, followed by a rip on the table saw and then thicknessing.
 
I don't think it's dangerous on the TS. You would fix up a straight edge to run against the edge.
 
wizer":5k5kkaj9 said:
I don't think it's dangerous on the TS. You would fix up a straight edge to run against the edge.

It's not dangerous provided that one face is reasonably flat. If the wood is twisted then as the timber goes through the saw and hangs off the far end (if there's no outfeed table) the saw cut will become twisted and will bind on the blade giving kickback. I always cut rough timber with portable c/s into managable lumps, machine a face and then use the table saw to cut it into more accurate sizes. I reckon that a biggish c/s is needed to go through the beech or the motor will get burnt out which is what I did when I tried to cut 75mm elm with a small saw with a depth of cut of about 50mm...very smelly workshop :oops: :shock: - Rob
 
Well I did all the cross cutting tonight and my c/s is still alive, as am I. :lol:

My c/s is a well made Makita with a 2 1/2 inch depth of cut, a 1 3/4 hp motor, and a Freud blade. It breezed through the beech, but having to turn over the board to complete the cut was a PITA. Think I'll probably pop into the local hire centre to get something a bit bigger for the ripping, so I don't have to flip the boards. It also means that if the brushes get a hammering, they are their brushes. :twisted:

Must get that 18" bandsaw I have had my eye on, but I am running out of workshop space. [Baldrick] I have a cunning plan to extend the workshop though.
 
I had the same problem when I made my beech bench. I had a festool CS and was 20mm shy, in the end, I ripped as far as the blade would go, and then used a hand-saw to go through the final small bit, with a coarse handsaw it didn't take that long and was much safer. (Although on a few I did cut from both sides, but didn't enjoy doing that too much).
 
My c/s was an industrial de Walt with a doc of about 60mm and it didn't take long for the motor to burn out. Lesson learned for me there...always have the timber to be cut less that the doc on the saw - Rob
 
How much did you pay for all that beech, out of interest?

This looks interesting, so I'll be keeping my eyes on this one. :wink:

I'd like to start making a new bench myself in the new year, where I'll be using 3" beech on the frame at last. I was planning to rough out any shorter lengths on the bandsaw but, I guess 6ft would be a bit too much to man-handle on your own... :?

You must have a decent sized planer to want to attempt something like this? :wink:
 
OPJ":3qby5kjy said:
How much did you pay for all that beech, out of interest?
...
You must have a decent sized planer to want to attempt something like this? :wink:

£28 per cu ft. plus VAT, from Interesting Timbers. In all there was just over 13 cu ft, and the design requires just over 7. Quite a lot of wastage as you are ripping a lot of 4" components out of 12" boards, and the kerf / edge means you can only get two wide. I should have quite a bit of usable stuff left.

I have a JPT 310 planer, which is coping just fine.
http://www.axminster.co.uk/product.asp?pf_id=365313&name=jpt+310&user_search=1&sfile=1&jump=0

Today I ripped the boards to very approximate widths, and I have planed face sides. This planing alone has filled two bags on my ADE2200 extractor. Tomorrow I shall plane face edges, rip to nearer width, and thickness (providing real work doesn't get in the way ;) )
 
I know what you mean about wastage - when you take in to account the waney-edge and possible sapwood (is that really a problem on a workbench build?), you end up with a lot of waste already.

I hope you didn't take all the 3" beech from their yard, I was planning on buying some from them for my own bench fairly soon! :shock: :wink:
 
Been a while since I updated this.

Bench02.jpg


Back in November I finished planing face sides and edges and thicknessing to final dimensions + 4mm, left the parts much longer than needed.

The planing of this rough stock filled over four large bags on my ADE2200 extractor.

These parts where then placed in stick in the house until February.

In mid Feb I started work on the bench frames. The parts where machined to final dimensions plus just under 0.1mm for hand planing. I was not going to hand plane until I had finished cutting the joints, as they invariably get the odd dent in the process.
Bench04.jpg

I was very careful to make sure that the planer fence was set bang on 90 degrees, and the result was near perfect square edges.

I was quite pleased that the parts hadn't moved much at all, although some checks had opened out. The ends of these thick boards hadn't been end sealed and I think they would have benefited from it.

The parts were also cut to final length. This left me quite a few off cuts that matched the thickness for me to use when setting up for cutting the tenons.
 
I clamped the parts together to mark for the mortices.
Bench05.jpg

The location of the edges of the mortises were made using a marking gauge. For the through tenons I added a layer of masking tape to the gauge, meaning the entry of the mortise should end up about .2mm larger than the show side, with a slight taper between.

The mortices were cut on my Sedgwick morticer. I set up length stops, and clamped a reference stick to the bed so that each component could be set up identically. For the stopped mortices I cut all the way up to my scribed marks, but for the through mortices I left a small bit to finish with hand chisels. The morticer doesn't leave a perfectly clean edge, and I didn't want that to show on the faces of the through tenons.
Bench06.jpg

There was an awful lot of material to remove, so to reduce wear on the auger, I predrilled most of the mortices using a forstener bit in the pillar drill. I also had to touch up the morticing bit a couple of times during the process, which I did using one of those cones and light passes on my water stones to remove the burr.


The ends of the mortices were cleaned up by vertical chopping.
Bench07.jpg


The cheeks were pared with the aid of a reference block. I made two of different depths to allow the entry of the through tenons to be slightly larger than the show side.
Bench08.jpg

Having pared the cheeks I checked that there wasn't a bump in the mortice by using a six inch rule from the from to back and checking that it didn't rock.

The bench frame consists of two end frames joined by knock down cross rails. The through mortice for the cross rail needs a taper on the top edge to accept the wedge.
bench07b.gif


I did some maths and cut a block of the right height and angle to place on the morticer bed, then cut the taper. This was refined using the same spacer block and a chisel.
Bench14.jpg
 
Next I moved onto cutting the tenons. The shoulders were cut on the table saw.
Bench09.jpg


I also cut shoulders on a scrap piece so that I could set up the bandsaw fence to cut the cheeks. Some fine adjustment of the bandsaw fence and I got the tenon to a tight fit for a corner. The tenon cheeks were then cut for all similar parts.
Bench10.jpg

The top and bottom of the tenons were cut in a similar way, but with a looser fit. The fit on these surfaces isn't so critical as they won't have much glue strength, and in some cases the gap will be take up by the wedges in the tenons.

Final fitting of the tenons was done symmetrically with a router plane until I was satisfied with the fit.
Bench12.jpg

Being careful to remove the same amount from each side so that the components remain centred.

Some of the tenons have shoulders that are too deep for the router plane to reach, for these tenons I tuned the fit with a shoulder plane.
Bench11.jpg


Up to this point all of the joints had been labeled with pencil numbers. Before glue up I would have to plane all the interior surfaces, so these marks would be lost. So I used the method suggested by Rob, and used a chisel to mark the tenons and matching mortises. Marking the tenons was easy, but the mortises were a bit trickier, I used a skew chisel to gain access.
Bench13.jpg


A bit of a dry fit to see that I have made to identical frames. At this point I also marked for the holes to be drilled for the top fixing. The front section is fitted with two coach screws on each frame. The rear coach screw is fitted in a slot to allow for expansion. A forstener bit was used on the underside to create a recess for the head of the screws.
Bench22.jpg
 
Glad to see this project up and running again.

Looking good so far and I hope you can keep up the level of "WIP" detail and images going!
 
Nice work Paul - one Q if I may.

Why condition the beech in the (presumably heated) house if the bench is in the (presumably un-heated) workshop?

Didn't have to worry about that with my mdf effort :roll:
 
Back
Top